Top

Archive | Budget £

Homemade play dough

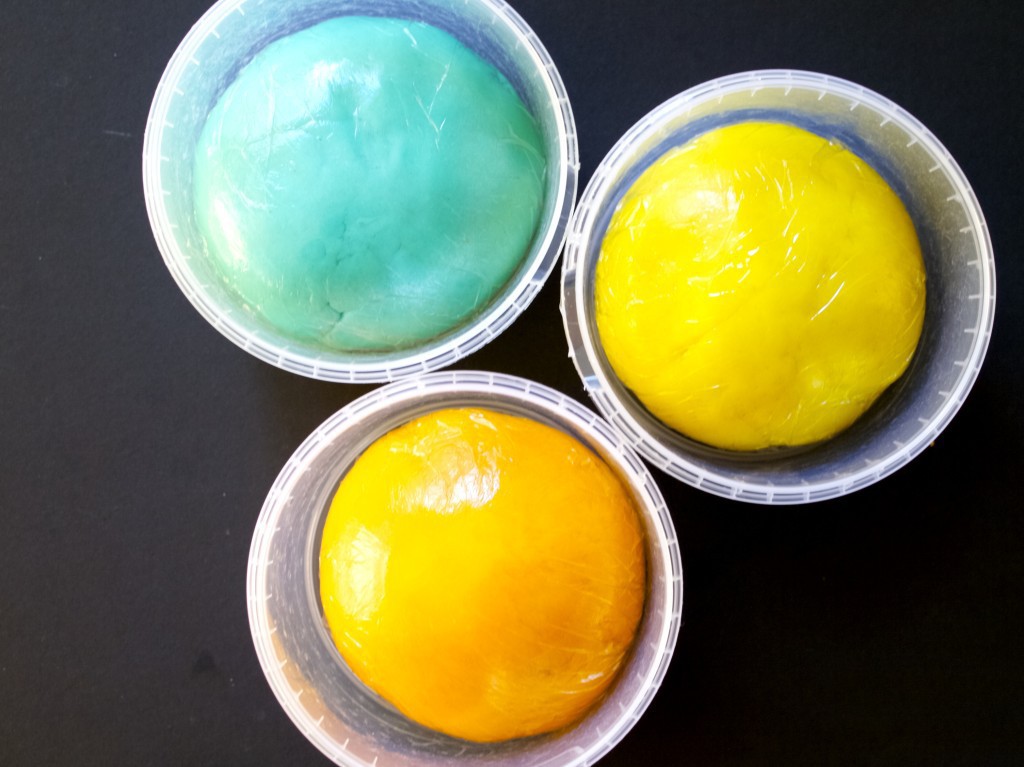
Make your own play dough that last up to 6 monthsAlthough I have no children of my own, I once had a chance to make some play dough for a kids group. My favourite Lithuanian cook book (yes, a cook book!) had a recipe for play dough and I was determined to try out ALL the recipes from the book. I sort of had a competition going with my mum, which of us will complete the book sooner. If you are wondering who won, it was of course ME!!! I take competitions very seriously, just in case you did not know ;-).

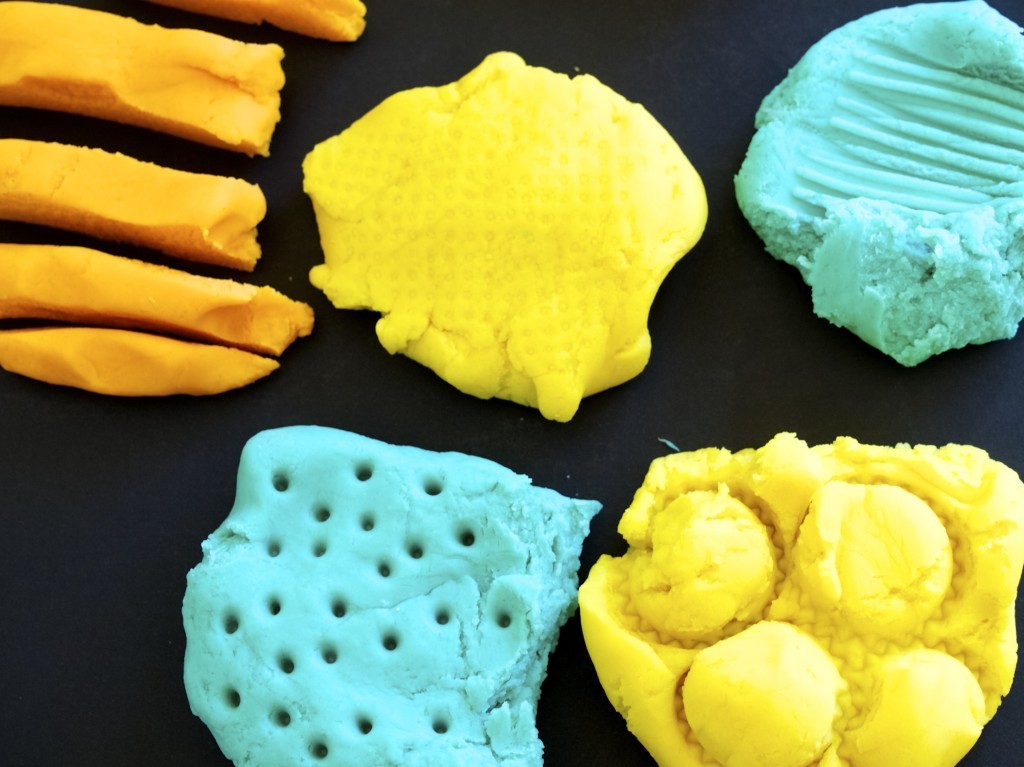
Anyway, making play dough was fun, although not everything came out right. This time round I decided to do more research rather than relying on one recipe. I was looking for a recipe that  is quick and easy to make, long lasting, and a very flexible texture. I came up with a semi-cooked version which basically does not need a hob, but “cooks” in boiling water you pour over it. Smart, isn’t it? And apparently it last 6 months!

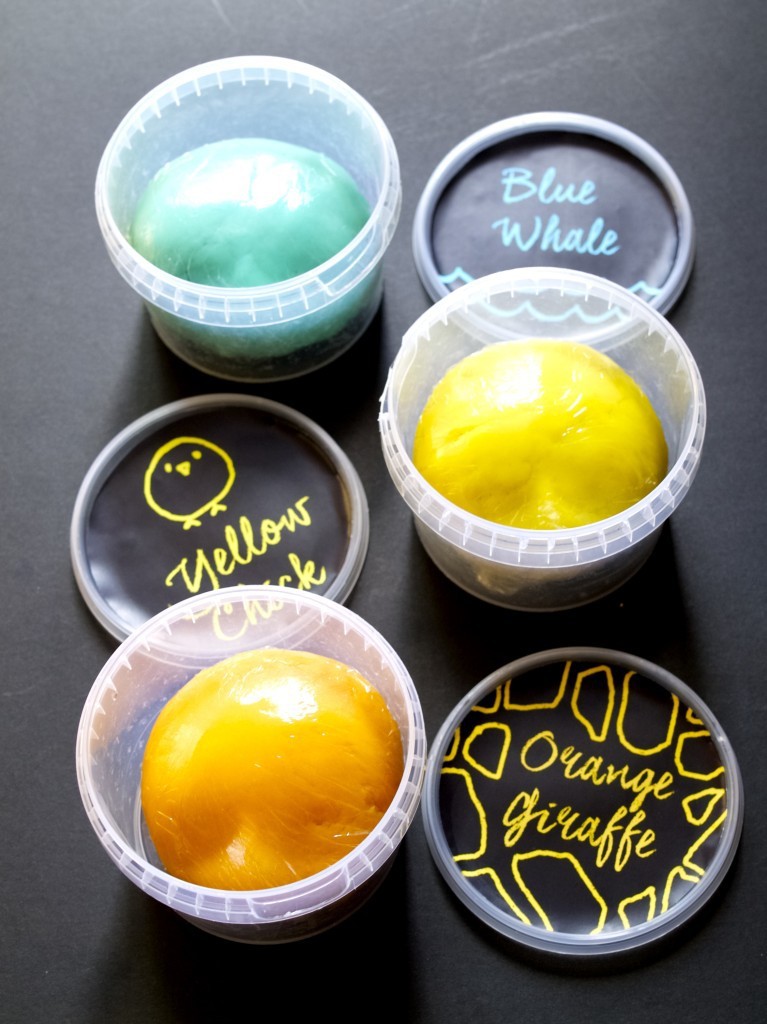
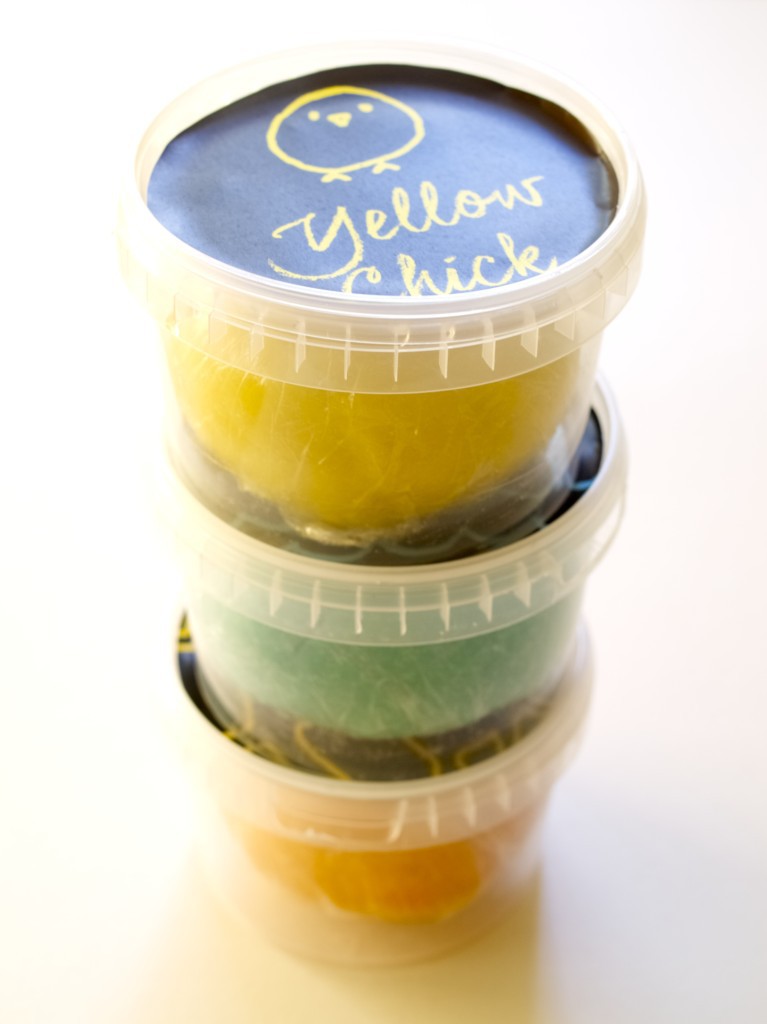
So, the reason for this post (in case you are wondering), is to make some play dough for gifts to friends/family who have children. These are perfect for that I thought. I even thought of custom packaging!Make your own play dough that last up to 6 monthsFor one lump of play dough the size of an orange you will need:
  • 1 cup flour
  • 1/4 cup salt
  • 1 tbsp citric acid or cream of tartar
  • 1 tbsp oil
  • food colouring (amount depends on the brand of colouring you are using)
  • 1tsp orange extract (totally optional, adds nice smell)
  • 3/4cup boiling water

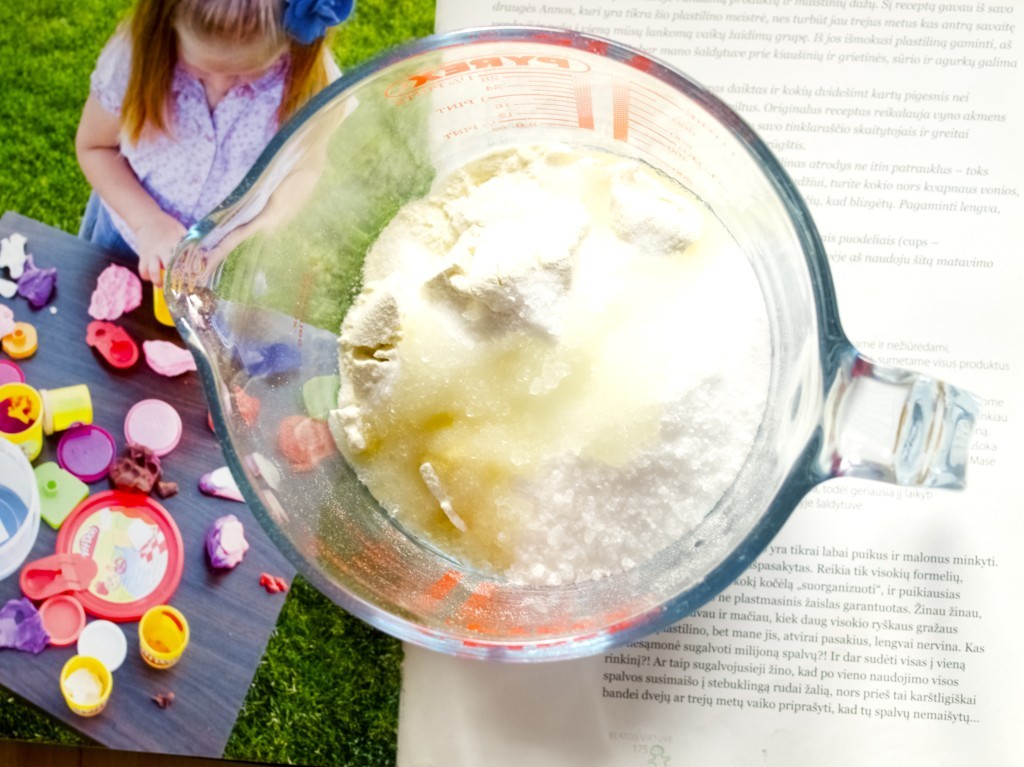
1. Combine flour, salt, citric acid, oil and orange extract (if using) in the large jug or bowl.Make your own play dough that last up to 6 months2. Mix food colouring with boiling water and pour it over the flour mixture. Mix it with the spoon until you get a clean dough ball. If it is too sticky, add some flour.
3. Remove the dough from the bowl and kneed it vigorously until it becomes really smooth. I love this part of the making as the dough is still warm and nice to touch!

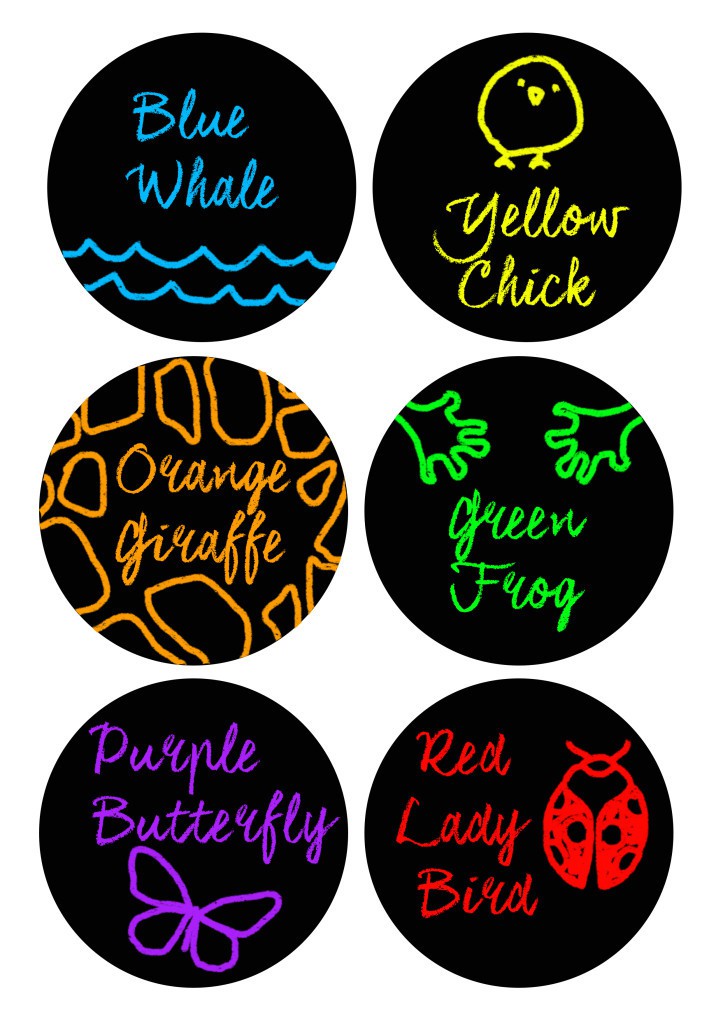
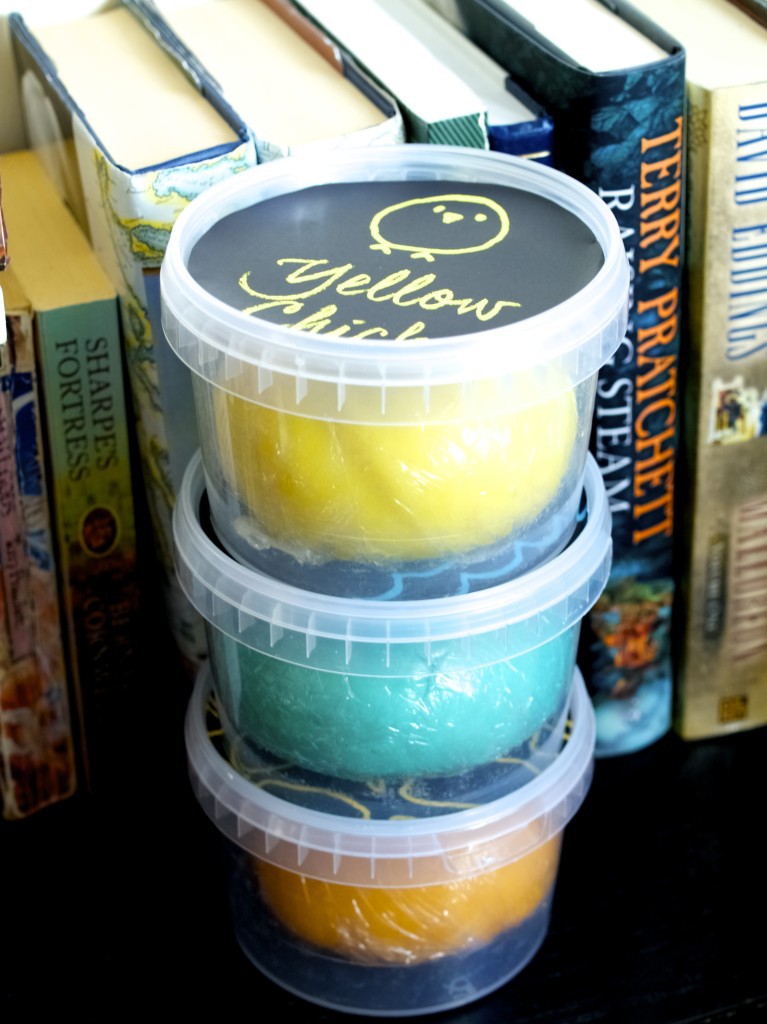
4. If you are giving this as a gift the best way to store is all wrapped in cling film or in the air tight container.Make your own play dough that last up to 6 monthsHere are the labels, free to print ;-).Playdough labels Make your own play dough that last up to 6 months Make your own play dough that last up to 6 months Make your own play dough that last up to 6 monthsI hope you will enjoy making this :)
Rasa xoxo

0

Few ideas on how to survive Halloween at home

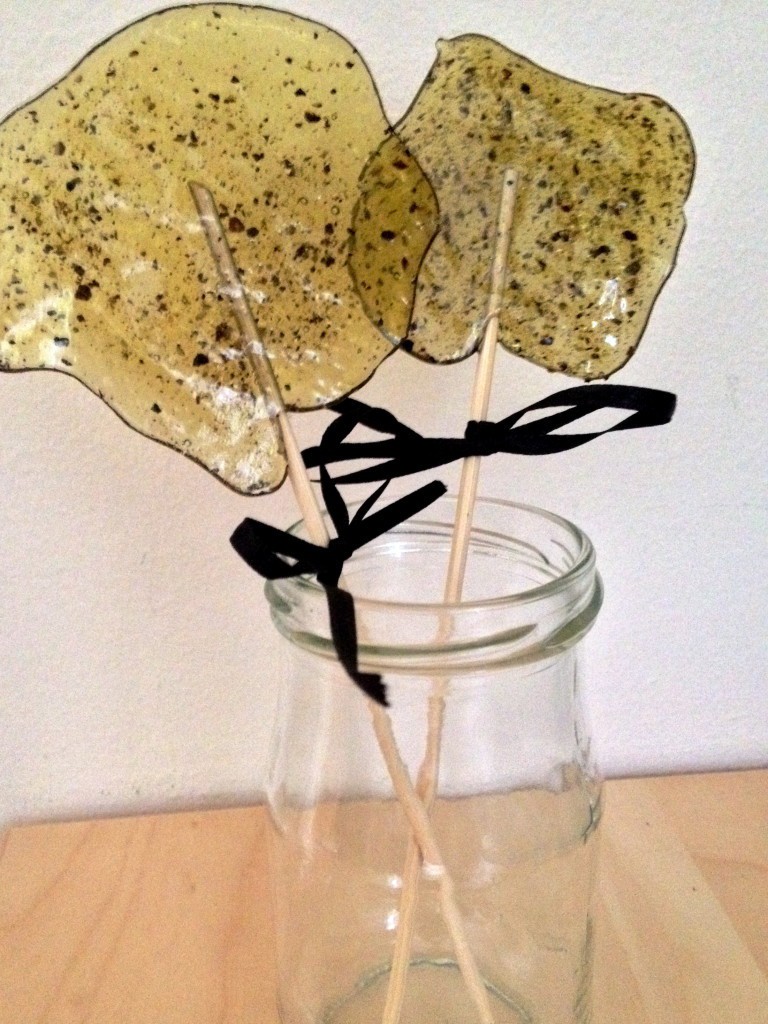
vanilla and peppercorn candyI don’t want to be a fun spoiler, but I really don’t like Halloween. I think I mentioned my reasons last year, one of them being the difficulty of making Halloween deco pretty. Anyway it’s fun for kids and you don’t want to stop that! Have you ever had one of those awkward moments when group of kids knocks on your door and say “trick or treat” when you have no single sweet treat in the house? To avoid this, here are few tips/ideas on how to avoid these unpleasant moments ;-).

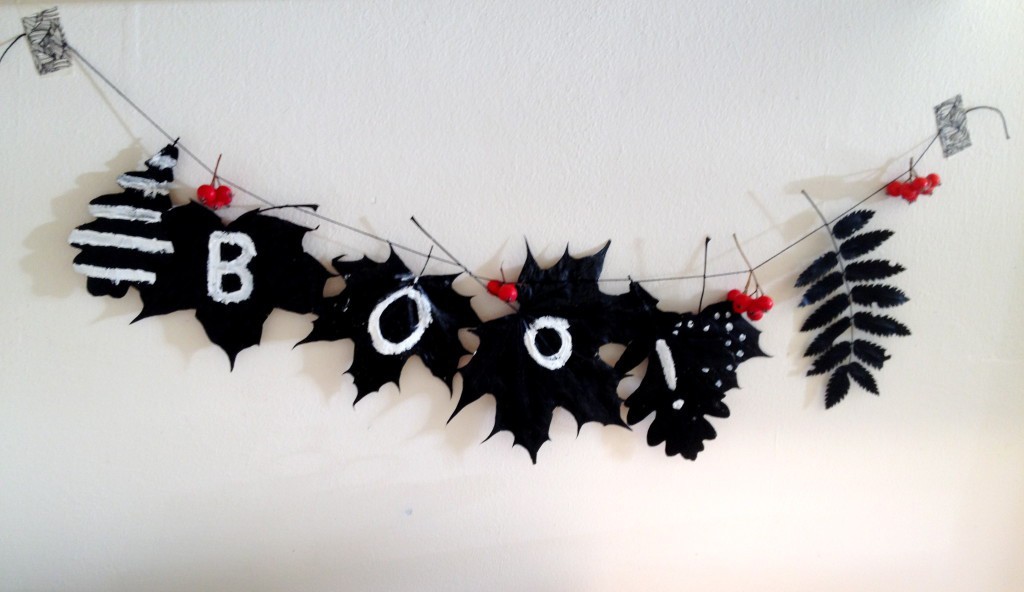
1. Treats! Yes, stock up on treats! The best treats are candies and if you feel like making some here is the recipe that I made last year (it’s vanilla and black pepper BTW!). Or if you prefer, bake this ghost meringue cakeAutumn butternut squash cupcakes is another alternative if you want something sweet yourself while you wait ;-).Halloween treats2. Decorations, at least at the front of the house. Because you don’t want to bother and decorate the whole house! Garlands are grate for this. Here is one for you to try. Just make sure it’s all ready before 6pm this Friday!leaf garland3. Failed to do no. 1 and 2.? Just pretend you are not home and switch the lights off or something. Close the curtains and light the candle, that should be fun!

Happy Halloween!

Rasa xoxo

1

Say it in 3D: make a pop up greeting card!

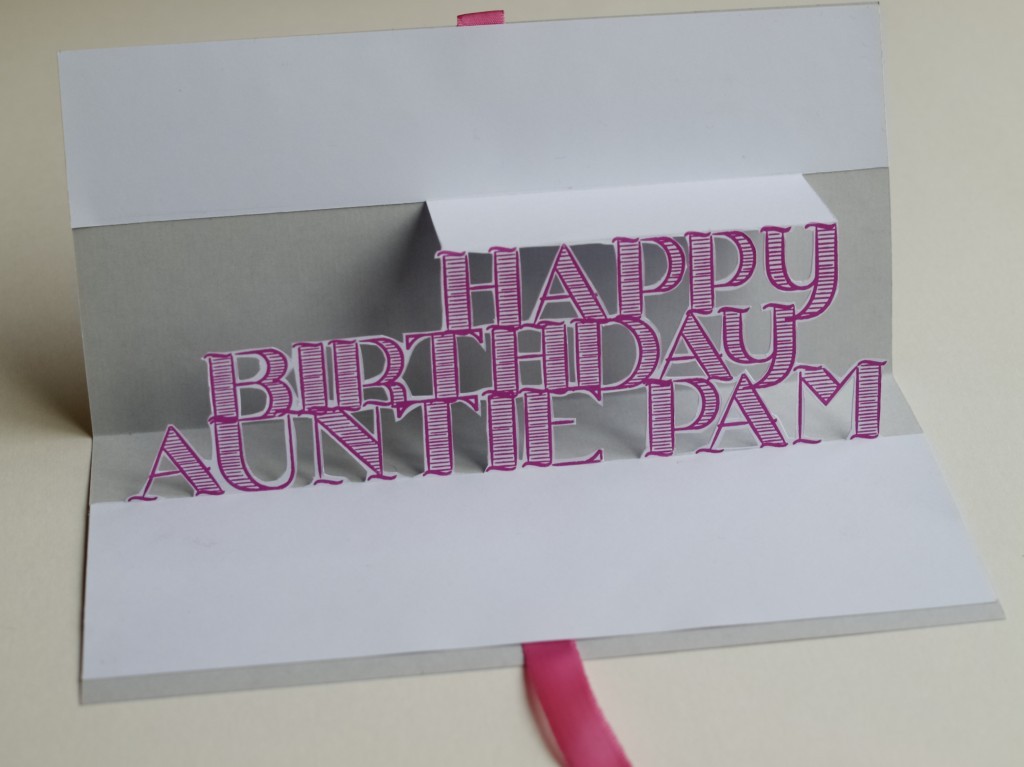
Say it in 3D: make a pop up greeting cardLet’s be honest, do you keep the greeting cards you receive for birthdays or Christmas? I don’t, although I try to reuse them in paper crafts. I know that majority of us would eventually bin them. And knowing this makes me sad :(. I don’t like the idea that we spend 2-5 pounds on the card for it to be binned. This is why I make every possible effort to make a handmade card. There are two major reasons for that. It cost practically nothing since I reuse or use up all the paper stash I have. Handmade cards have a better chance in surviving longer as it has a sentimental, caring value attached to it.

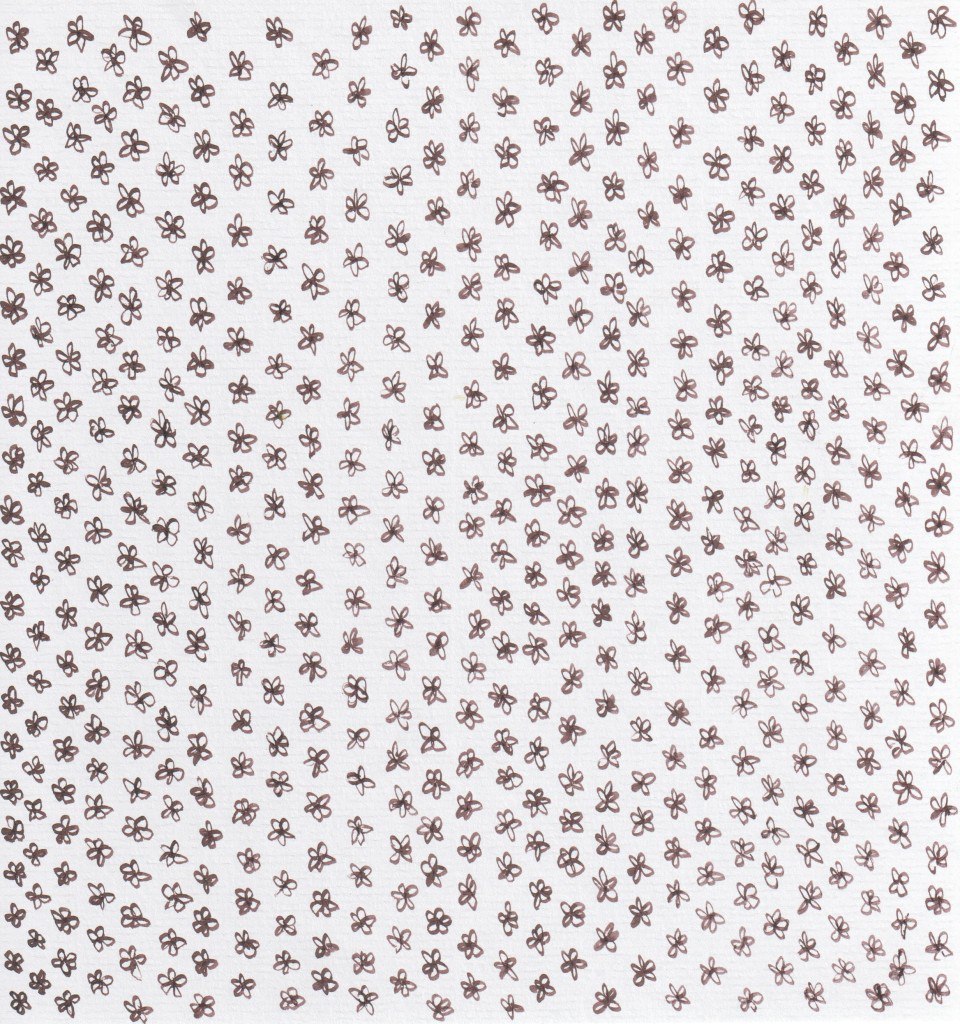
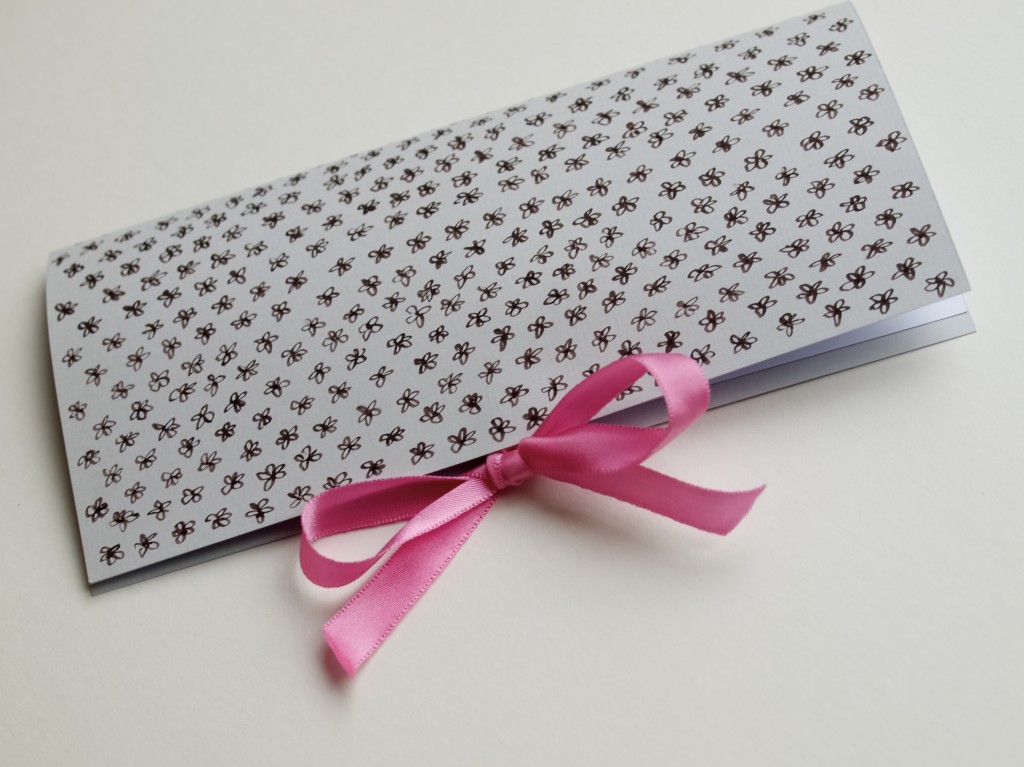
I like making my own patterns that are perfect for for making paper crafts, here is one of them ;-).Simple flower pattern for paper crafts

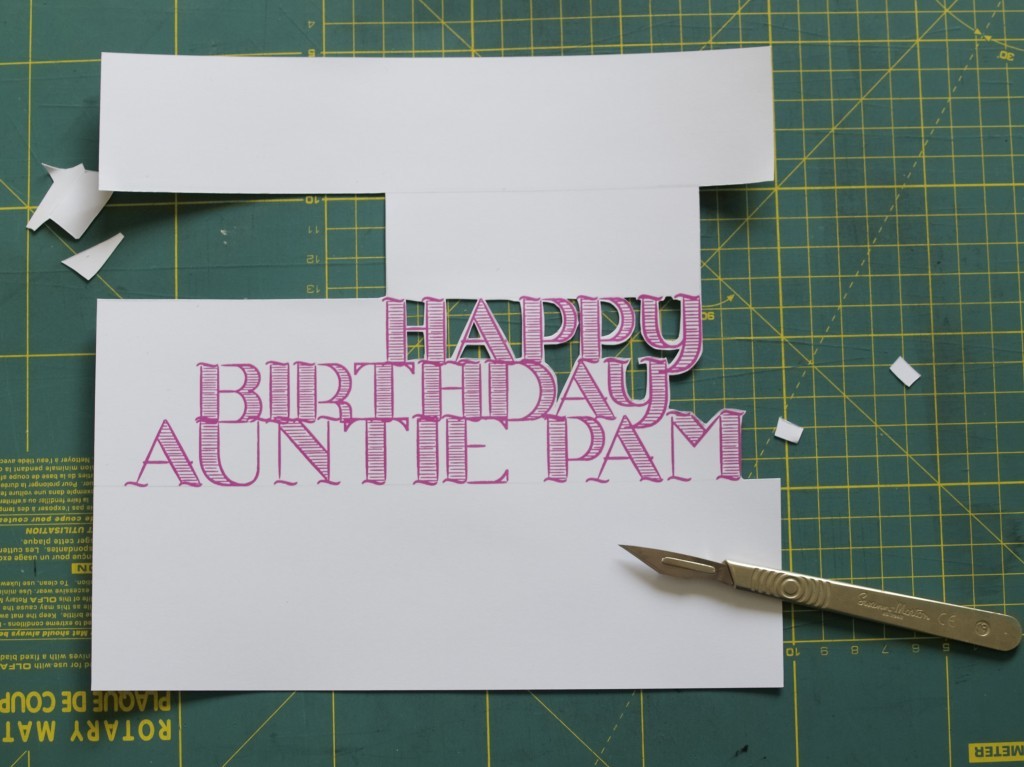
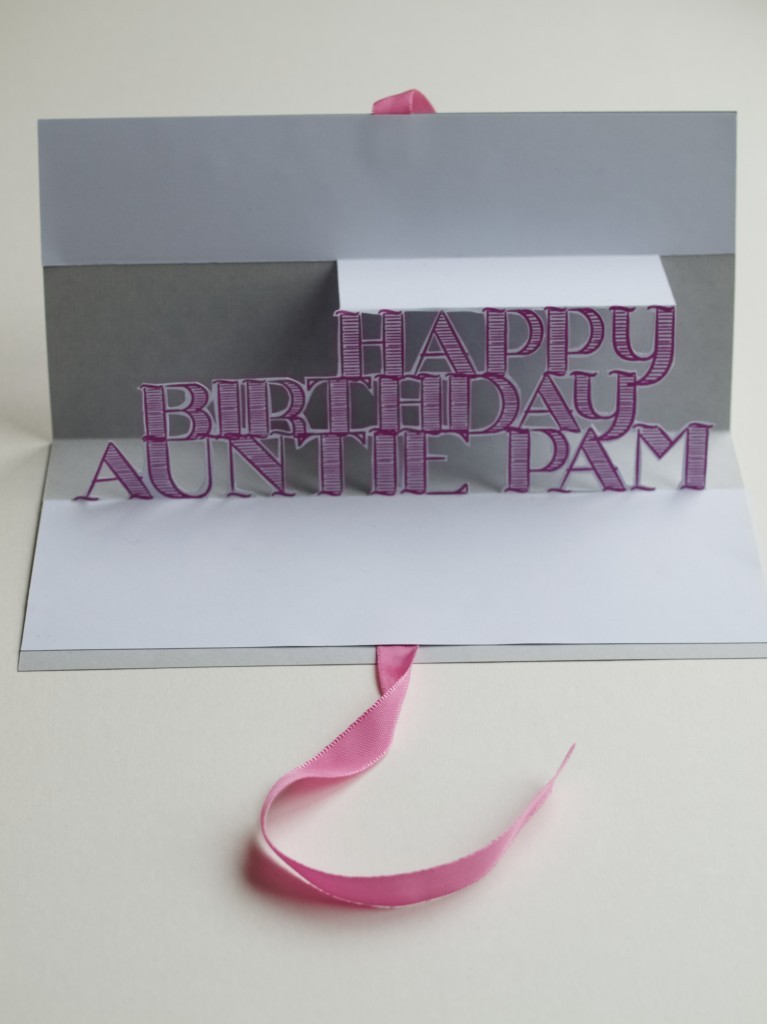
Say it in 3D: make a pop up greeting cardReady to make one now? Click HERE for the step by step pop-up card project.Say it in 3D: make a pop up greeting card Say it in 3D: make a pop up greeting cardHave fun!

Rasa xoxo

1

Renew your clothes: Insert lace into the neckline

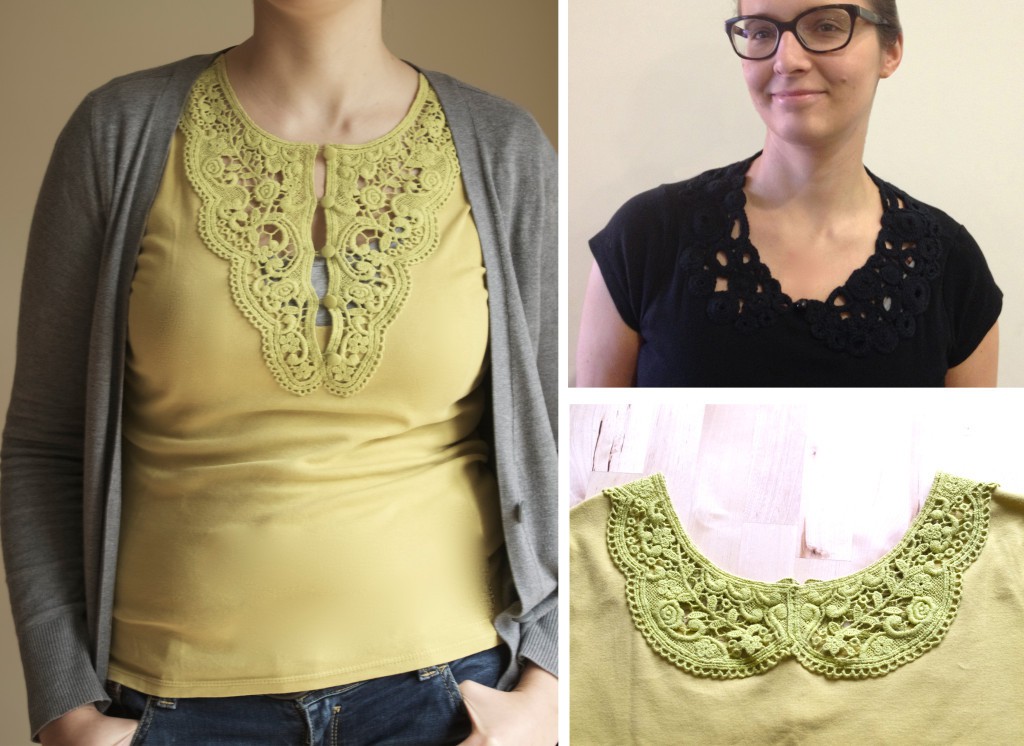
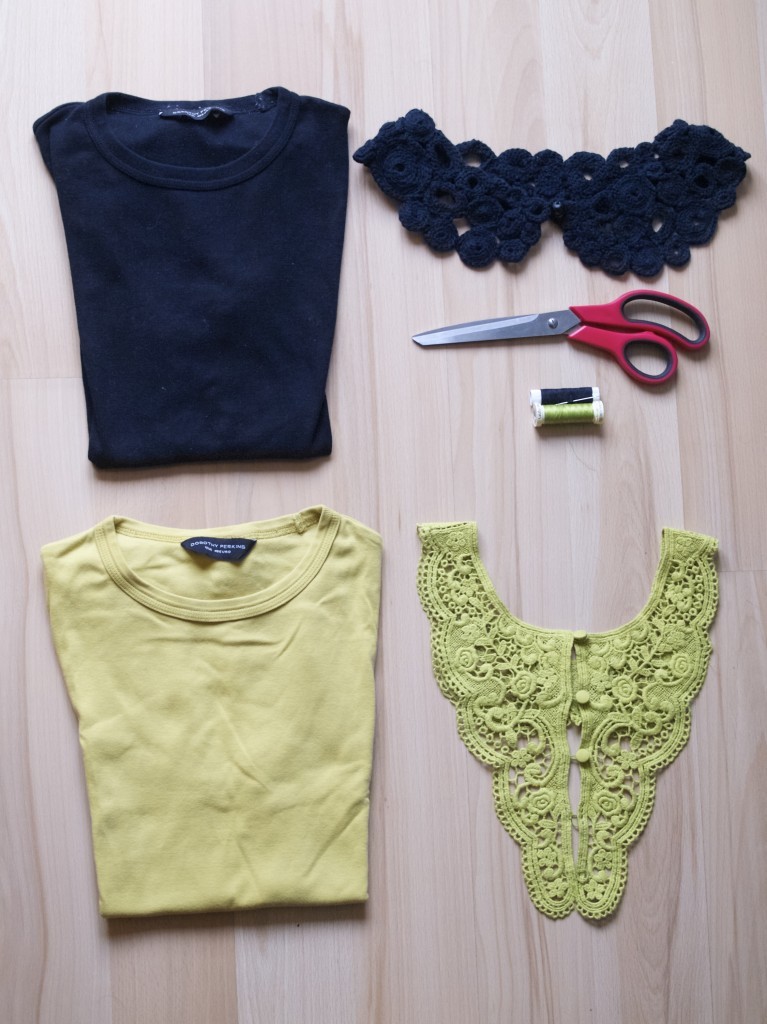
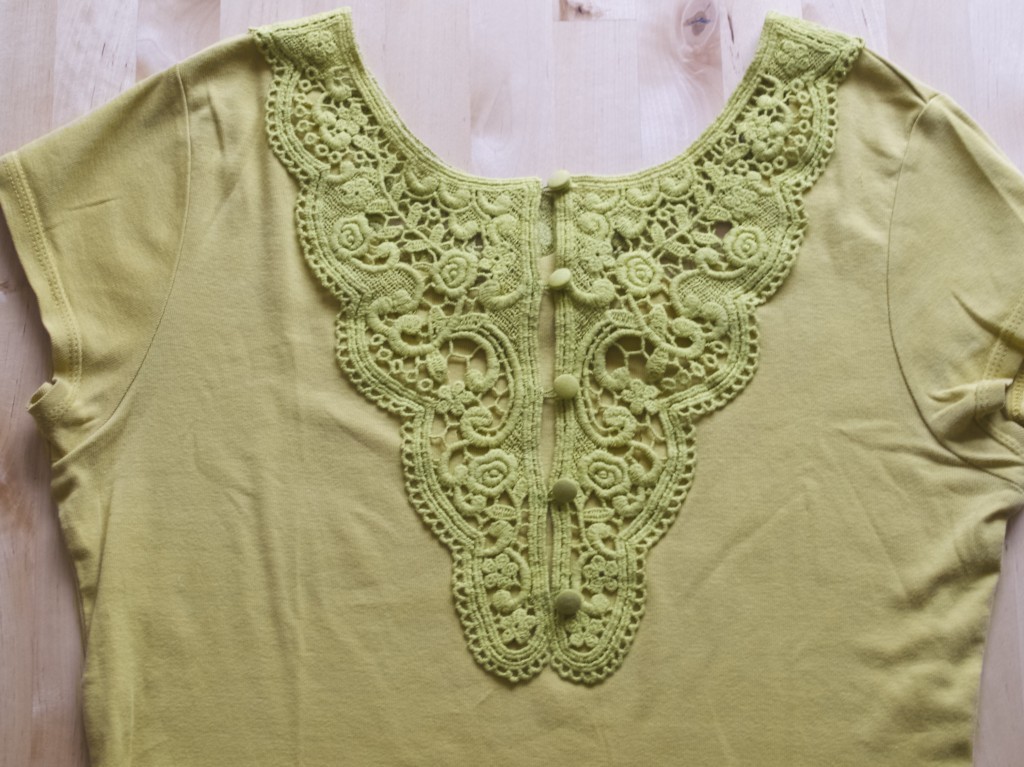
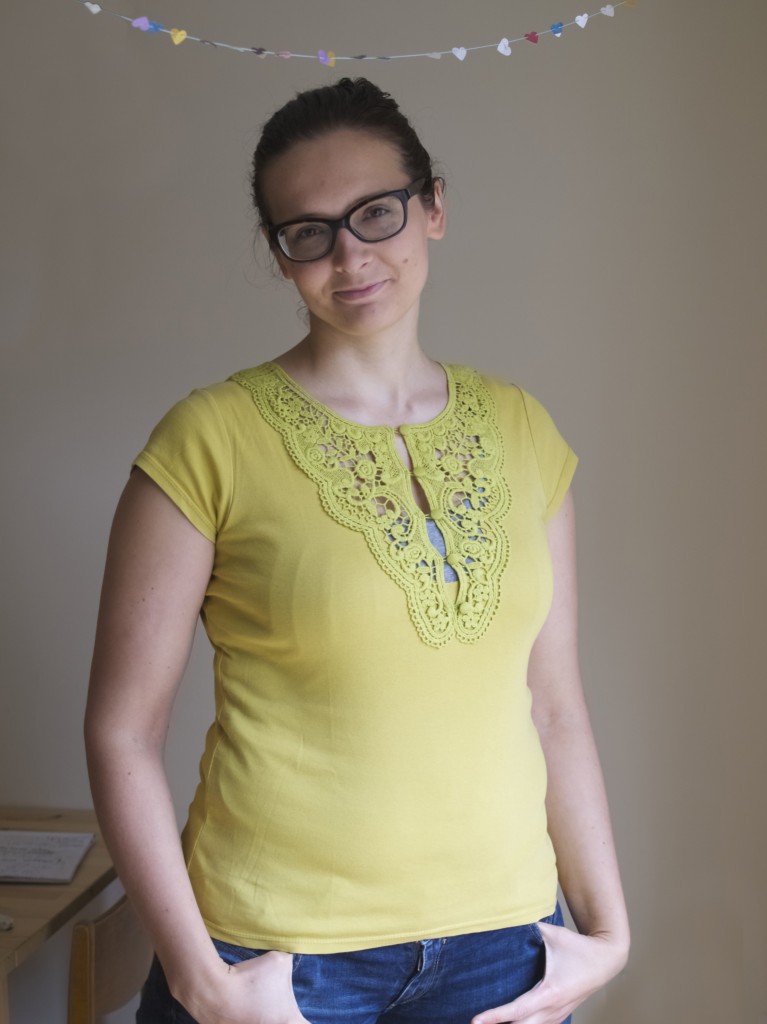
simple lace neckline inserts DIYMy challenge this month is to organise my wardrobe. It is too full and there are plenty of things I no longer wear. So my first step was to see if I could alter some of the garments to something I like. This week I picked some plain tops and matched them with lace inserts. I made a black crochet collar last year, but I never found anything to wear it with, so I thought I would use it as an insert for the top. I salvaged the lime lace insert from an old blouse which had ripped so many times that I could no longer repair it. At that time I thought I would at least save the lace as I planned to use it somewhere else (that was three years ago). So I finally did use it, and I am loving my new top!

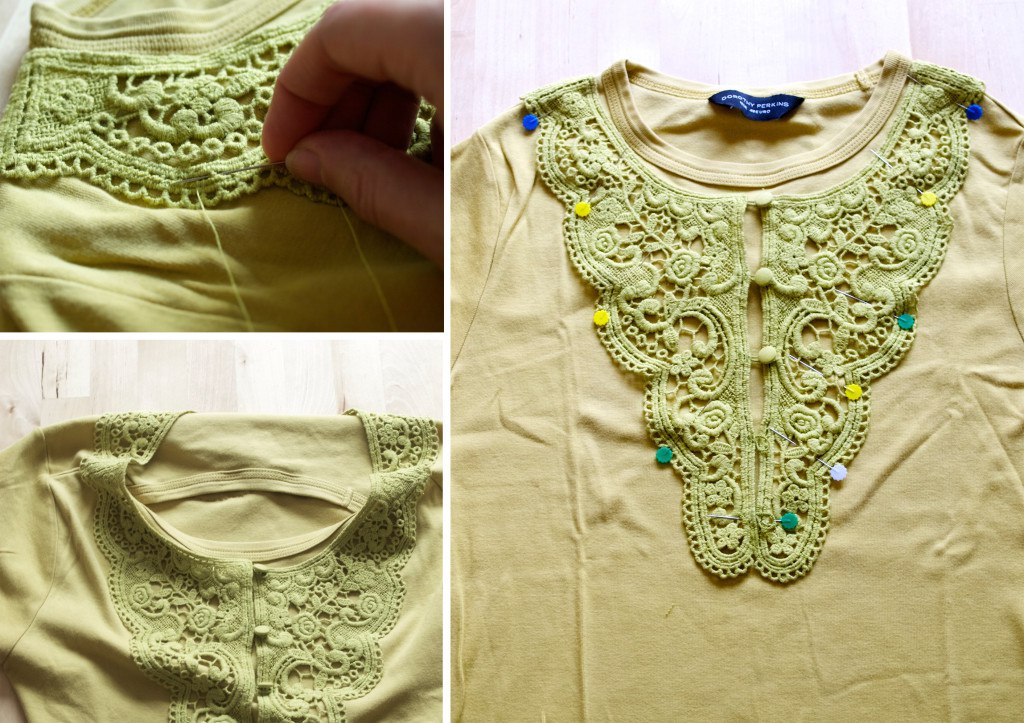
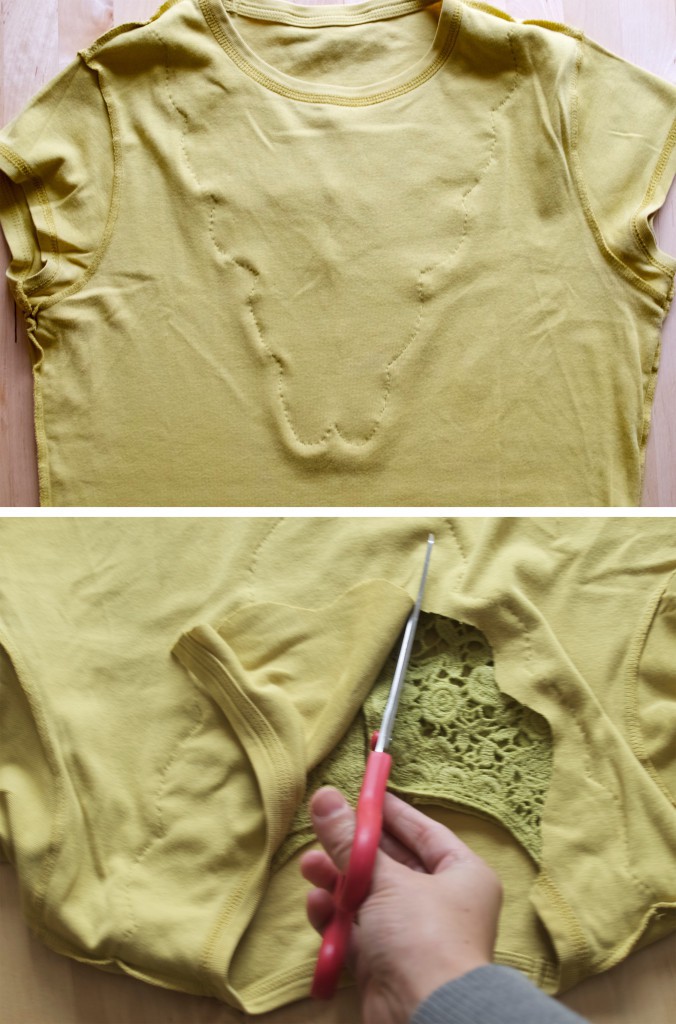
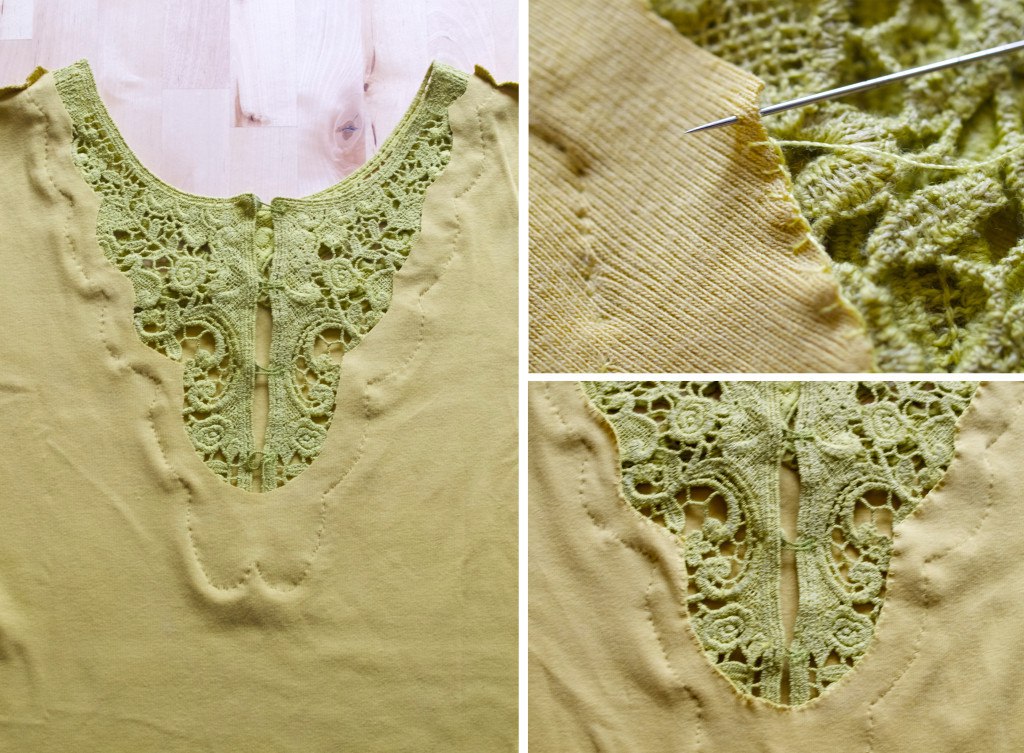
So here is how I did it. For this quick alteration you will need a plain top, a lace insert, scissors, matching thread and needle (or sewing machine if you don’t want to be hand stitching it).Things you will need to make a lace insert1. First you need to pin down the lace on to the garment where you want it (make sure you try it on to make sure it sits nicely). Stitch the lace insert on the outside edge (not inside edge). I hand stitched because I love doing it this was, but you are welcome to use sewing machine for this step!How to attach a lace insert2. Once the lace has been stitched on, you can cut away the neck leaving 1-2cm space from the stitched edge. Lace insert step by step instructions3. Finally finish off the edge. If you have been using sewing machine you could use a zigzag stitch (or overlocker if you have the overlocking machine). Since I have been hand stitching I have used button-hole stitch to finish off. How to install lace insert Lace insert in the garment DIYLace insert in the garment DIYI hope you found this simple alteration technique useful.

Have a lovely weekend!

Rasa :-)

1

Party decoration

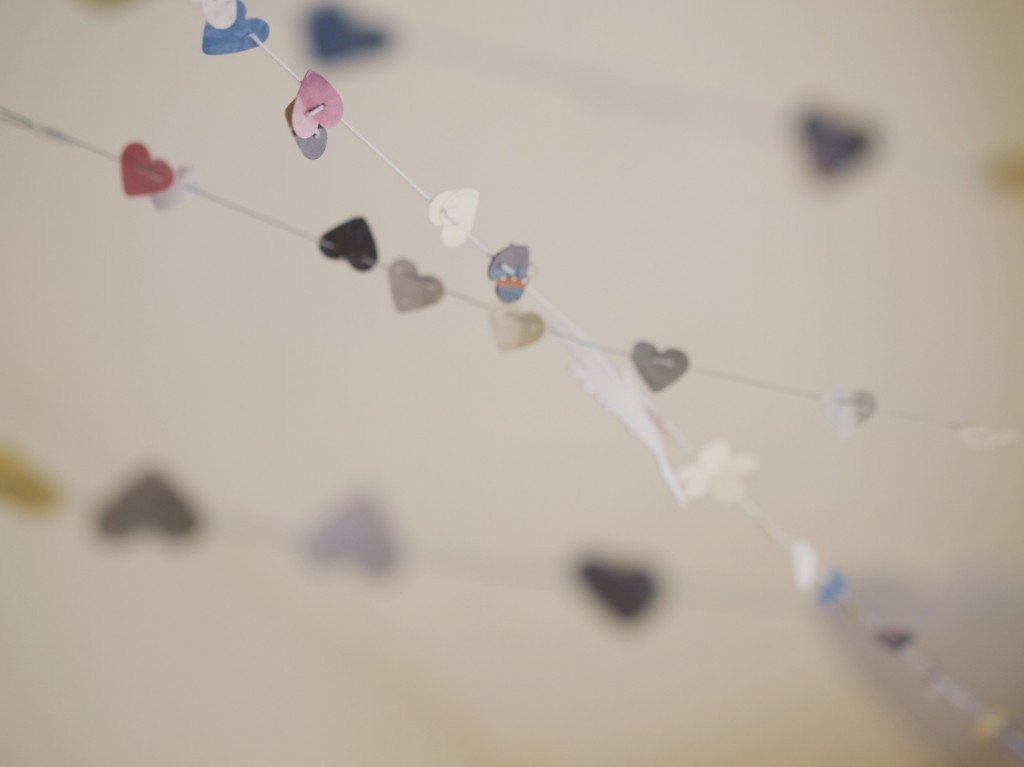
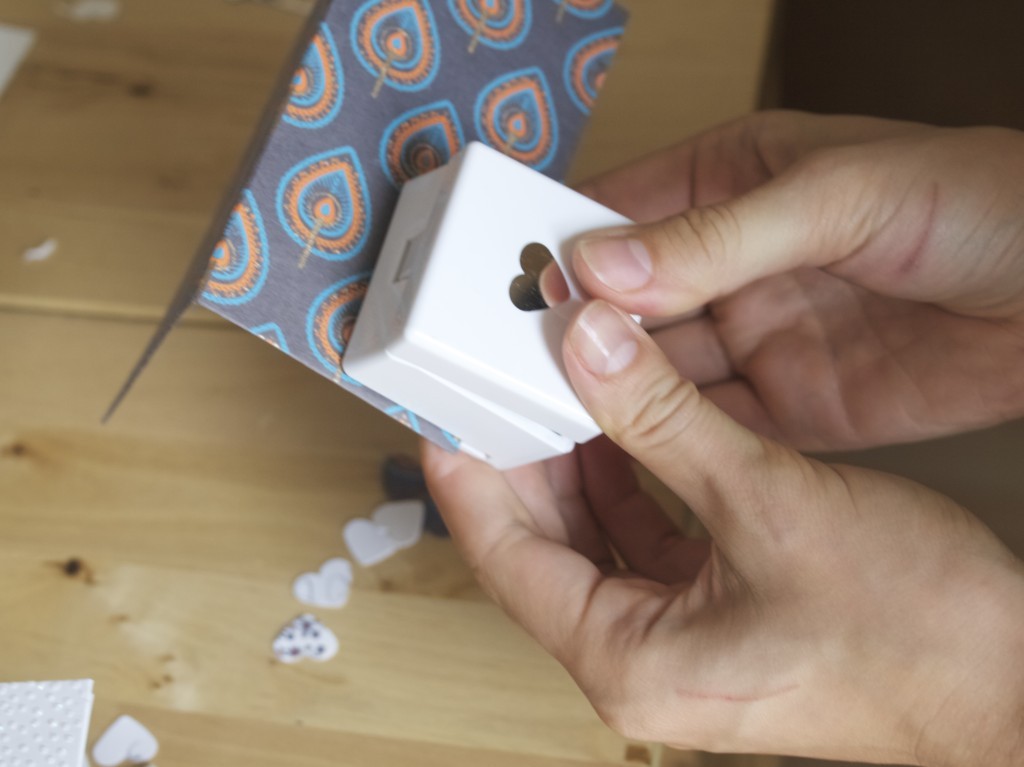
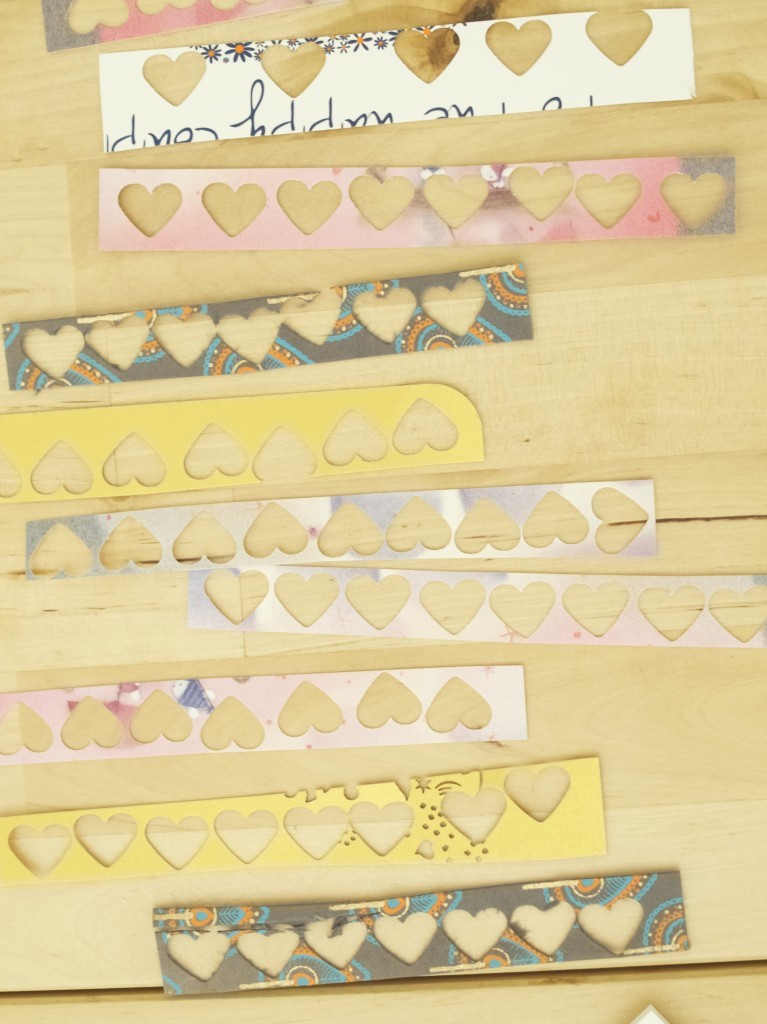
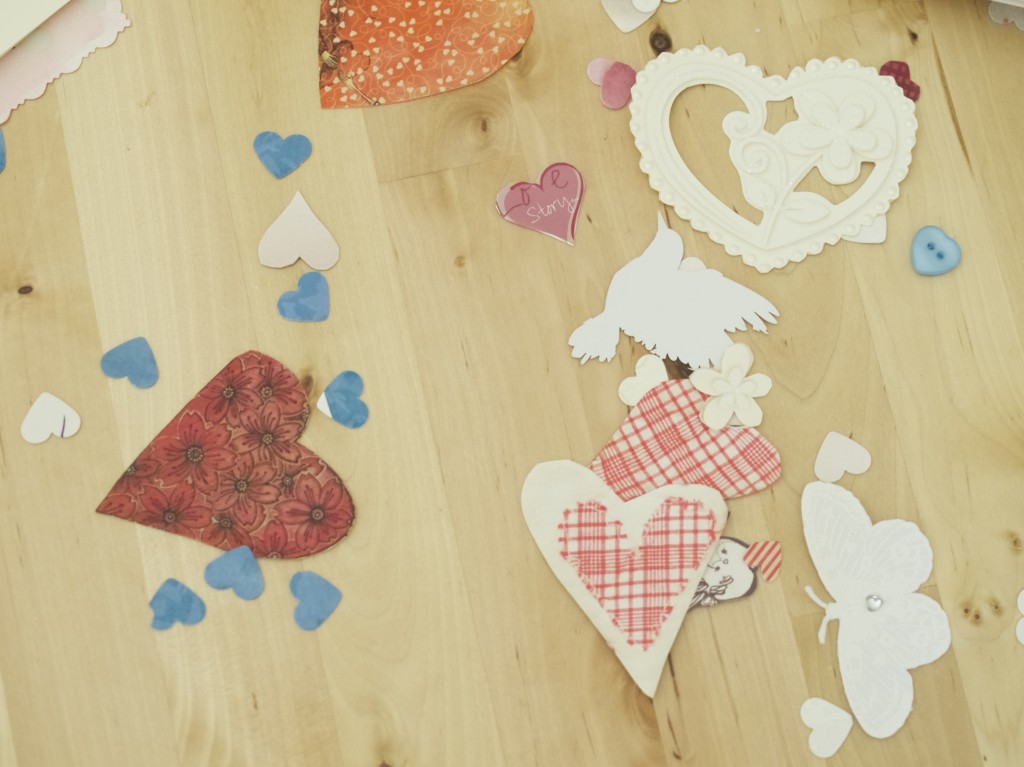
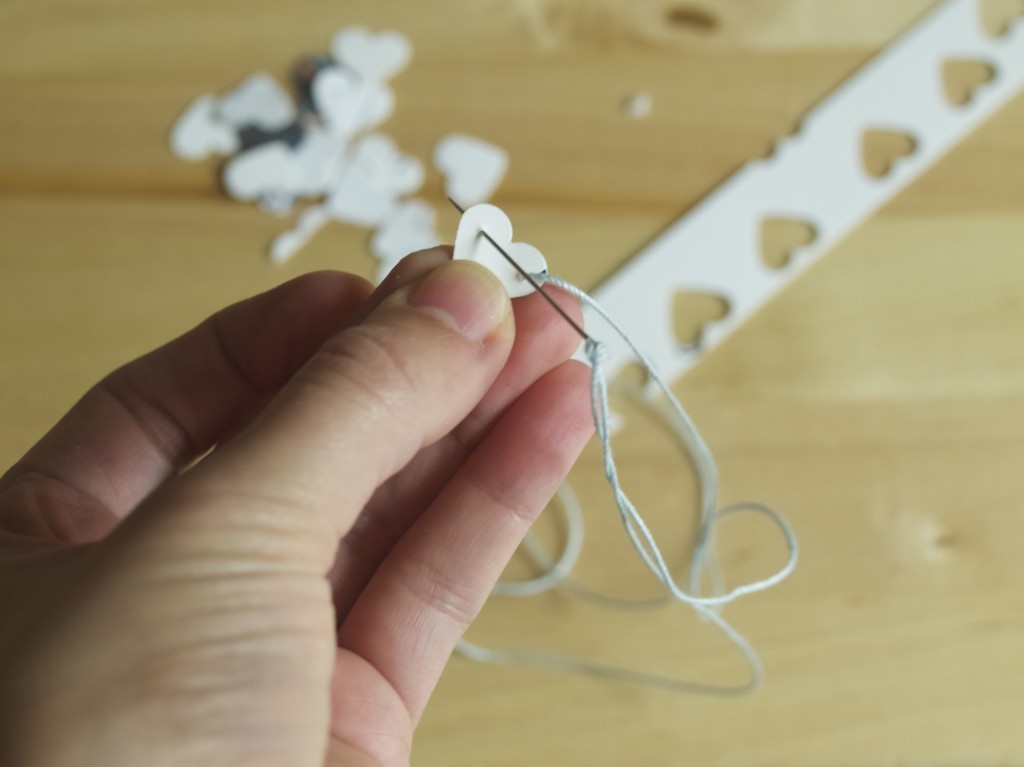
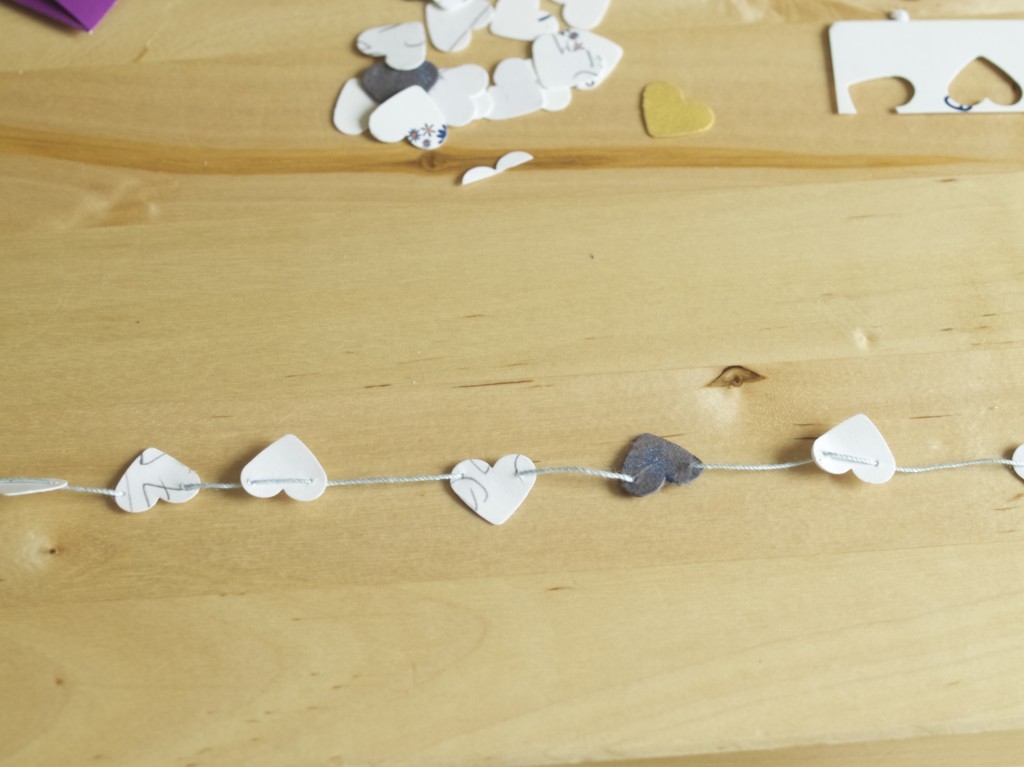
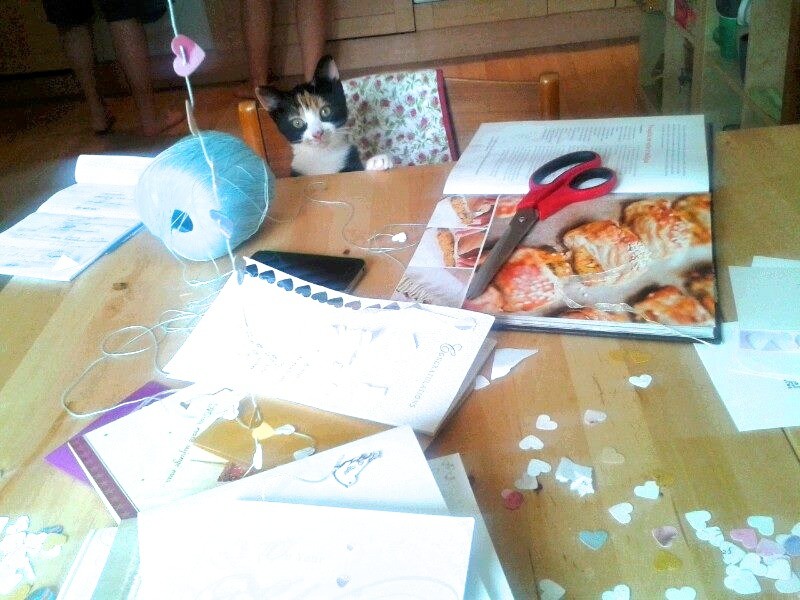
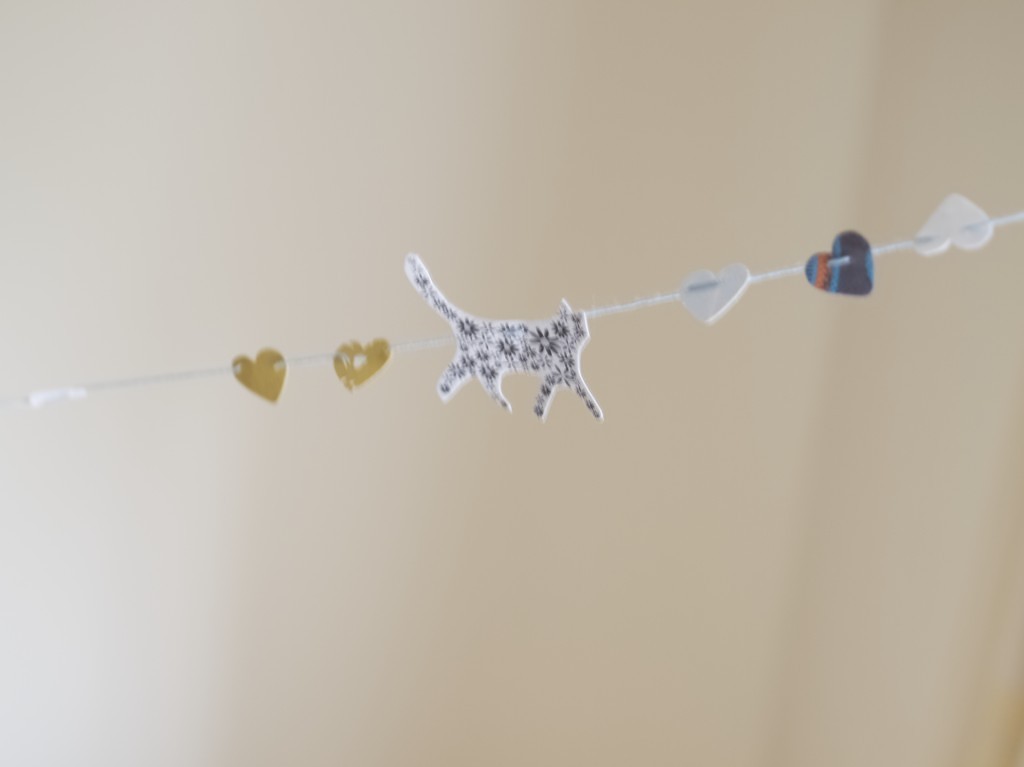
Making a garland out of greeting cardsLast weekend we had our house warming party! I got busy with the decoration straight away… well, at least with the planning. I generally love garlands, because they are fun to make and they give such a wow factor (if you make enough of them of course). I used all of those greetings cards that we have received for our engagement and wedding, because I would not like to throw them out (but I can’t keep them either). I absolutely love reusing something that I already have! Making a garland out of greeting cardsWe simply (me and Vicki) have made many heart shapes out of the greeting cards by using this heart hole punch. They are easy to find in many craft shops, I am sure one of the Tiger shops would have them ;-). Making a garland out of greeting cards Making a garland out of greeting cardsVicki even cut out some of the shapes that she found on the cards. Here you could find even more hearts, birds, flowers and even butterflies!!! Making a garland out of greeting cardsMeanwhile I started connecting all the card shapes with needle and thread. Making a garland out of greeting cards Making a garland out of greeting cardsLeia was really eager to help, mainly because she believed that we are making a new toy for her. Making a garland out of greeting cardsBut we did include a cat shaped card figure on the garland which we thought was super cute!!! :)Making a garland out of greeting cardsHope you feel inspired for your future parties to come ;-)

Rasa x

3

Our apartment in Tuscany

Our apartment in TuscanyWe were on the strict budget when planning our honeymoon. If you have read wedding dress alterations post, you probably remember that most of our money went on the reception venue and caterers. But our holidays turned out amazing! Sometime low budget doesn’t have to be less enjoyable. Sometimes you just have to be more creative when it comes to money spending!

Instead of hotel we decided to go with Airbnb. I absolutely love the concept of Airbnb! No, and I am not being sponsored by them for me to write this. I used Airbnb on many occasions to rent out my London apartment  when I went on holidays. This time it was my first time experience when it’s other way round! There are so many other holiday homes available for rent that are very unique and are cheaper then hotels. I especially look forward to trying out those tree houses in Sweden!

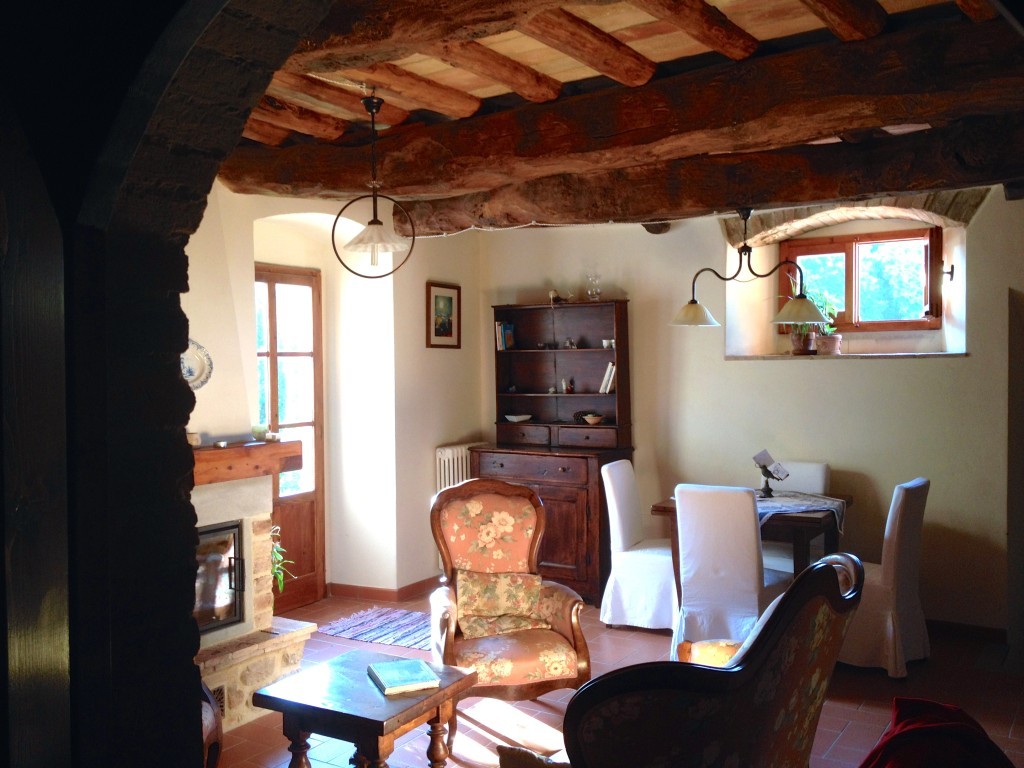
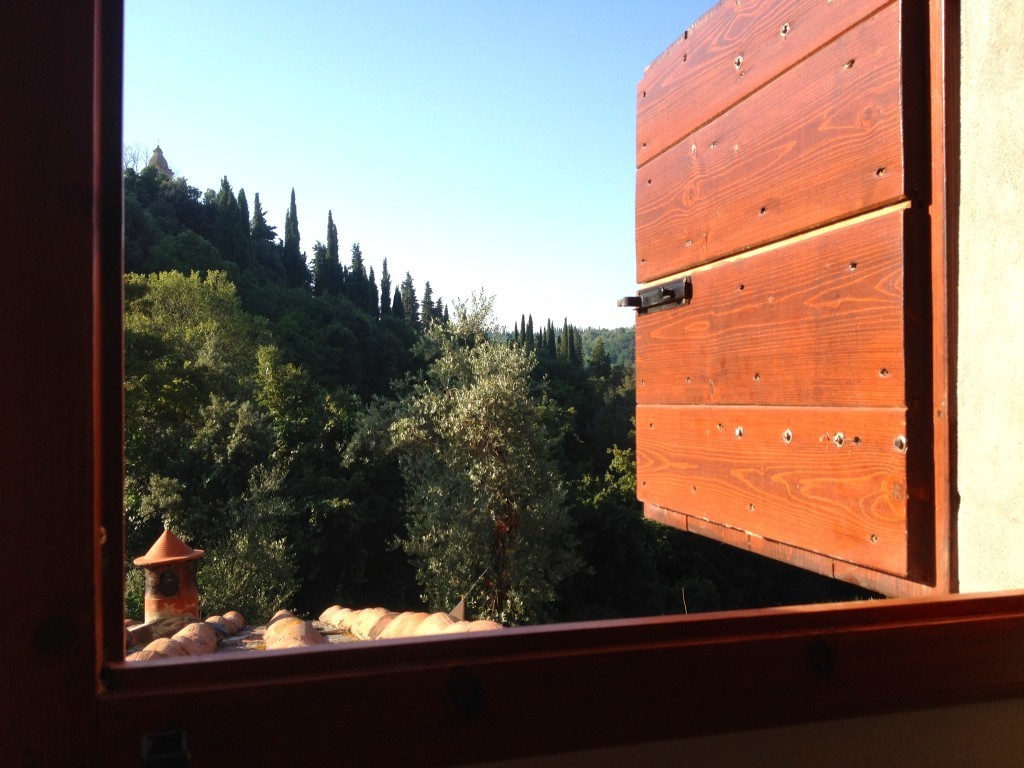
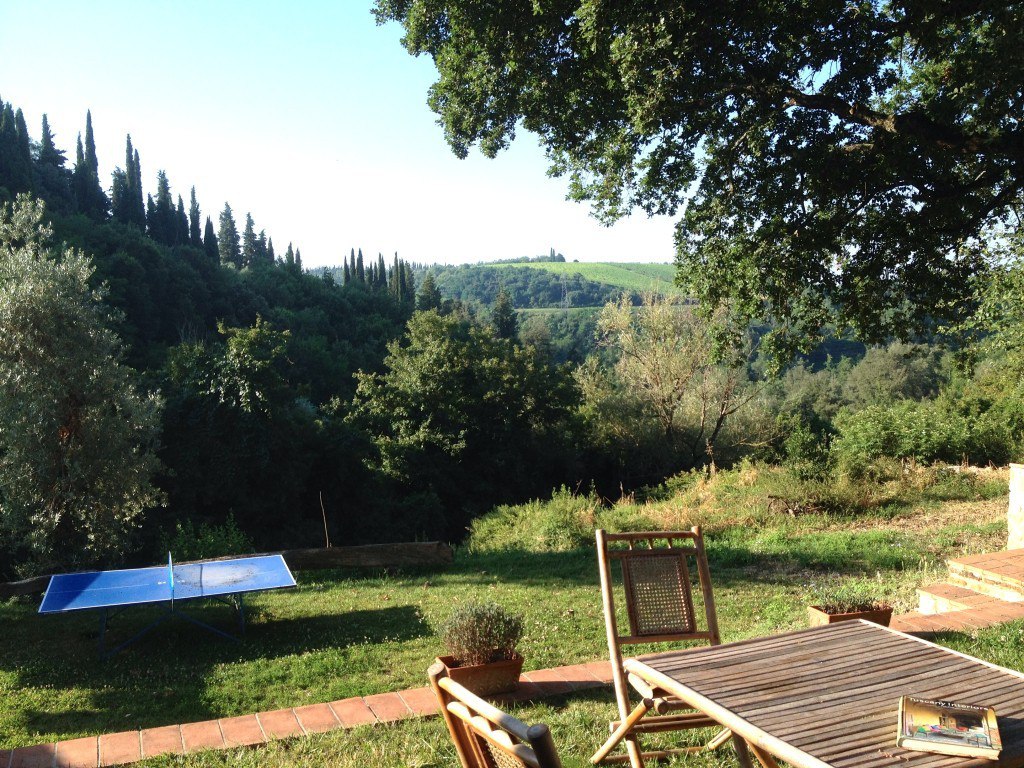
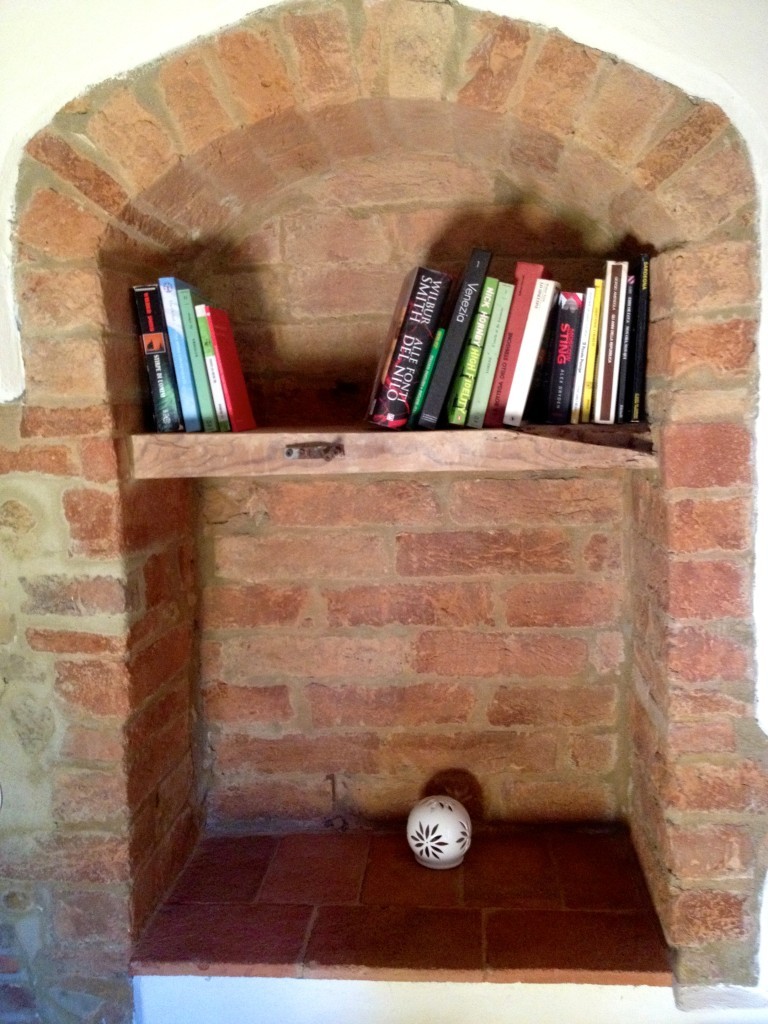
Anyway, coming back to our honeymoon apartment. Our little villa were surrounded by olive trees and vineyards in little village of Montefiridolfi. So we were surrounded by many very beautiful views!Our apartment in TuscanyIt is very cosy apartment that happened to have playing cards and some books in english.Our apartment in Tuscany

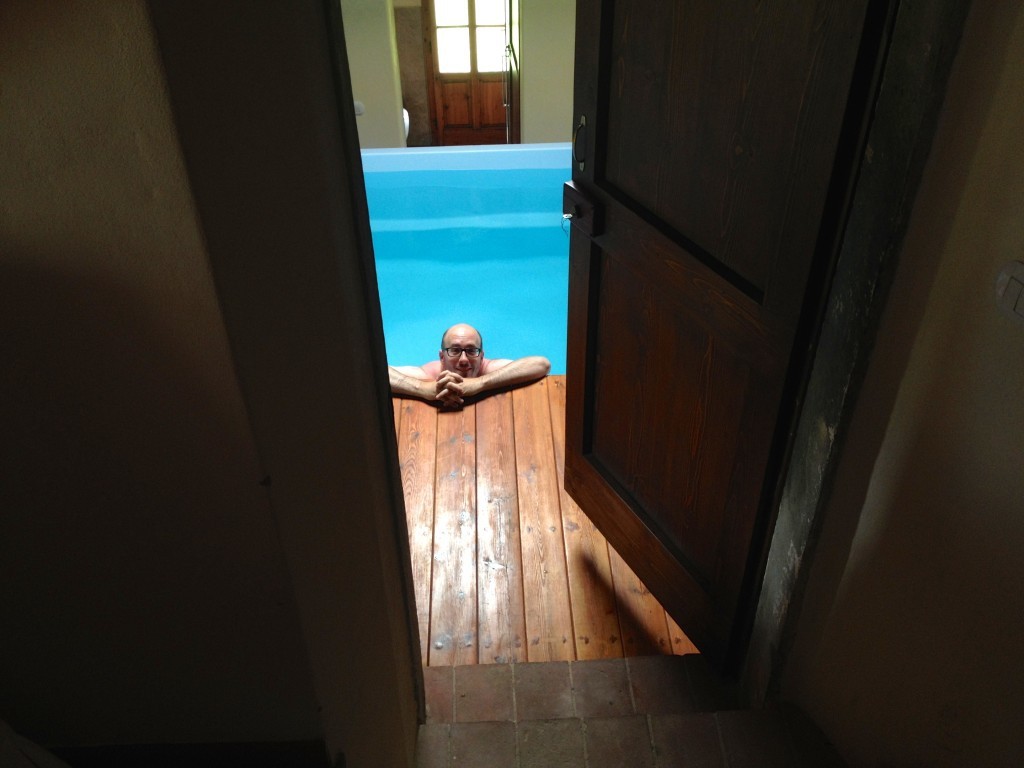
Our apartment in TuscanyWe also had a Jacuzzi room! We used it well during few days of storms.Our apartment in TuscanyOur apartment in Tuscany

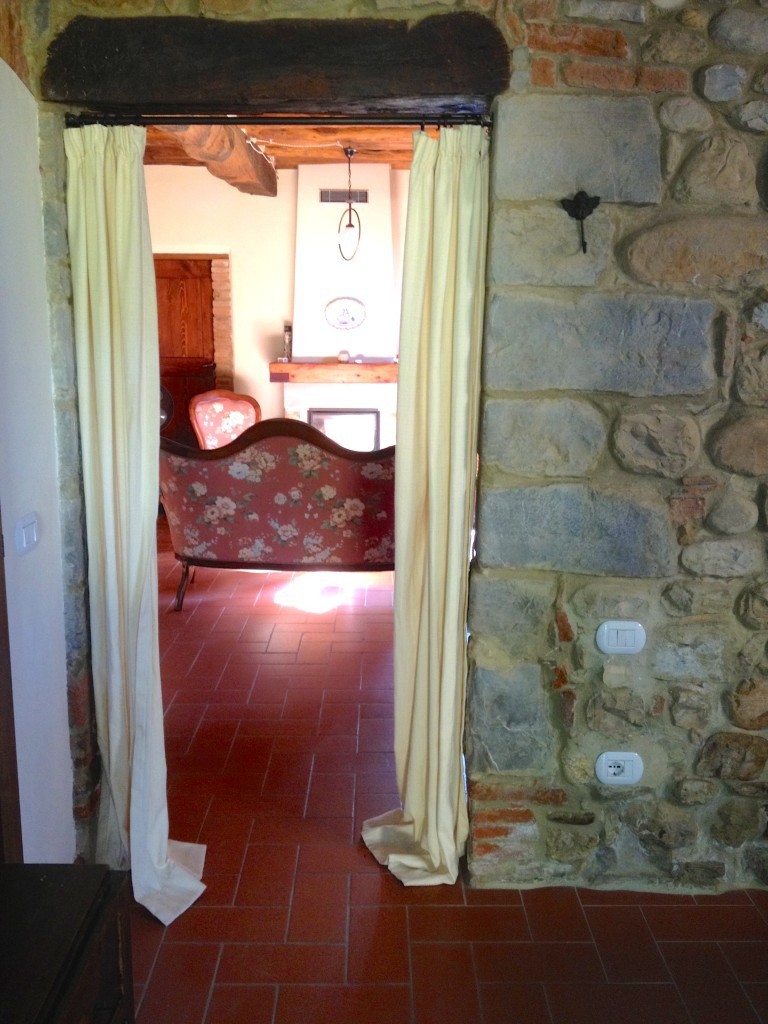
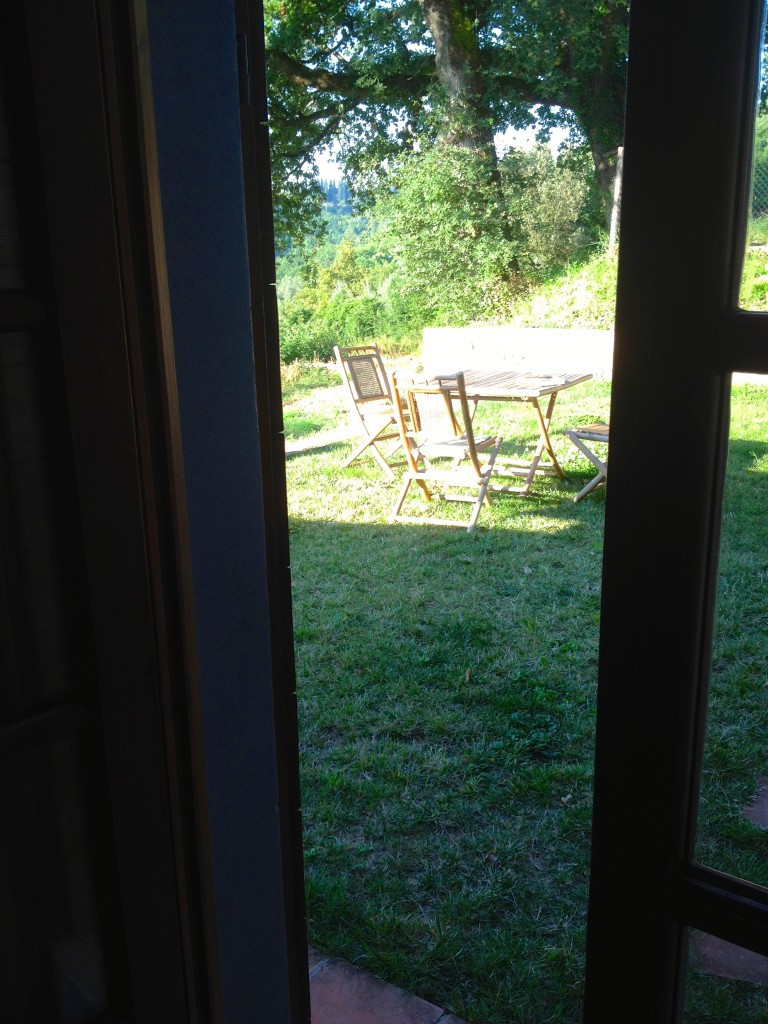
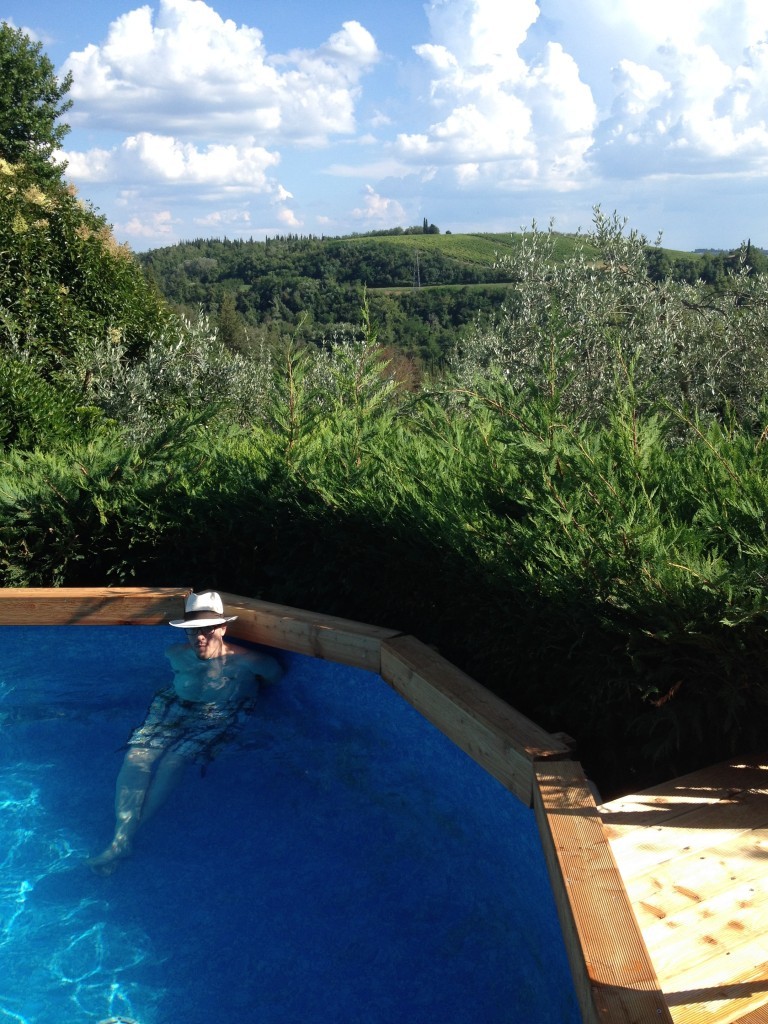
Our apartment in Tuscany I loved rustic interior of our Tuscany apartment. It used to be  a stable before it has been made into apartments! Our apartment in TuscanyOur apartment in TuscanyWe had breakfast outdoors most of the mornings…. really missing that!Our apartment in TuscanyOur apartment in TuscanySwimming pool is where we had most of the fun!Rasajump Jonijump

So, yes, Airbnb is my solution to frugal holiday. What’s yours?

Rasa xoxo

0

Liquid soap making

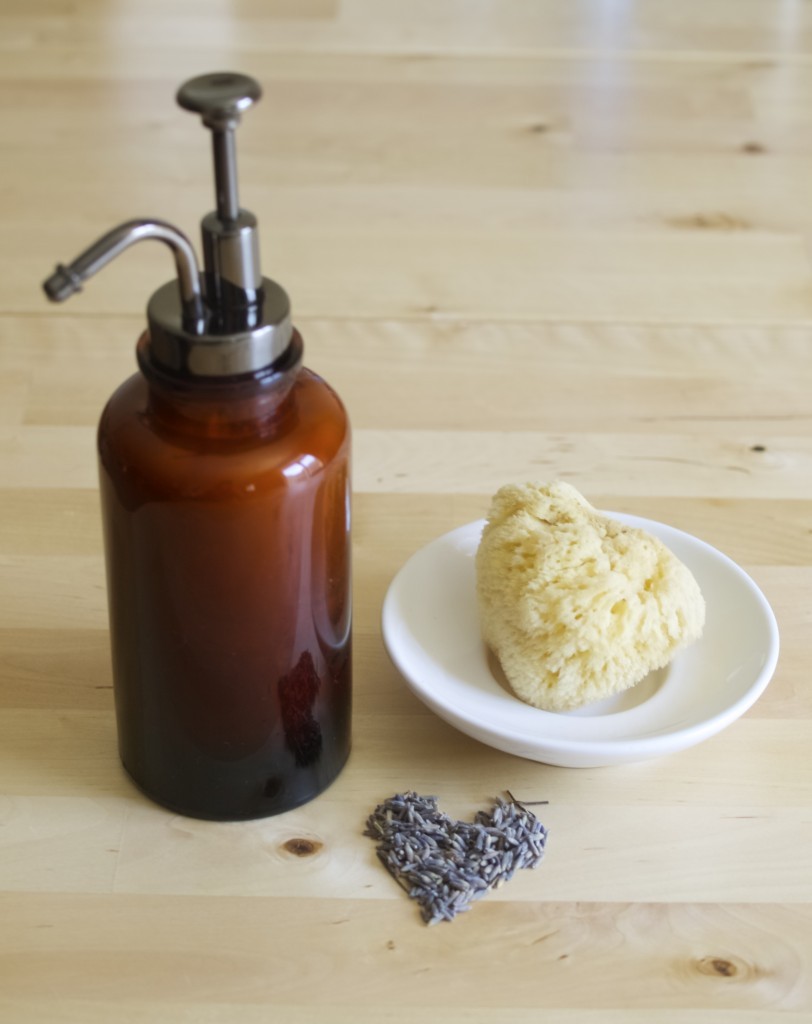
Liquid soap making (recipe included)One of our favourite wedding gifts we have received is this lovely soap pump from Alex. It looks very handsome don’t you think? The only con of having an empty soap pump it that it does come empty and we just realised that it is not so easy to find soap refillers in the shops. So I have decided to give a go and make my own! Few years ago I have made soap, so I know a little bit about how to make soap from scratch. However I have decided to make liquid soap half-way this time (I mean from existing hard soap). First, I had some soap to use up and second, I did not want to do much of preparation. Basically I wanted this to be a quick job without worrying about chemical reactions in my kitchen. Liquid soap making (recipe included)For this Liquid soup you will need:

  • 100g hard soap (can be any you want, but scent-free ones are preferable)
  • 200ml water
  • 1 tsp glycerin (can be purchased in many pharmacy shops)
  • 1 tsp essential oil (I used lavender)

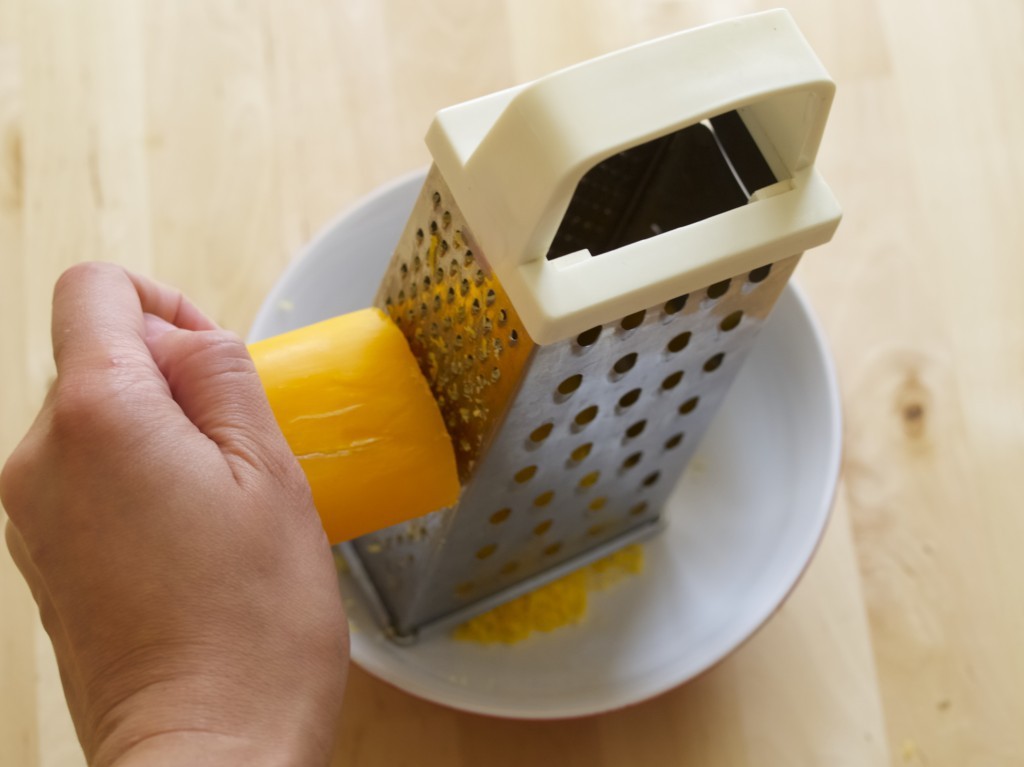
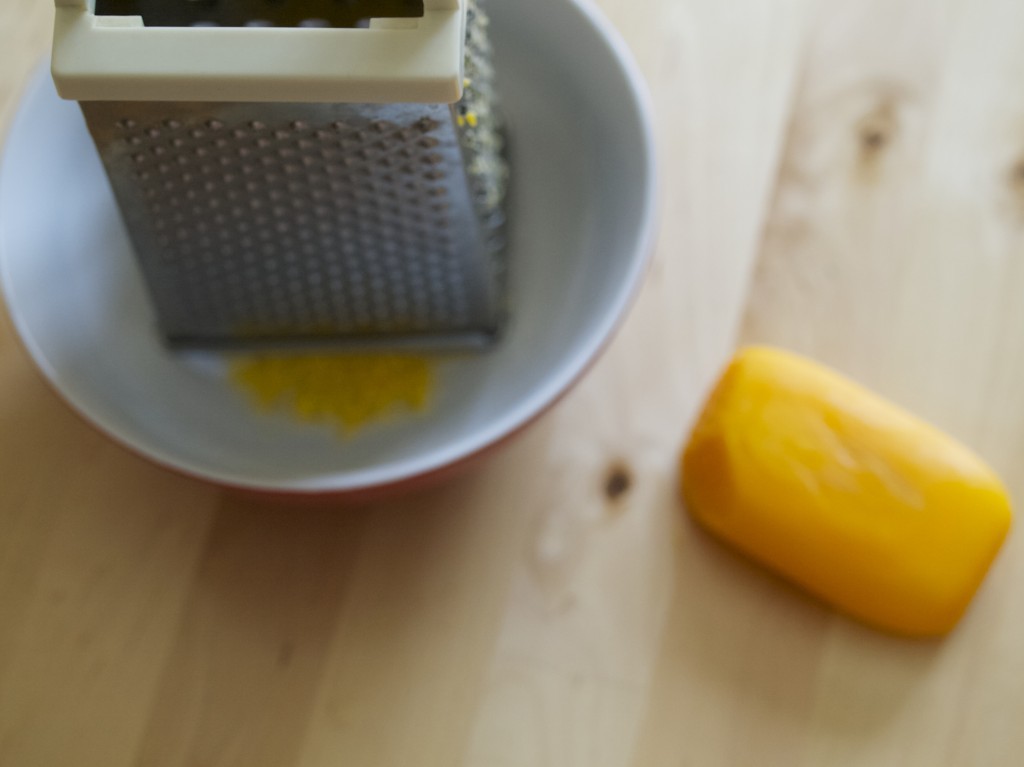
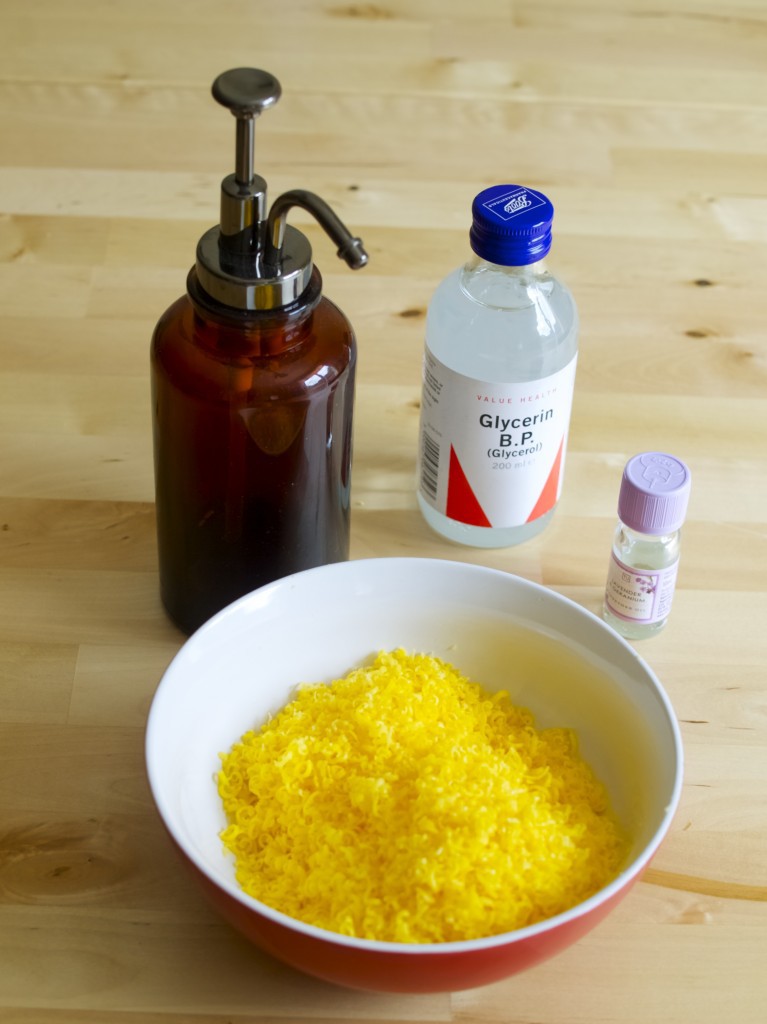
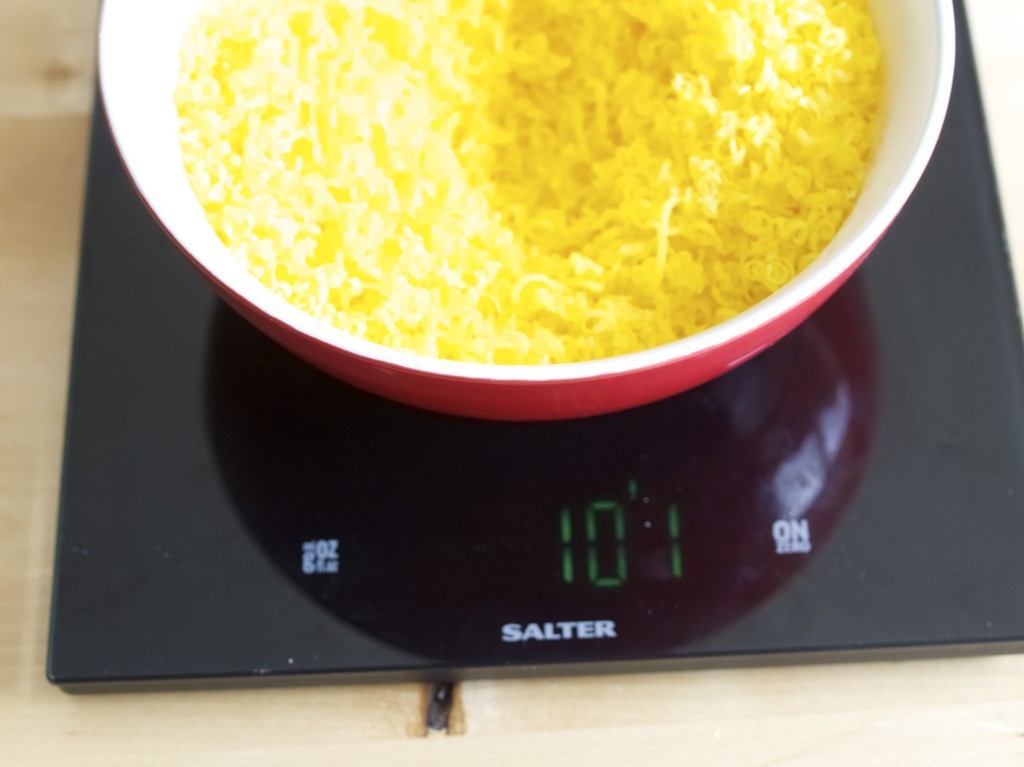
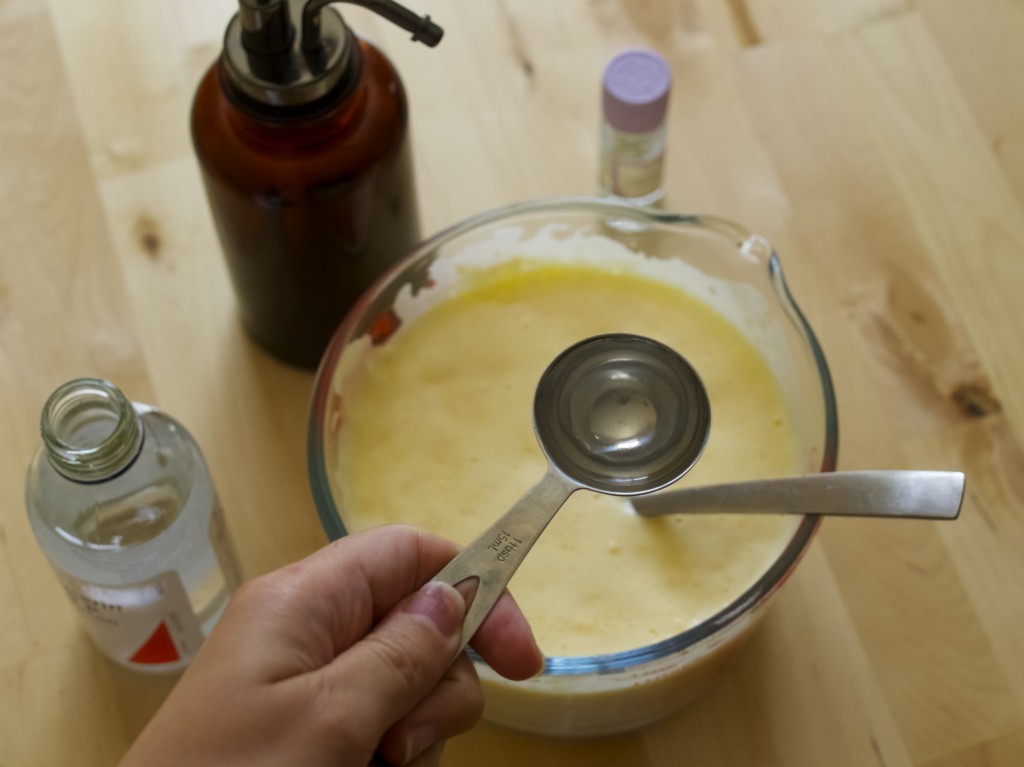
1. Grate the soap. I used Wrights coal tar soap, which wasn’t a good choice as it is almost impossible to kill that strong burned smell. Liquid soap making (recipe included) Liquid soap making (recipe included) Liquid soap making (recipe included) Liquid soap making (recipe included)2. Gather all other ingredients such as glycerin, and essential oils. Liquid soap making (recipe included)3. Weigh the soap flakes and boil water accordingly. There should be 200ml water per 100g of soap. Melt the soap flakes in boiled water and process it with the hand processor. Liquid soap making (recipe included)4. Add glycerine and essential oil into the soap mixture and combine it well.Liquid soap making (recipe included) Liquid soap making (recipe included)Have you learned something new today? Rasa xoxo

1

Bridesmaids dresses

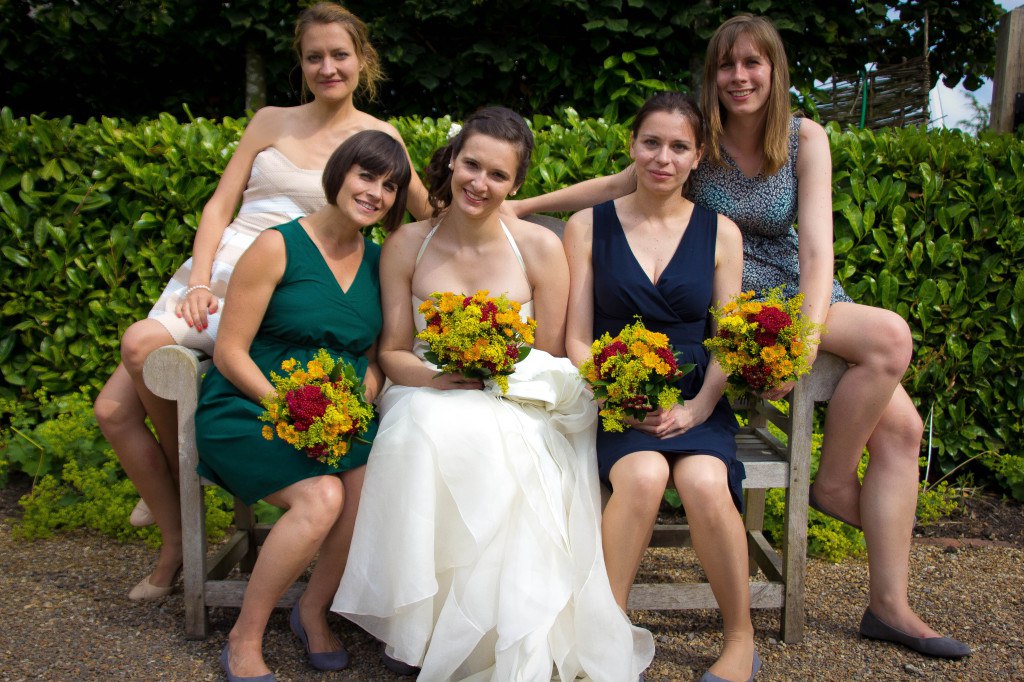
my bridesmaidsWhen deciding on bridesmaid dresses I came across this blog post with the picture of bridesmaids wearing mixed style summer dresses. Unfortunately I can no longer find that post that I had pinned on my secret Pinterest board (I sometimes suspect Pinterest deletes some of my pins :-(). Anyhow, that look really inspired me! So this is what I have done. I made and fixed most of my bridesmaid dresses you see in the pic above.

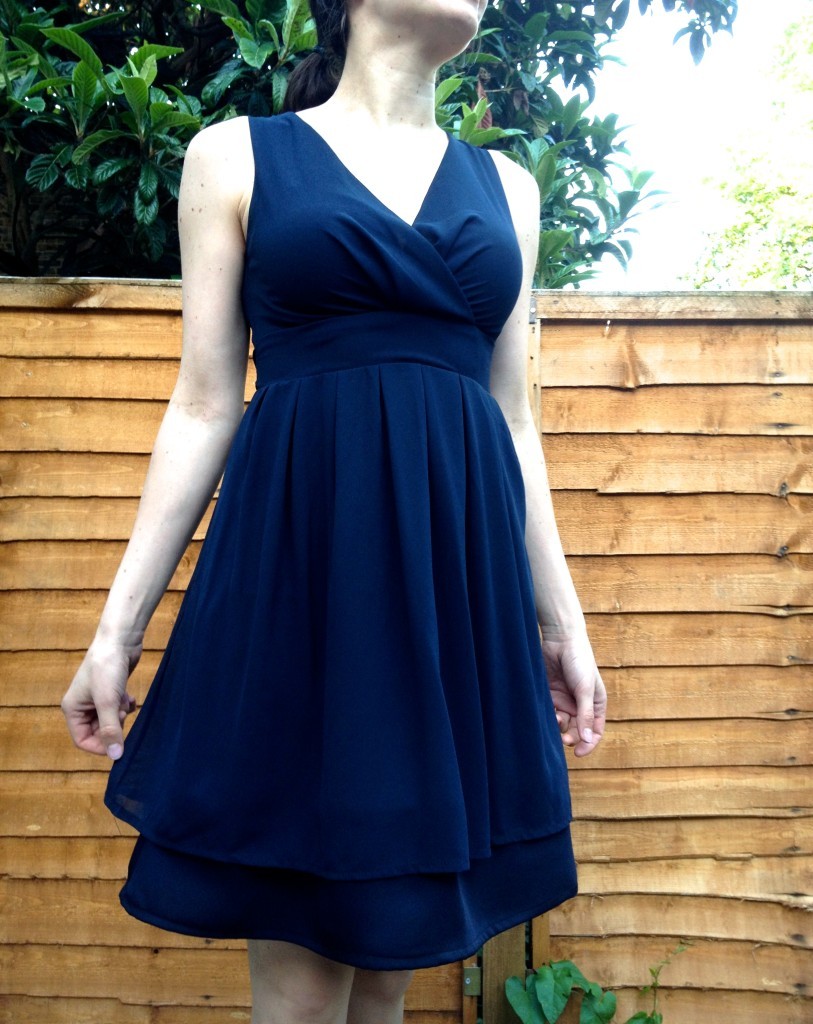
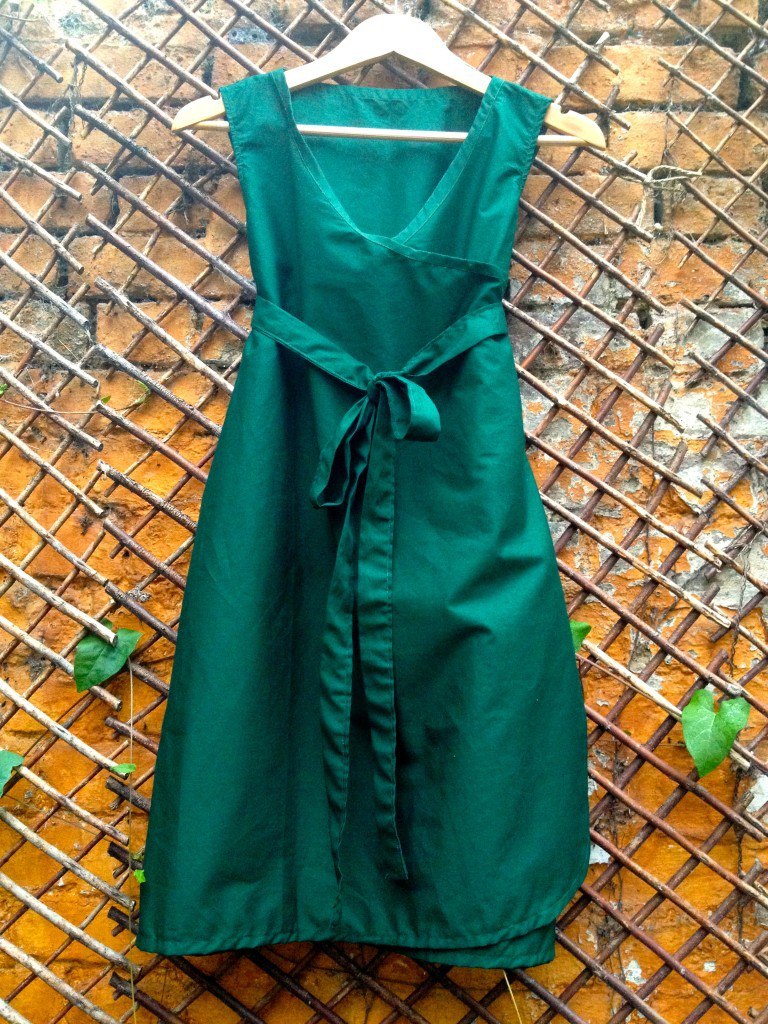
First, I have made Nicola’s dress. You can all go here to see how I made it ;-). This one is also my favourite!Our honeymoon in TuscanyAnna already had a dress we both liked. The only concern we had was it’s length. Last month I wrote a post on how to extend the dress length explaining how I made Anna’s dress a little bit longer. Really pleased with the result!!!!bridesmaid dress no.2Suzanne’s dress was quite a challenge! She was pregnant during the months leading up to my wedding and we were not able to meet to do some fitting. Even if we could have done some fitting, it would still have been very complicated as her body was changing so fast from pregnant to non pregnant. So I thought I would sew a wrap dress to make it easy for Suzanne to breastfeed whenever she needed. Turned out, I was wrong! Ladies (or gents), if you are making a dress for breastfeeding women it’s best if you make it out of stretchy fabric or make the dress strapless. This wrap dress wasn’t easy to escape apparently! Another issue was that it did not look good on the curves.This happened because I made it slightly loose (not shaped), because I thought that would give a better chance to fit Suzanne. Oh well… no worries, all you curvy ladies! I will be designing my next wrap dress just for you ;-).bridesmaid dress no.3

Making your own dresses may not save you time, but it will definitely save you money. I spend £59.92 for bridesmaid outfits, including shoes!

Rasa xoxo


1

Wedding dress alterations

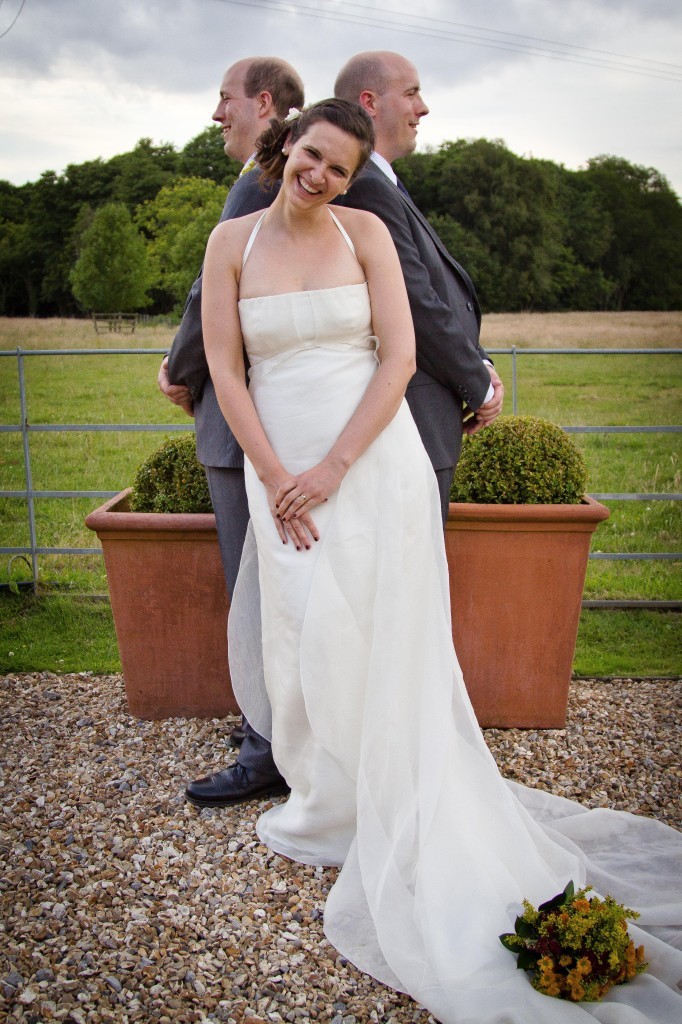
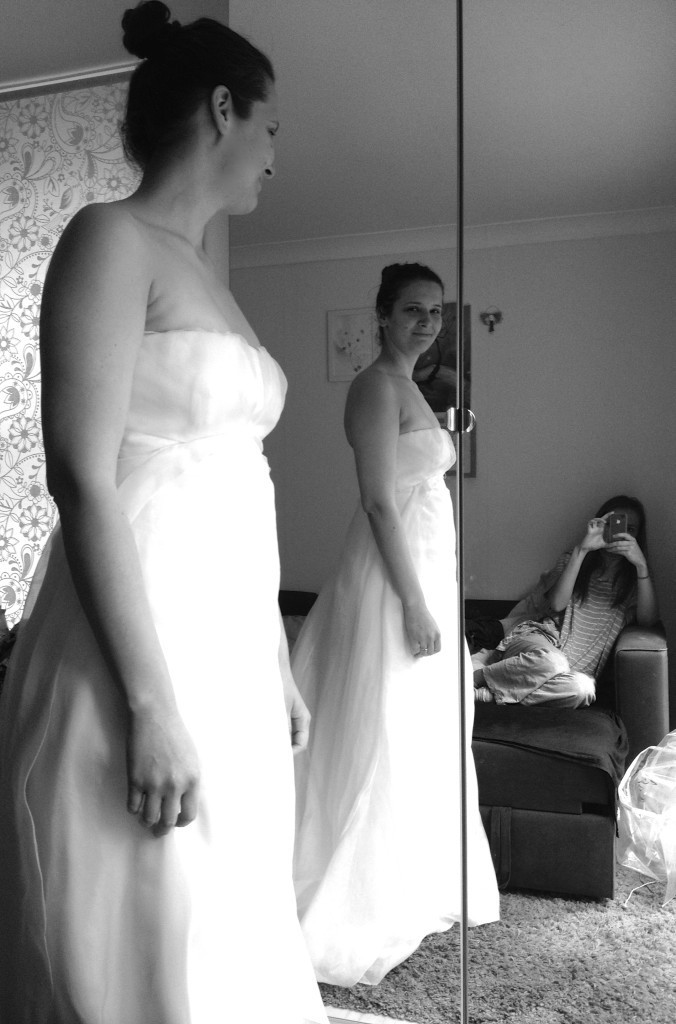
my wedding dressOnce someone told me that when it comes to the wedding planning choose one thing that is most important to you, spend most of the money for that and make everything else work around it. This advice stuck in my head throughout my wedding planning! I guess majority of the brides would say that the most important wedding thing is a dress, but that wasn’t the case for me. I prioritised the venue (and caterers that sort of came with the venue), leaving the dress on the low budget.

Initially I thought to make my own dress, but then I realised that this might stress me out as it would take more than one skilled person to help me. So then I have decided to alter an excising dress. I tried Nicola’s wedding dress and then some wedding dresses at the charity shop and hey…. I got lucky with one of them ;-). I paid £100 for slightly damaged dress that I knew how to fix. That was a good first spend from our wedding budget don’t you think? After that the dress stayed untouched for good few months as I was trying to slim down before altering it (I could not completely fit into the dress even if the size was bigger that my usual!). My slimming down wasn’t going well however :-(. At some point I have even though to replace the zip with the lace. Luckily my friend Vicki have managed to squeeze me in just on time. Another thing I dreamed about was adding some lace to the dress, however I needed someone who knew dressmaking to help me. As an alternative I thought I will just add some ribbon flowers, however that did not quite worked out either (read on, will tell later).

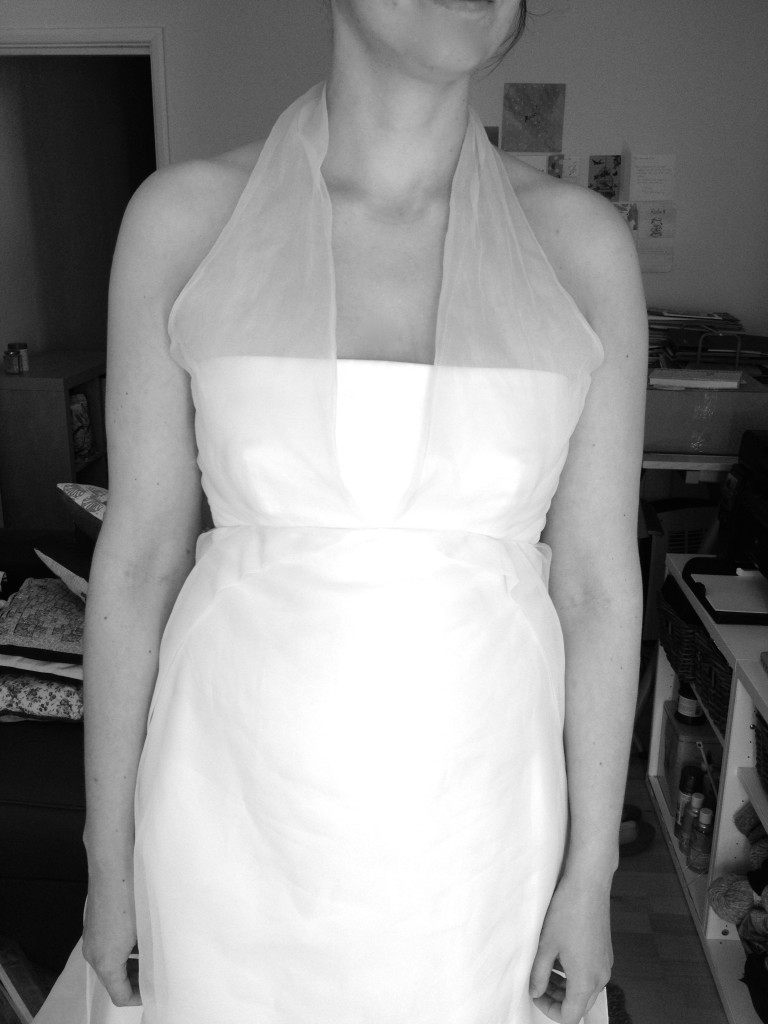
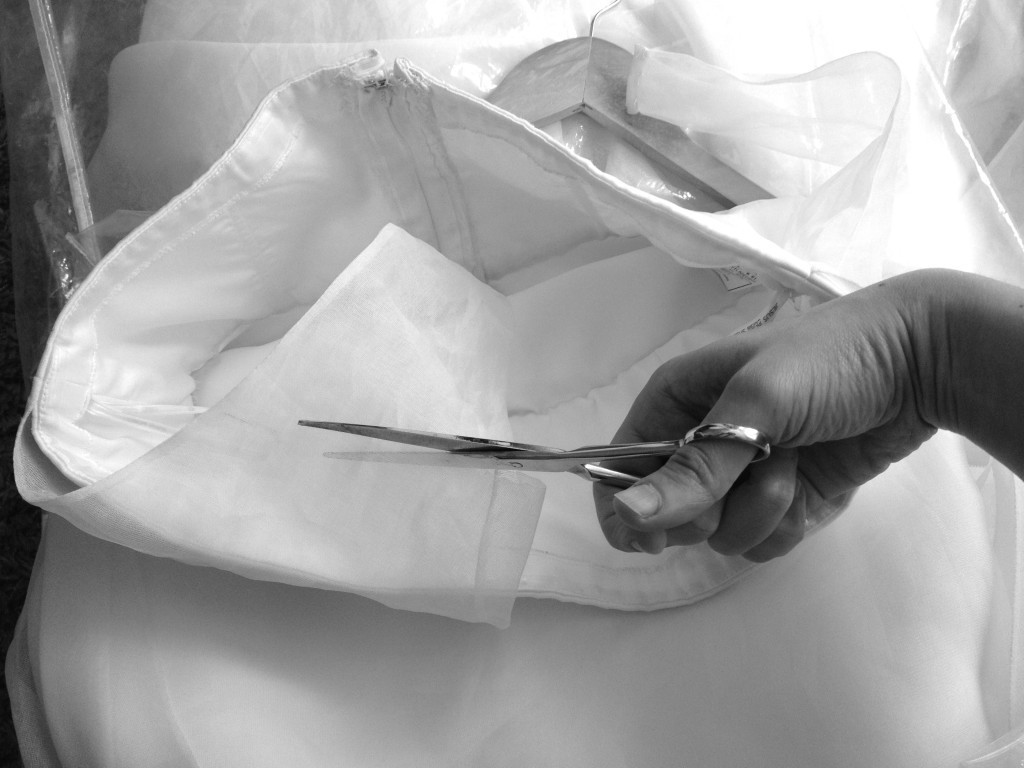
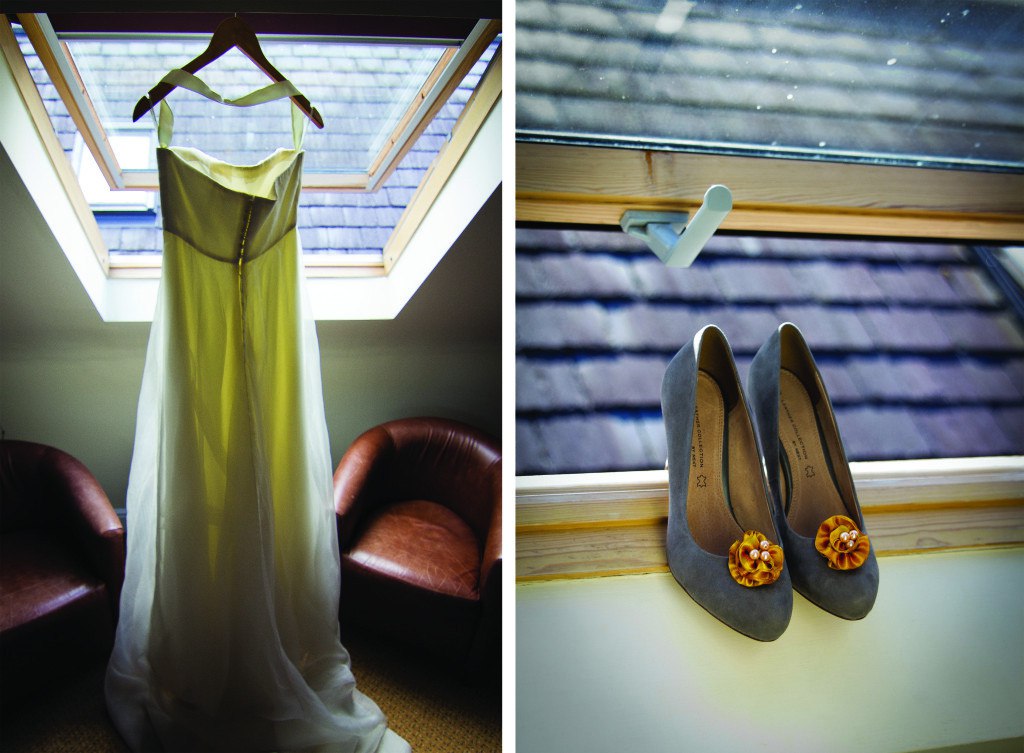
wedding dress alterationsAs  you can see, originally the dress had halter neck which I completely disliked. Yes, it looked unique, but I did not feel it was my style! So the first alteration I have made (after fixing a broken zip) was to cut them off and tuck them in over the “boobtube” edge.

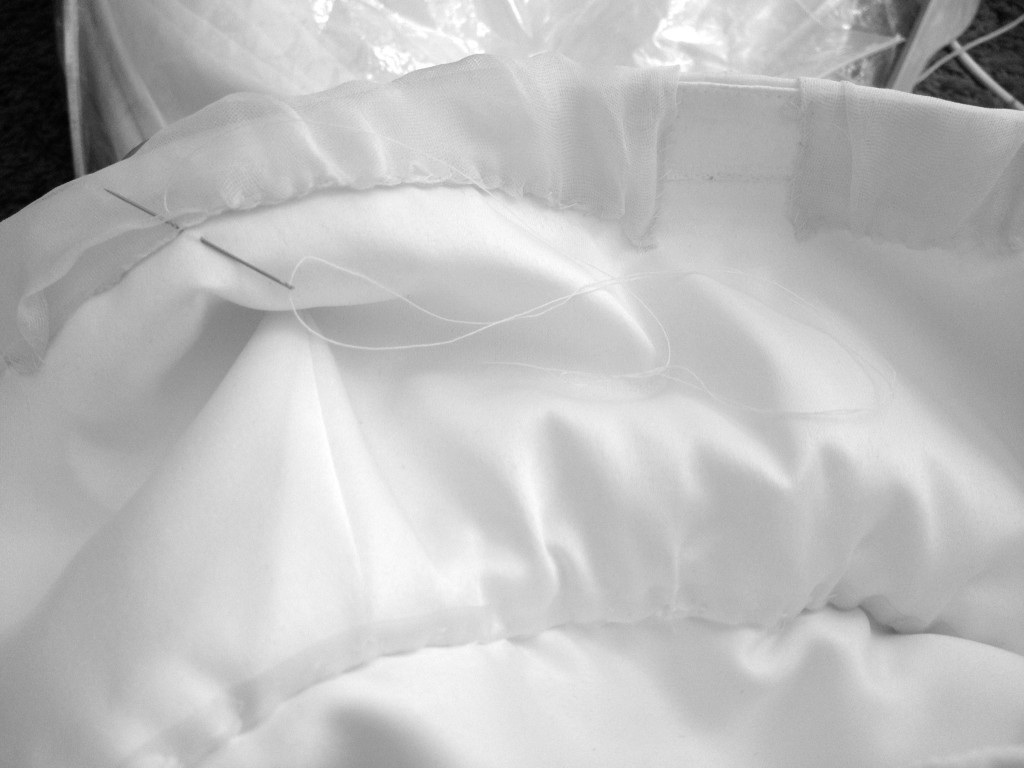
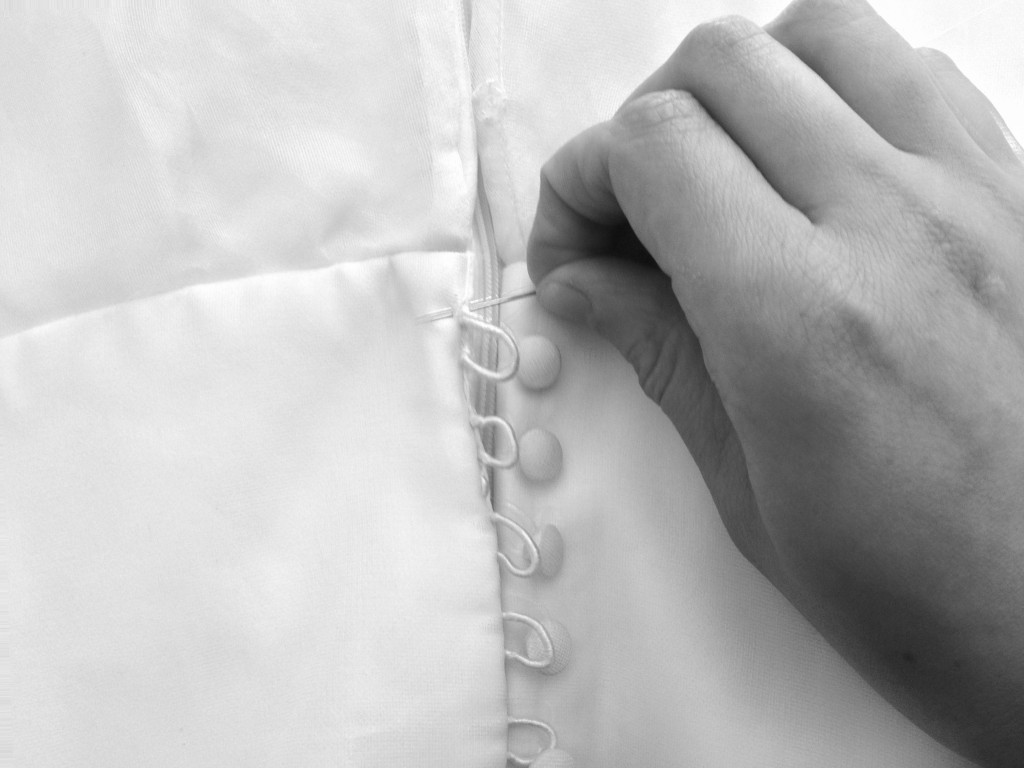
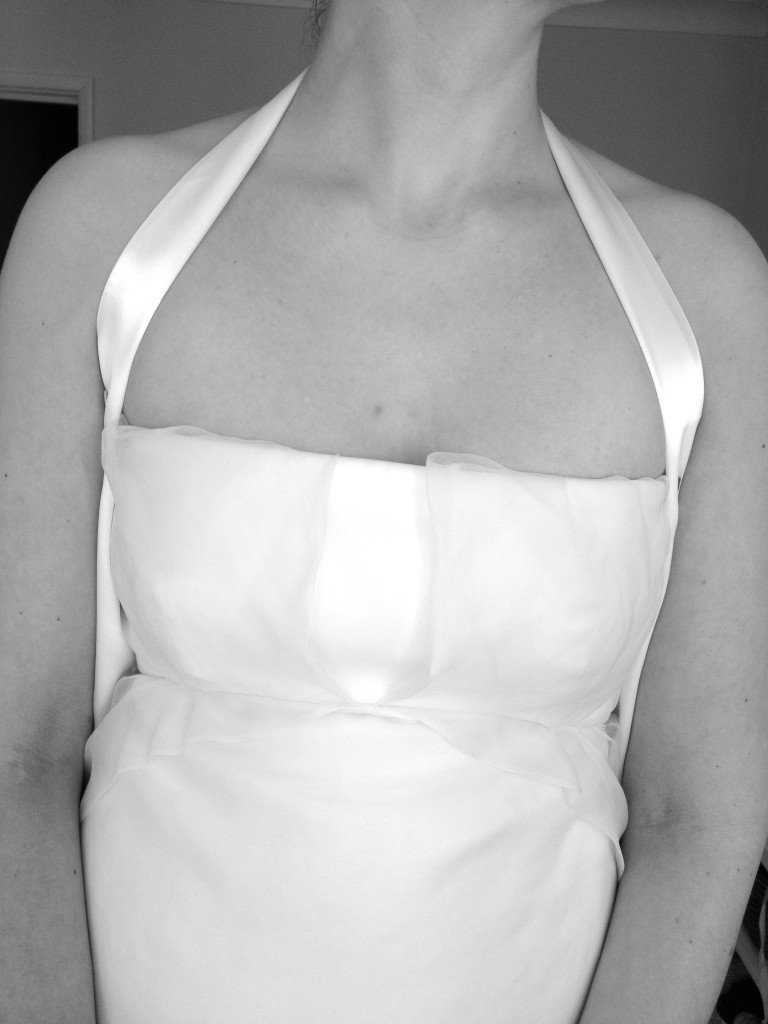
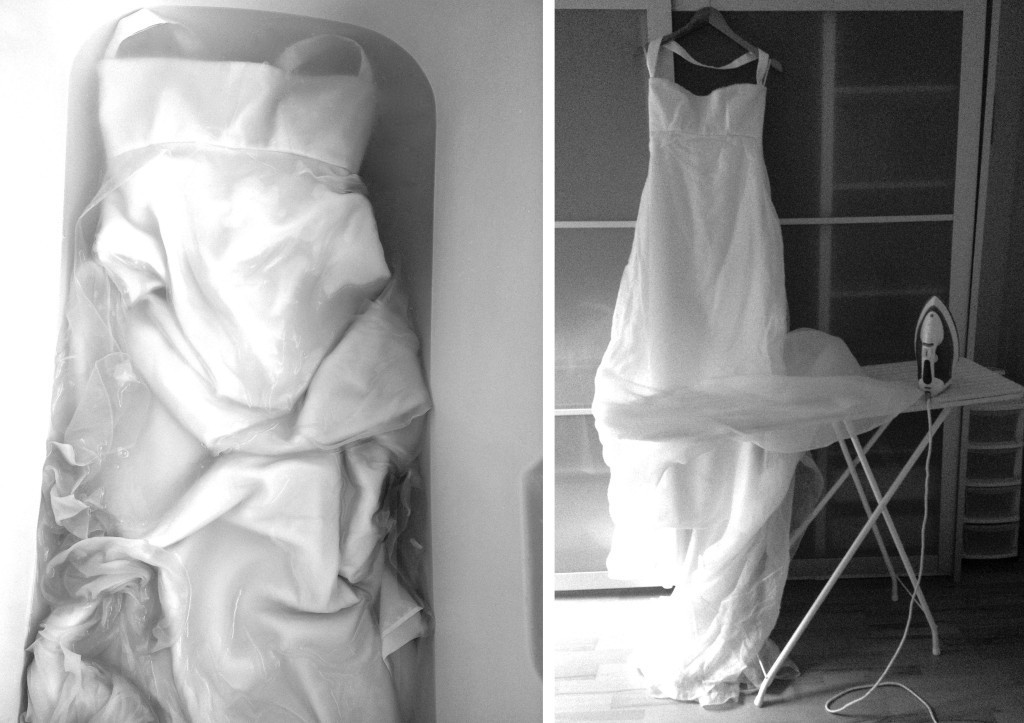
wedding dress alterationswedding dress alterationsNext, I fixed the obvious. The broken button loop has been stitched back and the trail connectors has been reinforced. wedding dress alterationsWith the halter neck off the dress seemed sitting very low exposing too much of my cleavage. I felt like I needed some straps to push the dress up. However I wasn’t keen on the straps so I was thinking to come back to my original idea to add some lace over the top….wedding dress alterationsThe lace idea did not worked out, too difficult to do that by myself and I really did not want to get a mannequin just for this occasion. So making a long strap going over the neck made complete sense. I know I know this looks like another halter neck, but at least it suited my taste!wedding dress alterationsNext step was cleaning the dress. When I found out that to dry clean the dress would cost at least £70, I have decided to wash it myself. I have done quite a bit of research and realised that this is quite safe to do. What did I have to lose? my dress only costed a £100! So I gave my dress a little warm bath with some Ecover Delicate Laundry Liquid and it came out super clean. I would like to say it almost came out brilliant white, but it did’t as the dress was ivory. But if it was a white dress I am sure the bath would have turned it into brilliant white!

Getting rid of the creases was a tough task. Luckily it passed the iron test, so I steamed ironed the whole dress. It was still quite challenging as there were many layers to go through!! Washing and ironing my wedding dressAs I mentioned at the beginning of this post I planned to decorate the dress with some ribbon flower brooches, however it did not look as I have imagined. So last minute decision was just to leave the dress plain. I did however decorated my wedding shoes with coloured ribbon flowers. That worked really well!bride's wedding dress + shoes!!

I hope you have been inspired ;-)

Rasa xoxo
3

Tips on buying a sewing machine on a budget

Tips on buying sewing machine on the budgetI went through quite many sewing machines in my lifetime so far and I think I have learned few tricks when buying new one. I got my first one when I was only 9 years old and it still works! So I decided to share few tips that I have learned along the way…

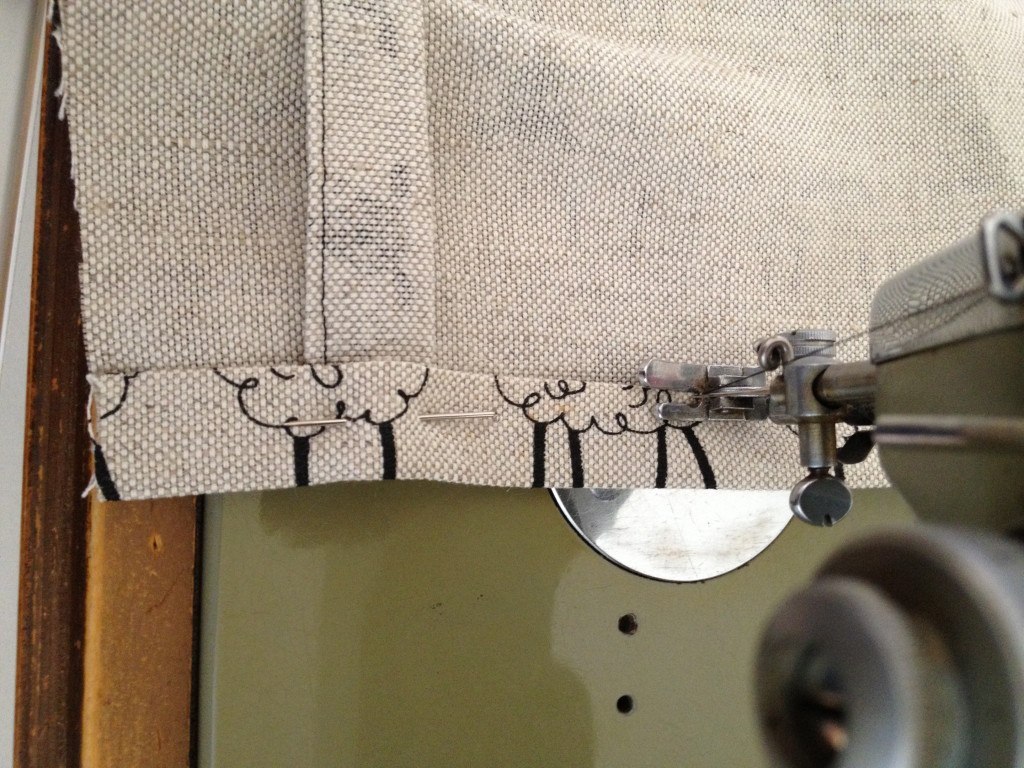
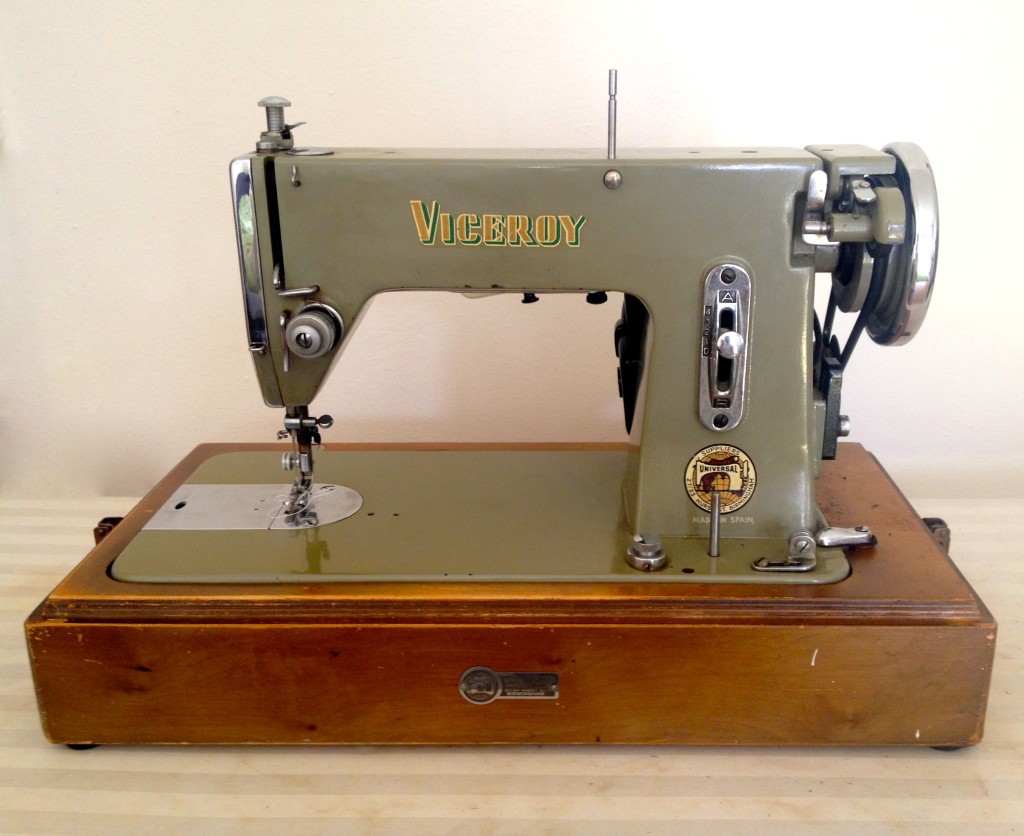
TIP No. 1: Buy old fashioned sewing machine. Why? Because they last much much longer (unless you drop it on the floor like me yesterday). In fact they can last for eternity! The thing is that they are so basic that is so easy to fix. And the parts are also very basic, so you can easily replace that broken needle or that lost foot. I bought my VICEROY for £35, then I fixed it for £15. £45 isn’t bad, is it? And I completely in love with the look! The only issue is that it only sew straight line, but it does it very well. Oh…and also, don’t buy too old fashioned machine that has no motor, unless you have lots of hand (or foot) power! Or you are like my friend Ali, who is completely purists when it comes to this matter. Really loved her letter to her electric sewing machine she once wrote:

“Dearest electric sewing machine.

I am leaving you. Our relationship has been strained now for many months now and there is simply no joy left in our relationship.
I shall confess to you now, as I believe in honesty and do not wish for you to hear this through a third party, such as those sneaky dress pins.
It is for the old hand crank that I am deserting you.
I know he is old, but he is full of charm and does things for me that you either can’t or wont ever do.
Where you tend to run away with my stitches at the least provocation, he stays on the straight and narrow, going at my pace, we work our way through the fabrics of this world together.
Where you are loud and driven, to the point of forging ahead, unconcerned for the subtle curves of our carefully pinned out coarse, his gentle progress is marked by a comforting clickedy clack of days gone by. He sways through the bends and beats, with me. We do not fight but have learned each others timing.
His reliability is worth so much more than you multiply stitch settings and I have never wanted to drop him out a fifty story window as I have often contemplated send you.

So this is goodbye and farewell. Good bloody riddance!
Your runaway bride,
Cloud”

TIP No. 2: Choose reliable brands. In my opinion BERNINA’s are the besties (sadly most expensive). But I have owned BROTHER previously and they were quite affordable and reliable. The only issue with them that they are quite laud! So sewing at night would be out of question ;-).

TIP No. 3: Go for second hand sewing machine. I bought my VICEROY from eBay. I so often see people ditching sewing after buying wonderful sewing machines and then selling it off. Its definitely worth to have a look ;-). Tips on buying sewing machine on the budget Tips on buying sewing machine on the budget

Hopefully that helps to start your journey in sewing!

Rasa xoxo
0

Soap making (from scratch)

I love creating, crafting and DIY projects! I would like to think that I buy less (and spend less by being really really frugal) and make more, however this is still not truth. I started making my own cosmetics and soap so hopefully this will take towards my goal (to live homemade lifestyle of course).

To make this soap you will need:
610g olive oil
85g caustic soda (I bought mine in B&Q and I have seen some sold in Boots)
230ml water
2 tsp lemon balm or citronella essential oil
zest of 3 oranges
zest of 2 lemons
Safety googles
Rubber gloves
Scales
A stainless steel or enamel (not aluminum) pot
A glass or plastic pitcher to hold the water and caustic soda
A glass or plastic measuring jug
Plastic or wooden spoons (that you are not going to use for food again)
A stick blender/hand processor
Two thermometers with the prong (I used one, but had the kitchen towel paper at hand to wipe after each use)
Kitchen towel paper for clean ups
1. Prepare the workspace and gather all the ingredients ( you will be working with caustic soda, dangerous chemical, so make sure children and pets are not underfoot while you work). Make sure you have googles (I used my own spectacles which was safe enough) and rubber gloves at hand, because caustic should never touch your skin, as it would burn you (for more info read on how to work with caustic soda (sometimes called lye) safely.
2. Pour 230ml cold water (around 20C) into the pitcher. Measure 85g caustic soda and pour it into measuring jug. Add caustic soda into the water (not the other way round; don’t add water into the caustic soda) and as you doing that keep your face turned away to avoid inhaling the fumes. Set the mixture aside as it is cooling down and fumes dissipate.
3. Weigh out 610g of oil and pour it into pot. When Caustic soda water is around 45C start slowly heating the oil. When both oil and caustic soda are at the similar temperature (around 35C-39C), gradually pour caustic soda mixture into the oil while mixing (do not use metal spoon for this).
4. Use stick blender to mix the mixture for 5-10 min until “tracing” occurs (you should see the spoon leaving visible trace behind it, like in the pudding). If you don’t see any tracing, be patient and try again after 10-15min rest.
5. Add essential oil and orange/lemon zests in to the mixture, mix and then pour it into the moulds. I used celicon loaf baking tin, but if you are using regular baking tin do line it with baking paper as well. Be sure you are still wearing your rubber gloves at this stage, since raw soap is caustic and can burn skin.
6. Leave the soap in the tin/mould for 36hours before unmolding.
7. To unmold the soap turn tin/mould over and allow it to fall on a towel or clean surface. Cut the soap into desired size pieces (I used cookie cutters to cut out these lovely heart shaped pieces).
8. Allow the soap to cure before packaging or before use for min of 3 weeks.
Rasa xo
2