Top

Author Archive | Rasa Pelham

My 2016 resolutions

my 2016 goals!
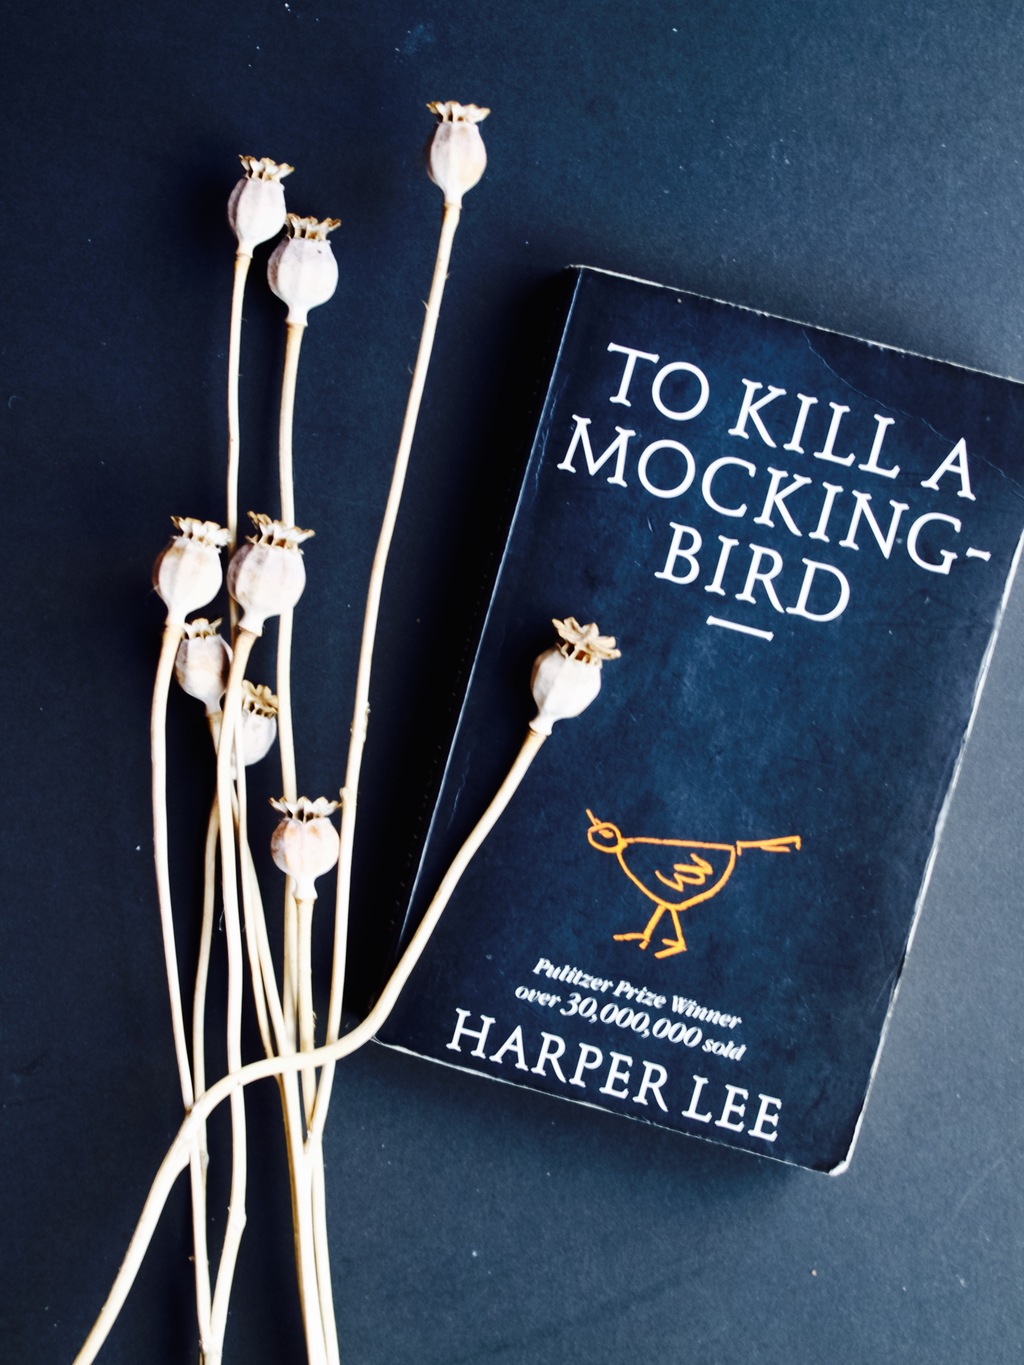
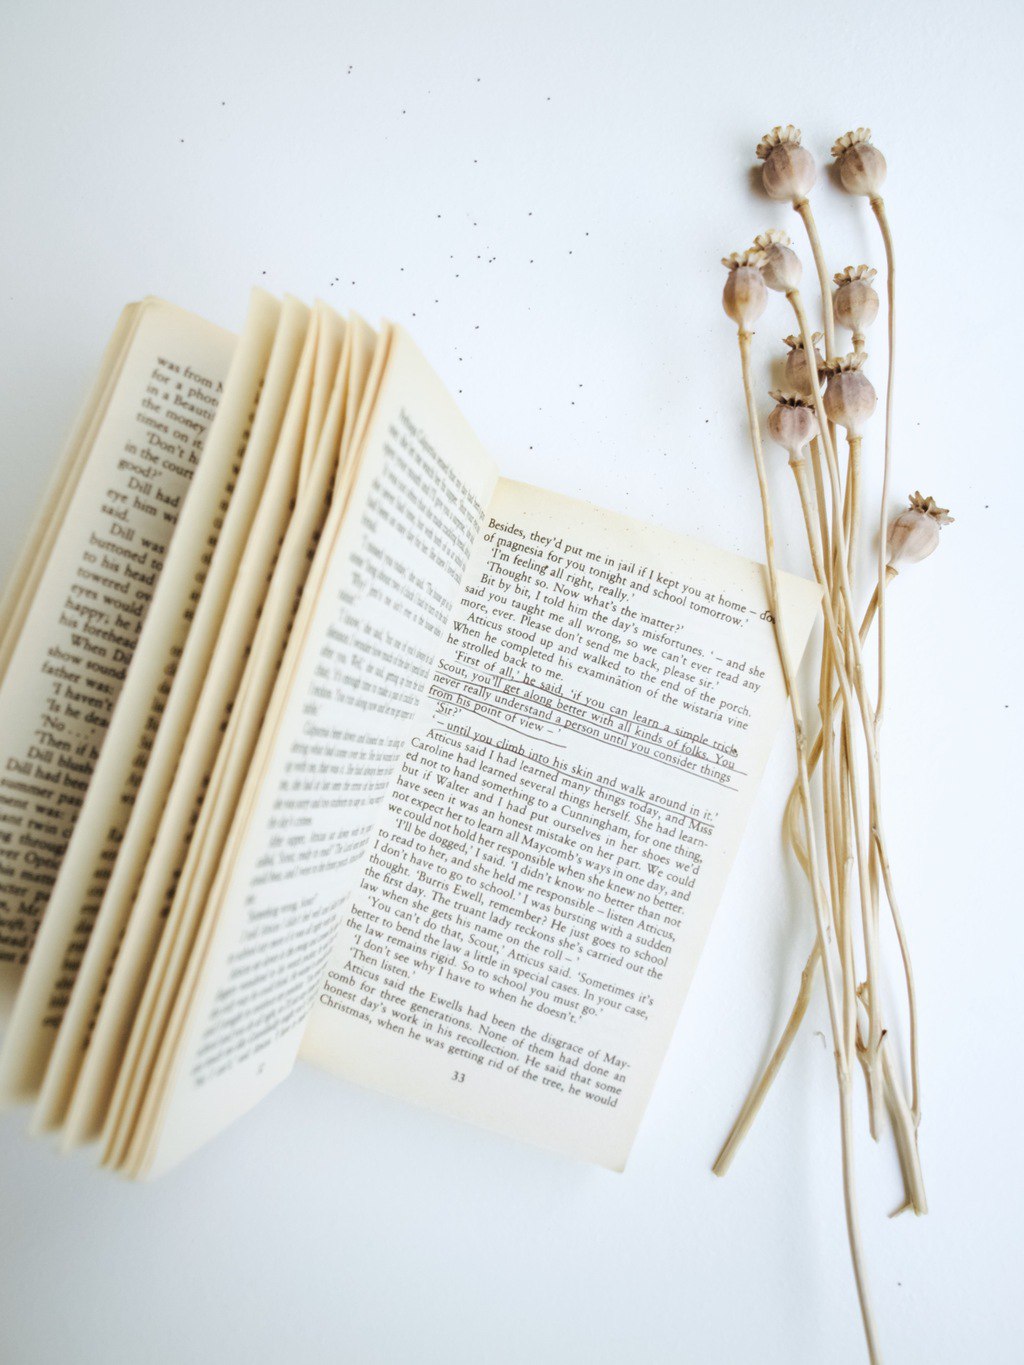
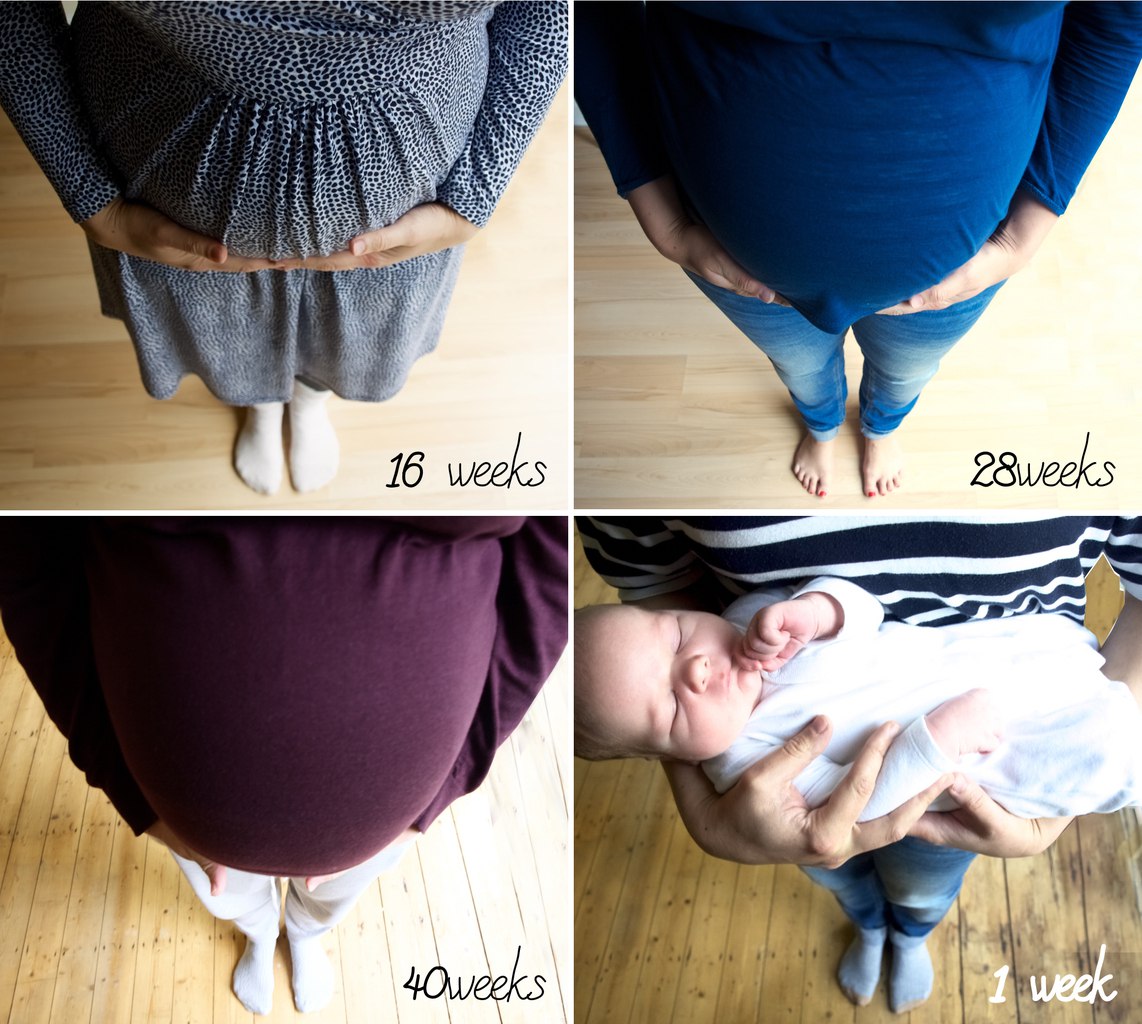
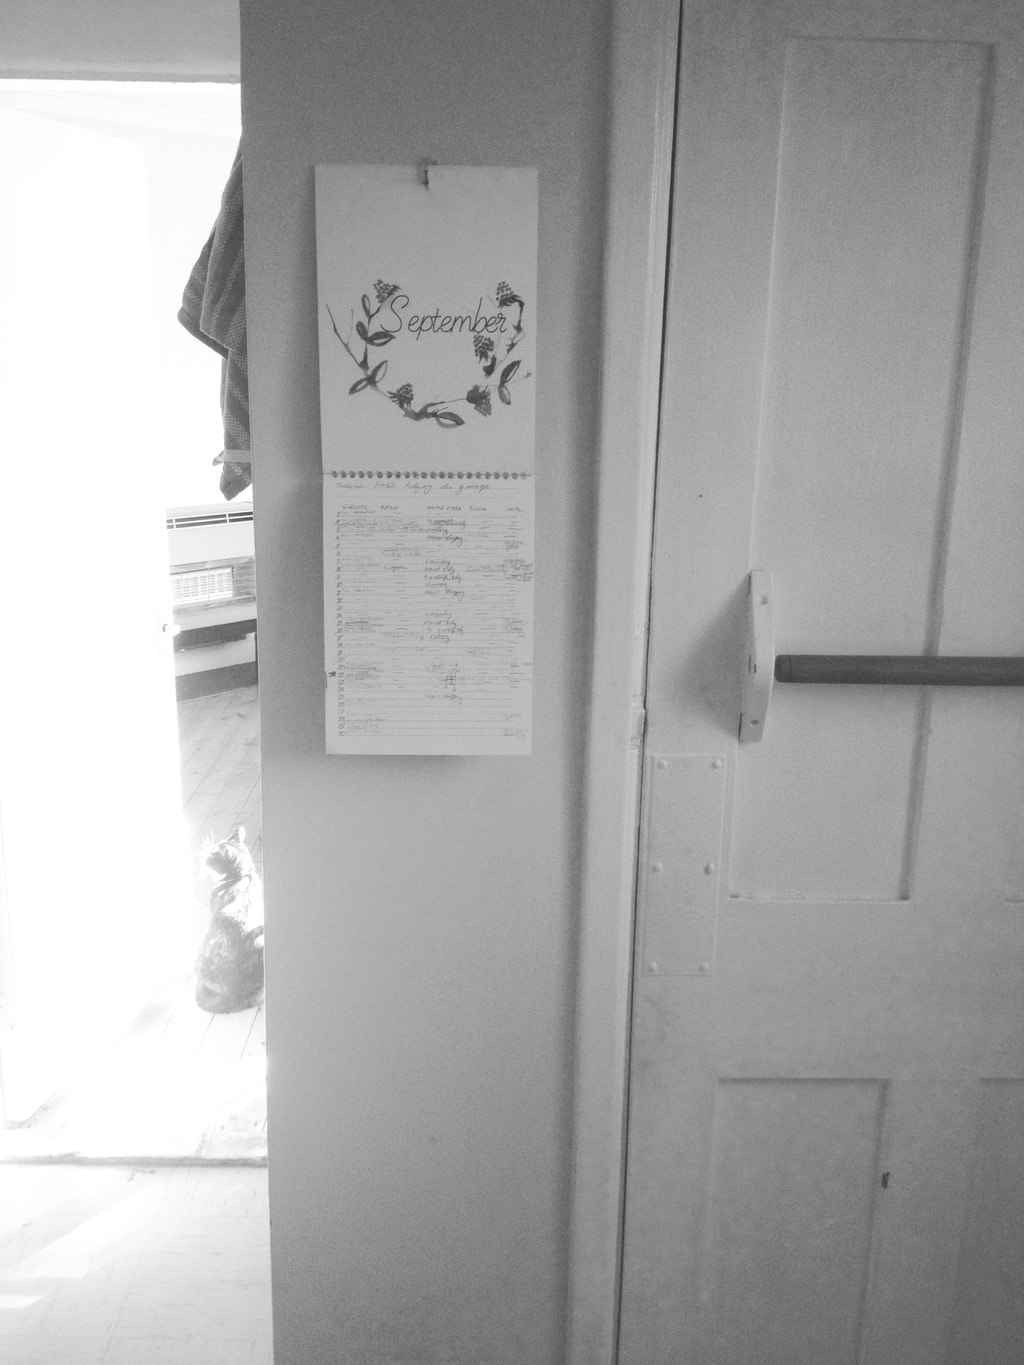
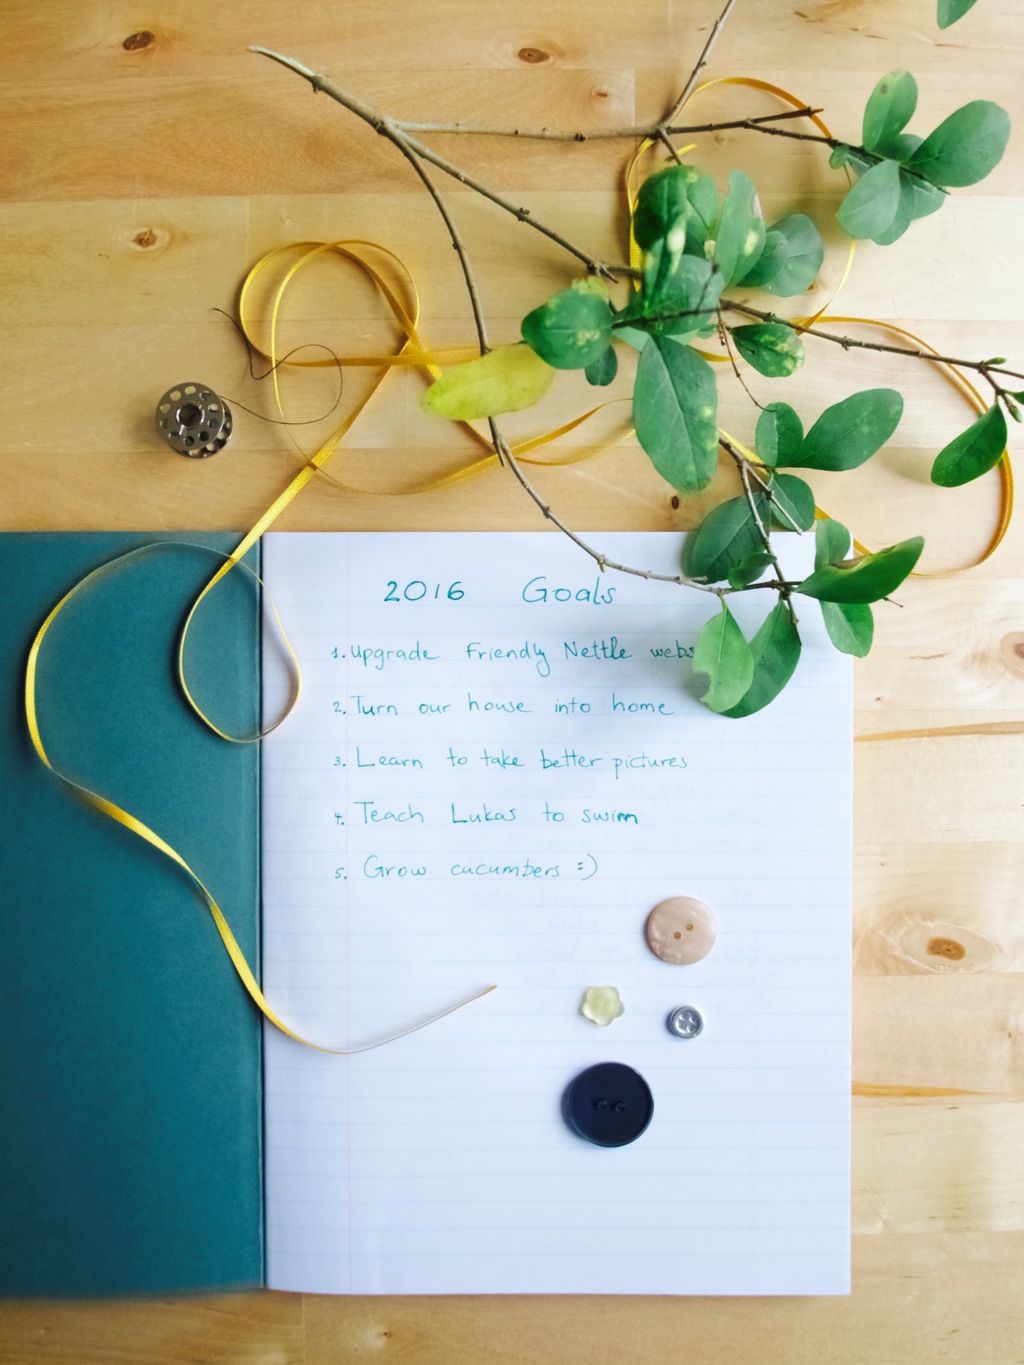
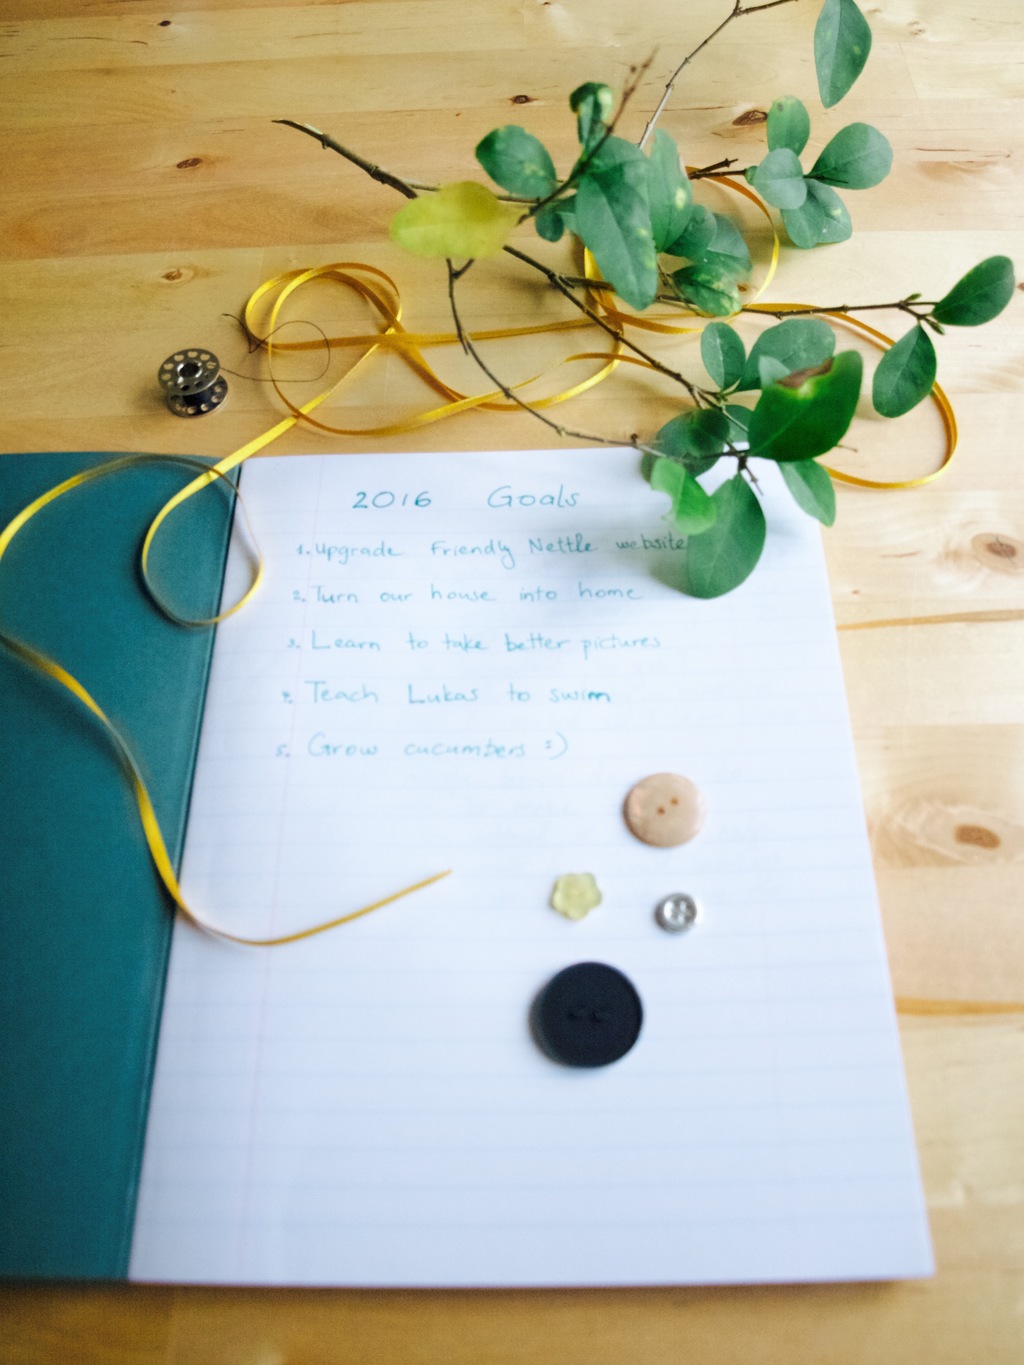
Writing New Year resolutions is my favourite thing to do on New Years Eve! I love it more than celebrating. I did not even stay up till midnight this time, instead I woke up the next morning feeling it’s a New Year with new beginnings… exciting! After reflecting on 2015 and realising what worked and what did not I was able to create even better goal plan this year… or at least I hope so. I decided I need to be even more organised and make sure to keep it simple as my life have been turned upside down with little Lukas in my life ;-). This is why I decided to make 5 goals rather than 7. Here they are!

1. Upgrade Friendly Nettle website. Same as last year unfortunately, but I am more determined this year so I am still feeling hopeful!

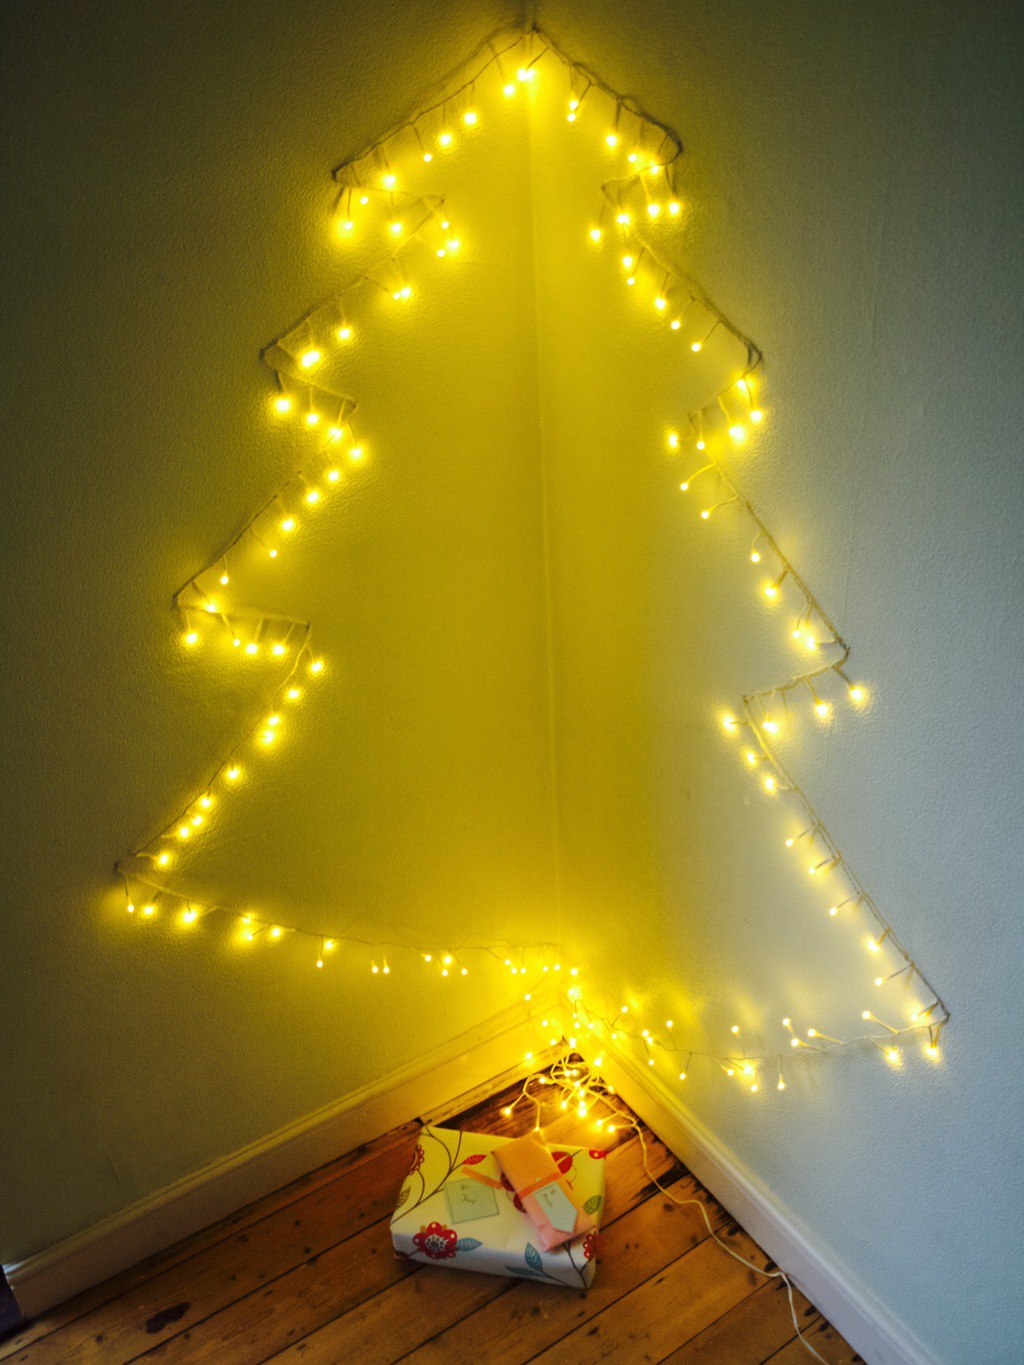
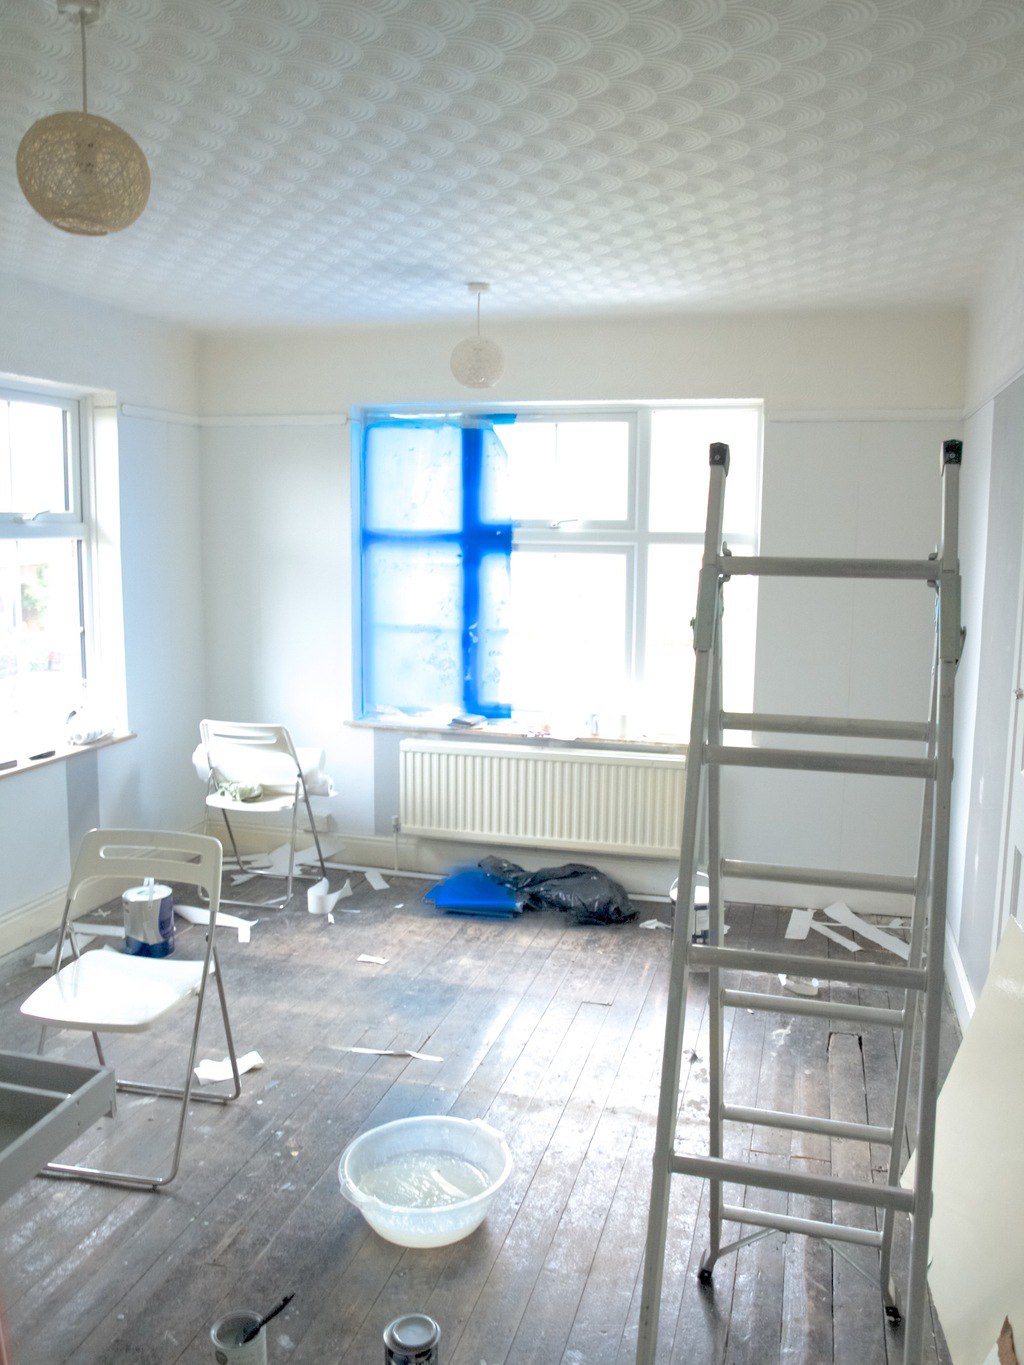
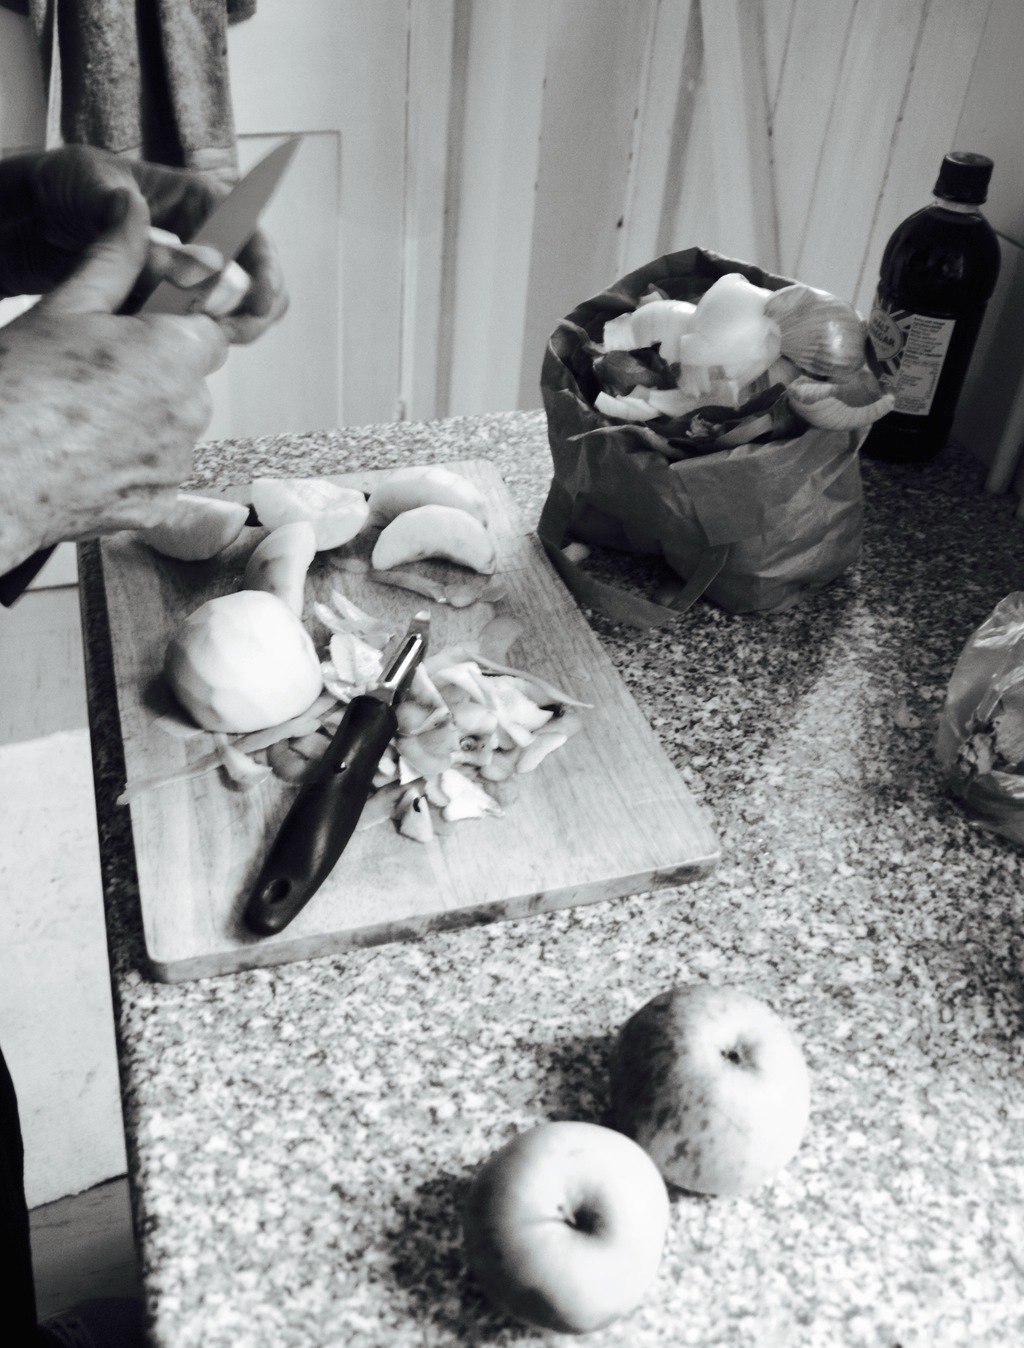
2. Turn our house into home. As you know we purchased our first family home last year but after Lukas arrival did not have a time to do any home improovement on it yet. Hopefully 2016 is the year!

3. Learn to take better pictures. Again same as last year :(. I do have a better plan for it this year, you just wait and see!

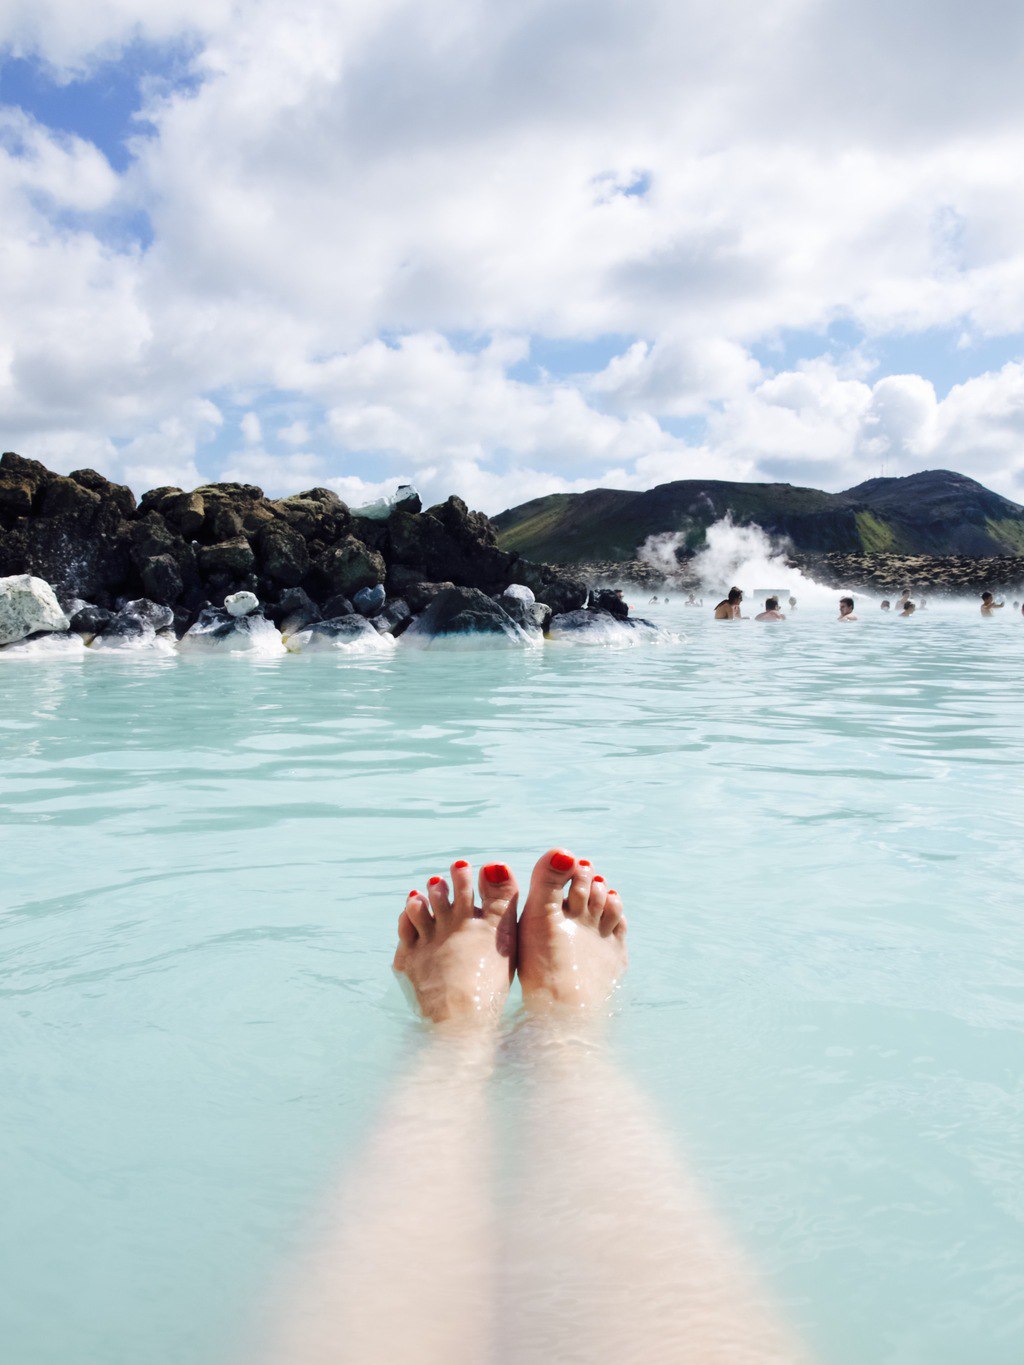
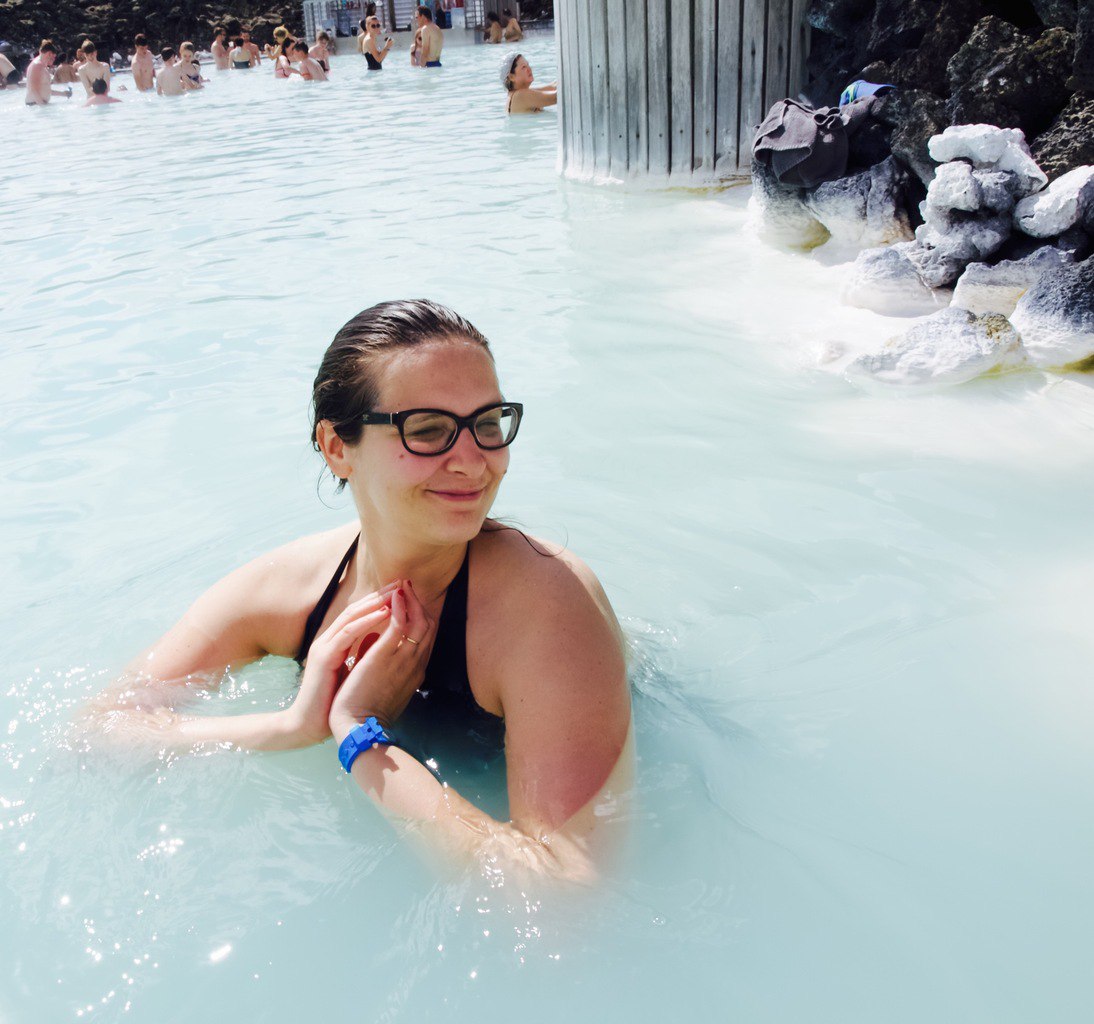
4. Teach Lukas to Swim. Ok, I have few goals hidden in this one! First, I always dreamed of teaching my baby to swim but I also get to exercise with him. Hopefully this will help me to come back to my original shape which wasn’t great either after last year’s Christmas (I mean 2014 Christmas :-0). Secondary (which is not related to swimming) I am hoping to get into the habit of not overeating so that kind of helps me to get fit. Am I making any sense here?

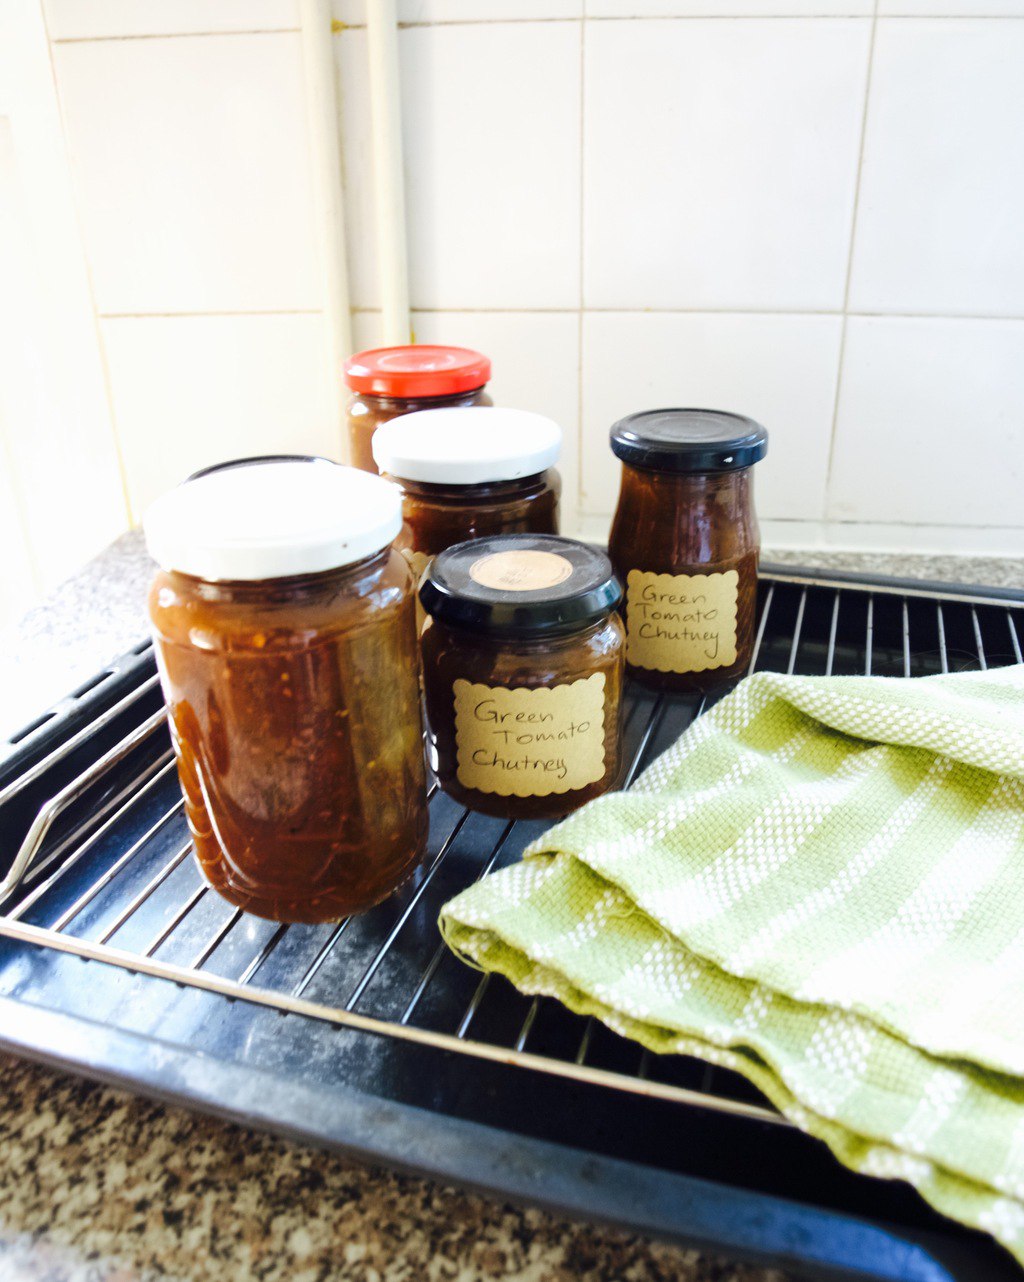
5. Grow cucumbers :-). I know, this is the most random goal I ever had. This has been suggested by my wonderful mum in-law! At first I thought that’s silly, but then I thought it could mean more than growing cucumbers. It could mean doing a little bit of gardening! After all I HAVE a garden this year! Not making crazy transformations in the garden just yet (you know, focusing on my no.2 goal), but growing temporary annuals could be quite satisfying while not committing to big landscape changes such as planting perennials or shrubs.   my 2016 goals! my 2016 goals!
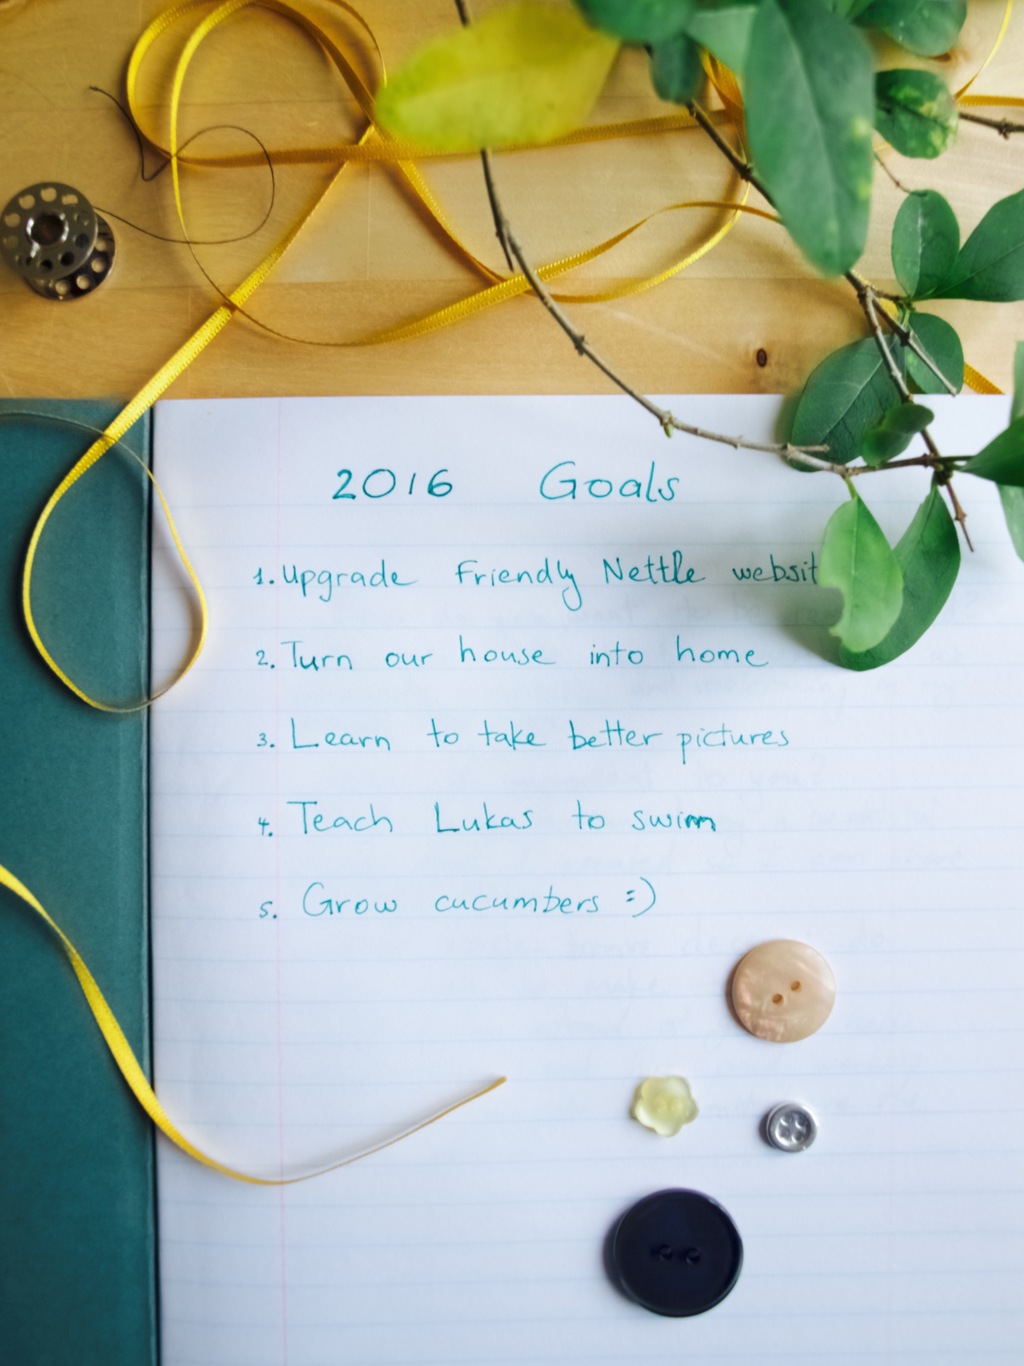
I hope you had fun with creating resolutions for this year!

Rasa xoxo

0

My reflections on 2015

Look who is swimming already :-)It’s almost 2016 and I am very excited to share my reflections on 2015 ;-). What a year it has been! In the beginning of 2015 I have created 7 new year resolutions that most have been achieved and on top of it some dreams came through that I did not imagine it would happen so soon. 

Two major things have happened this year: we now are a family of three (Yes, Lukas is our new addition!) and we bought our first family house. Ok, we hoped for both to happen, but we were not sure if it would happen so we are really really happy that it did. We just need to fix that house and it will be totally great(something for the next year)!Our dream house!We also had an opportunity to visit Iceland which was my dream for many years. It exceeded my expectations!Me and Blue LagoonNow, back to 2015 resolutions…

1. I hoped to upgrade Friendly Nettle website. I will be honest I fail on this! I have not changed one bit about the website or learned coding. Sadly just did not find the time (hopefully in 2016 I will be able to achieve it). On the positive note I did manage to successfully run a crafty group here in Bedford!  Live in Bedford? Then join us here ;-).Craft group leaflets

2. I am really pleased to say that I did create amazing new products and bakes for a new website this year! I just need to keep it coming somehow… Here it is!Friendly Nettle Bakery 3. Updating budgets comes naturally to me. I mentioned already I really like keeping our finances organised. All I need to do now is to update it again as our needs keep changing all the time (we now need to save for house upgrades and Lukas future). Here are my 5 steps to basic budgeting if this is something you are struggling with.Budgeting4. I totally nailed it and read more books this year! In fact this goal was the most enjoyable :-). In the beginning of this year I preselected 6 books to read and guess what, I finished reading all of them!A year with books, 20155. When it comes to taking better pics, I did not do much about it! I did not even manage to read the manual of my camera :(.My reflections on 20156. In the beginning of this year I did eat healthier and I think I would have carried that on if I did not become pregnant. The fact that it almost did not matter how much weight I would gain loosened up my standards a bit (if you know what I mean!).My reflections on 20157.  Swimming is what became my fun sport (it was practically the only sport I could do)! Now I am onto teaching Lukas how to swim ;-).My reflections on 2015Now when I had some time to reflect on 2015 I can welcome 2016 :-)

Rasa xoxo

1

A year with books: “To Kill A Mocking Bird” Review

My thoughts on "To Kill A Mocking Bird"It’s almost end of the year and my final book is finished! So my mission to read more books is completed ;-).

To be honest it was quite easy to read this many books this year (considering I read none the previous years). I had loads of time while pregnant and now while feeding Lukas (I am actually writing this while I have Lukas sleeping in my arms). I enjoyed “To Kill A Mocking Bird” as much as the other books, although I still don’t understand who is a Mocking bird in the story (will have to Google it). The book is mostly about politics and racism in the small neighbourhood in America through the eyes of 6-9 year old girl. However from reading her thoughts she seemed older for her age…

What I liked about it? The observations done on people behaviour in the story was really interesting to read, even if it sounds bazaar that 6-8 year old thought of it! My favourite phrase in the book however have been said by her father: “If you can learn a simple trick, Scout, you’ll get along better with all kinds of folks. You never really understand a person until you consider things from his point of view… until you climb into his skin and walk around in it”. In other words, don’t judge or fall into false presumptions before really understanding what it’s like to be in that person’s shoes! Who knows why some people are rubbing badly against you? Maybe they have even worst problems in their life and you should be really be sympathetic with them than being angry! Anyways, I try my best to apply this rule in my life and it really really works most of the time :-).

What I did not like about? Not much other than that it had so many long names in the story that sometimes I had to re-read few paragraphs again just to find out which character is being referred to.

Is it worth buying? Of course! It is a classic after all. I read few books that already had the references to “To Kill A Mocking Bird”.My thoughts on "To Kill A Mocking Bird"I hope you find this review hopeful and have a good read in 2016 perhaps?

Rasa xoxo

0

Baby trousers that got converted into a hat

Kids hat pattern includedBefore Lukas was born I was knitting these baby trousers that ended up being ridiculously too small (even a small baby would not have fitted in!). So I decided to undo the legs and finish it as a hat. It fits Lukas already! It’s amazing how big his head got ;-). The baby trousers that got converted into a hatKids hat pattern includedThis is my first time using Lukas as a model, hopefully there will be more babywear projects coming. However I realised how difficult it is to take a picture of a baby. He does not seem to be smiling when I want (and he is smiling usually), but instead he looks disappointed…Kids hat pattern includedOr yawning!OLYMPUS DIGITAL CAMERAThe pattern can be found here!

Rasa xoxo

0

Taste like peppermint crisp tart (for South Africans out there!)

This Mint chocolate cream tart taste like South African treat, peppermint crisp tart When I lived in London my South African friends have introduced me to peppermint crisp tart that I fell in love from the first taste. Now when I moved to Bedford I don’t have that many opportunities to have this yumminess for dessert. Thats when I thought I could make it myself, although I knew that some ingredients can only be found in South African shops (which we have none here). This is what led me to make a similar tart that uses ingredients which can be easily found in my local Tesco (or any other supermarket).

The results? I was amazed myself, it tasted exactly the same (as far as I remember)! The only imperfection was that it was very loose as the cream did not hold it’s shape when cut. Originally South African peppermint is made in the dish and layered with biscuits, but I wanted to make it cheesecake style so it could hold the shape on it’s own (obviously I failed on that). Try it for yourself, just be warned it taste really rich so it is better consumed in small portions ;-).This Mint chocolate cream tart taste like South African treat, peppermint crisp tart MINT CHOCOLATE CREAM TART

  • 200g nice biscuits
  • 100g butter, melted
  • 500ml whipping cream
  • 200g mint crisps
  • 375 g caramelised condensed milk (a tin)
  • mint leaves for decoration

1. First make the base. Crumble the biscuits by hands or with the hand food processor. Combine the crumbs with melted butter and spread it onto the bottom and sides of lined spring form. Place it into the fridge for an hour.  This Mint chocolate cream tart taste like South African treat, peppermint crisp tart2. Meanwhile make the cream filling. Whip cream until it is just starting to thicken. Add caramel and grated mint crisps and mix.This Mint chocolate cream tart taste like South African treat, peppermint crisp tart 3. Spoon the filling onto the biscuit base and place the tart into the fridge to set overnight.4. Carefully remove tart from the spring form and decorate with mint leaves to make it pretty.This Mint chocolate cream tart taste like South African treat, peppermint crisp tart This Mint chocolate cream tart taste like South African treat, peppermint crisp tartEnjoy!

Rasa xoxo

0

Our Christmas tree this year

DIY fairy light Christmas tree I was about to say no to Christmas decorations this year (with all that going on in the house), until I remembered it can actually hide all the ugly interiors that we are not able to amend just yet. Few years ago I posted about controversial Christmas tree DIY’s, I picked fairy light christmas tree for this years focal (and only) Christmas deco for our house. It is so simple to make that I could almost do it with a baby in one hand!

To make this fairy light Christmas tree you will only need 1. fairy lights (I had them since my house warming party in London!), masking tape & scissors (for attaching the lights onto the wall) and/or staple gun (more aggressive tool for attaching lights onto the wall if masking tape does not work).  DIY fairy light Christmas tree DIY fairy light Christmas tree I used a staple gun to attach and arrange the fairy lights onto the wall in fir tree shape because the masking tape just would not stick to the textured wall paper. I know you might be thinking that staple gun would destroy our walls. Well… yes and no! We are painting those walls among other things next year, so we will be treating and fixing those minor damages before doing that anyways. But I do agree the staple gun may not be a right tool for everyone (especially if you re living in the rented place).DIY fairy light Christmas tree As for gift wrapping I have been using what I have in the house (such as leftover wallpaper from London house I owned). I sort went with Art Deco style I would say (I am so in love with Art Deco style at this moment!).Christmas gift wrappingDIY fairy light Christmas treeHappy Christmas waiting!

Rasa xoxo

0

How we fitted a light fitting (+upcycled an old glass lamp shade)

New lamp fitting As you may all know that we are working our bedroom to be while sleeping in our future office/craft room/guest room. Can’t wait till we move into our actual bedroom!

Today I would like to share about our lamp fittings that we installed recently. they only costed us few pennies (under £10 to be specific)! Yey! Thats because we reused some lampshades that we had in the corridor (I love to be able to use whats already in the house!). All I needed to do is buy the basic lamp fitting ;-). The lamp fitting beforeNeither of us are electricians so this is not a step by step guide how to wire the light fitting. Every house can have a different wiring so it would be pretty difficult to cover all here anyways. I fitted light fitting before which was pretty basic as it was a very similar one to the one I had to replace. I remember just removing old fitting wires and replacing with the new fitting wires in exact same way as it was. I guess I was lucky that time as that light fitting was not connected to any other light fitting in the house.

Before you begin it is very important!!

  • to switch off the lights and the electricity on the distribution board (that box with the switches).
  • start working (touching the wires) with the right hand, not both!

So to replace the light fitting in our new house we had to follow very a similar routine (even though the wiring is completely different and very very old). First we removed the cover and bit by bit unscrew the little screws on the connector that were holding all the wires. Eventually the light fitting base got freed! Removing light fittingThen we connected the ceiling wires back to the new connector. Joni used this guide in order to connect old type of wires with new.Connecting wires with the connectorWhen the wires on the ceiling were ready, we had to prepare the light fitting we bought for the fitting. Unfortunately it was a very long fitting perfect for high ceilings or landings, but not so good for our bedroom. Luckily Joni was able to adjust the length of it! He pulled the wire cord inwards, then cut it to required length and stripped the insulation leaving two wires open (neutral and live).Adjusting lamp fitting lenghtWe then attached the light fitting bracket onto the ceiling that suppose to hold the fitting itself (don’t worry, this comes with the fitting you buy). After fitting wires have been connected to the connector on the ceiling we closed it off by attaching the light fitting itself onto the bracket.Fitting in the lamp fittingFinally we are ready to hang the lampshade on the light fitting. Our lampshade was a glass ones so to restore it all we needed to do is to clean it! I dipped the lampshades into the soapy water, wiped it with the soft sponge and carefully dried it with the clean tea towel.To hang the lampshade I used shade reducer. I unscrew the light fitting skirt, inserted the lampshade then the reducer and finally put the skirt back on. Attaching lamshade onto the light fitting with adaptor:reducerHow we installed new light fittingHow we installed new light fittingI hope you found this useful!

Rasa xoxo

0

My favourite breakfast lately :)

My favourite breakfast: pate and egg on toastThe thing is, I love pate, especially when I have not been allowed to eat it during pregnancy (too much vitamin A they say?? could harm the baby??). Anyways ever since I have been off this very limited diet (basically all my favourite food have been written off such as soft cheese as well), I have been eating liver pate in very large amounts. I started eating it for breakfast and lunch and soon I discovered that it goes with egg really well! I mean this breakfast idea of mine is very simple, but I thought I will post just in case no one tried it and are missing out.

By the way, this breakfast have been lovingly made by Joni (I get little time for myself with Lukas around). My favourite breakfast: pate and egg on toastPATE & EGG TOASTS

Makes two

  • 2 eggs
  • oil for frying
  • generous amount of pate
  • 2 slices of bread (I love the multigrain one with some rye in it)

1. Fry the eggs sunny side up :-)

2. Meanwhile pop the bread slices into toaster

3. Spread the generous amount of pate onto the toast and arrange the fried eggs on top.My favourite breakfast: pate and egg on toastMy favourite breakfast: pate and egg on toastHappy new week!

Rasa xoxo

0

Butternut squash & jam roly-poly

butternut squash & jam roly poly recipeWell… I have not posted here for a while! Motherhood turned out to be the hardest job I have ever done…

Only a month ago I imagined being a mother is going to be hard, but I thought I will still manage and blog while baby sleeps. Little did I know that when my baby sleeps I will want to sleep too! I also realised that decoding baby cues is a learned thing, not something that comes as an instinct (or at least it did not come as an instinct to me like I thought it would). I sometimes spend hours to figure what baby Lukas wants and sometimes I have a breakthrough and sometimes I just want to cry out of desperation :(.

Anyways during the weekend I had some luck and I managed to bake while my baby boy is sleeping. It may have taken me to do it in few baby sleeps, but I am totally proud of myself and the outcome! I wanted to bake this for quite a while, the idea of butternut squash and jam combination have been lingering in my mind for few months at least. So why butternut squash? Because I use butternut squash to replace the pumpkin (like here in the cupcakes)… because in England this is a rare vegetable to find… Hope you like this recipe I created :). Btw this is not a swiss roll, jam roly-poly is a British pudding that has a similar to shortbread consistency. So don’t expect a cakey spongy roll here!butternut squash & jam roly poly recipe BUTTERNUT SQUASH & JAM ROLY-POLY

  • 300g plain flour
  • 1tsp baking powder
  • 1tsp ground cinnamon
  • 1tsp ground nutmeg
  • 70g butternut squash puree (boil around 1/3 butternut squash and puree it)
  • 70g butter, grated
  • 100g caster sugar
  • 40ml-70ml whole milk

1. First prepare the oven. We want to steam this pudding therefore put a deep roasting tin half filled with boiling water onto the bottom shelf of the oven, and make sure that there’s another shelf directly above it. Heat the oven to 170C.

2. In a bowl combine the flour together with baking powder, spices, butternut squash puree, butter and sugar. Kneed it roughly into dry mixture. Gradually add milk until the mixture turns into pastry like dough. butternut squash & jam roly poly recipe2. 3. Roll the dough on the floured surface into the square. Spread the jam all over, leaving a gap along one edge, then roll up from the opposite edge.butternut squash & jam roly poly recipe4. Carefully lift the roll onto the piece of foil lined with baking paper.  butternut squash & jam roly poly recipe5. Loosely bring up the paper and foil around it, then scrunch together along the edges and ends to seal. The roly-poly will puff quite a bit during cooking so don’t wrap it tightly. Lift the parcel directly onto the rack above the tin and cook for 1 hr.butternut squash & jam roly poly recipe6. When baked, carefully open the foil and paper, and thickly slice to serve.butternut squash & jam roly poly recipeTraditional jam roly-poly is served with custard, but I always prefer the ice-cream. Luckily I got some ;-)butternut squash & jam roly poly recipe butternut squash & jam roly poly recipeEnjoy!

Rasa xoxo

0

October favourites

Autumn posterI have been a bit silent in October. That’s because we were patiently waiting for our baby to come!

Now when the wait is over, let me introduce you to our son Lukas Futvoye Pelham :). We are so happy (and a little bit tired of course)!! Lukas Futvoye Pelham pregnancy weeksLukas turned out to be a big boy. To our surprise he weighed 5.34kg (11lb 12.5oz)!!! No wonder he did not fit the hat and socks I knitted for him. Anyone fancy these? Let me know and I will send it to you instead of giving them to the charity ;-). knitted baby hat and socks, too small :(In terms of house renovations we decided to sort our bedroom out first. Our friend from church is finishing painting it as we speak.Our bedroom to be in progressIt would all be good, but we came across some nicotine stains which are harder to disguise than you think! So far we tried few white paint coats and a stain block (we have high hopes for it!!). Hopefully this is the end to this problem.nicotine stains :(Happy Autumn!

Rasa xoxo

0

Project fail: baby trousers

Project fail: baby trousers

Lately if you have been watching me on Instagram, I was knitting for our baby boy some trousers. Although I am really pleased with the chevron pattern I have created, I had an inkling that they might be too small for quite a while. After knitting one leg it became obvious that they are indeed the wrong size and probably would not even fit a tiny baby :(. I took it to the baby group last Monday and it’s official: this project is a fail (better noticing earlier than late).

The idea to knit these trousers came to my mind after seeing these lovely creations by Camp&Company. I just love the shape of them and this is what I wanted to recreate on the ones I was knitting. Oh well… I still have time, I am sure toddler would look super cool in these as well :-).  Camp & Company baby trousersAnd what about the trousers I almost finished knitting I hear you say? Well, I am thinking to turn them into chevron patterned hat! After all I did take a lot of time for working out the pattern and actually knitting them ;-).Chevron knitting pattern Knitting baby trousers


Lovely sunny day, isn’t it?

Rasa xoxo

1

A year with books: “The Undomestic Goddess” Review

The Undomestic Goddess by Sophie Kinsella book reviewThese couple of weeks has been all about waiting for our baby arrival and getting ready for him (yes, it’s a boy!)…. and just generally tidying the house after our big move. But what I preferred is sitting, relaxing, knitting and reading. It was a good opportunity to pick up my next book to read: “The Undomestic Goddess”. My first thoughts about this book were “oh, so easy to read!”, then “the story line is a bit hard to believe” and finally “well, this could make a good chick-flick movie!”.

What I like about it? The feel good factor, only because it was no-brainer to read it. I did not find this book particularly smart or educating, but at least it was not too predictable so it did give me some enjoyment when reading it.

What I did not like about it? A lot of things to be honest. I thought some stuff sounded a bit lame in the story! I will give you some examples… First it’s a story about a lawyer, named Samantha who makes a mistake that ruins her career completely. She then all confused gets into the train and randomly arrives to a cottage house where she asks for the painkillers for her headache. The owners of the house presumes that she is a housekeeper and gives her a job, because Samantha tells them that she is trained at cordon bleu school (although she is clueless in cooking). Initially she struggles, but then she manages to order food from gourmet caterers to cover her back. Later she meets the gardener of their house who is the only person to realise that she can’t cook. The gardener (Nathaniel is his name) who feels sorry for her suggests his mum to teach her cooking. Samantha spends ONE day in Nathaniel’s mum’s kitchen and all of the sudden she cooks like a professional (what?). Samantha falls in love with Nathaniel who turns out hates lawyers and therefore she can’t tell him the whole truth (That’s just lame!).

Is it worth buying? I would say NO, unless you want to watch a chick-flick movie and for some reason you are unable. Even in this case I would not recomend buying, contact me instead and I will post it to you ;-). The Undomestic Goddess by Sophie Kinsella book reviewI hope you found my review of this book useful.

Rasa xoxo

0

Green tomato chutney

Green tomato chutney recipeI wanted to make green tomato chutney since I heard about it from my mum-in-law. What a great idea! I often failed to get my tomatoes ripe enough before autumn and they used to rot instead of being eaten. I so wish I knew I could use them!

Now my mum-in-law was staying over this week as Joni went away to Dublin. It was a great opportunity to make some green tomato chutney (especially when we had some green tomatoes in hand!). Joni’s mum pretty much made the chutney while i took few pics in between. She followed this recipe that she swears by (apparently the chutney using this recipe always turns out perfect). I forgot the title of that book, but will let you know once I get it.Green tomato chutney recipeGREEN TOMATO CHUTNEY

  • 1.8kg green tomatoes, roughly chopped
  • 700g onions, pealed and chopped
  • 450g cooking apples such as bramley, peeled, cored and chopped
  • 600ml vinegar (we used malt vinegar)
  • 8 red chillies (we used green chillies)
  • 25g root ginger
  • 225g raisins
  • 2tsp salt
  • 450g sugar (we used soft brown sugar)

Green tomato chutney recipe Green tomato chutney recipe1. Put the chopped tomatoes, onions and the apples in a large pan with half the vinegar. Bring to boil, then simmer for about 30min.

2. Add the chillies and root ginger into the pan, make sure you count them as you will need to fish them out later.

3. Add the raisins and cook, stirring from time to time until the mixture thickens, after about 1 hour.

4. Add the salt, sugar and the rest of the vinegar, stirring well till sugar dissolves. Continue cooking until the chutney thickens again.

5. Remove the chillies and ginger from the pot before potting and sealing (see how by clicking here). Leave to mature for 6 weeks. Green tomato chutney recipeHappy weekend everyone!

Rasa xoxo

1

September favourites

Friendly Nettle calendar in my kitchenWhat? October already? Well… September went very fast! It has been a very busy month.

First thing I want to say is that we have finally moved to our new house with our cat Leia! Not forgetting my kitchen wall calendar (So I can feel more organised). I also started making some decisions on wall colour and carpet. Our DIY journey may not start straight away, but I do not see any harm in getting ready for it ;-).Textured ceiling wallpaper Choosing carpetSecondary, I celebrated my 33rd birthday this month. Loved this year’s cake that Joni made (chocolatey banoffee pie with the twist).My birthday cake!And finally, we are busy getting ready for our baby! My sister have organised the most amazing baby shower and I wish I took my photo camera there because the set up looked very pretty (especially the cake that have been decorated with pansies). I now have plenty of nappies for the months to come  with the cute little notes ;-).Baby shower gamesHurray to October!

Rasa xoxo

0

Pinterest challenge: paprika chicken & spinach with white wine butter sauce

Paprika chicken & spinach with white wine butter thyme sauce recipeSince our new arrival is due in the moment, I started to think of simple recipes for dinners to come. You know, the ones does not require slow cooking or lots of preparation. The recipe that I found on The Kitchen Paper have promised it all! This chicken was definitely the quickest dinner I have ever made (almost). The recipe is bellow.

PAPRIKA CHICKEN & SPINACH WITH WHITE WINE BUTTER SAUCE adopted from The Kitchen Paper

  • 2 large chicken breasts, cut into strips (even quicker to cook!)
  • 2 tsp paprika
  • salt & pepper (don’t be stingy here)
  • 2 knobs of butter butter, about 70g (I used oil instead, but butter would have been better)
  • small bunch fresh thyme leaves
  • 3 large garlic cloves, minced
  • 1 glass of dry white wine
  • 1 large handful of frozen spinach

1. Season the chicken breasts pieces with the paprika, salt and pepperPaprika chicken & spinach with white wine butter thyme sauce recipe2. Melt the butter in a large skillet over medium-high heat, add the chicken breast pieces and fry them for 3 min before adding thyme and garlic. Cook, stirring the thyme and garlic around, for about 2 minutes before adding the wine and frozen spinach.Paprika chicken & spinach with white wine butter thyme sauce recipe3. Bring the wine to a gentle simmer and let cook for 20 minutes. Season with salt and pepper, make sure the chicken is done, and serve with couscous or other grain of your choice.Paprika chicken & spinach with white wine butter thyme sauce recipe Paprika chicken & spinach with white wine butter thyme sauce recipeEnjoy!

Rasa

0