Top

Year three with books: “How Eskimos Keep their Babies Warm”

My thoughts on "How Eskimos Keep their Babies Warm" book 
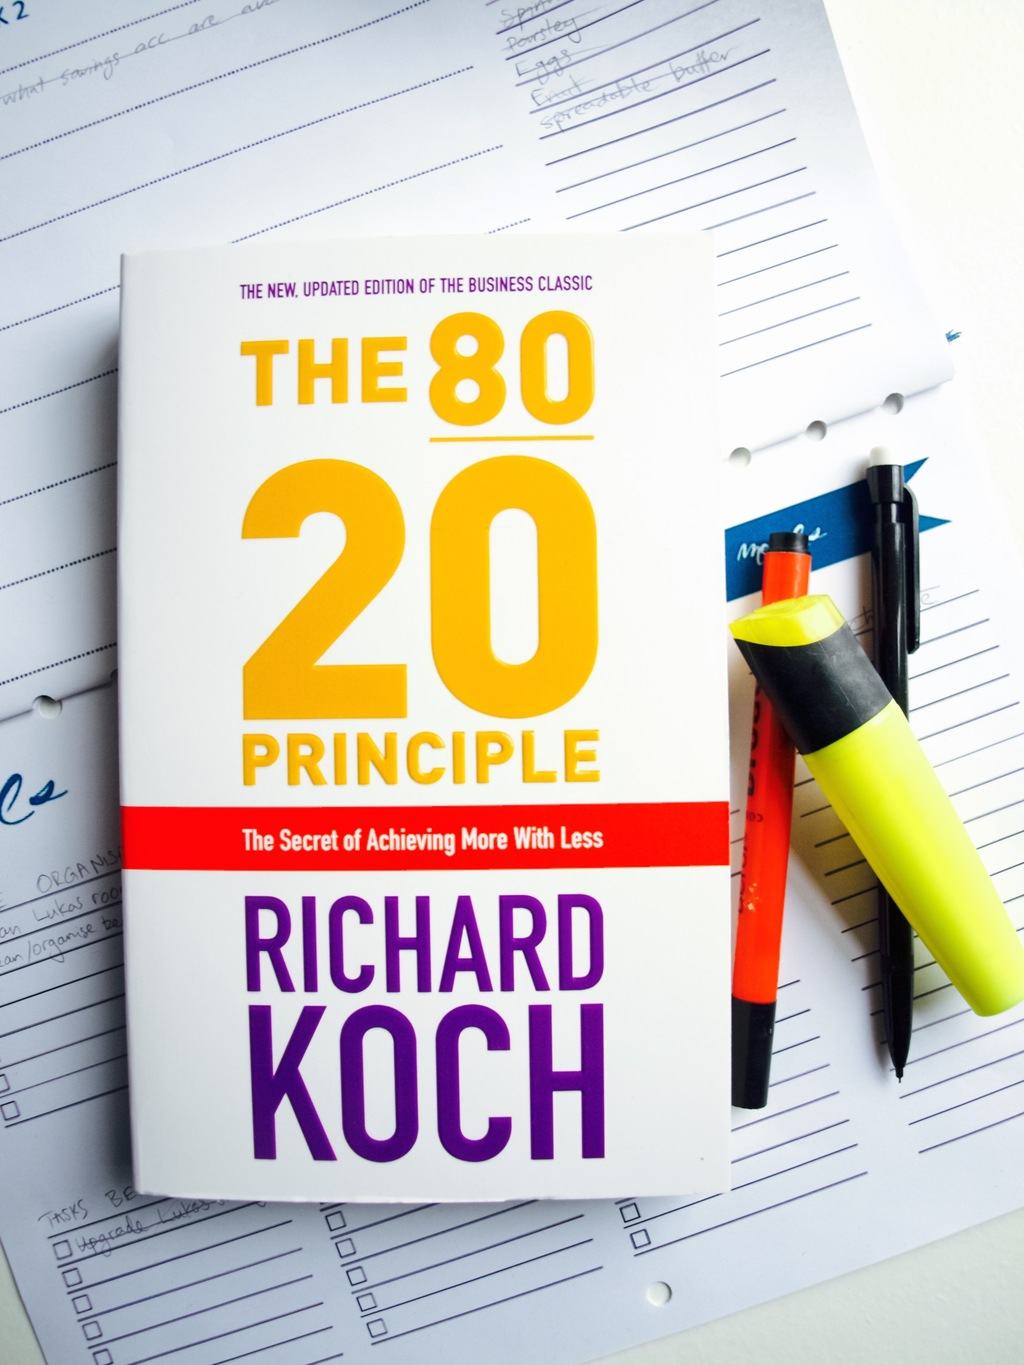
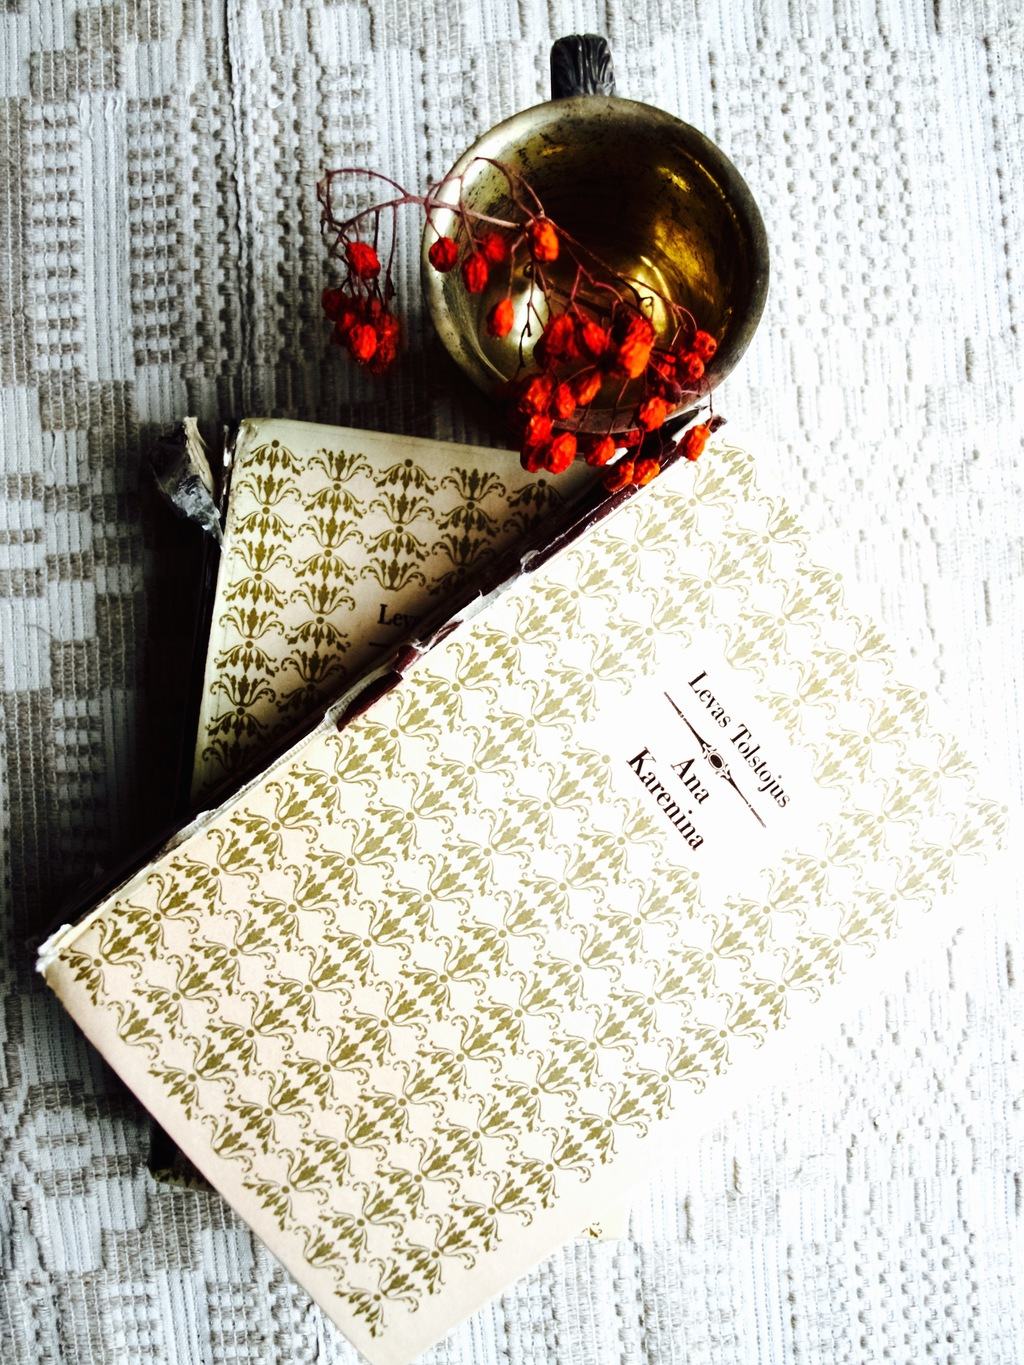
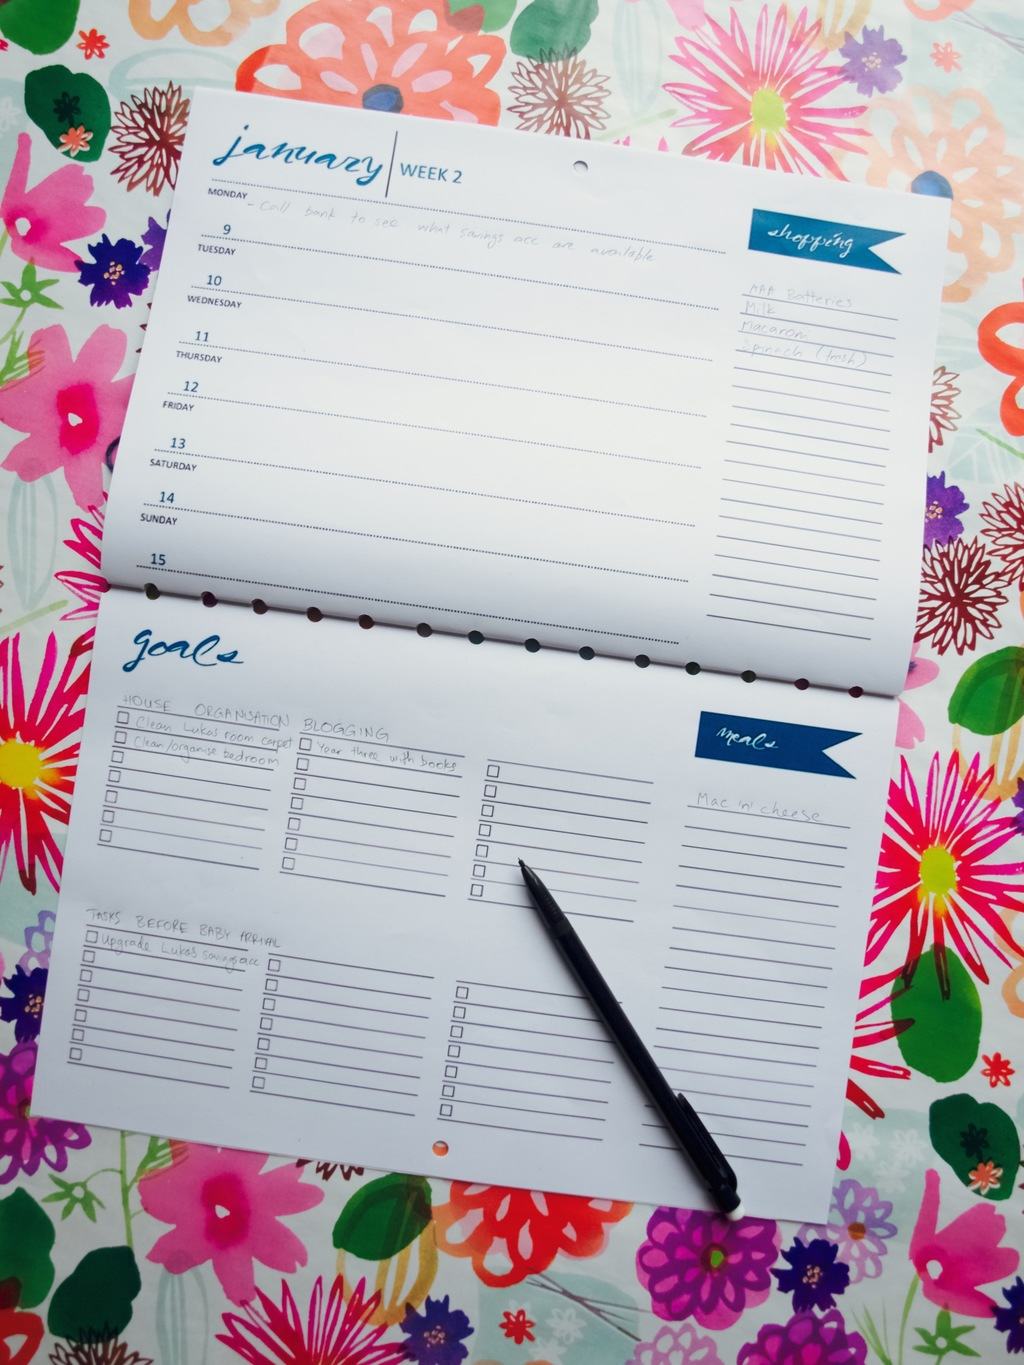
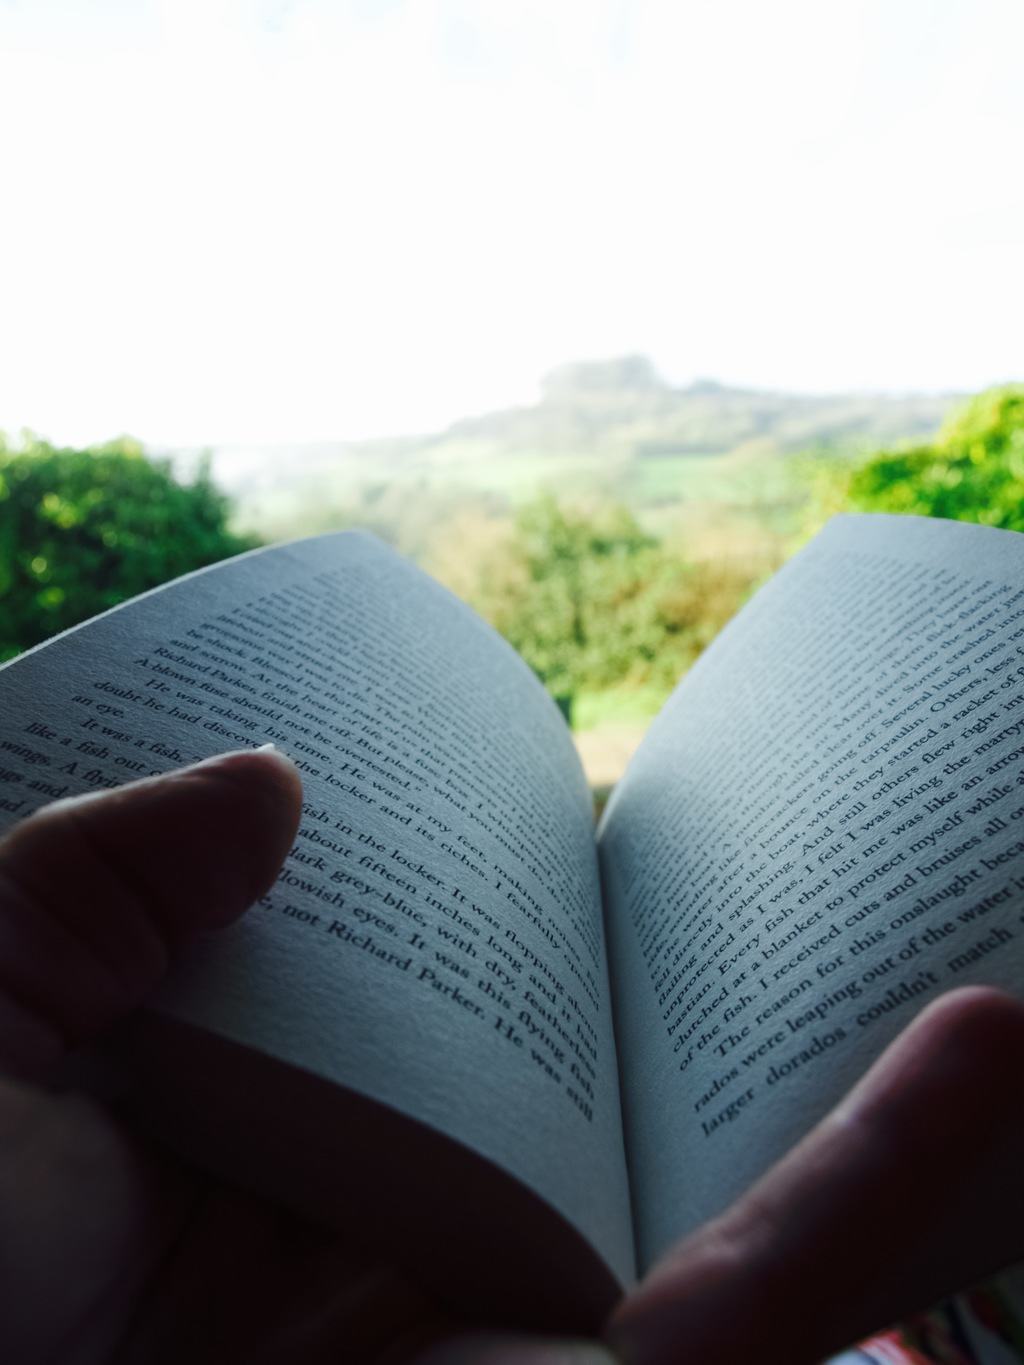
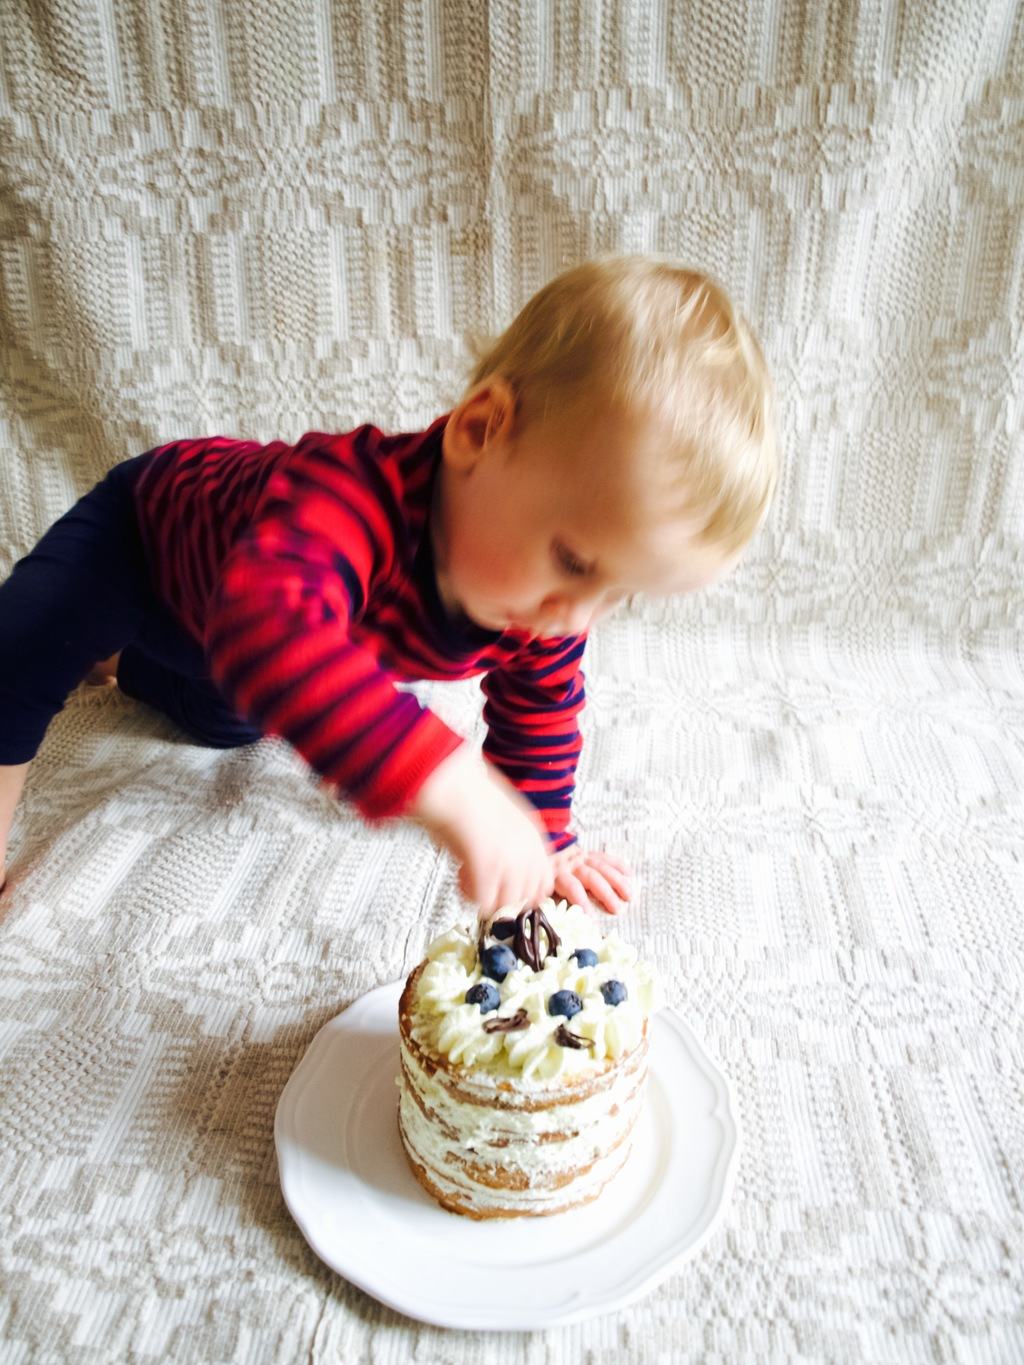
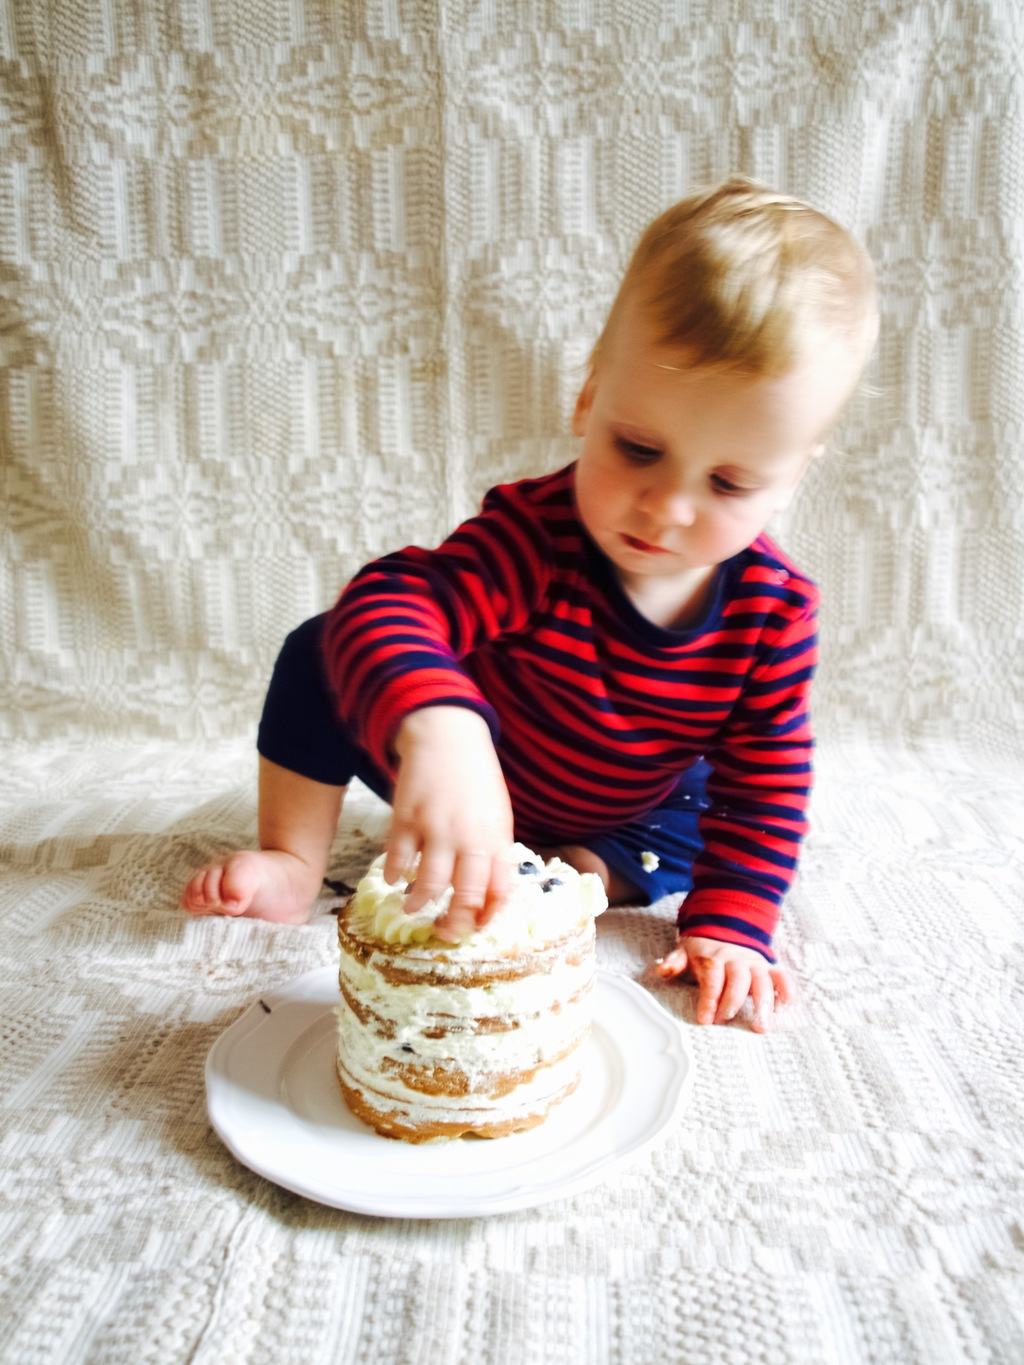
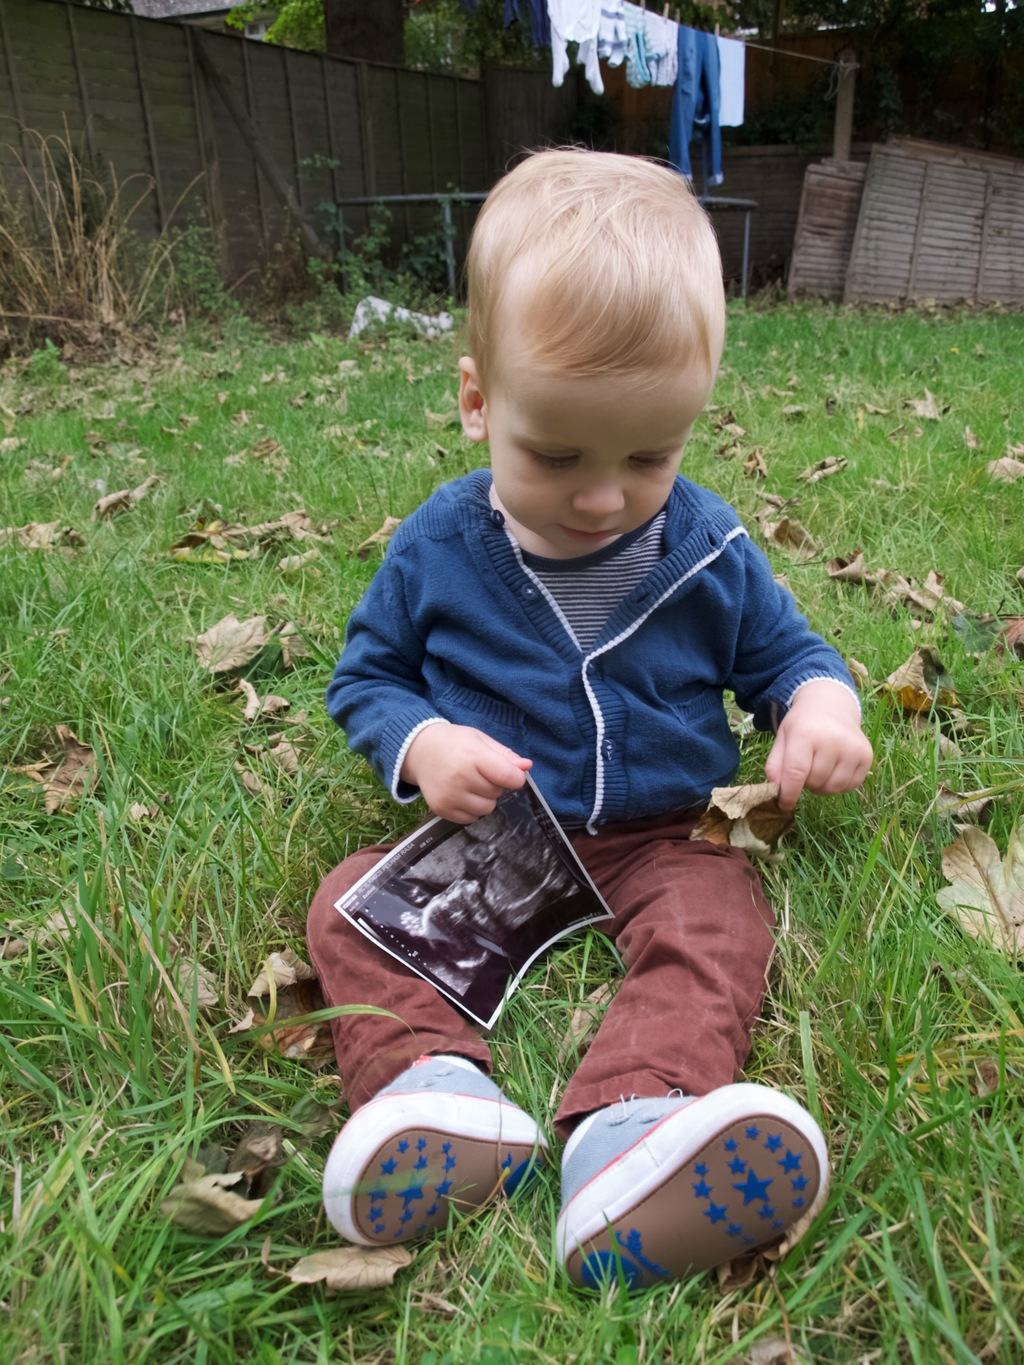
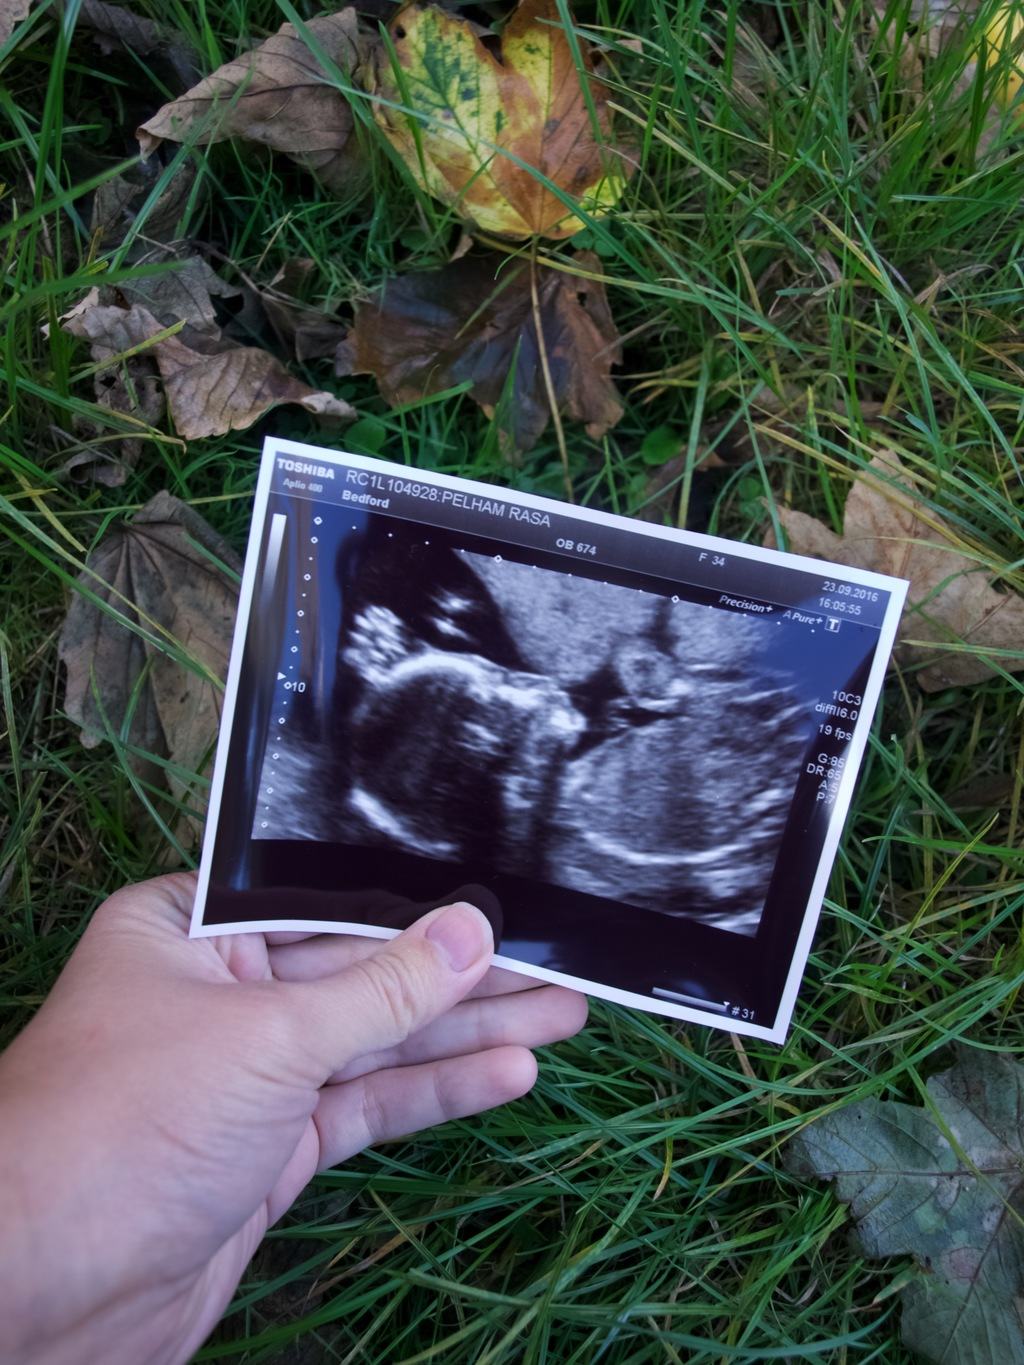
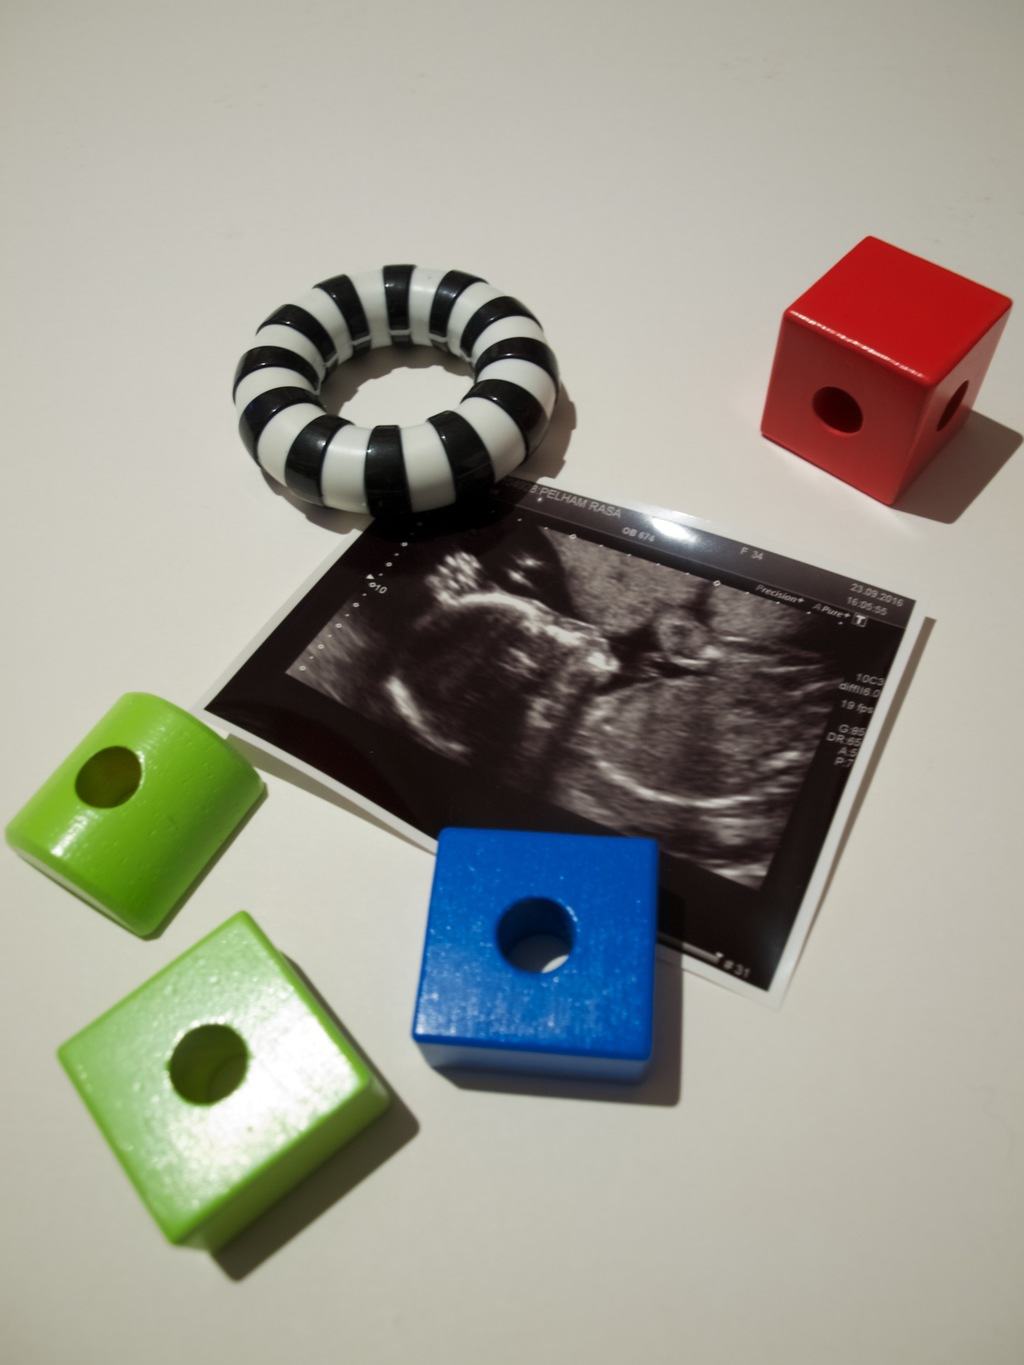
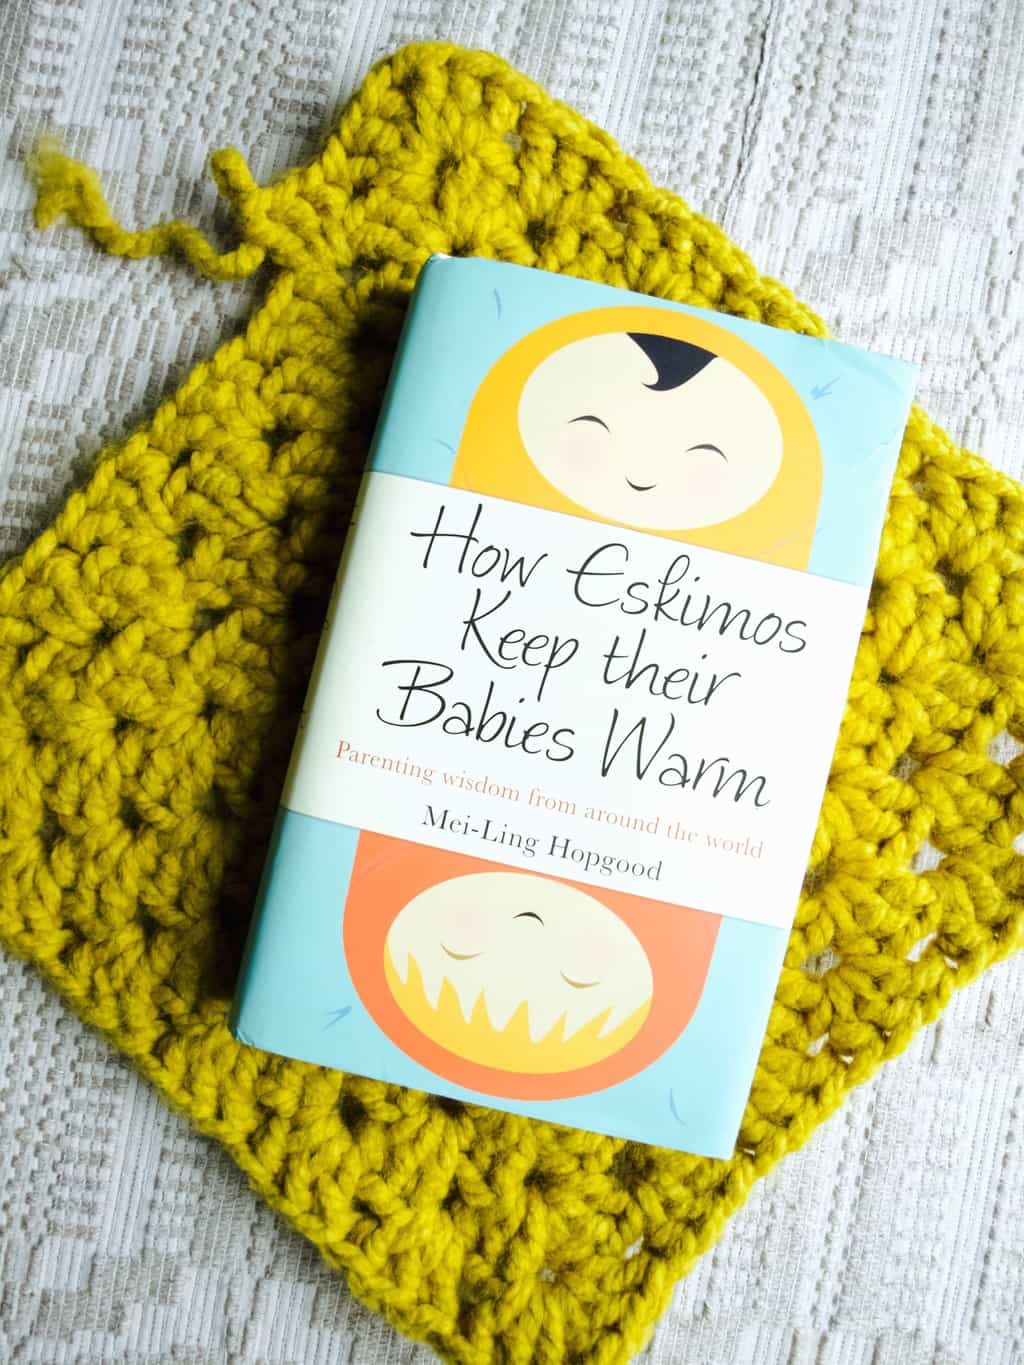
So no baby here yet, but I am definitely on top of my reading list this year. Decided to prioritise the parenting book, although what I learned is better applied to Lukas rather than the new baby to come. “How Eskimos Keep their Babies Warm” is a very interesting book about parenting in different cultures. This is a subject I really love, therefore reading about it was super great…. However I still don’t know how Eskimos keep their babies warm :D.

What I liked about it? is the structure of each chapter. It usually starts with the specific culture (such as French) and then goes on describing what this culture does differently or particularly interesting when it comes to parenting (such as how French teach their children to love healthy food). Then it compares to American culture and how the author herself applies what she learns from her research in her own culture or what problems did she experienced while applying the new way to her daughter. What I really loved was that the information is non judgmental, lets you decide if that particular parenting wisdom (or parenting style if you prefer to call it that way) is right for your family and child. Which is great! Because I realised a while ago that there is no one right way to do parenting. Although I do sometimes find it difficult what to choose. I guess the first born has to be a guinea pig :D.

What I did not like about it? Is the writing style. I found some parts were a bit dry and therefore boring to read even if the subject itself is very interesting.

Is it worth buying? Only if you are open to different parenting styles in different cultures and like reading about different ways of upbringing. If you are looking to solve some sort of parenting issue you have then I think this book may not be for you. It can be slightly confusing as it does not offer straight to the point advice, but instead it discuss the differences between cultures and pros and cons between them.My thoughts on "How Eskimos Keep their Babies Warm" bookHope you found my reading useful!

Rasa xoxo

0

How we tiled the bathroom with hexagon tiles

How we tiled the bathroom with hexagon tiles So if you were following me on Instagram than you probably have seen these hexagon tiles pop up quite a few times. When I was choosing tiles for the bathroom I was not thinking how to make my tiling complicated, but my exact thought was “oh this has a very nice pattern and does not cost a fortune!”. But in return it was a very, very complicated job. It took us three whole months to complete the project even when working as a team!

To give you some background neither Joni or I had done any tiling in the past. I felt slightly more experienced since I watched somebody doing the tiles and did some tile mending in my last house. But oh dear that was not enough expertise to prep you for hexagonal tiles! I would strongly advise not to start with this kind of shape if you are a beginner in tiling. Will tell you why more soon why, but if you are about to enter this kind of project I hope you find this post inspiring. How we tiled the bathroom with hexagon tiles In the very beginning when I fell in love with this hexagon tile at the first site, I made a visionary picture of our bathroom. I used a editing program to roughly plant the tiles in the exciting bathroom pic, which as you can see may not be the most professional CAD out there. But it was enough for me to see if tiling both walls and floors would not overwhelm overall look of the new bathroom. Some details changed trough the process, but there were a lot of things that stayed. I am very pleased with end result and I must admit I may not have achieved it without this very primitive visionary board.   Bathroom vision So when we created a clear plan we started stripping the bathroom…. quite literally! Everything had to go, even the sink and bathroom. After that walls needed to be repaired and very firm floors installed (we used 22mm WBP plywood that was resistant to water). This took longer than we planned, which left us with only one sink in the whole house for few weeks (had to go to my friends for showers). Thank goodness this is a distant memory now!  How we tiled the bathroom with hexagon tilesOnce Joni installed the bath and fixed all the plumbing that took longer than we thought, I could then start to tile. Although it was not so straight forward! It took me a while to figure where to start and how to plan the tiling out exactly so it does not end anywhere awkwardly. This is when I realised that hexagon tiles are pain in the butt! We have been recommended to start tiling from the top but that did not make any sense since the tiles would slide when tiled on the wall. We watched plenty of YouTube videos on tiling, but that only gave us a rough idea how to start as they were all based on rectangular tiles. Seriously? No one produced a video for how to tile hexagon tiles? Eventually we used piece of wood that we screwed on the wall as a baton to stop all the tiles sliding down. We started round the middle of the wall, however I sometimes wonder what would have happened if we started from skirting board?! Would that make the tiling super uneven?How we tiled the bathroom with hexagon tilesThis is how much we roughly done in a day. Everything took sooo much longer than we expected! Unlike in the tiling YouTube videos somehow they manage to do the wall in 10min.How we tiled the bathroom with hexagon tiles The other challenge I came across when tiling is the uneven gaps between the tiles. I can blame the awkward shape of hexagon here again! It was hard to keep the tiles straight considering they were resting on the baton just by one corner. Unlike rectangular tiles has the whole edge to itself!  Luckily the grout have made it less visible so it’s all good!How we tiled the bathroom with hexagon tilesHow we tiled the bathroom with hexagon tiles Tiling round the window was another difficulty.  We were suppose to use edge tile trims to cover the tile edges, but I find them not very aesthetically pleasing. Somebody suggested we go without and instead leave the gap for the grout. However it ended up to be a very large gap which made me worry if the grout would be strong enough to stay there. Luckily it did! And I am very pleased we took the risk here :).

I applied the grout with the grout float which was much easer than tiling itself! I chose medium grey which I feel was a great choice for the tiles. I believe this is what hidden all the small mistakes I previously made in tiling. Yey!How we tiled the bathroom with hexagon tiles After grouting there were so much to clean that I only finished doing last week. Ooops!How we tiled the bathroom with hexagon tiles How we tiled the bathroom with hexagon tiles How we tiled the bathroom with hexagon tilesHope you found our journey in tiling useful, maybe you will be the first to create a tutorial how to tile hexagon?

Rasa xoxo

6

Pinterest challenge: sweet potato and chickpea moroccan style stew

Sweet potato and chickpea moroccan style stew recipeI have made this vegetarian stew before (technically Joni made it since I was not up for cooking that day) and I fell in love with it. Its full of contrasting flavour, not much prep and it’s very easy to serve to babies. I made it again few days ago and it was as before very enjoyable meal (more for me than Joni as he prefers meat).Sweet potato and chickpea moroccan style stew recipeSWEET POTATO AND CHICKPEA MOROCCAN STEW practically copied from vegan Lauren Caris Cooks

Serves 6

  • 2 onions, diced
  • 2 garlic cloves, minced
  • 1 celery stick, sliced
  • 1tsp ground turmeric
  • 1/2tsp cinnamon
  • 1/2tsp ginger
  • 1/2tsp cumin
  • 100g red lentils
  • 500ml tomato passata
  • 1 tin (400g) chickpeas
  • 300g sweet potato, pealed and diced
  • 800ml veg stock
  • 1 bay leaf
  • 1 pomegranate
  • ready made couscous (we make it fresh for each use depending on how many portions are needed)
  • 1 bunch of fresh parsley, chopped

1.  Sautè the onion in a large pot for 3-5 minutes until it begins to soften. Add the celery and garlic and sautè for a further 3 minutes.Sweet potato and chickpea moroccan style stew recipe2. Add the turmeric, ginger, cinnamon and cumin and stir to coat everything. Add the lentils, passata sweet potato, chickpeas, bay leaf and vegetable stock, reduce the heat to low and simmer for 1 hour or until the stew is thick.Sweet potato and chickpea moroccan style stew recipe3. When it comes to removing pomegranate seeds it is pain in the butt. But it is totally worth it for this meal! My friend suggested easer method how to remove pomegranate seeds (apparently she learned it from YouTube). Remove the top and bottom with knife. Lightly slice the sides like an orange. Carefully “peal off” the skin and there we go seeds will come out in more orderly fashion!  Sweet potato and chickpea moroccan style stew recipe4. to serve dish couscous into the bowl, then the stew. Top it with parsley and pomegranate seeds. Sweet potato and chickpea moroccan style stew recipeEnjoy!

Rasa xoxo

0

Year three with books

My 2017 book reading planI have been setting a goal to read books for two years so far. And I am not planning to quit this year either! In fact I decided to do it differently this year, I thought I will finish reading the books that I once started but not finished in the past. Of course there were not many of this kind so my list his year includes some new ones as well. Here is my reading list:

1. “The Shack” by William P. Young have been one of those books that were highly recommended but personally I could not go through the first chapter. I even tried reading it in Lithuanian translation hoping the descriptive writing won’t be so annoying in different language. But that did not work either! I hope having it on my goal list will make me more motivated.My 2017 book reading plan 2. “How Eskimos Keep their Babies warm” by Mei-Ling Hopgood has been on my wish list forever. I like the title of it as much as the idea of parenting that is inspired by different cultures. After reading about French parenting last year I am ready to explore more!My 2017 book reading plan 3. “The 80/20 Principle” by Richard Koch seemed like a book to read when your main goal this year is to organise your life and become more productive. Will let you know if this principle works for us ;-).My 2017 book reading plan 4. “Bridget Jones Diary” by Helen Fielding. Have seen all the movies (minus the latest), I think it is time to progress to books. Especially when your friend say the books are even better, hilarious to read!My 2017 book reading plan 5. “Anna Karenina” by Leo Tolstoy is made of two books. No wonder I started it and never finished it even though it was a good read. My 2017 book reading plan 6. “Little Paris Kitchen” by Rachel Khoo is a cook book I know! How do you read a cook book you may say? Well, by reading the story behind those recipes while trying them out in the kitchen or not of course ;-). I have made few recipes from this book in the past, but planning to explore more and maybe to adapt few to our family cooking.My 2017 book reading planHope you found my list inspiring!

Happy reading :-)

Rasa xx

0

My New Year goals + free printable 2017 planner

printable 2017 planner/calendarAfter reflecting on 2016 I decided to make 2017 goals a bit differently this time. I made only one main goal this year which is to organise our family life. Let’s be honest, I don’t exactly expect to achieve 5-7 goals when we have so much on this year. Even one goal is big enough for me considering we have a little one coming up very soon! So I did count in three months of “cloud phase” (no firm schedule period)  after new baby is born.

When it comes to organising I find planner or basic calendar is essential. I did not find a good one to buy so I ended making one myself. Because I wanted lots of space for scheduling I decided to make the calendar weekly. I also included goals page with the to do lists, because I realised that some plans cannot be scheduled even if it is beneficial to schedule. We all know that things change so quickly and you end up just cancelling and scheduling. This is why I made the goal page which can be attached to each week! So all to-dos are planned in the specific week, but not specific time or day. Fingers crossed that works!   printable 2017 planner/calendar printable 2017 planner/calendar

Click here to upload your 2017 planner.

You can either print the page for one week as it comes and attach it on the wall or fridge. Or like me you can print all of it and tie it with the string so it can be hung as a one piece. printable 2017 planner/calendar printable 2017 planner/calendar printable 2017 planner/calendarHappy organised 2017 to you all xx

Rasa :)

2

My reflections on 2016

My reflections on 2016Can you believe it? Tomorrow we are entering 2017! (I personally feel its going to be the best year ever).

But for now I would like to reflect on 2016. I must admit it was’t the easiest year, but I guess you need those type as well sometimes ;-). Don’t get me wrong, there were plenty of good times such as finding out we are expecting a new baby and having own house to DIY. But if you look from the other side (more negative one) it has been very challenging. The house has been chaotic while I am gradually getting less and less energetic due to pregnancy. Having no basic bathroom for few weeks has been very hard to cope with. We went on holidays of course, but then I realised its not the same anymore when we have a baby on board. But then again, it has been a learning processMy reflections on 2016 When reviewing my 2016 resolutions I realised that they were a little ambitious. But how do you know whats in store in the future? Things happen completely differently to what you expect sometimes!

1. I was planning to upgrade Friendly Nettle website, but who was I kidding? I was lucky to find some time to blog. Instead I was busy with Lukas helping him to discover food, playing and singing. My reflections on 2016 2. I hoped to turn our house into home, but instead we got a chaos. Few projects in one go and doing almost everything by ourselves has never been a good idea. Well at least we got few rooms almost finished such as Lukas bedroom :). My reflections on 2016 3. I wanted to learn to take better pictures and thankfully I did have some luck with it! I used up a lot of Lukas nap times practicing with the camera which has been very useful. Now when I take pictures I often apply the tricks I learned. My reflections on 2016 4. I hoped to teach Lukas to swim, but yet again I failed here. Have you ever tried to go swimming pool alone when you need to get the baby and yourself dressed in a tiny dressing room? After many tries I realised we missed the window when swimming should come natural to the babies. Lukas is a toddler now! My reflections on 2016 5. We said we would grow cucumbers as a joke, clearly this is not the most important goal :D. However, this was successful, look at those funny shape cucumbers!My reflections on 2016So of course I am looking forward to tomorrow (as I am certainly not staying up till midnight tonight), 2017 I am ready :).

Rasa xoxo

0

Year two with books: “Life of Pi”

Well well well, where shall I begin. To start with I would like to say that I made my goal for this year, I finished this within a week (my personal best speed in reading. And the book wasn’t the easiest to read! Oh no! A lot of people I spoke to who read a little of this book (and not finished it) said it wasn’t what they like to read and that it was a very hard one to understand. I must admit I was confused many times, but I do believe I got overall view about it by now. Some people suggested that the story is allegorical and I don’t neglect the possibility of it, although I don’t think this is a case. The author gives a lot of comparisons such as hotel keeping and zoo-keeping or religion and zoology, but my personal opinion this is about faith and just because you don’t believe in this incredible story that does not mean it can’t be true. This is why author gave an alternative story to the investigators because they did not have faith, not because the other story is more true. Again, this is just my opinion and would like to hear your view too.

What I liked about it? The story of course! I generally like inspiring stories and this definitely met my need. I even wondered if this wasn’t a true story at one point. It also fascinated me the knowledge of the author regarding animal behaviour which is what led the main character to survive with the tiger on the boat. And it’s not like it was easy for him, he had lots of ups and downs while “training” this wild cat so I think this is quite believable.

What I did not like about it? Is the confusion between religion and belief in God. I think these are completely different especially when it comes to different types of religions. They don’t exactly match, yet the main character was practicing all of them.

Is it worth buying it? Well, it depends. Do you like complicated stories? I think this is not everyones cup of tea, but it is very enjoyable if this is sort of think you like.My thoughts on "Life of Pi"Hope you found this useful ;-)

Rasa x

0

Crochet your own giant bed blanket

Crochet your own giant bed blanket If you are wondering what to crochet during Christmas, then this project is a good one to start with. It is uncomplicated, however be warned it may take a while to get it into decent size. I took over a year to finish it (shocking I know!)!!!

In case you wondered how much yarn I used up to crochet this blanket, It was about 80 of these Seriously Chunky wool balls. Sounds quite a lot right?! Well I used 7mm crochet hook instead of recommended 10-12mm which used up more yarn than it could have with larger hook. However in return it made a heavier and denser crochet which is what I wanted, it’s your choice of course! Also, you don’t have to use one colour. In fact you could use up all the yarn you already have! This is the most common way to crochet this type of blanket. Click here for a tutorial if you have not already checked it out ;-).Crochet your own giant bed blanket Crochet your own giant bed blanket Crochet your own giant bed blanket Crochet your own giant bed blanketHappy crocheting!

Rasa xoxo

0

Year two with books: “According to Yes”

"According to Yes" by Dawn French The year is almost to end and there is one more book to read, which is achievable but only just. For now I would like to share my thoughts on the current book I just finished reading, “According to Yes” by Dawn French. As you know I love Dawn French writing style, however I found this book not as good as her previous ones. I mean it was ok and it was still enjoyable to read and there were few things that led me to dream a little ;-).

What I liked about it? Great writing style, I have so much to learn from it! I also liked the main character (a nanny who looked after 8 year old twins) how she was able to teach through creative way. I loved how she took kids on adventures to most boring places such as bank or court room and made it very engaging for them. She also involved them in gardening by creating one on the roof. All this made me dream about when Lukas and his little brother will be older and I maybe will be able to do all this cool stuff with them.

What I did not like about it? The moral of the story, I found it really confusing what the writer thought was the right thing to do and what is not. All I understood is that in her story everyone is a human and therefore make mistakes, which of course I agree with. I guess I found it a little drastic and shocking of how characters did not think of the consequences before acting. I felt like reading “50 Shades of Grey” although I can’t quite compare to it as I never read that book in my life.

Is it worth buying? I would say this book isn’t totally bad but I regret waisting my money on the hard cover."According to Yes" by Dawn FrenchHope you found this useful ;-)

Rasa xoxo

0

Garlic rye bread and bean salad

Rye garlic bread and bean salad recipe It’s becoming to look like Christmas and I decided to share a recipe for a salad that is traditional to have for Christmas Eve. It is that simple and tasty that my brother used to voluntarily go on salad making duty because of that. Hope you like it as much as we do! Rye garlic bread and bean salad recipe GARLIC RYE BREAD AND BEAN SALAD

Makes one medium serving bowl (I made half portion here)

  • 1 medium rye bread loaf
  • 6 cloves of garlic, crushed and chopped
  • generous amount of oil for frying
  • salt and pepper to taste
  • 2 onions, finelly chopped
  • 2tsp caraway seeds, soaked in water
  • 2 cans of butter beans or cannellini beans, rinsed under cold water
  • bunch of parsley, finelly chopped (optional)

1. Slice the bread and then chop the slices into 1cm cubes.Rye garlic bread and bean salad recipe2.Fry the bread together with garlic in generous amount of oil (very necessary, sorry for dieters). Season to taste and put it aside.Rye garlic bread and bean salad recipe3. Fry the onion together with caraway seeds until onions are nice and slightly transparent. Add the beans and take the pan off the heat.  Rye garlic bread and bean salad recipe4. Mix everything together.Rye garlic bread and bean salad recipe Rye garlic bread and bean salad recipeHope you don’t miss this humble salad at your Christmas table ;-).

Rasa xx

0

Christmas village display

Christmass village decoration I must admit, I was a bit scared of Christmas this year because of what is going on around us. House DIY, Lukas often ill (I’ve been told he is perfecting his immune system) and our new baby on the way have added a lot of pressures already, but also I could not quite think what gifts I should get for the family. The major additional pressure I find at Christmas is buying those gifts.  Since when did we lose the true meaning of Christmas? When did it get so materialistic? I dread every year of this gift giving madness when I am pushed to get gifts that somebody may not even like. I prefer spontaneous gifts that I put lots of thought in it (such as handmade ones perhaps), not something I got from the amazon to fulfil set occasions. Thankfully our family was very understanding and agreed to gives us a little break this year. My mother-in-law even said “that’s a relief”, bless her. I am very lucky to have such a wonderful mum in law! I was relieved myself as well of course and started looking forward to Christmas already. I took some time to make our home slightly Christmassy with this winter village display. Something to brighten up our otherwise dusty home :D.Christmass village decoration So here is how you could make your own Christmas village display. All you need is a card (can be a brown cardboard from packaging, but I had some white thick cardboard instead). Use the template below (or make your own) to draw the houses a couple inches above the bottom edge.  Christmass village decoration christmas-village-deco-1 christmas-village-deco-template2The next job is to cut out the houses as well as their windows. I used a craft knife and tried a swivel knife as well. The basic craft knife worked perfectly while swivel knife was actually swiveling in a way i couldn’t predict which made me feel out of control. Has somebody had any luck with this type of knife? It supposed to be really good with curves! Anyhow, choose whichever tool suits you best. Although I do recommend using a metal ruler for long straight lines.Christmass village decoration To make the village houses stand apply a card support on the back. I made some card strips and applied it using double sided tape. Tip: lightly score the strip to help it fold easily. Christmass village decorationPlace your Christmas village on the fire place, shelf, or window sill at least 5 cm away from the wall (I used sellotape to secure it).Christmass village decoration Fill the backside of the Christmas village with fairy lights!Christmass village decorationNow it’s time to make the “trees” (I vandalised the local park again this year…oops). I cut the branches into small segments and attached some blu-tack so I could stick them behind my village display.Christmass village decoration Christmass village decoration Christmass village decoration Christmass village decoration Christmass village decoration Christmass village decorationHappy Christmas waiting :)

Rasa xoxo

0

Baby friendly birthday cake

Baby friendly birthday cakeLast week we celebrated Lukas birthday and today I would like to share with you the recipe of the cake I made for him. I aimed for something sugar free of course that is suitable for a baby. I made sure to include banana in it just because Lukas loooovesss banana very much (maybe he is a minion who knows :D) and also because it adds some sweetness. The cake of course wasn’t very sweet. I would say it was a brioche sweetness level. I also thought that it is better eaten warm, but I had to cool it down unfortunately to decorate it and make it look a little bit more festive ;-). For “butter cream” I just used whipping cream, so it wasn’t sweet at all, but actually Lukas liked it very much so I guess it’s ok ;-).  Baby friendly birthday cakeBABY BIRTHDAY CAKE

(for the cake)

  • 150g banana (about 1-2 bananas depending on size)
  • 1 egg
  • 60ml oil (I used refined olive oil, but rapeseed oil would probably be better)
  • 330g plain flour
  • 27g oats (I used pack of portioned porridge oats that actually comes in 27g)
  • 2tsp baking powder
  • 125ml milk
  • 3tbsp yogurt (I used greek style yogurt, but natural yogurt would work fine too)

(for decorations)

  • whipping cream, whipped till stiff (one tube of 300ml will do)
  • no added sugar chocolate (there is no such thing as sugar free chocolate my friends!)
  • blueberries (or any type of other berries that are sweet)

1. Whizz bananas, egg and oil in the food processor. Add all other ingredients and mix everything to combine.

2. Spoon the cake dough into small lined spring form tins (mine filled 4 tins).

3. Place the tins into preheated 180C oven and bake the cakes for 20min or so.

Baby friendly birthday cake4. Meanwhile I made chocolate cake decorations. I must admit I got little rusty, because I have not done it for aaaaages! I melted some chocolate, poured into pouch I made out of backing paper and cut the hole in it so I could pipe the chocolate out. I lined a metal baking tin with backing paper and piped chocolate on it in the leaf shapes. Placed it in the freezer for few minutes to set. Done!Baby friendly birthday cake5. Next up is decorating! Sandwich the cake by spreading whipped cream in between and then spread more on top and around to ice the cake. My tip is to really wait till the cakes are cool and trim the tops off, that really helps to make the cake square and therefore easy to ice.Baby friendly birthday cakeOnce the cake is iced, decorate it by piping some more whipped cream on top, sprinkling with blueberries and arranging some chocolate decorations on top if you wish.Baby friendly birthday cakeBaby friendly birthday cakeHope your baby likes it too ;-)

Rasa xx

0

Photography challenge: birthday cake “smash”

This is how I took photographs while baby "smashed" the cake I don’t know if you heard of a term “cake smash” (I am sure if you google it it would give you plenty of examples), but I wanted to try it on Lukas real bad! I thought it would be sooooo much fun for both of us, because I believe Lukas enjoys making mess :D.This is how I took photographs while baby "smashed" the cake So Lukas birthday comes up (I can’t believe he is now 1 year old!) and I finally come up with a plan of how its going to work. I found a few baby friendly recipes to combine (sugar free of course!) for the cake, which I was very pleased with in the end. I worked out where we were going to do this messy act (in the sitting room on the floor covered with the blanket). I chose an outfit (very important!), although I did not put too much thought in to that as it just had to be something simple. I also read a few tips on how to do such a photo shoot, they all suggested make it relaxing (not rushed) and make sure the baby is in good mood (fed and napped). This is how I took photographs while baby "smashed" the cake The result? Not quite what I expected! I failed on napping Lukas well that day, so I had to bake and decorate the cake while he was awake. I was rushed and definitely not relaxed. I finished the cake very late and was worried about the lighting (oh those early autumn evenings!). As I have mentioned in other photography post in the past, when there is poor light you need to compromise with a slower shutter speed which means I had to hold camera steady to avoid blur. But try telling a one year old to stay still, so I ended up with many blurry pics (which is ok I guess as it captures the movement). On top of everything Lukas did not destroy the cake, but picked out the decorations and sampled them. If you are interested, here is a video that Joni took during photoshoot.This is how I took photographs while baby "smashed" the cake This is how I took photographs while baby "smashed" the cake This is how I took photographs while baby "smashed" the cake This is how I took photographs while baby "smashed" the cakeSo my advice if you want to take cake smash photos is to first relax, and pick a day that is completely activity free. Pre-make the cake perhaps? Take picture after babies first nap or something. And most importantly, enjoy!

Rasa xoxo

0

Haddock Monte Carlo

Haddock Monte CarloFew weeks ago we went to Center Parcs for a weekend away and while there I had this wonderful breakfast called Haddock Monte Carlo. When at home I researched about this a little and it turns out its not a breakfast item! I still think it is better suited for breakfast however… you see, you kind of need to eat this as soon as it is cooked and this is not what we do for dinner. At least not in our family! But then again it depends how it works best for you. I like making slow cooker meals for dinner when I can just dish out the food when we are ready and for Saturday special breakfast I like to make something quickish that we eat as soon as it is ready. All I am saying that Haddock Monte Carlo is hard to time but in return it is quick to make!

Another thing I found is that Haddock Monte Carlo comes in different versions, some seem very complicated and needs a some prep the night before! I of course chose a recipe that I thought was the closest to what I ate on our holiday in Center Parcs. And it did turn out pretty much the same, except the recipe that I used was a difficult to understand. Thankfully, after making this dish I can tell how I made it so hopefully you have an easer time with it ;-).

HADDOCK MONTE CARLO adopted from Big Oven

Makes 3-4 portions

  • 600g pealed potatoes (about 3 regular size potatoes)
  • 2tsp wholegrain mustard
  • handful of chives, chopped
  • 300ml double cream
  • 50g butter (about 2 heaped tbsp)
  • 2 shallots, chopped
  • 3-4 smoked hadock fillets, undyed
  • 250ml fish stock
  • 250ml white wine
  • salt and pepper
  • 3-4 eggs
  • 2 tomatoes, skinned and chopped

1. First things first, put the potatoes to boil. This takes the longest to do!

2. Once the potatoes are cooked, mash them and add mustard, chives (reserving some for later) and have of double cream. Mix again to make into creamy mash.Haddock Monte Carlo3. Next up is haddock with sauce! Melt the butter in the frying pan and fry the shallots till golden. Fry the haddock fillets in the same pan on both sides for few seconds then add fish stock and wine. Cover and allow to simmer for 5 minutes. Add the leftover cream and remove the pan from the heat. Season to taste.Haddock Monte Carlo4. Meanwhile pouch the eggs. My tip is to do in in the shallow pan (like frying pan) and with a bit of vinegar added to the boiled but not boiling water.Haddock Monte Carlo5. Put the mashed potato mixture in the centre of a plate and place the haddock on top. Put the poached egg on top of the fish and spoon the sauce over. Garnish with chopped chives and tomatoes. Haddock Monte CarloEnjoy!

Rasa xo

0

Photography challenge: white balance in pregnancy announcement photos :)

importance of white balance I have been wanting to announce our news for quite a while now but we have had few challenging weeks which is why I did not find any good time to sit down and blog (and I must admit I am not the most creative on making such announcements anyways). So the announcement is….Lukas is going to have a brother!!!! :). Yey! And he is due in February, so kind of very very soon!

After our holiday in Center Parcs we were ill, started bathroom renovations, Lukas got sick while we were stuck with only one sink in the house and no bath tub. Thankfully things got better and I also found some time to perfect my photography skills! There was definitely a breakthrough when I learned about the white balance, because I had so many frustrations in the past when the camera just selects the temperature of the pic automatically. I spend hours (if not weeks if you put all the time together that I wasted) correcting the colouring of pics on Photoshop, when I could be taking perfect pictures on my camera!

So, what is this fuss about the white balance in photography? White balance is essentially a colour balance in the picture. You see, light has colour (or a temperature if you prefer) and anything to do with light transfers into pictures as well. Have you ever noticed some pictures come out blueish/greyish and some yellowish/reddish? You can often notice if the pic was taken in cloudy morning or sunny afternoon. Of course that can be corrected (thank goodness!!!) and often camera does in automatically. However it does not come out correctly all the time (you will see here). Sometimes its good to know you can change the settings.

I found my white balance settings are right there under one button (so that is quite convenient). You can select exact number for the temperature but I just decided to try out preset options. These include daylight, shade, cloudy, Tungsten light (good for indoor lighting) and different Fluorescent lights. I decided to try them all out on one sunny day in the shade.

The picture above and bellow have been taken with auto WB mode. Pretty good, right? I have not edited them or used any filter.importance of white balanceIn the picture bellow I have used shade mode. It looks much warmer then the auto mode which I prefer.importance of white balanceFrom all the pictures I have taken I think auto mode looked most similar to cloudy mode. Interesting!importance of white balanceHere I tried different scenario, I was taking some pics of Lukas in auto mode.importance of white balance And here is in shade mode (pic bellow) that I thought is too yellow.importance of white balance I think camera did a good job selecting the colour balance that is close to the pic bellow that have been taken in daylight mode. importance of white balance And here is for fun. I have taken a pic in Tungsten light mode. Its amazing how much blue you need to balance out an indoor lighting!importance of white balance To check it out how would Tungsten light mode work I took few pics indoors in the evening with our room lighting. I usually avoid doing this because you get a very yellowy look. I took this first pic in auto mode.importance of white balance And here it is with Tungsten light mode. Not bad! Maybe I should start taking pictures in the evenings to save time (only joking!).importance of white balanceHope you found this inspiring!

Rasa xx

0