 Although I have no children of my own, I once had a chance to make some play dough for a kids group. My favourite Lithuanian cook book (yes, a cook book!) had a recipe for play dough and I was determined to try out ALL the recipes from the book. I sort of had a competition going with my mum, which of us will complete the book sooner. If you are wondering who won, it was of course ME!!! I take competitions very seriously, just in case you did not know ;-).
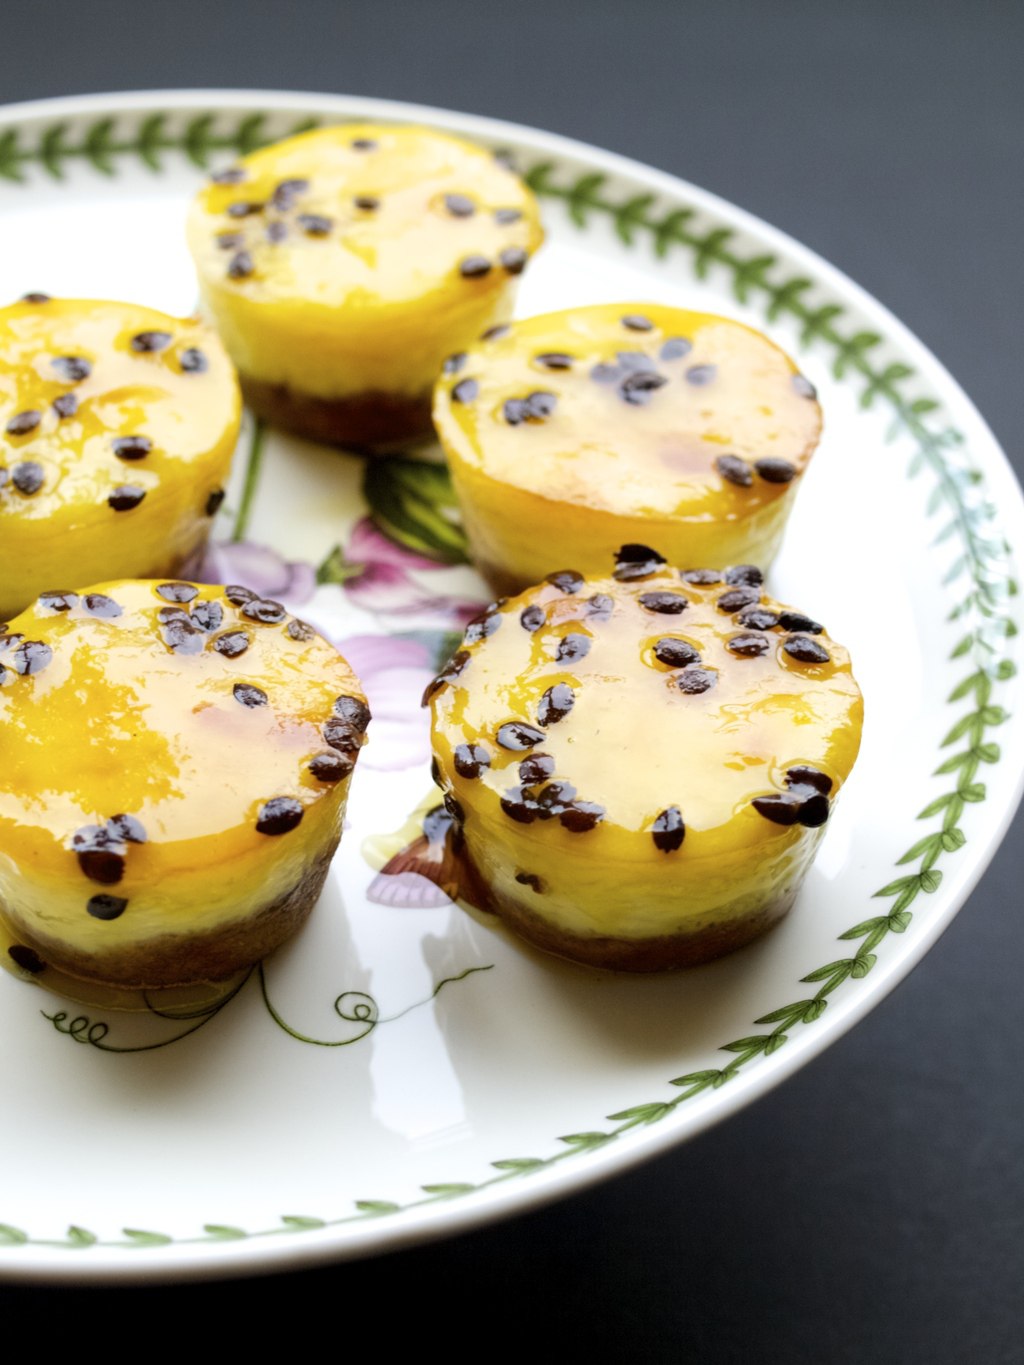
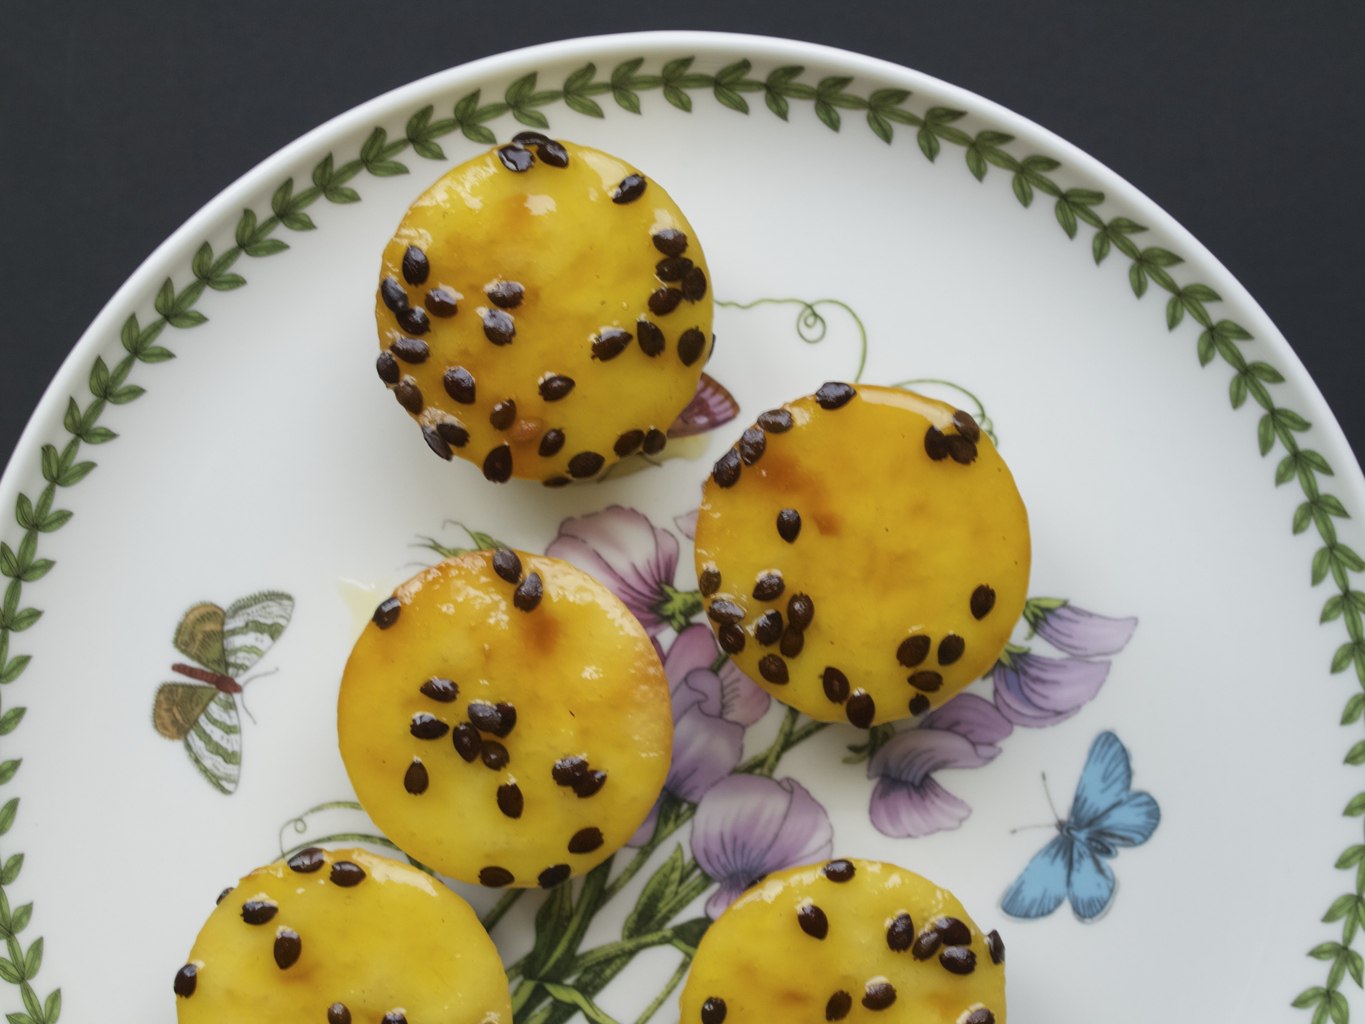
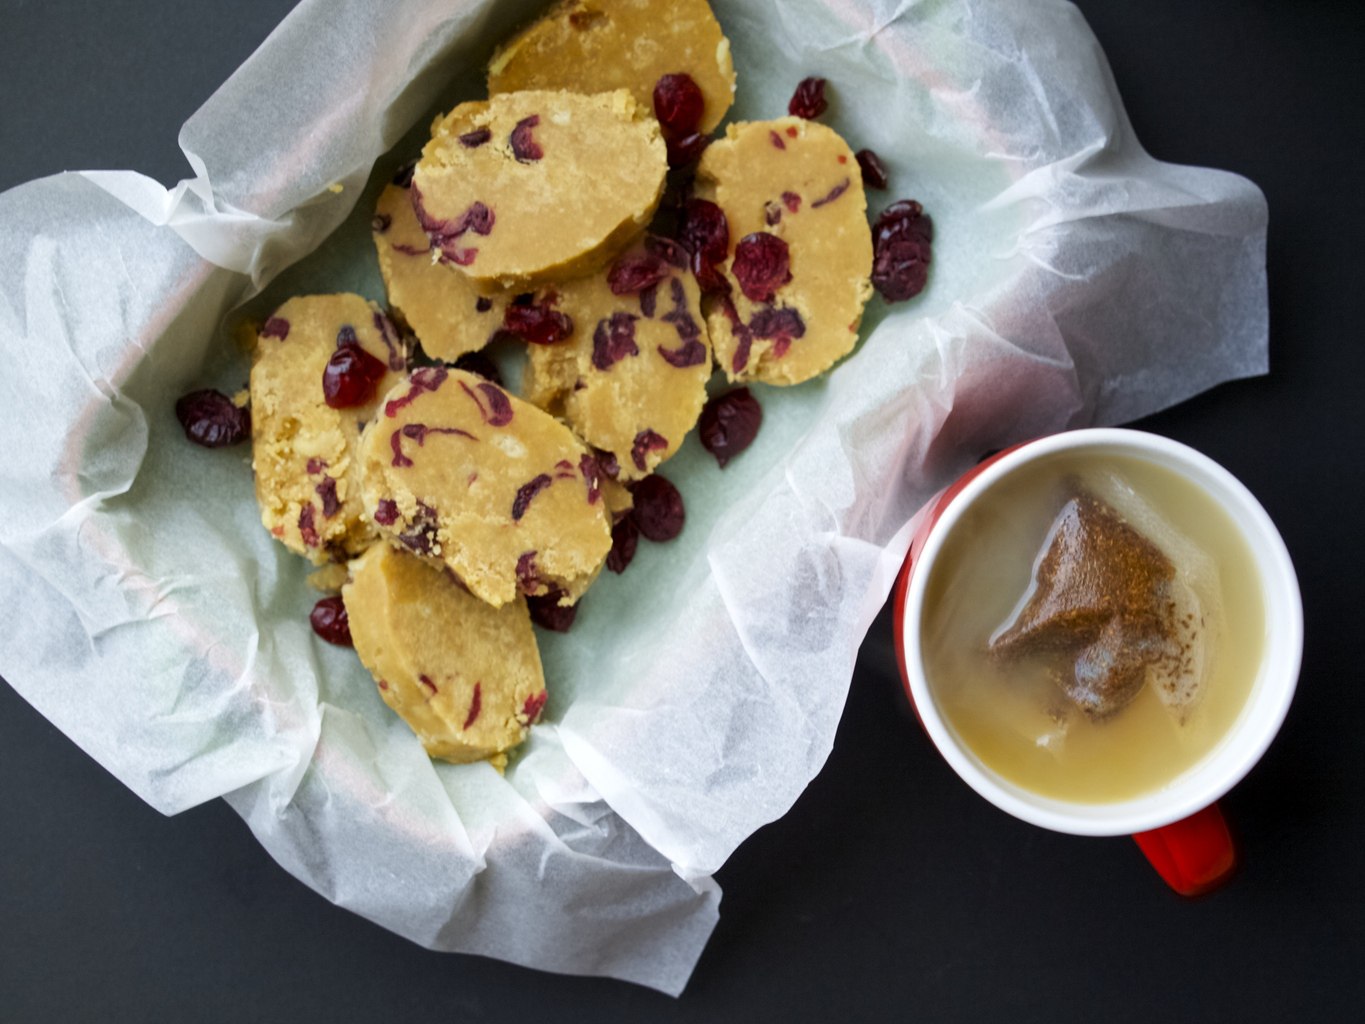
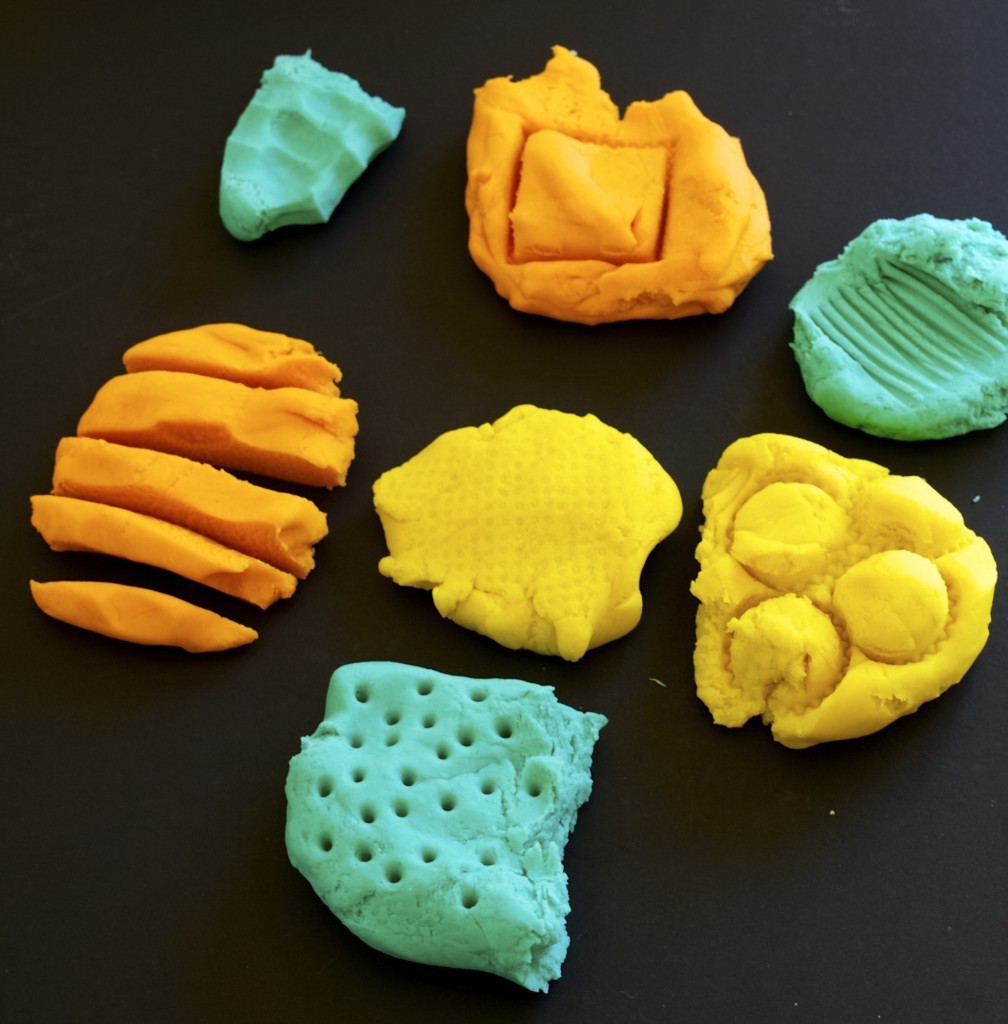
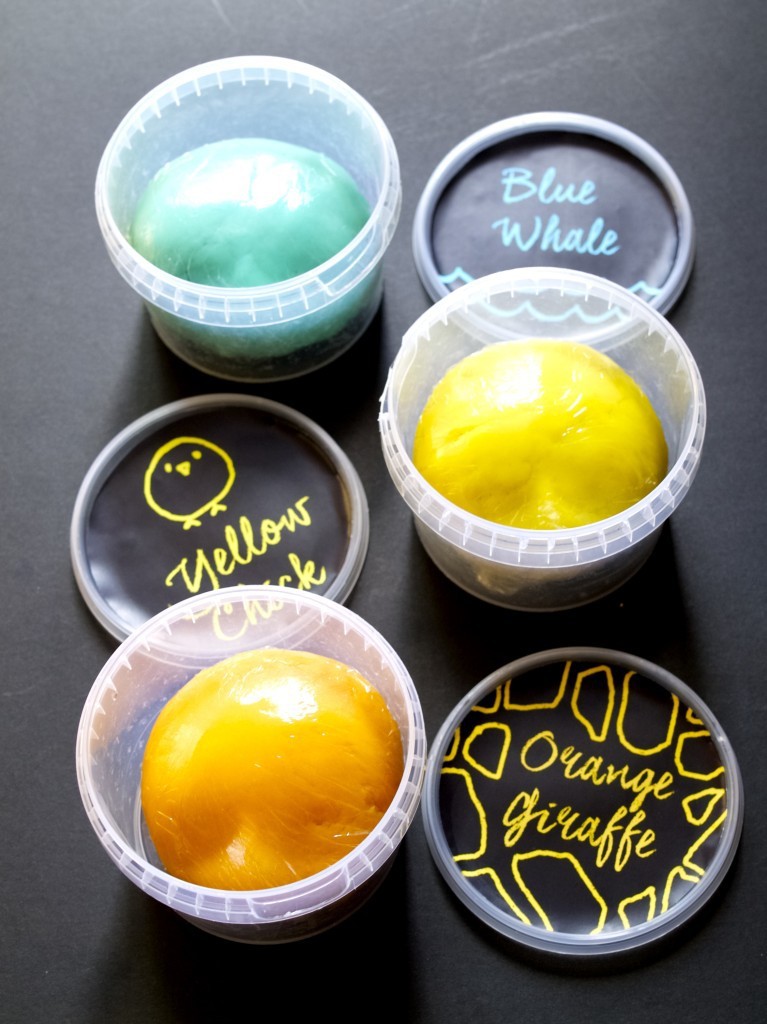
Anyway, making play dough was fun, although not everything came out right. This time round I decided to do more research rather than relying on one recipe. I was looking for a recipe that is quick and easy to make, long lasting, and a very flexible texture. I came up with a semi-cooked version which basically does not need a hob, but “cooks” in boiling water you pour over it. Smart, isn’t it? And apparently it last 6 months!
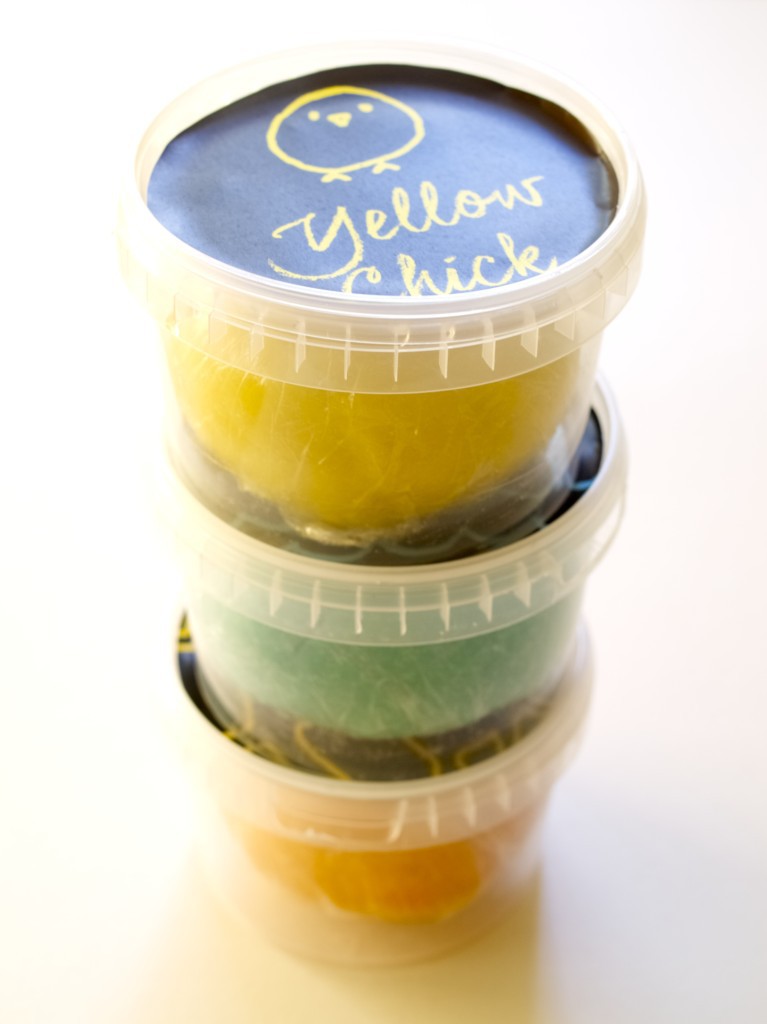
So, the reason for this post (in case you are wondering), is to make some play dough for gifts to friends/family who have children. These are perfect for that I thought. I even thought of custom packaging!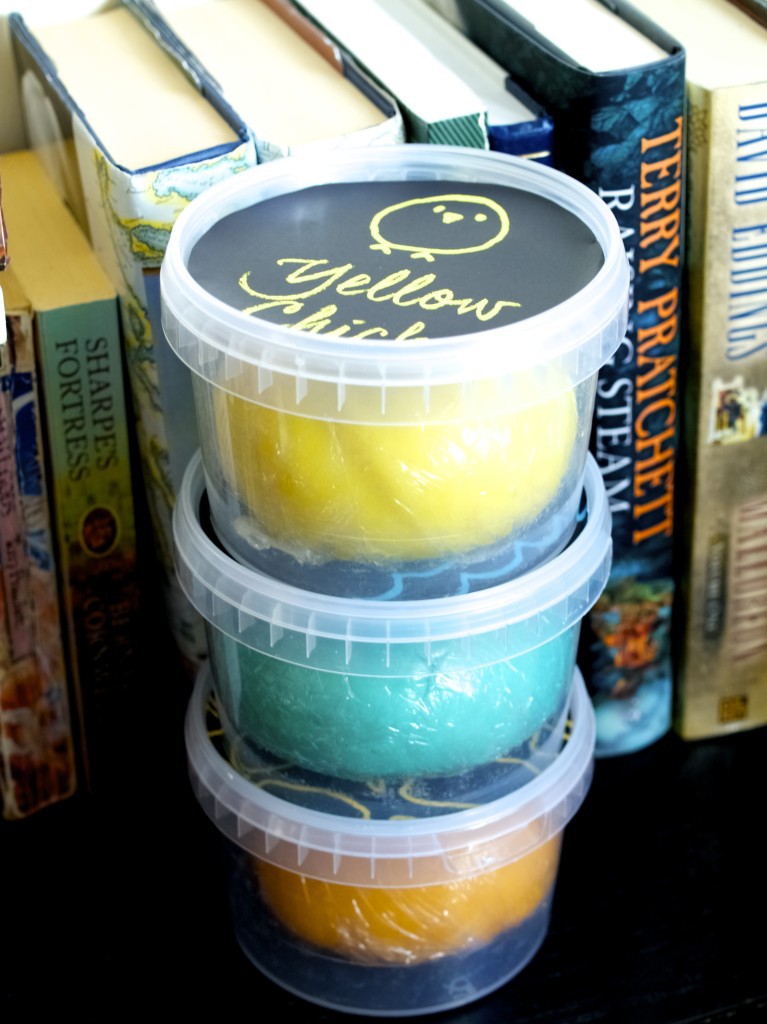 For one lump of play dough the size of an orange you will need:
- 1 cup flour
- 1/4 cup salt
- 1 tbsp citric acid or cream of tartar
- 1 tbsp oil
- food colouring (amount depends on the brand of colouring you are using)
- 1tsp orange extract (totally optional, adds nice smell)
- 3/4cup boiling water
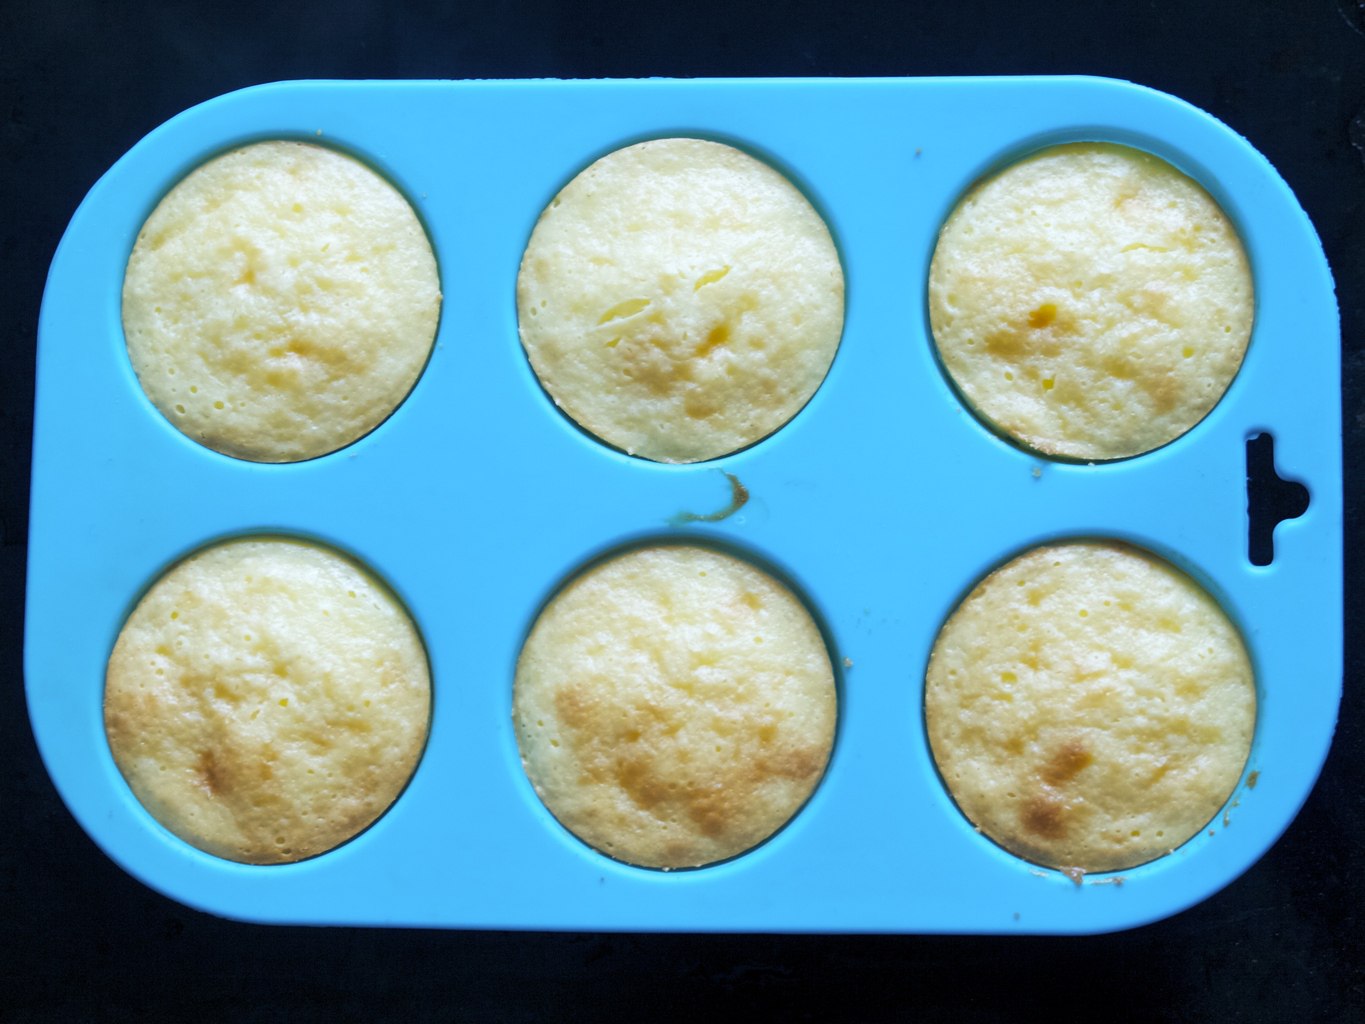
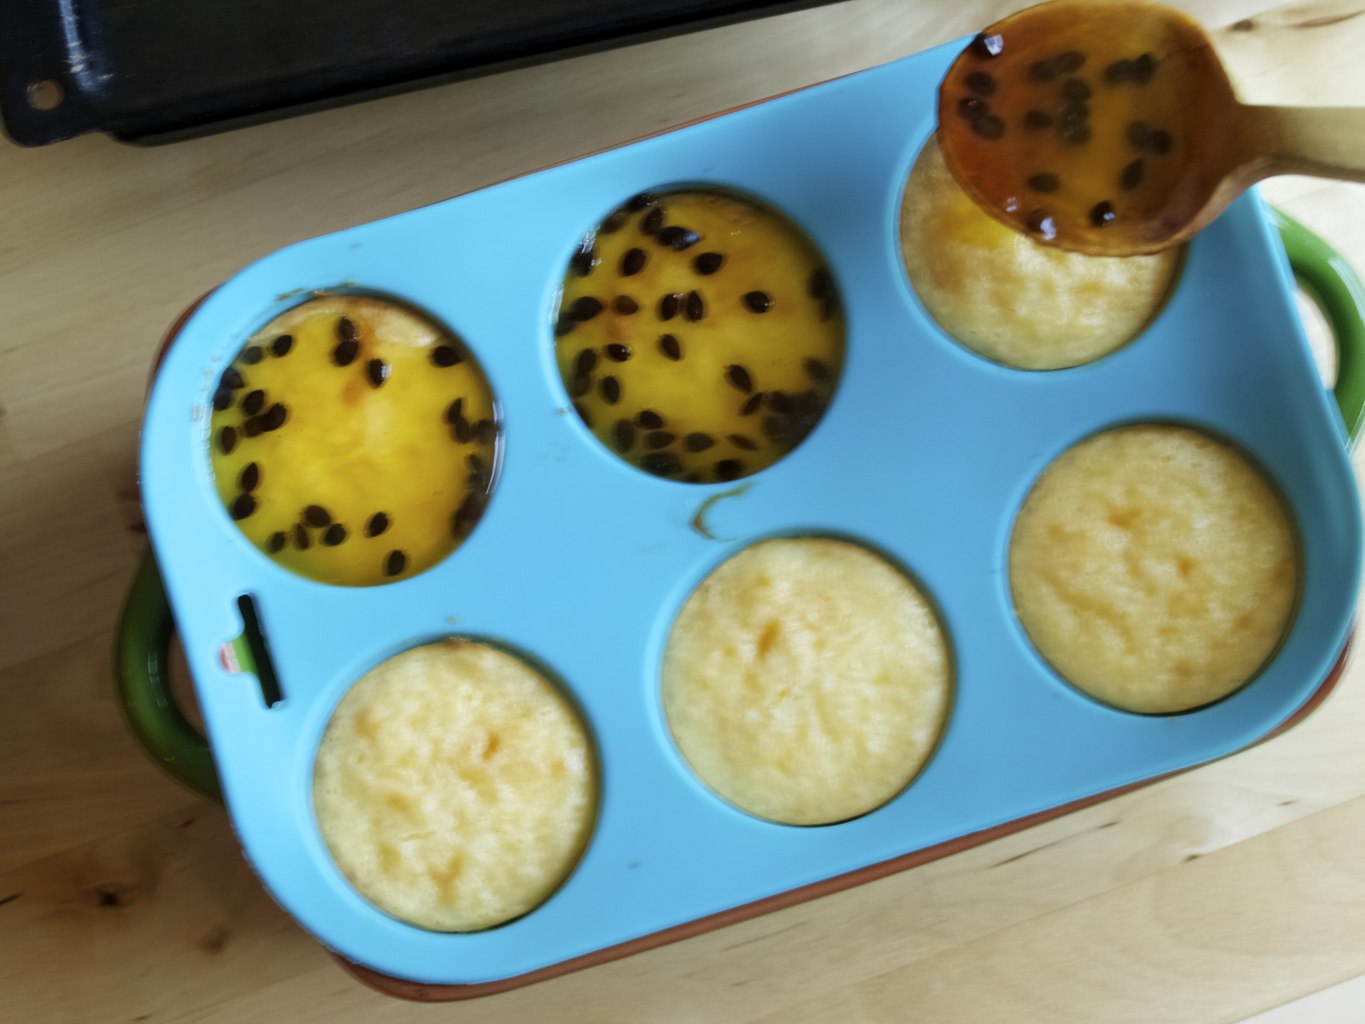
1. Combine flour, salt, citric acid, oil and orange extract (if using) in the large jug or bowl. 2. Mix food colouring with boiling water and pour it over the flour mixture. Mix it with the spoon until you get a clean dough ball. If it is too sticky, add some flour.
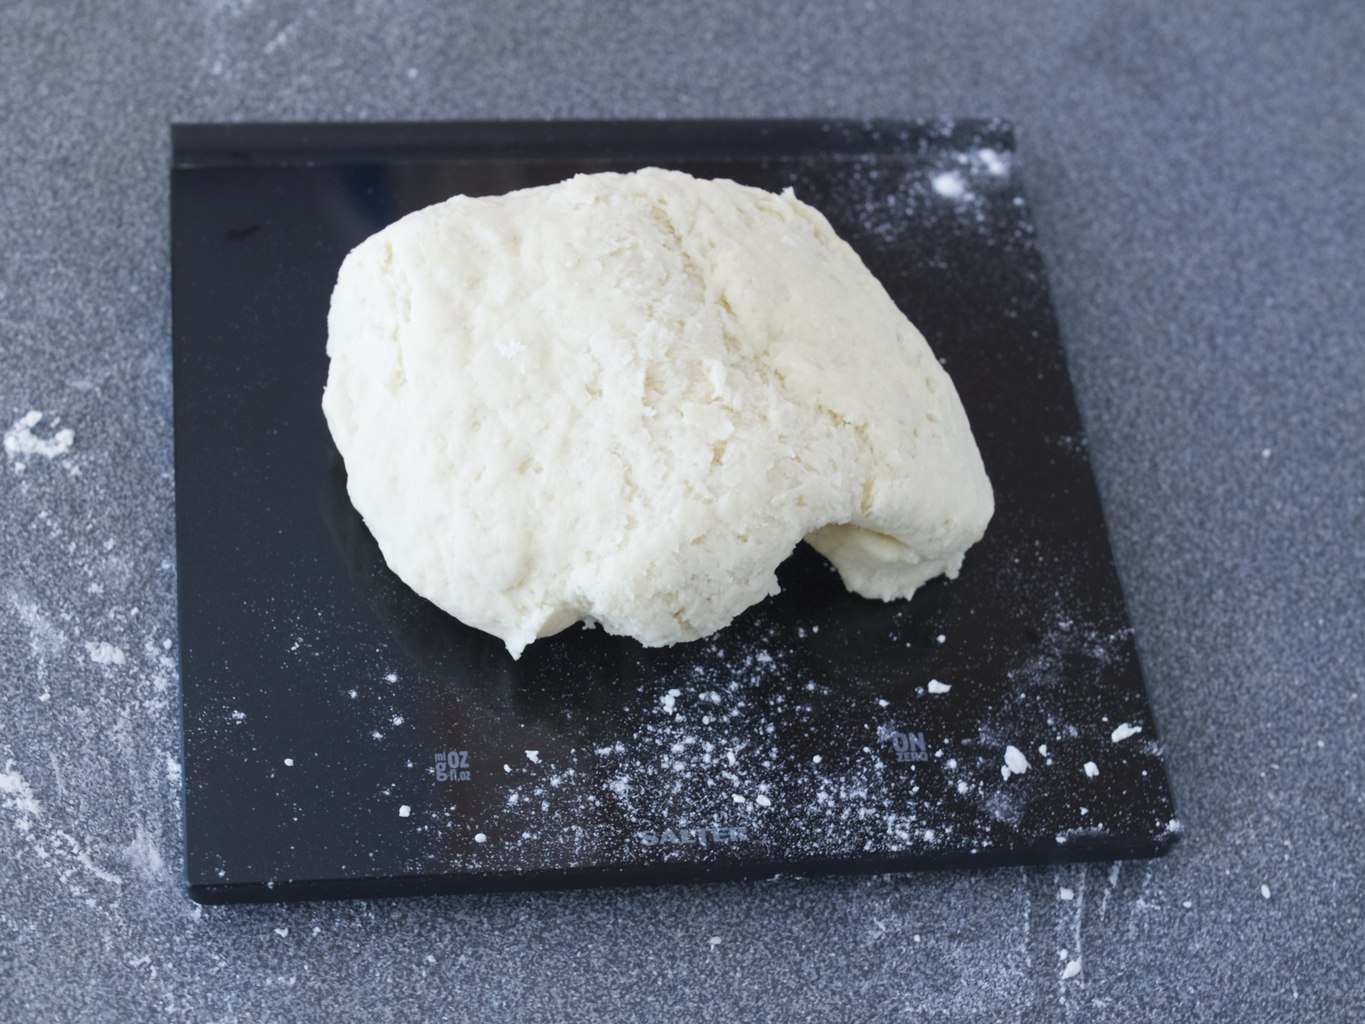
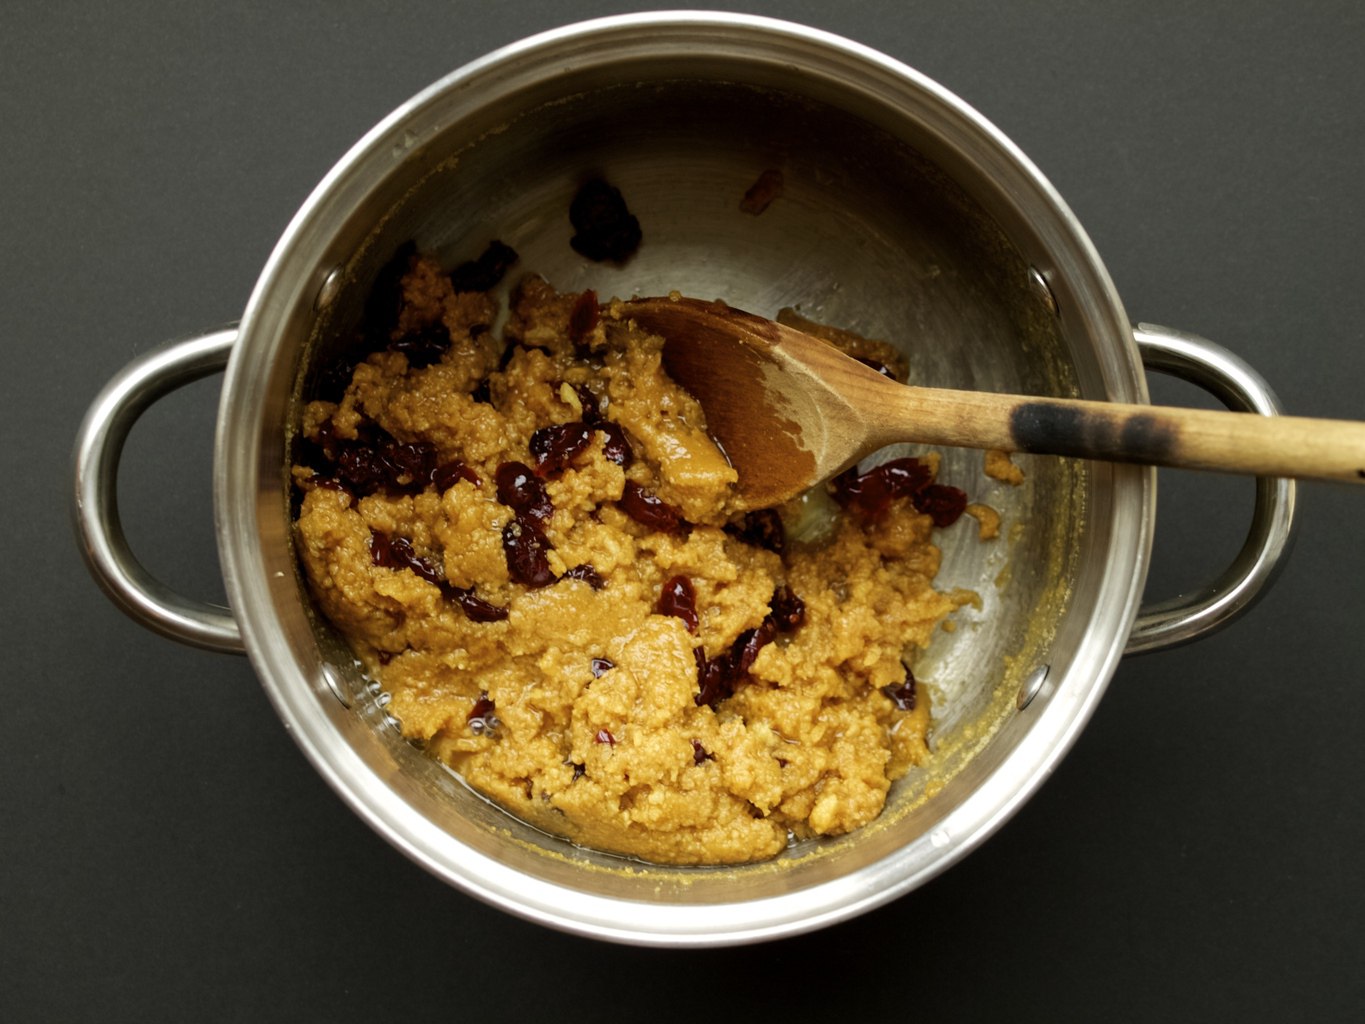
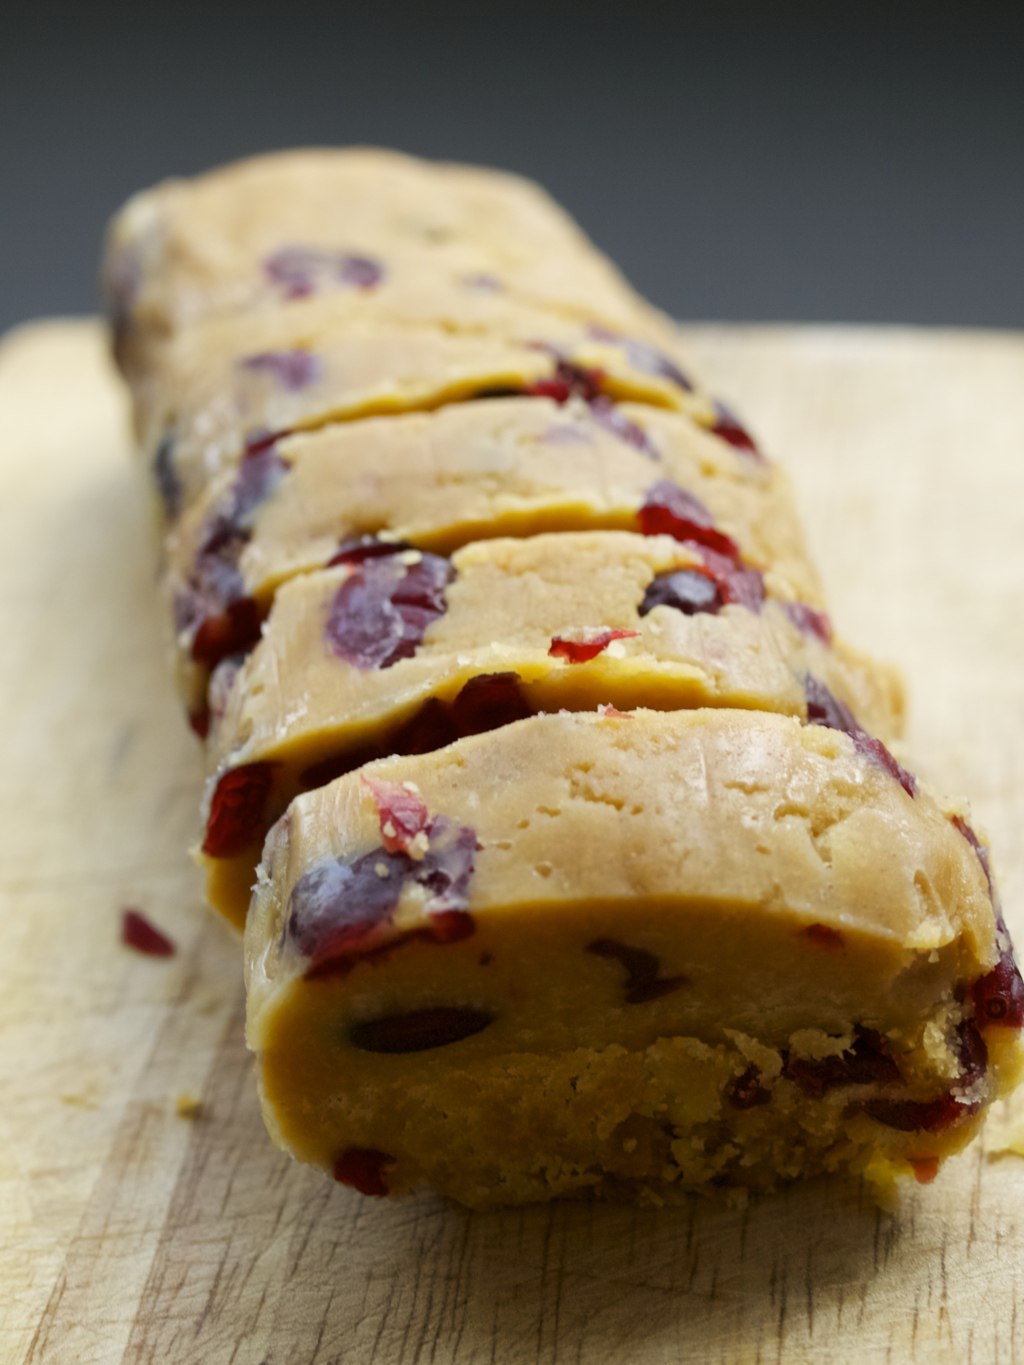
3. Remove the dough from the bowl and kneed it vigorously until it becomes really smooth. I love this part of the making as the dough is still warm and nice to touch!
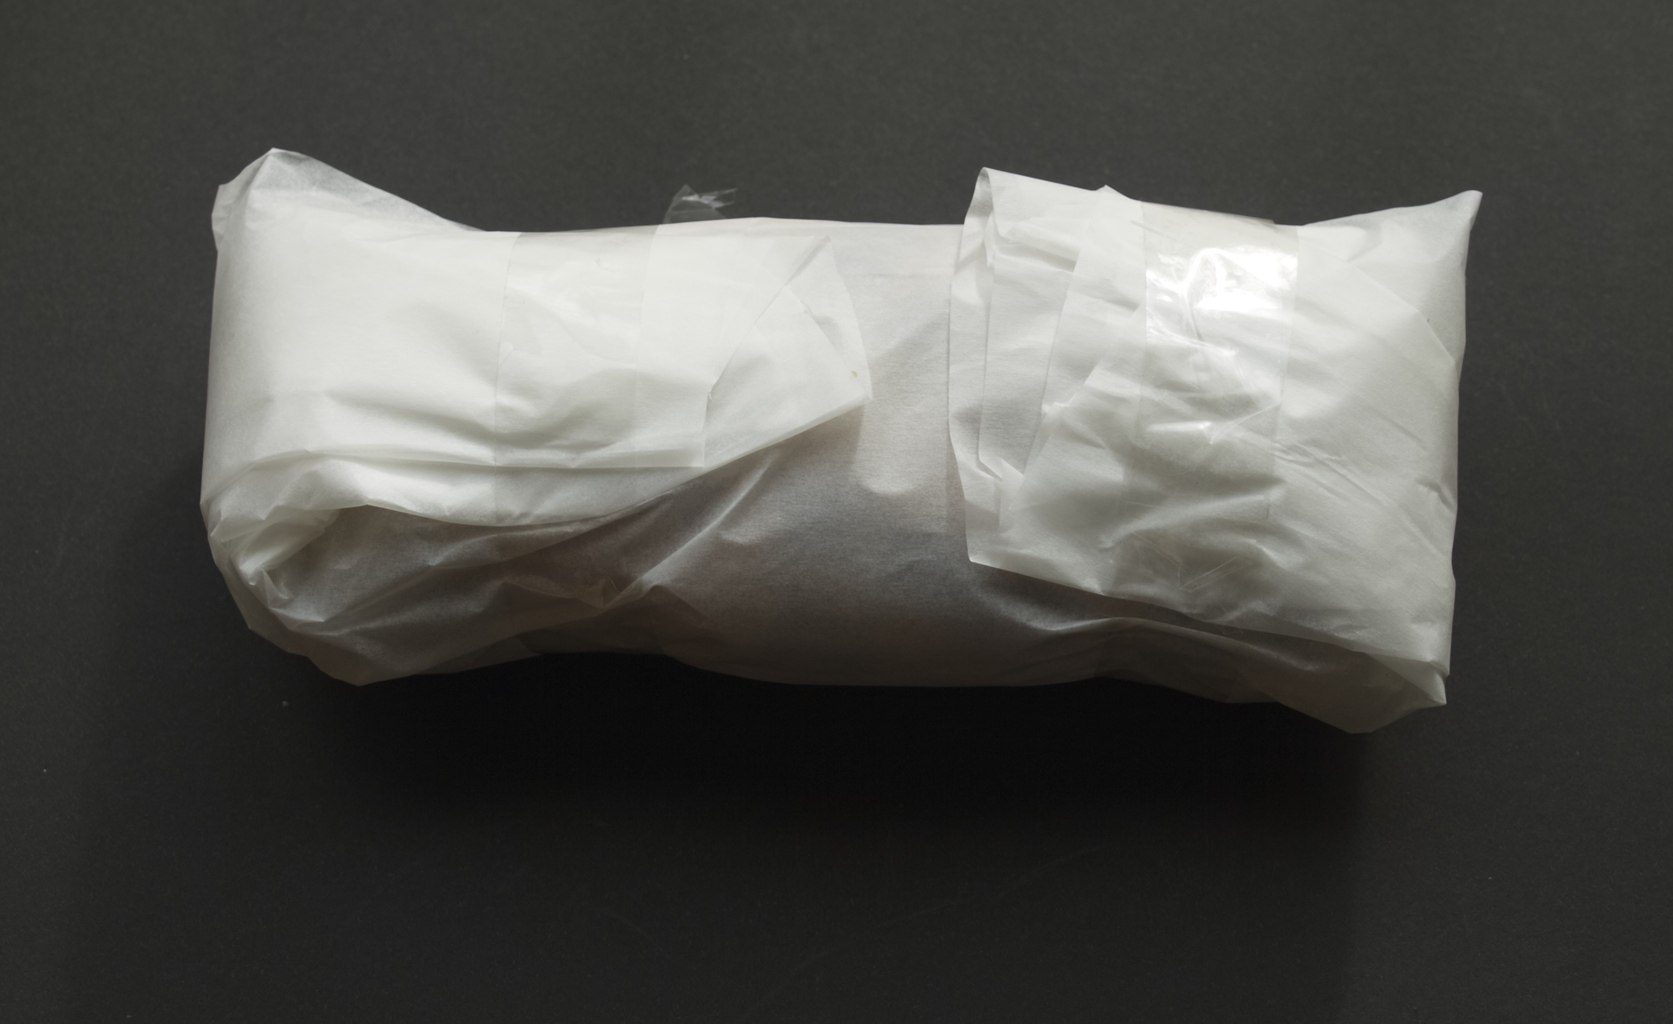
4. If you are giving this as a gift the best way to store is all wrapped in cling film or in the air tight container.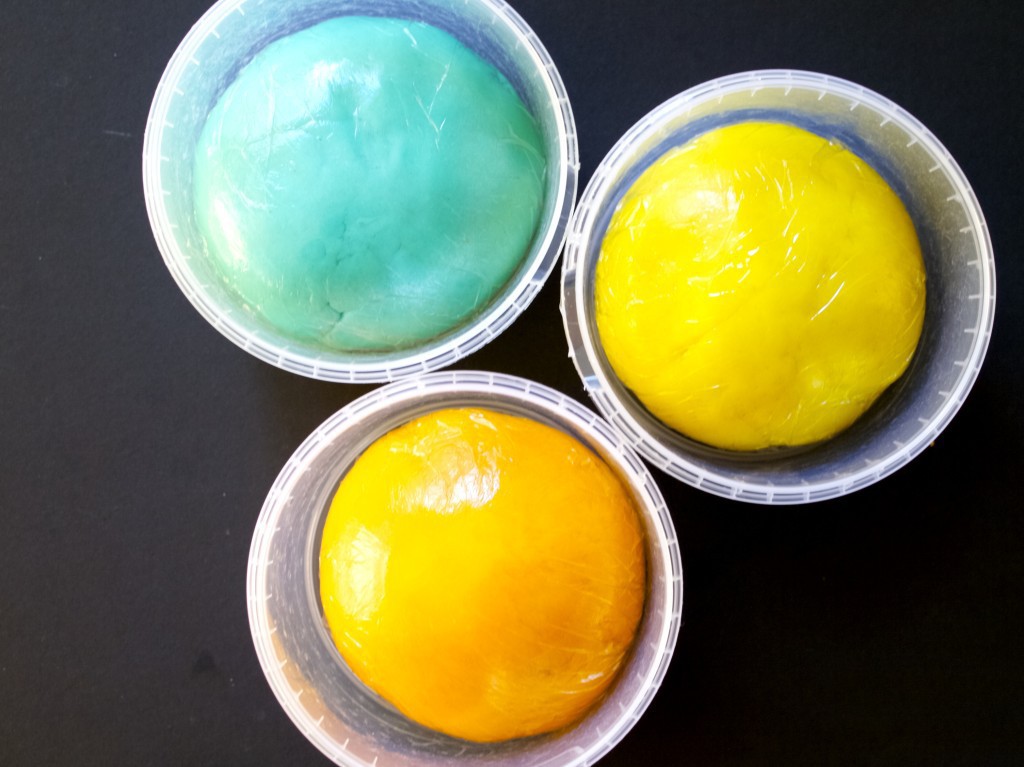 Here are the labels, free to print ;-).
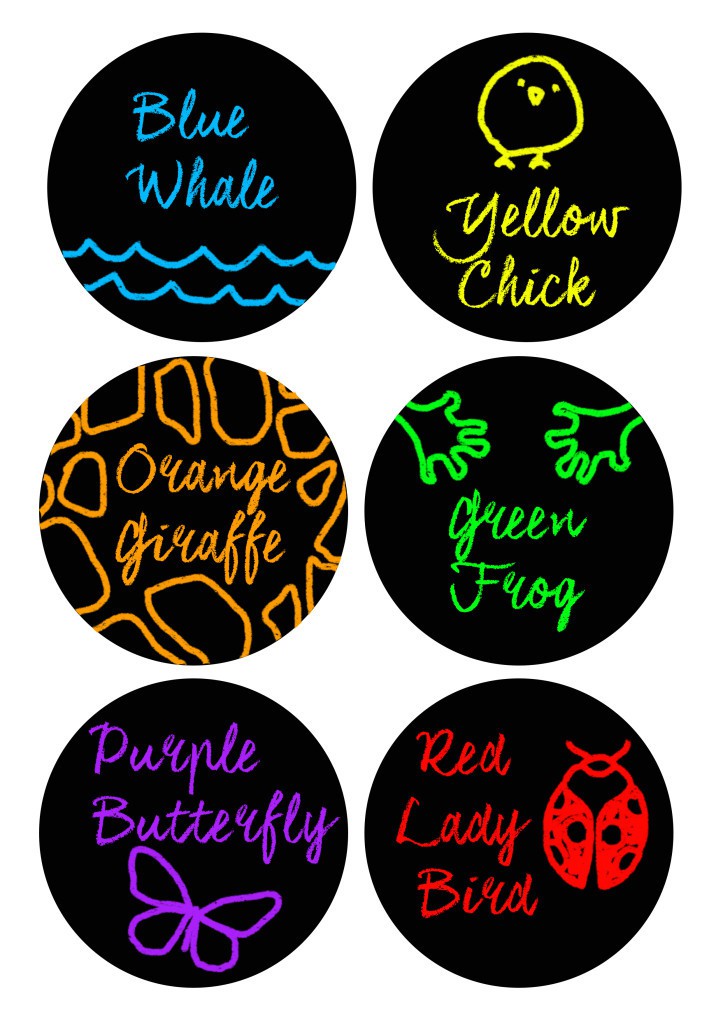
 I hope you will enjoy making this :)
Rasa xoxo


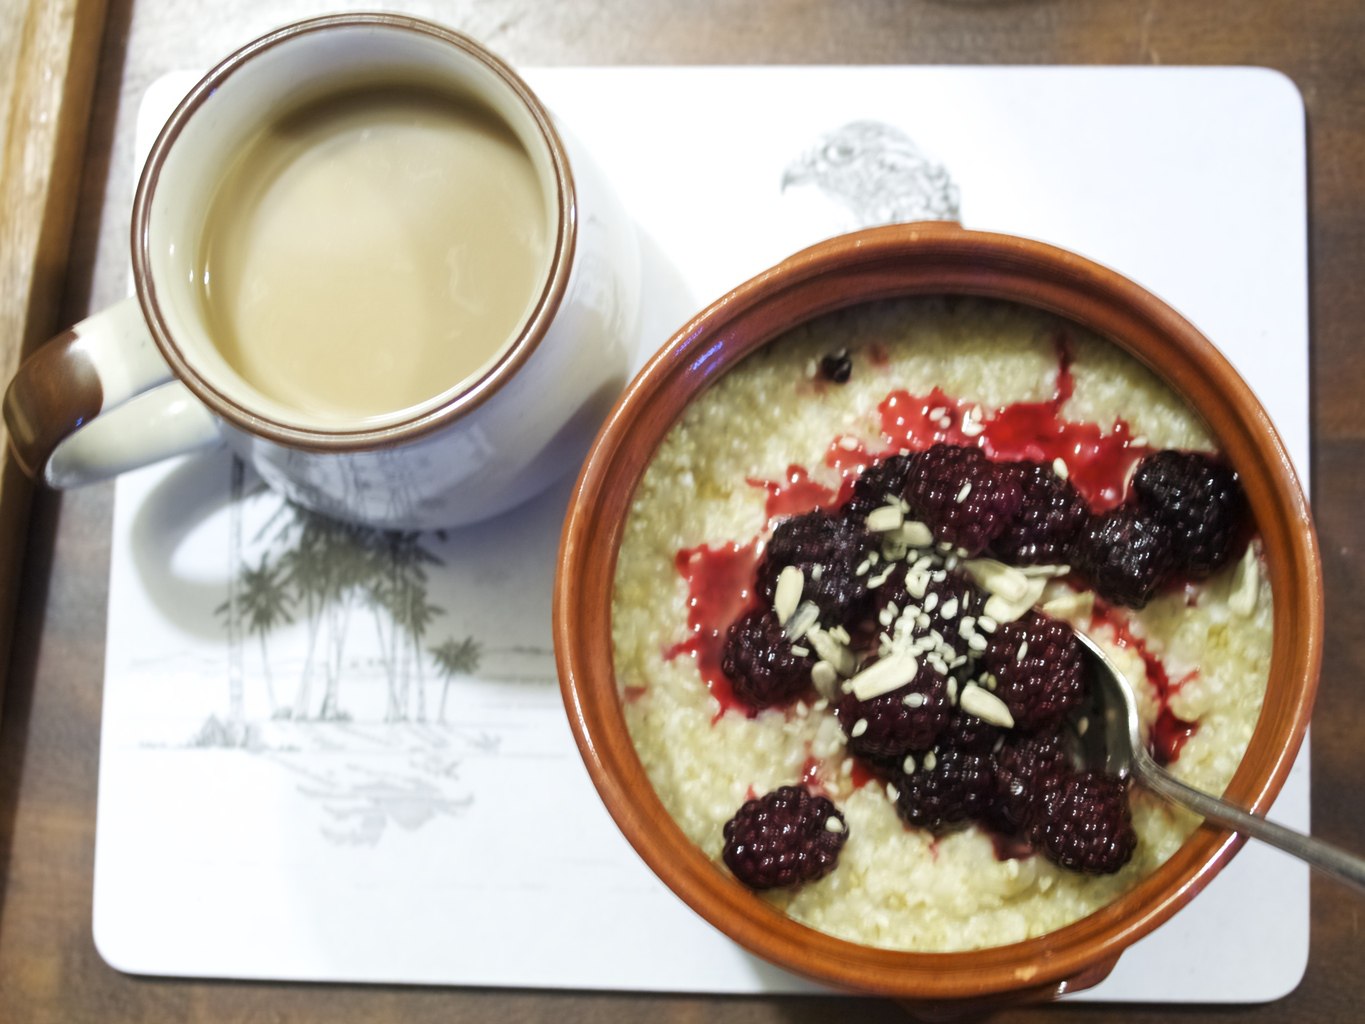
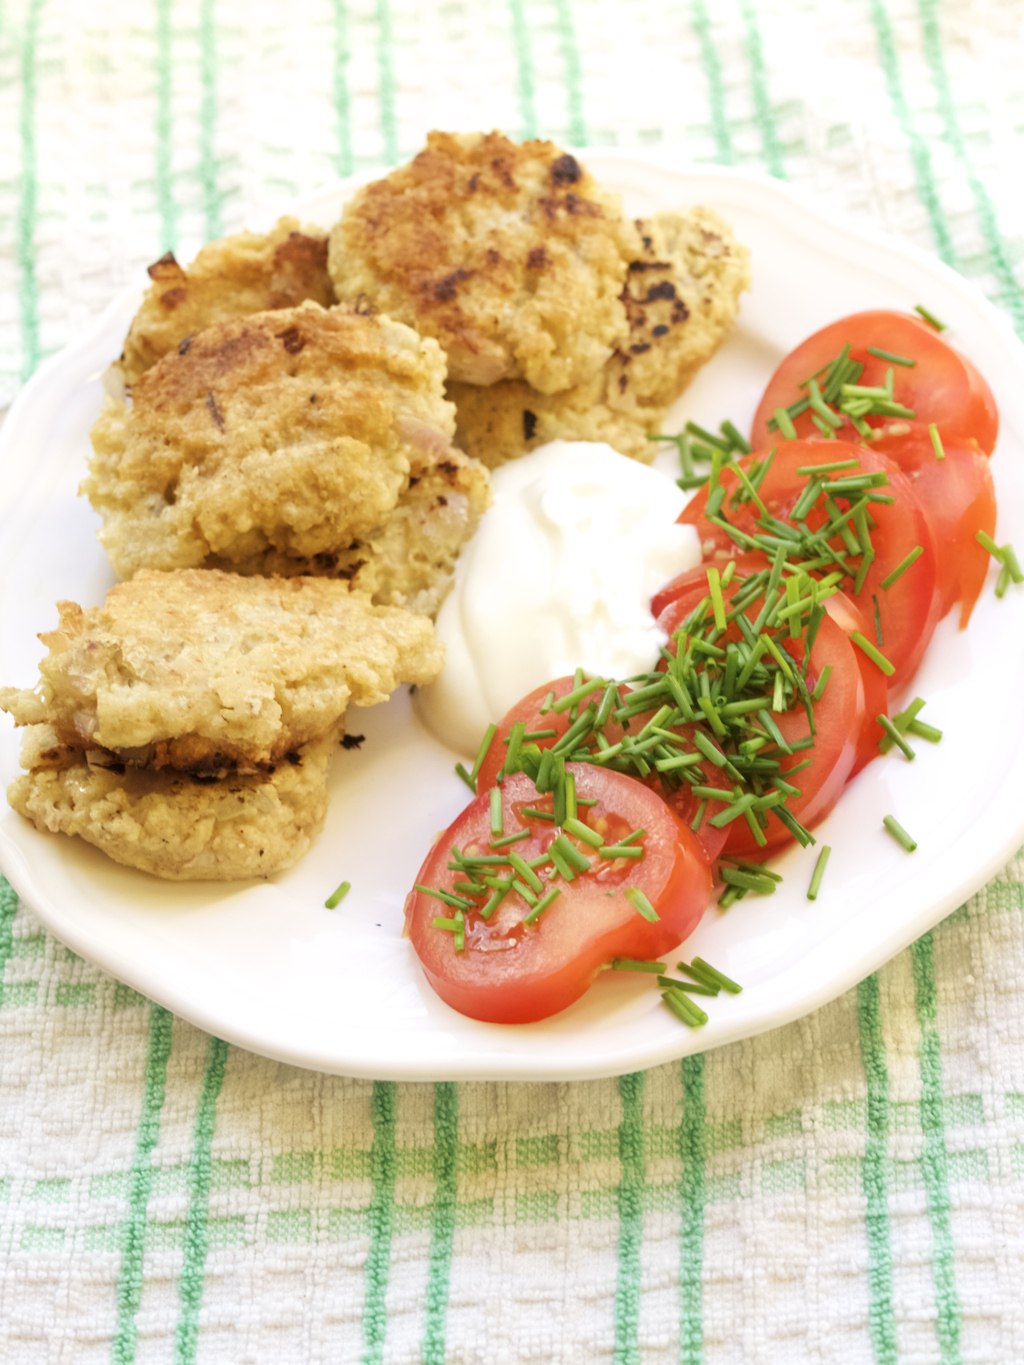 As you know, my favourite meal is breakfast. In fact I love it so much that I sometimes have it for lunch as well! These oat fritters have been introduced to me by my dear friend Vicki. We used to have this type of breakfast every time I used to sleepover at her place (good old days!). This is diffusion breakfast between porridge and classic fry-up as it taste a little meaty. Very good vegetarian recipe from Vicki’s mum!
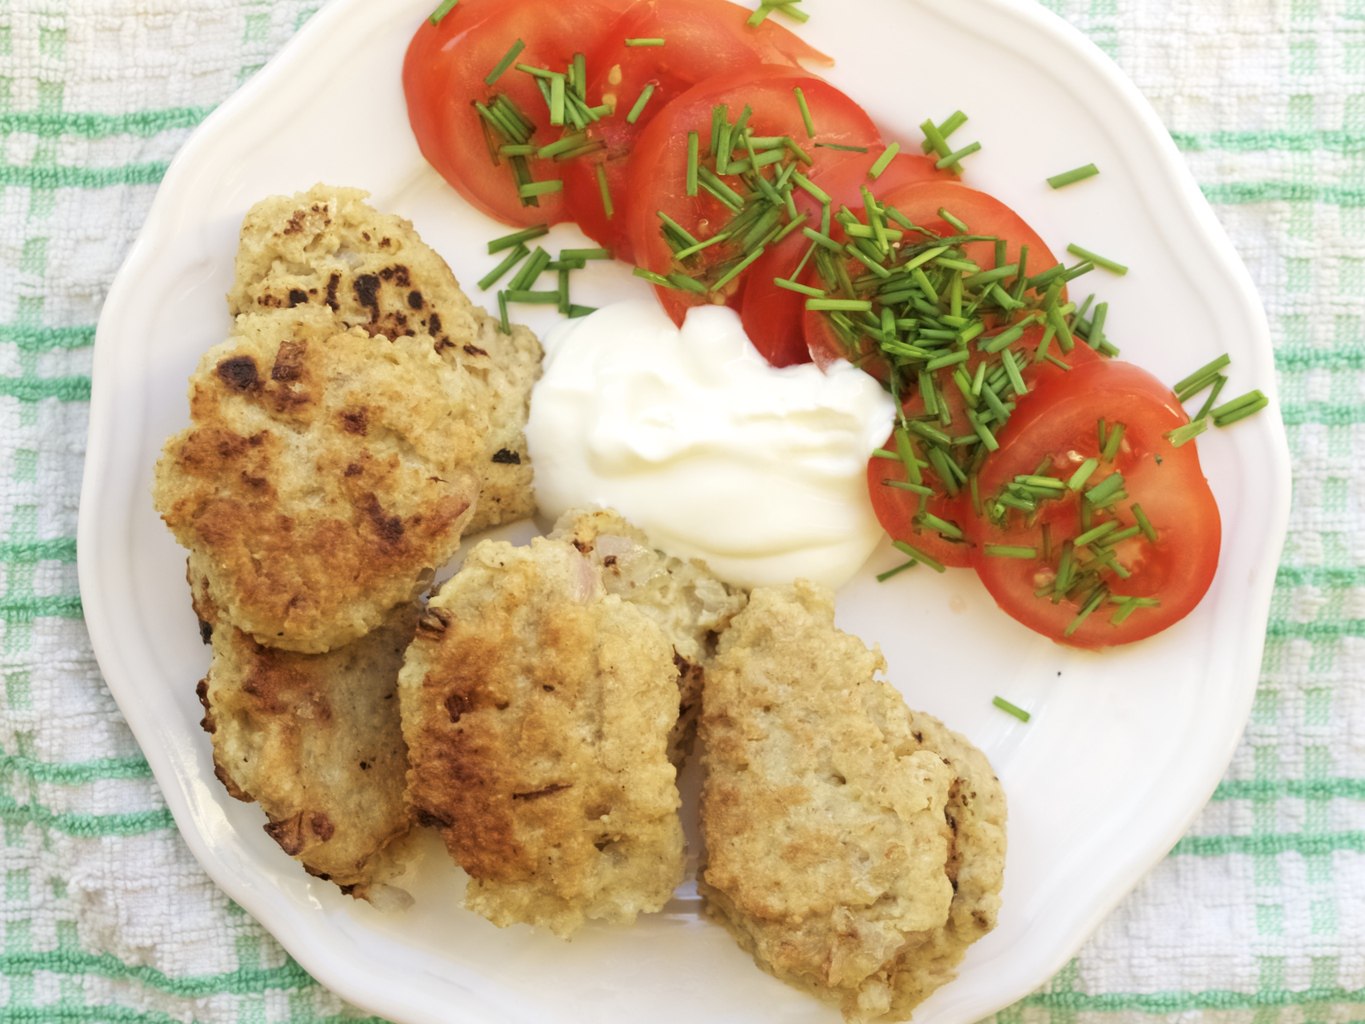 VICKI’S MUM’S SAVOURY OAT FRITTERS enough for 2-3 brunch lovers
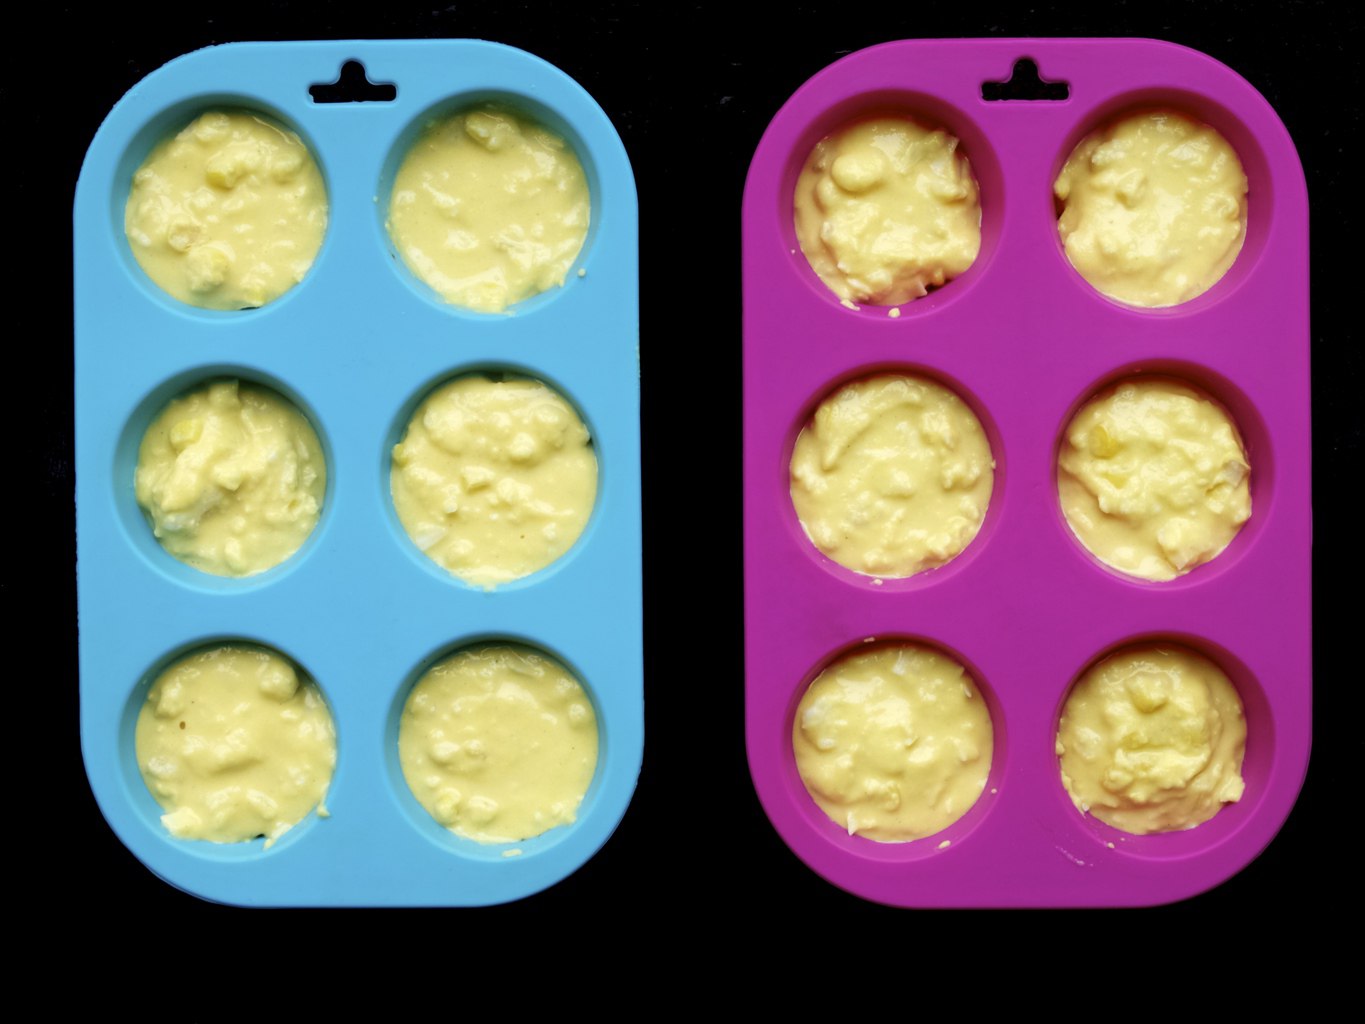
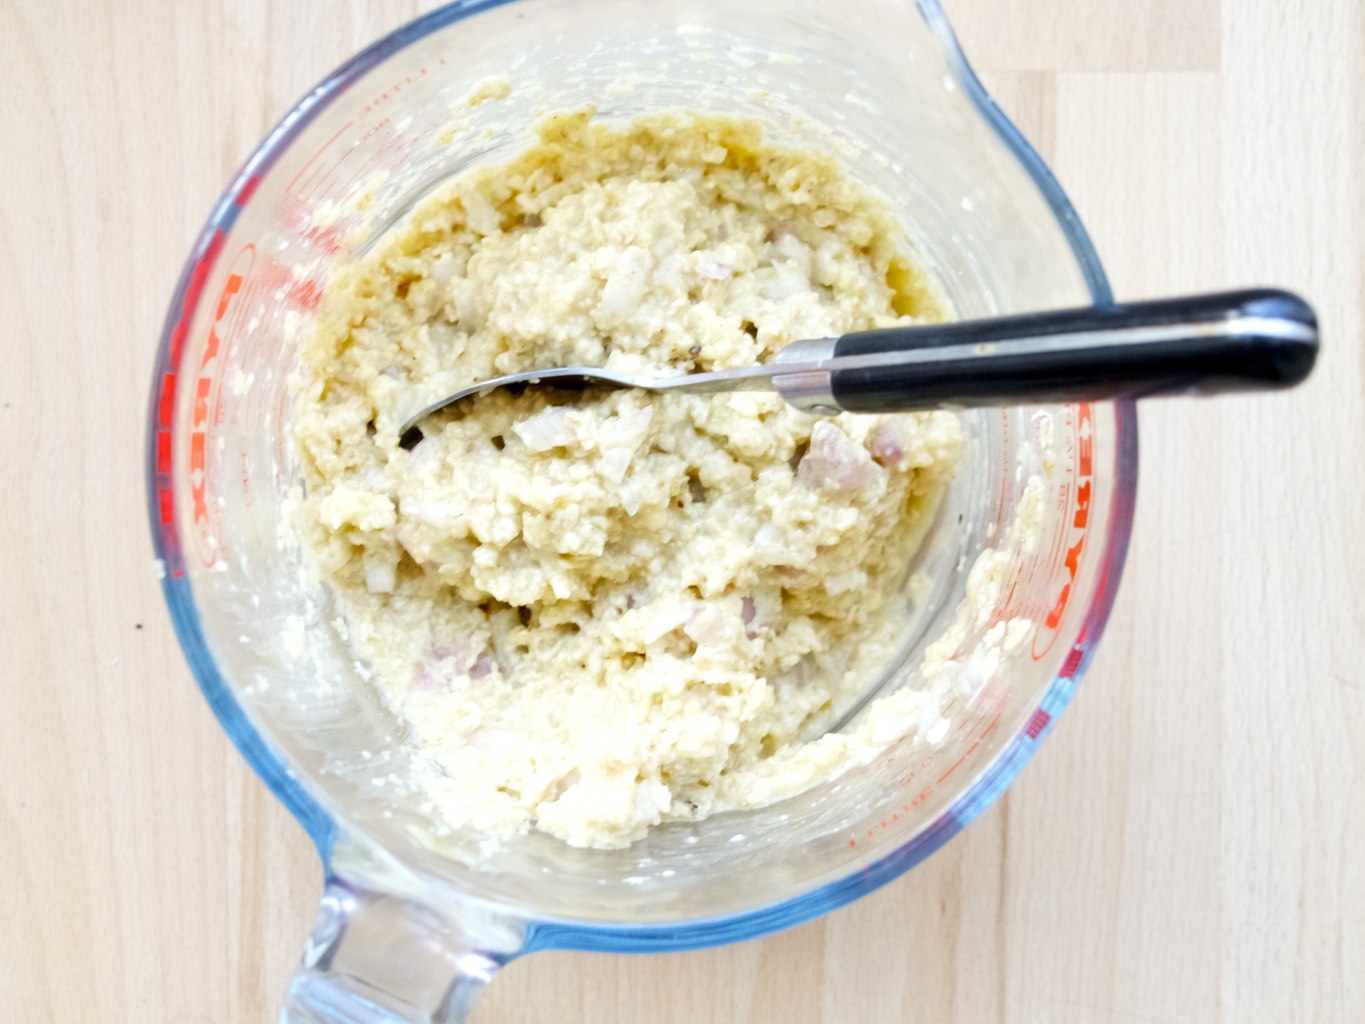 2. Heat the oil in the pan and then spoon the mixture in, leaving gaps in between. Fry the fritters while occasionally turning them over to ensure they cook on both sides.
 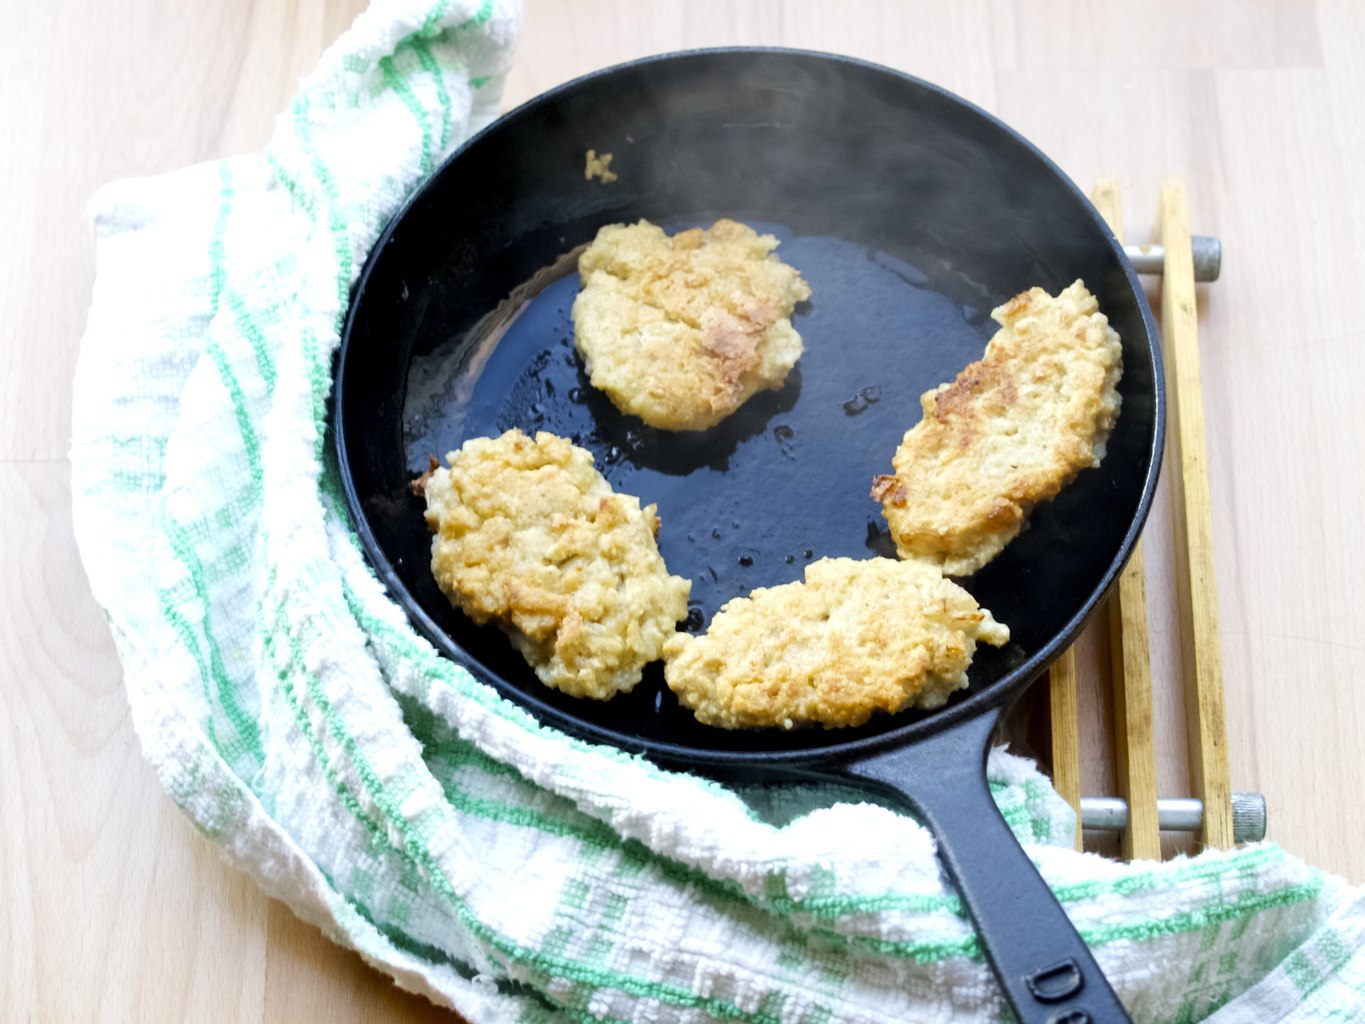 3. Serve with cream fresh and tomato salad!
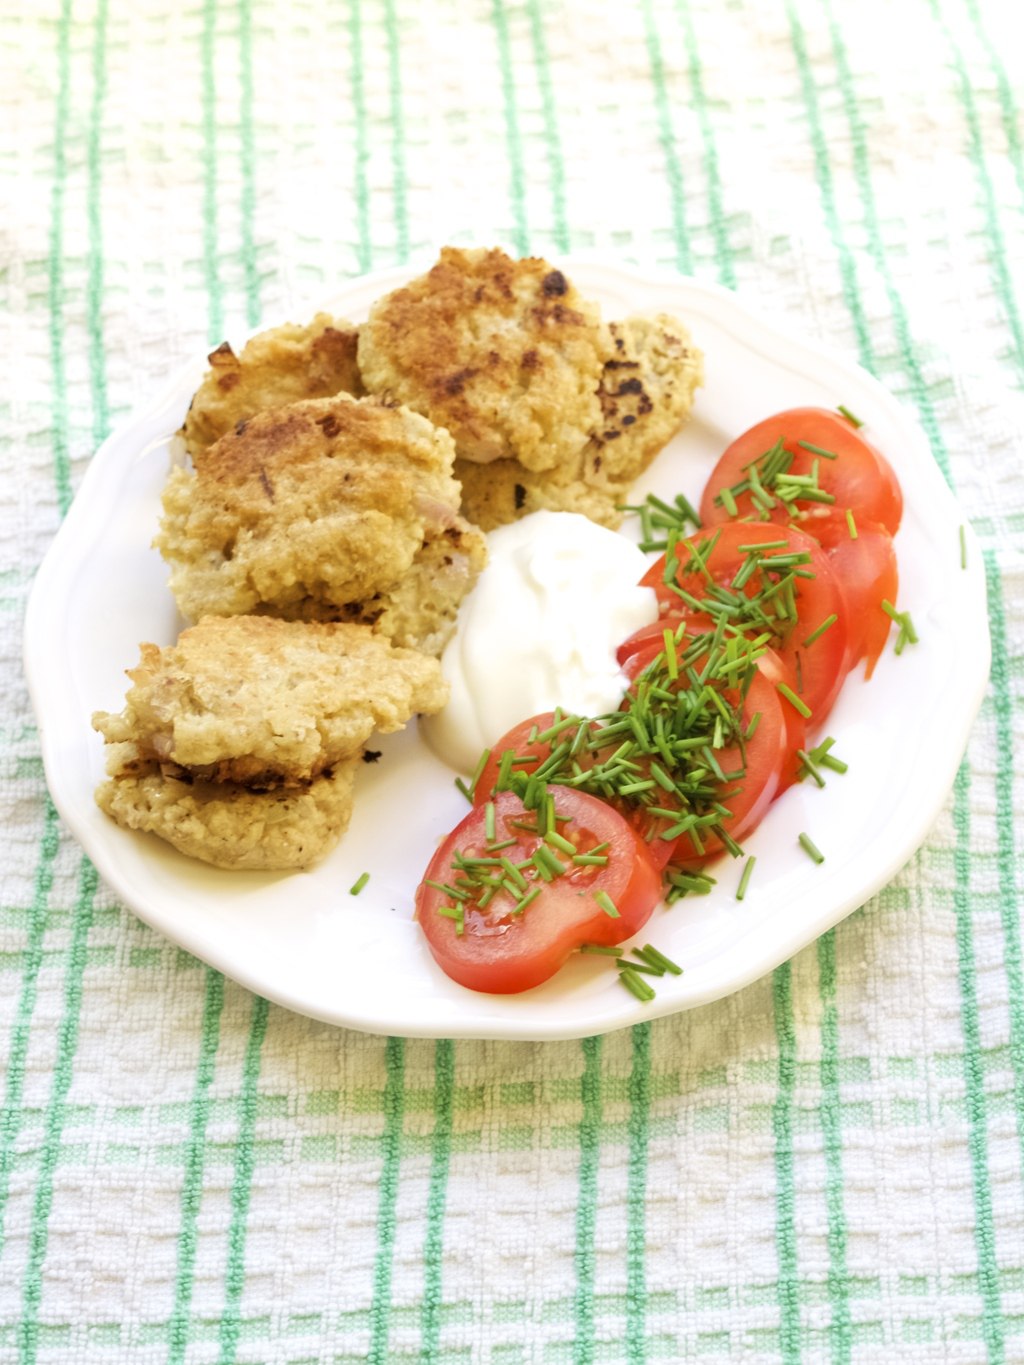 Enjoy!