Top

Author Archive | Rasa Pelham

Autumn wardrobe inspiration

Good old days knitwear style First things first, happy happy first day of autumn! Aren’t you loving this? If you asked me this question 5 years ago I would ask what is there to like about autumn? I really disliked the cold wether (still do). But recently somehow I have learned to love autumn. I guess I have to thank my friend Vicki here, who claims to like all the seasons :-). I finally see what she means! Autumn brings rich amber colours, reminds you that there is Christmas to look forward to, inspires you with new wardrobe to wear and makes you to snuggle in comfortable chair with some knitting project + cup of hot chocolate. Yey, about the last bit! We (me, Vicki and her mum) are even thinking to knit together some day over Skype!

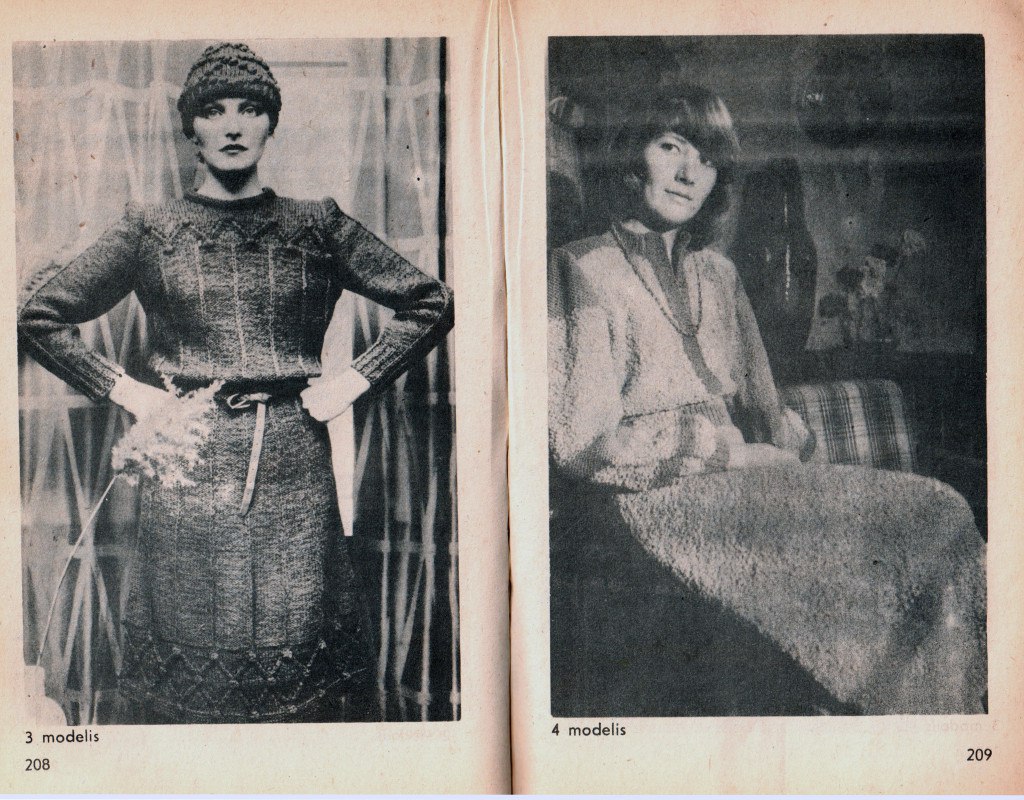
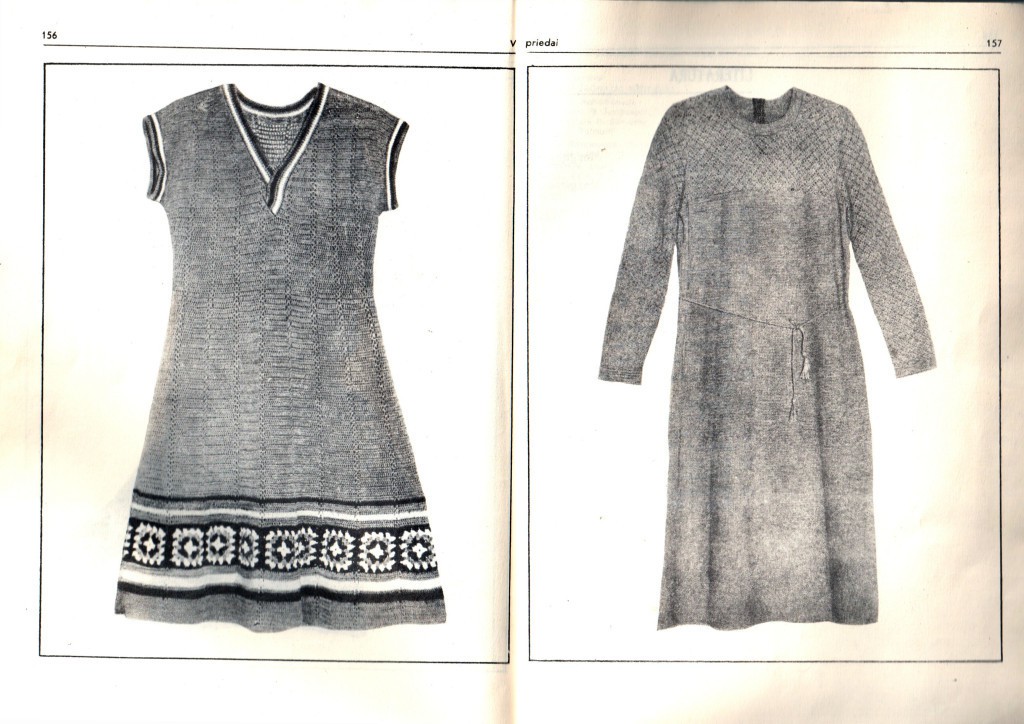
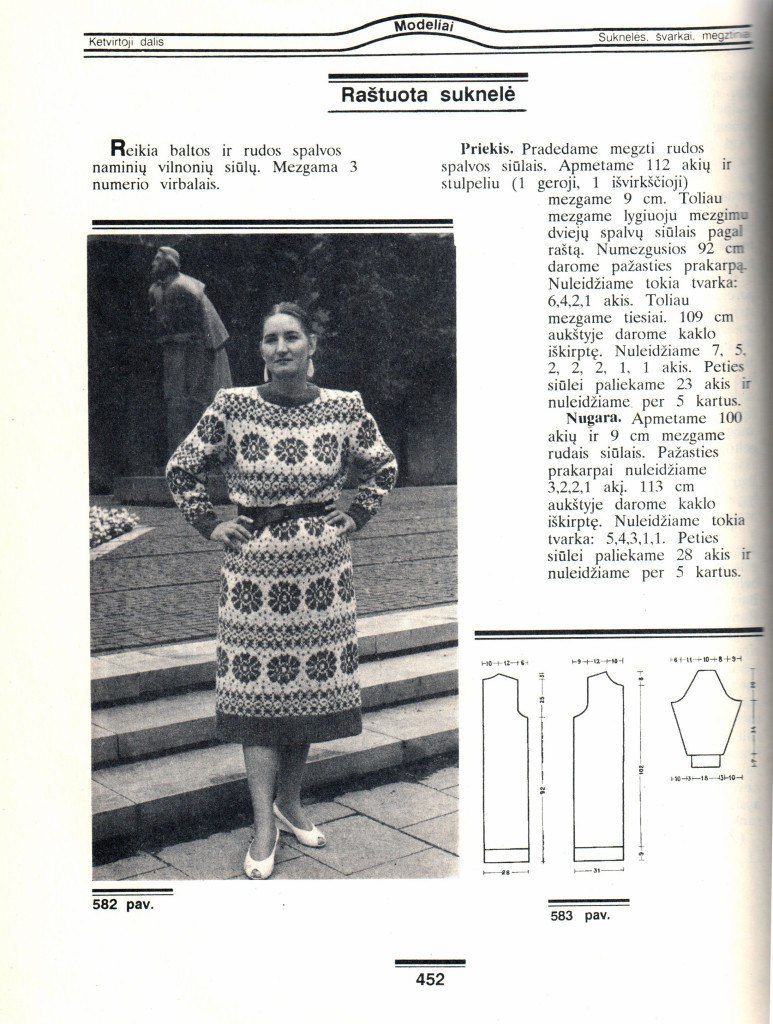
Anyhow, today I have been looking for some autumn wardrobe inspiration. This time I ditched Pinterest and browsed trough my old knitting books instead. I used to laugh at these old clothes styles thinking “who would actually wear these hideous looking sweaters?”. But now I have complete different outlook on them. I think the clothes can be quite wearable if only they were styled differently. I guess dieting were not an option those days ;-).

Good old days styleMy dream right now is to knit an autumn dress. But to be completely honest, this is one of my high sky dreams. To knit a dress in fine stitches would take forever considering I have three other jumper projects on the queue! Oh, well… I  still like dreaming about it and you never know what will happen in next few months… Good old days style knitted dressesOne thing I must note about old books, they are brilliant in explaining how to knit. There are so many things I have learned from them! They all have very clear illustrations and actual written pattern with no abbreviations! This is what I call straight forward knitting!good old days knitwear styleHope you enjoyed having a glimpse at my old (Lithuanian) kitting books ;-)

Rasa xoxo

0

Pinterest challenge: chocolate caramel and pecan turtle clusters

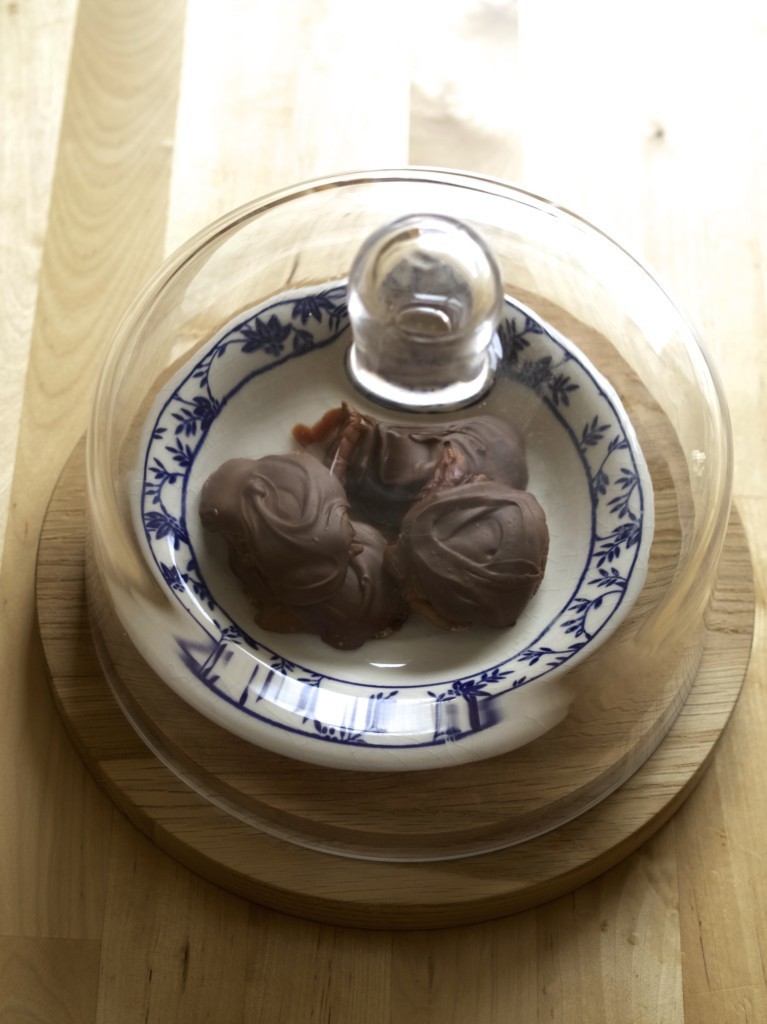
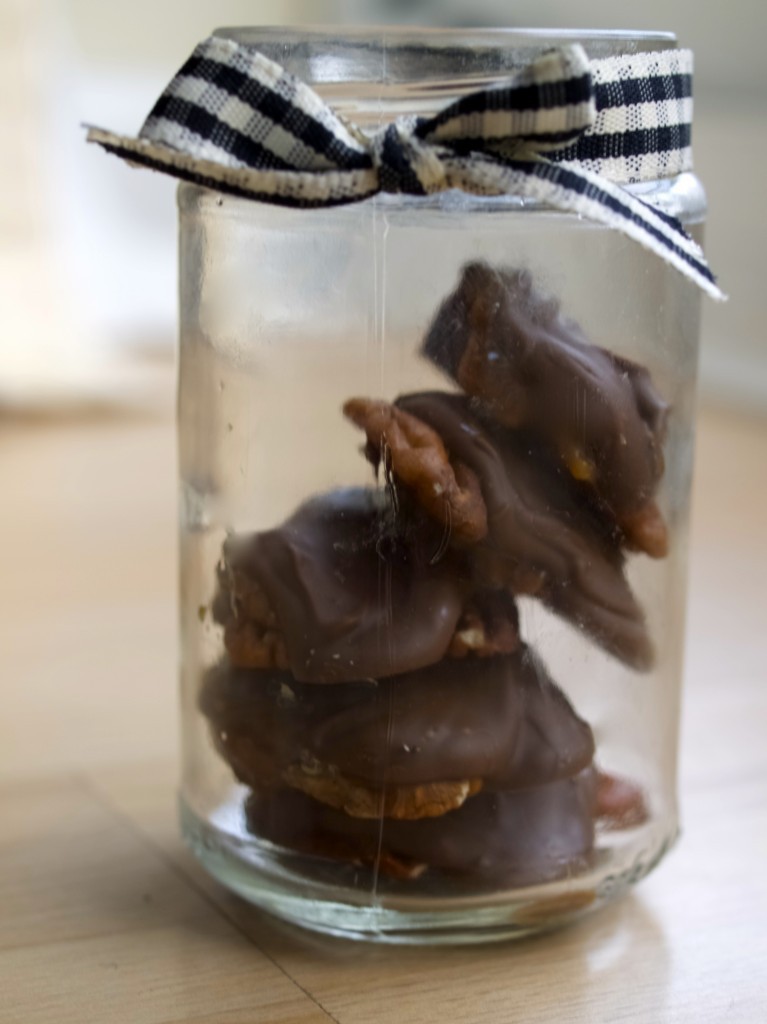
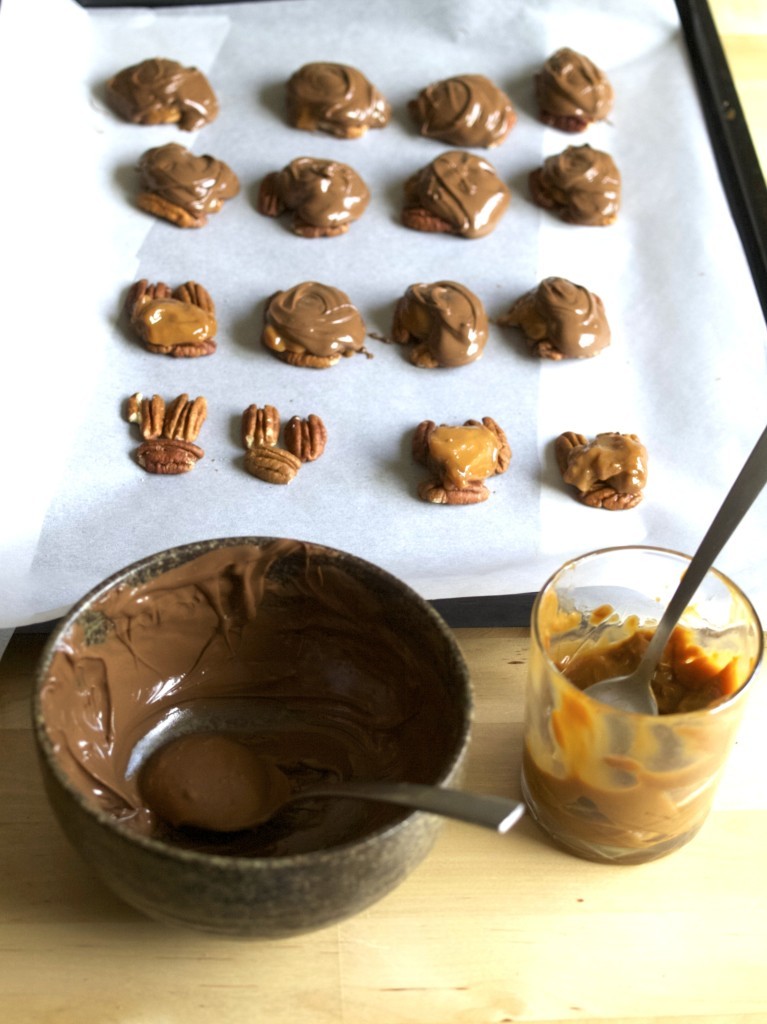
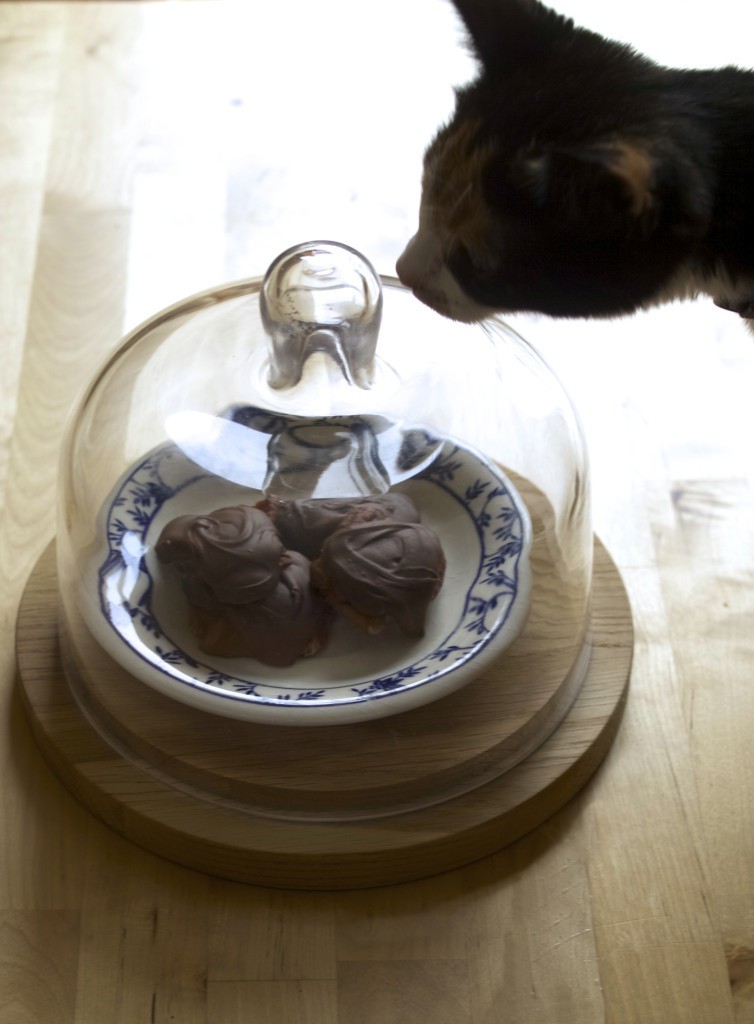
chocolate caramel and pecan turtle clustersI thought these mini sweat treats would be perfect for our house warming party, but never ended up making them. I eventually made them for a different reason, a serious need of chocolate fix! I found the recipe at Inspired Dreamer, but was quite disappointed with the missing instructions. It did not explain how to make the caramel! To be quite honest, I wanted a quick fix, so I was happy not to make any caramel, instead I used a shop bought. The only downside of that is that the shop bought caramel does not harden (unlike the homemade buttery caramel), therefore these clusters did not hold well (chocolate was holding everything). It was still very satisfying to eat, but if you made them with homemade caramel then they would be quite suitable to be wrapped like sweats or placed in the jar as a gift!chocolate caramel and pecan turtle clustersCHOCOLATE CARAMEL AND PECAN TURTLE CLUSTERS adopted from Inspired Dreamer 

  • 100g pecan nuts, toasted (whole)
  • 100g caramel
  • 200g milk chocolate, melted

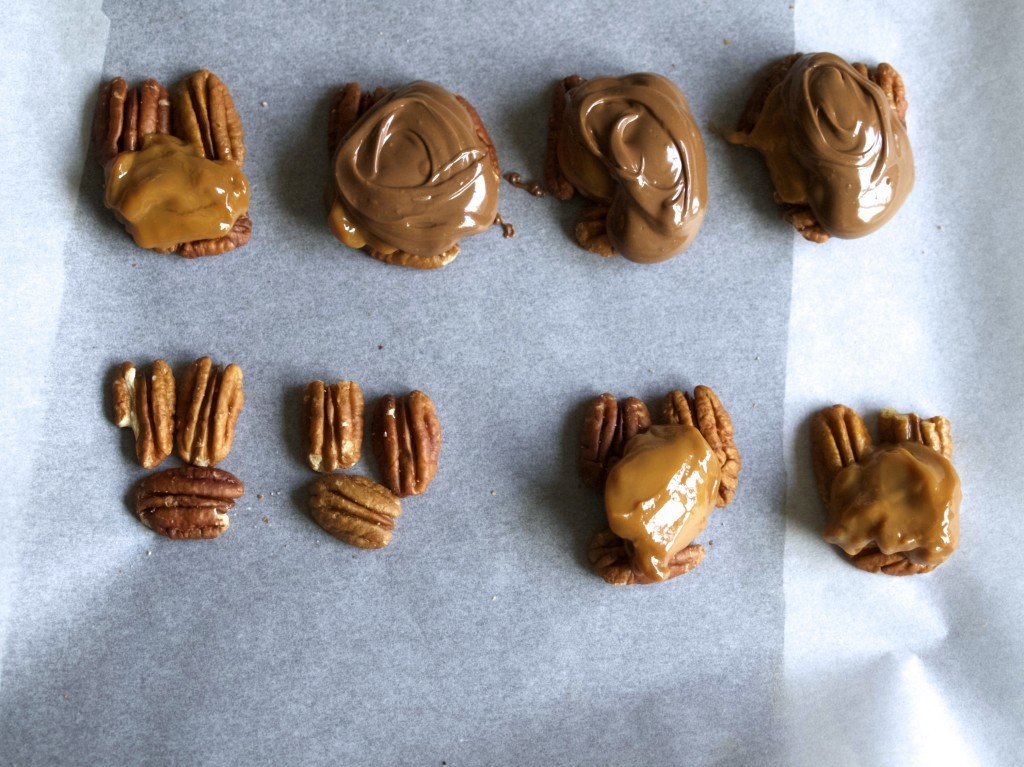
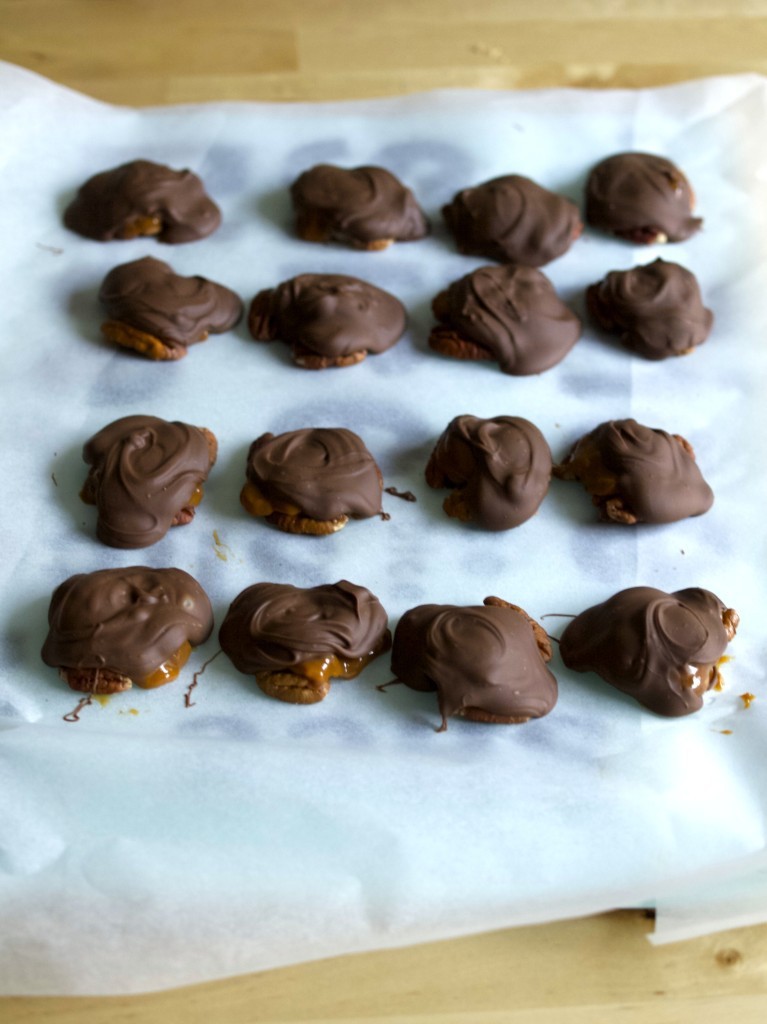
chocolate caramel and pecan turtle clusters1. Simply arrange the pecans onto baking paper (although no baking needed here), spoon a small portion of caramel of each and cover it with melted milk chocolate. chocolate caramel and pecan turtle clusters2. Place the tray into the fridge (or freezer if you want a quick result) and it is ready in 15 min!chocolate caramel and pecan turtle clustersEat them quick, before it’s gone!chocolate caramel and pecan turtle clustersHave a nice week ;-)

Rasa xoxo

0

Knitted projects: from vision to reality

Planning knitted projects: from vision to realityIt’s this time of year when its getting chillier outside and you can’t wait to settle indoors for a cup of tea and a knitting project + the biscuits. I am getting in that mood already! I’ve started knitting a new cardigan for the winter ;-). I don’t know about you, but I love creating my own design, having a fashion degree really helps. For those who would love to progress to that level where you no longer need a written pattern to knit anything you like, I thought I would give you an insight into how I go about designing my own project. I am not promising this will turn you into a knitting master, but it should help you to work out where you could start to develop your skills. Maybe editing an existing pattern is a good place to start? Or maybe starting with the most basic project such as pillow case or a scarf? Anyhow, here is where I start when I want to knit something in specific.

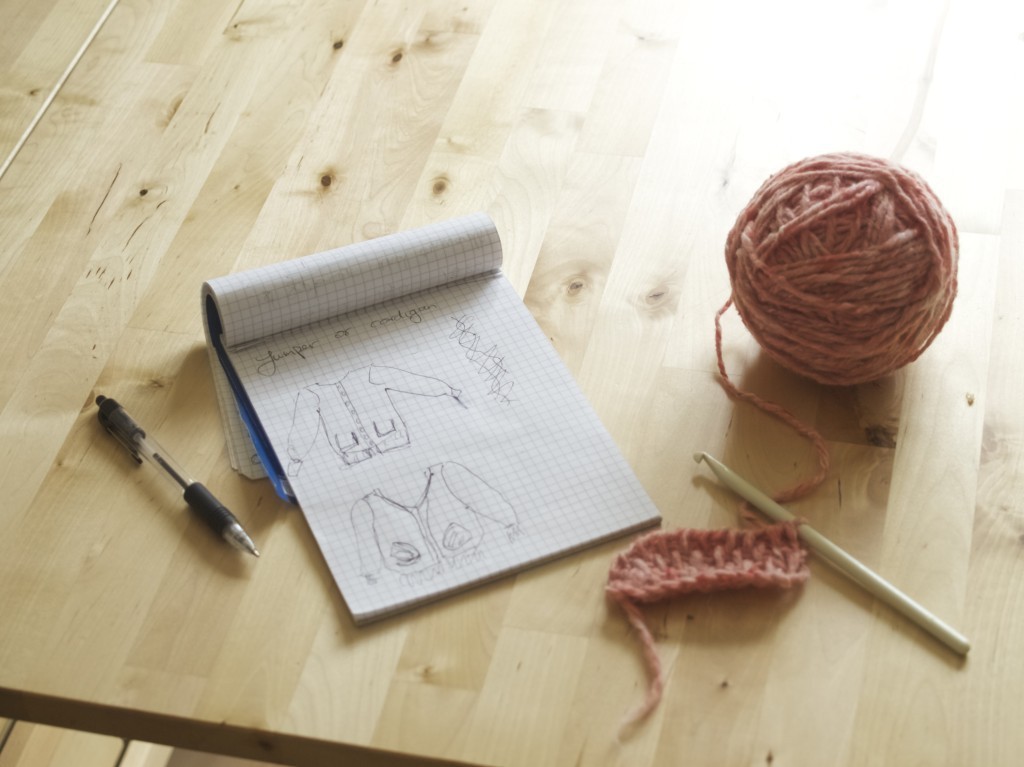
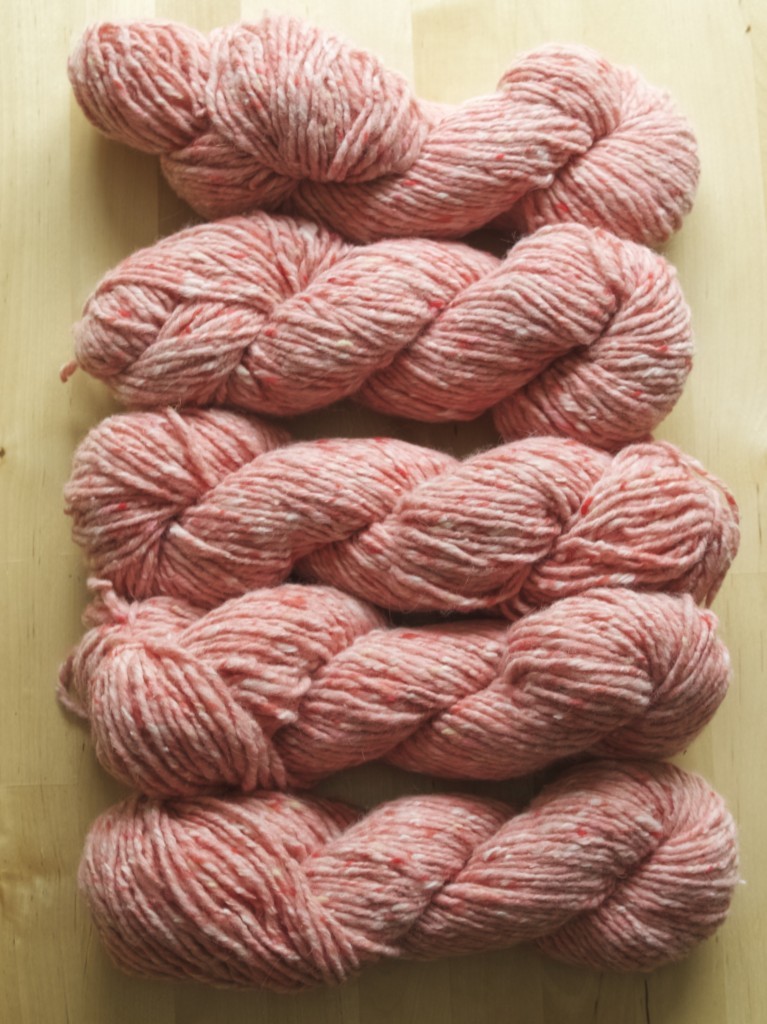
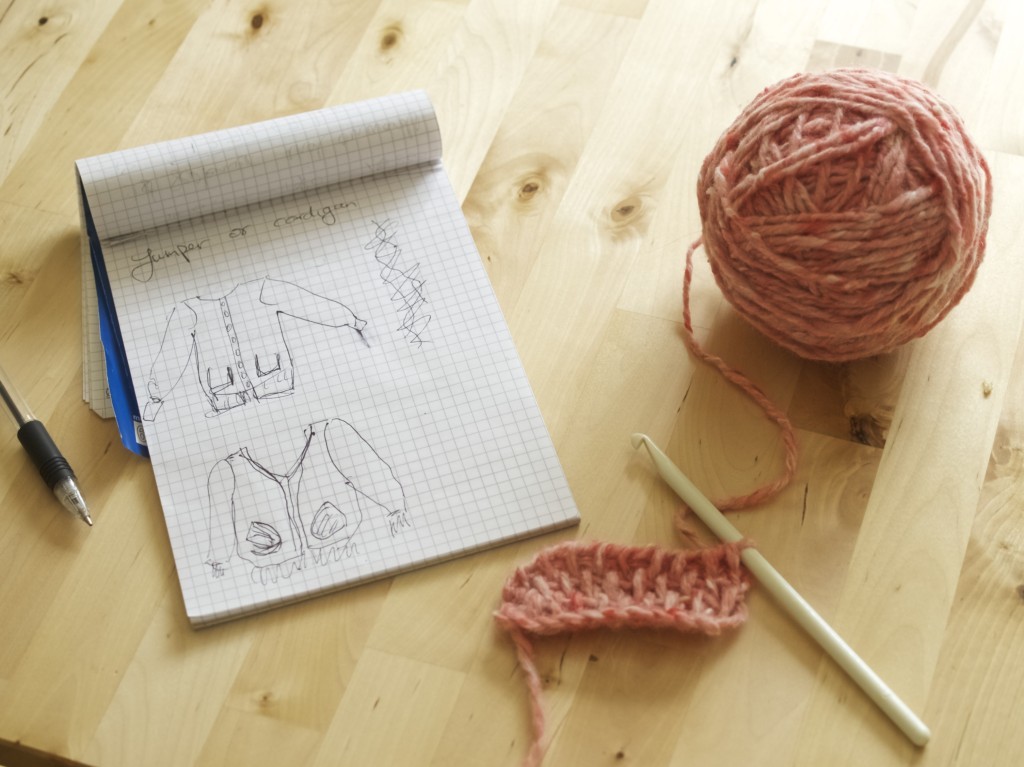
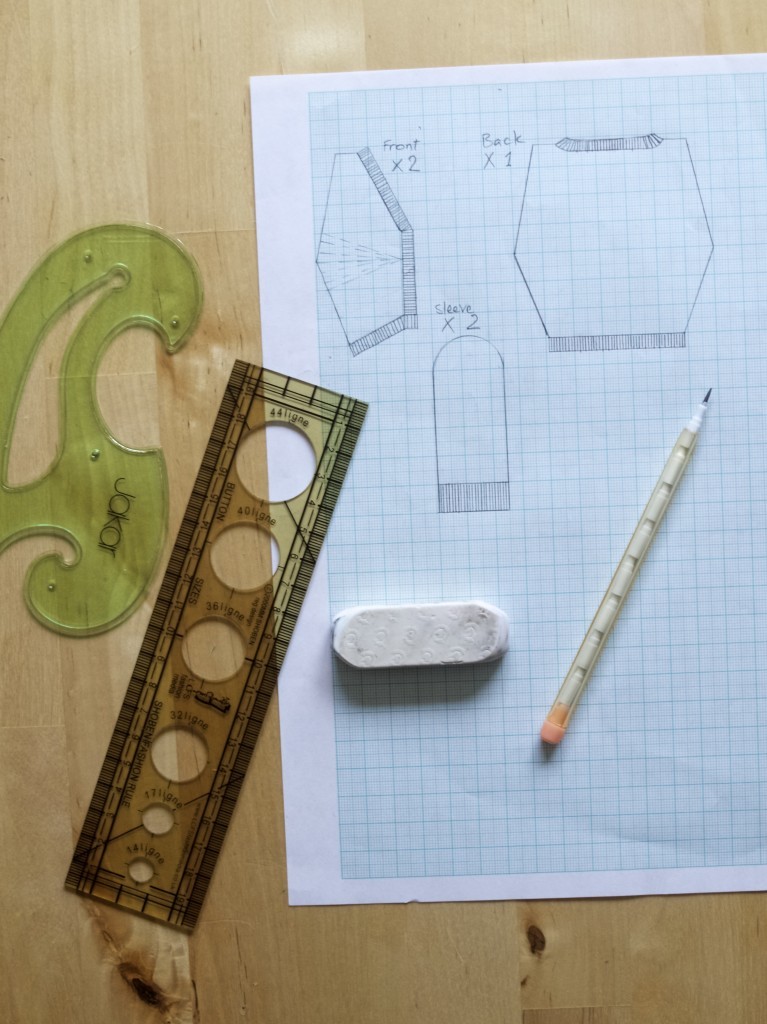
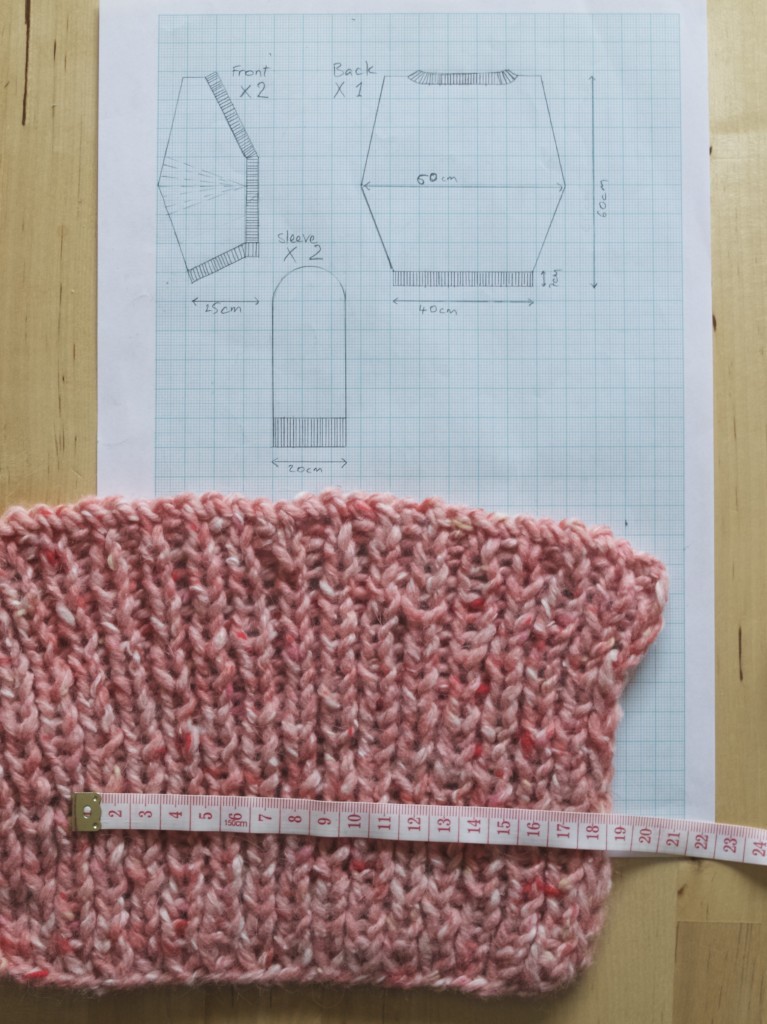
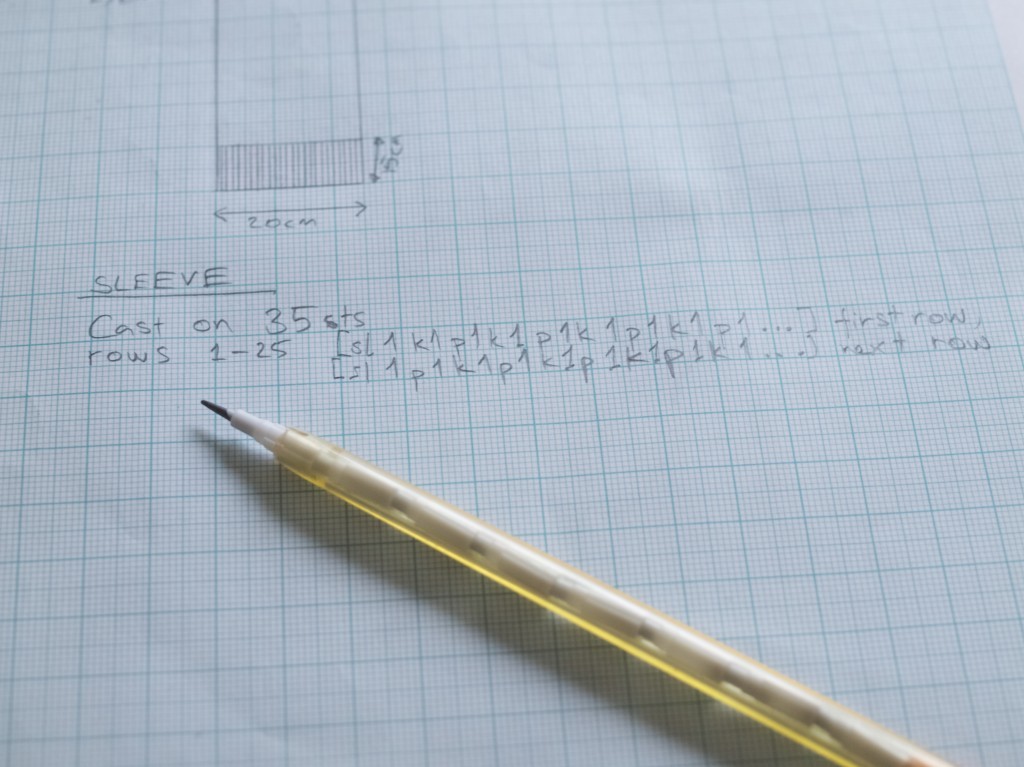
1. YARN is usually an inspiration to me. When I feel like knitting I just browse what I have in my yarn basket, simply go shopping online, or in my local shop. I also check what amount I have and what can I possibly knit from it. So if I only have one yarn ball of a type, I would definitely not knit a sweater out of it! Sometimes, rarely I actually need to knit something specific such as socks for winter or a scarf as a gift.  Then I will decide on the design first and then will start browsing for yarn.Planning knitted projects: from vision to reality2. SKETCHING AND STITCH SAMPLING. At this stage I usually try out the yarn by knitting small samples of different stitches and sketch few drawings to decide on the actual design. Pinterest helps me a lot as an inspiration, but I never take an existing design, instead I take the features from many designs to create my own. For this particular design, I really liked this shape, but I have changed the front opening, the stitch pattern (planning to use Tunisian stitch) and sleeve shape.Planning knitted projects: from vision to reality3. PATTERN CUTTING is something I’ve learned at University (and a little bit before). So I guess imagining shapes in 3D becoming a garment is much much easer for me. But let me tell you, knitwear requires a very minimum of pattern cutting as yarn and the stretchy knit is very forgiving. Don’t be terrified of the pattern bellow, I am currently trying to achieve a very odd shape in this cardigan I am knitting by adding more rows of stitches on the sides (it’s quite a challenge for myself at this moment actually). Instead, think of basic sweater, it is essentially made out of few blocks that majority of you know how to knit!Planning knitted projects: from vision to reality4. GAUGE is a knitting term that refers to the number of stitches per cm/inch, not the size of the finished garment. This is very important to work out at the beginning before starting to knit an actual project. Gauge helps you to predict the size of your garments! The best way to work out your gauge is to knit a large enough piece of sample with your chosen yarn, needles and the stitch pattern. If you have more than one stitch pattern on your project (such as ribbing and garter stitch patterns for example), you should knit separate sample for each of them, because some stitches ‘pulls in’ more then others, fitting in more stitches in the cm/inch. Ribbing usually ‘pulls-in’ the most, however it is the stretchiest of them all! So to work out the gauge (preferably wash and dry the sample first) measure 5cm/2inch horizontally and count how many stitches fits in it. Repeat the same vertically and count how many rows fits in the 5cm/2inch gap. In my case (used ribbing sample) 5cm horizontally fits 9 sts and vertically it fits 8rows. Now we know that to knit 40cm wide ribbing we need to cast on 70 stitches (I rounded up from 72) and we need to knit 13 rows to get the ribbing 7 cm long. Making sense already?Planning knitted projects: from vision to reality5. WRITING A PATTERN is the last thing I do when designing my own knitted project. I sometimes even wait until I finish knitting the garment and see what worked out and what did not. You see, I never used to use a written pattern as the visual diagram were always my preference. But I know a lot of you love (and understand it better than me) written abbreviations, so I went out of my way to learn it so I can translate my patterns that way for you. I am still however in learning process with this, so please give me a shout if you see something is really not making sense ;-) Planning knitted projects: from vision to realityI hope this helps and good luck ;-)
Rasa x

0

Bill’s Japanese Curry

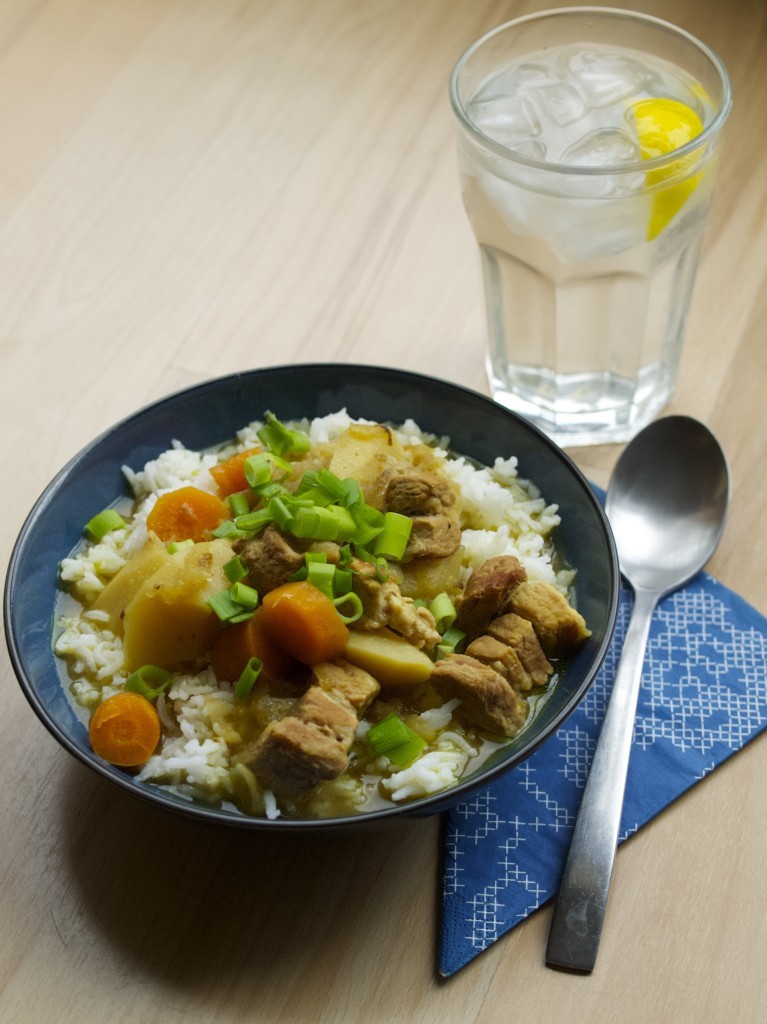
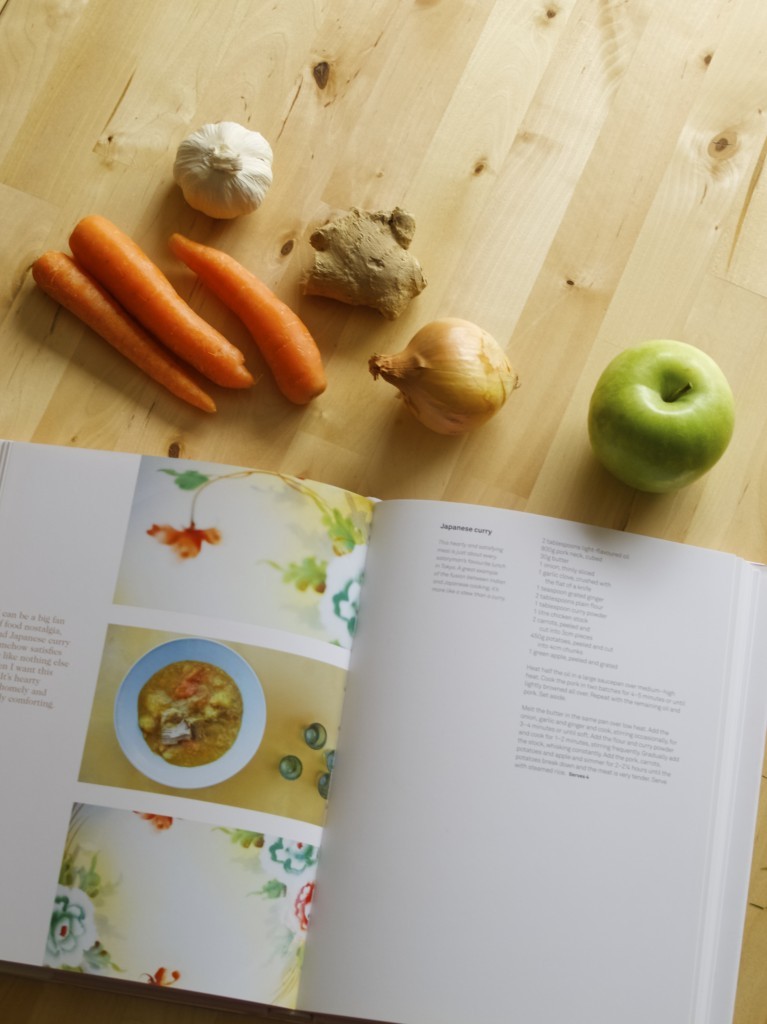
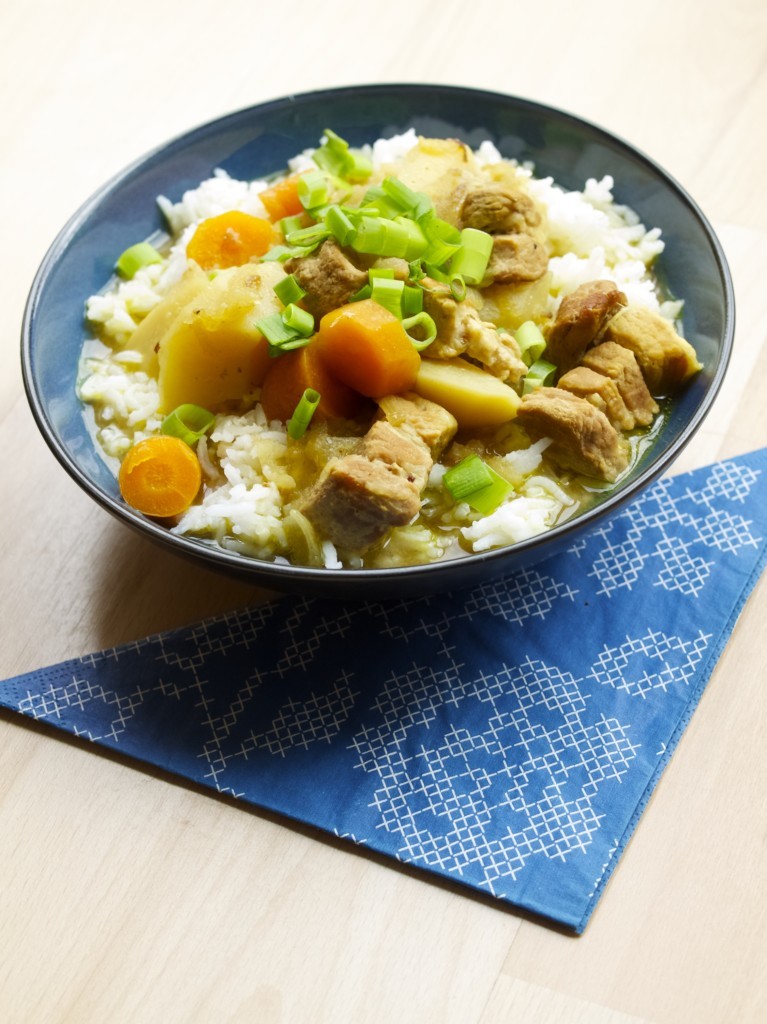
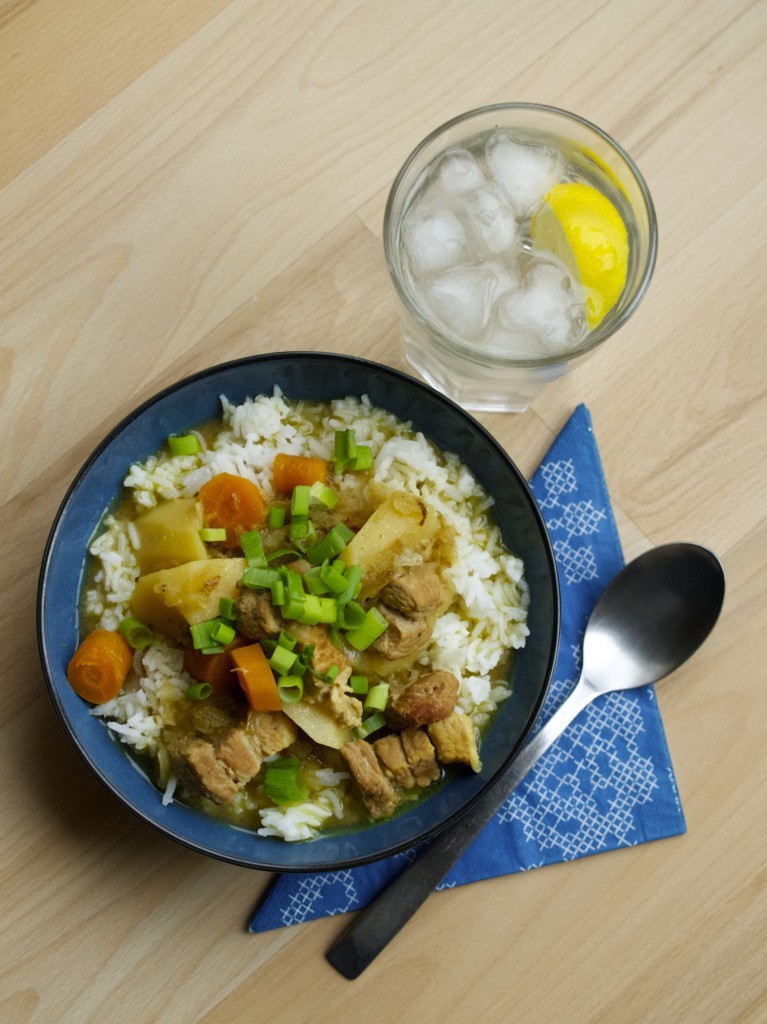
Bill's Japanese Curry recipeTo be completely honest I am not big on oriental cuisine, but Joni loves it very much, so I have been quite eager to learn. This is why I was really happy to receive Bill’s Everyday Asian cook book as a gift from Amanda and Dan. I came across Bill’s restaurant over a year ago and tried one of their cook books almost straight away. Just sort of wondering how do they manage to make all these different types of food so amazing?!Bill's Japanese Curry recipeAnyhow, I have decided to go with Japanese Curry as I am quite familiar with the curry right now. I am actually really surprised that Japanese have a curry dish! However, it’s quite mild and heartwarming, perfect for cooling down weather ;-).Bill's Japanese Curry recipeBILL’S JAPANESE CURRY

  • 2 tbsp light-flavoured oil (I used coconut oil)
  • 800g pork, cubed
  • 30g butter
  • 1 onion, thinly sliced
  • 1 garlic clove, crushed
  • 1 tsp grated fresh ginger
  • 2 tbsp plain flour
  • 1 tbsp curry powder
  • 1l chicken stock
  • 2 carrots, pealed and sliced
  • 450g potatoes, pealed and cut into chunks
  • 1 green apple, pealed and grated (granny smith is perfect for this)

1. Heat half the oil in a large saucepan over medium-high heat. Cook the pork in two batches for 4-5min or until lightly browned all over. Repeat with the remaining oil. Repeat with the remaining oil and pork. Set aside.

2. Melt the butter in the same pan over low heat. Add the onion, garlic and ginger and cook, stirring occasionally, for 3-4 min or until soft.

3. Add the flour and curry powder and cook for 1-2 minutes, stirring frequently. Gradually add the stock, whisking constantly.

4. Add the pork, carrots, potatoes and apple and simmer for 2-2.15 hours (longer if using slow cooker) until the potatoes break down and meat is very tender. Serve with steamed rice.

Bill's Japanese Curry recipeEnjoy!

Rasa xoxo

0

Party decoration

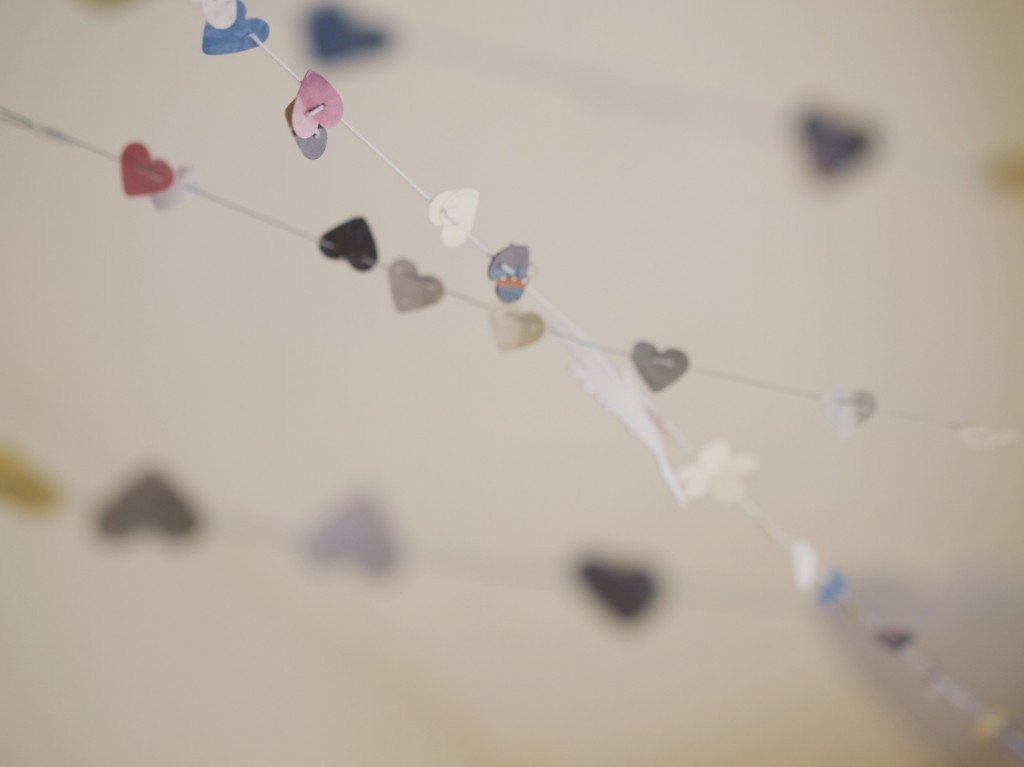
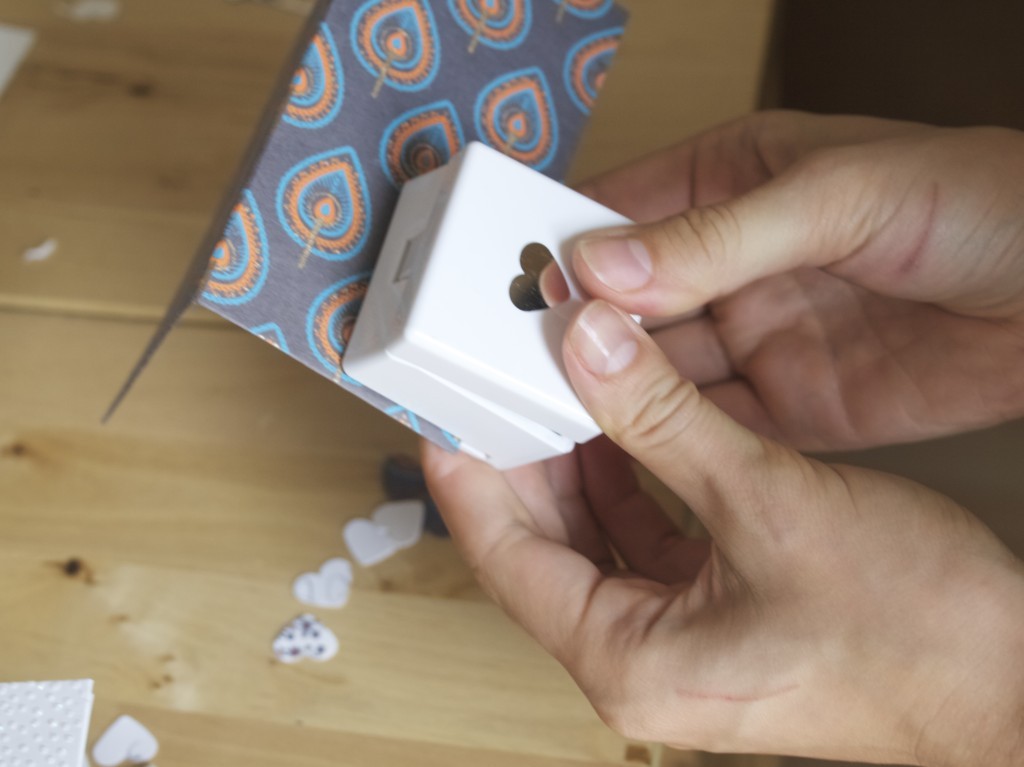
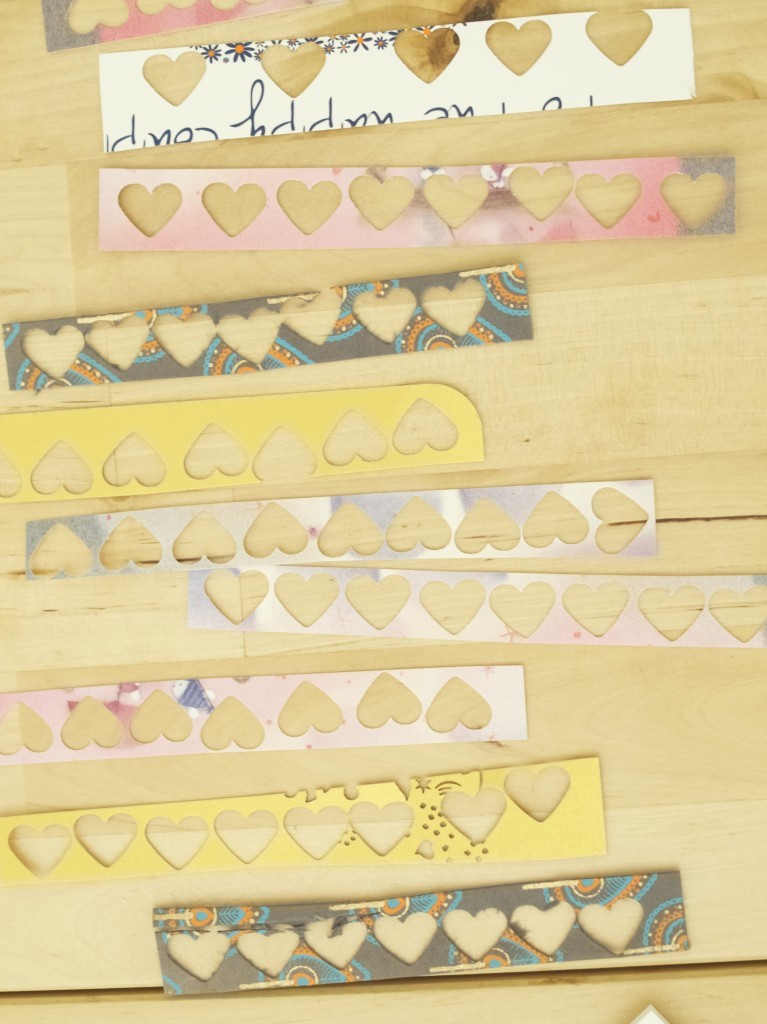
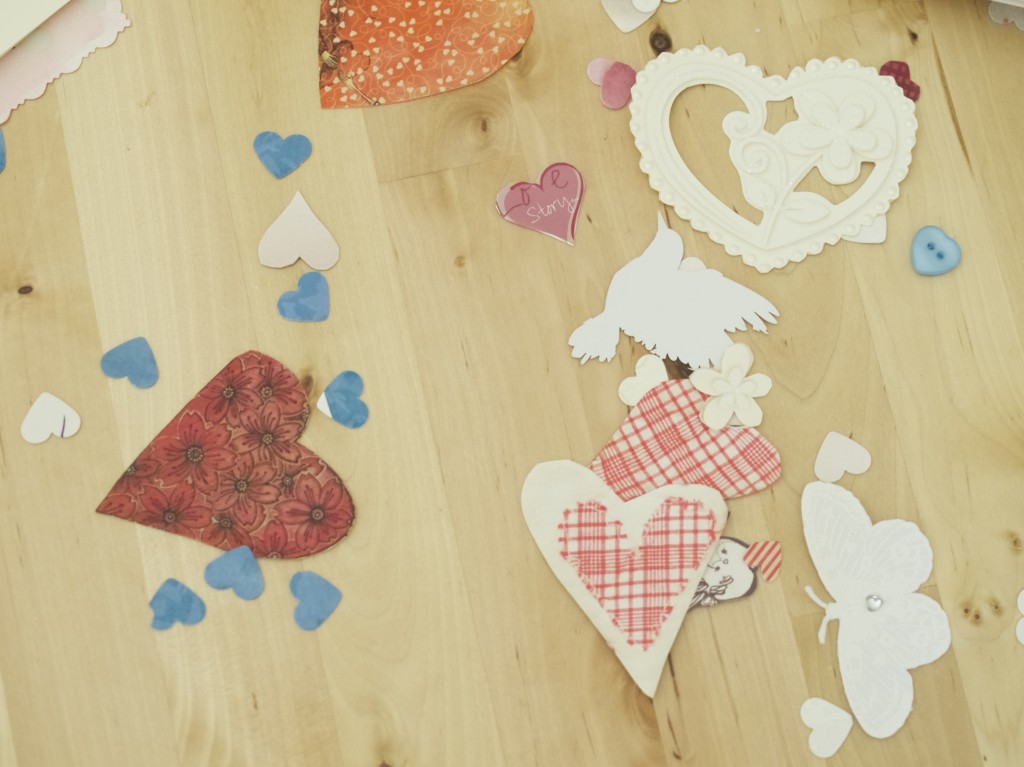
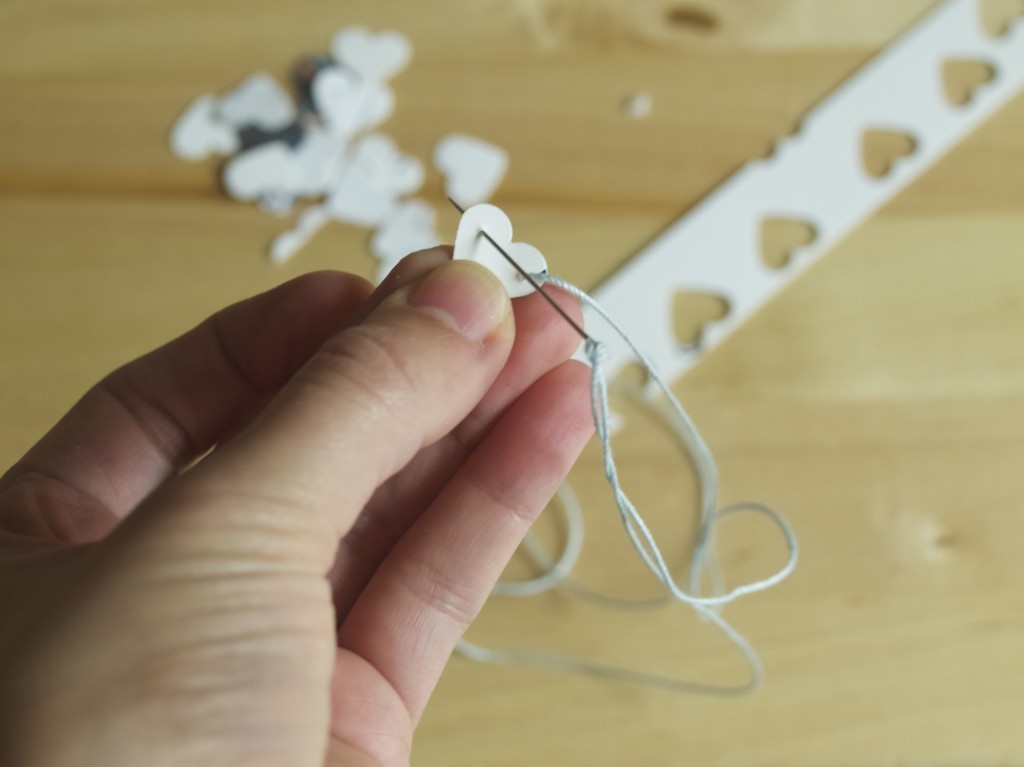
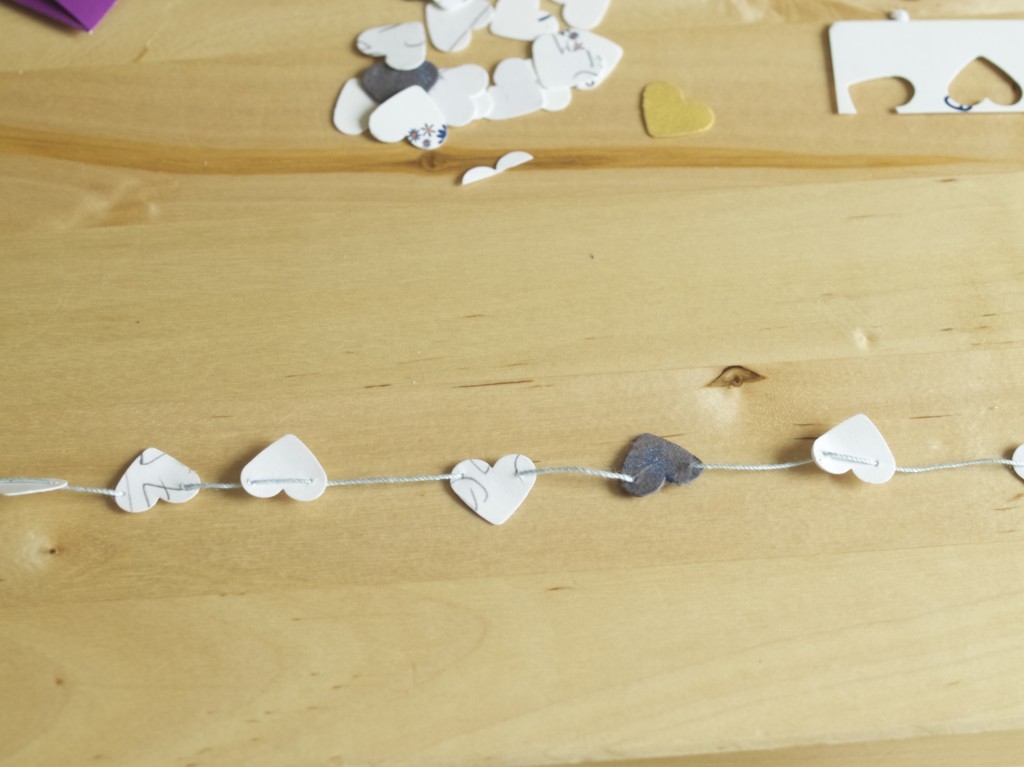
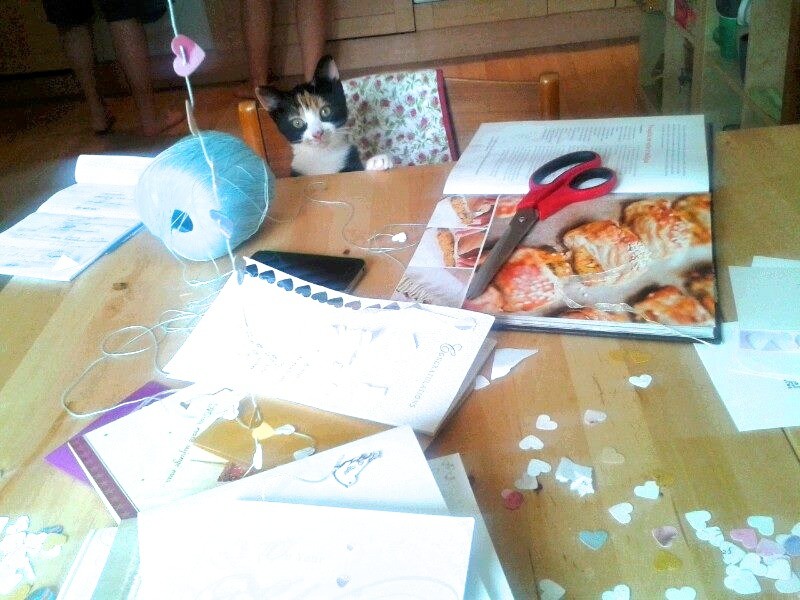
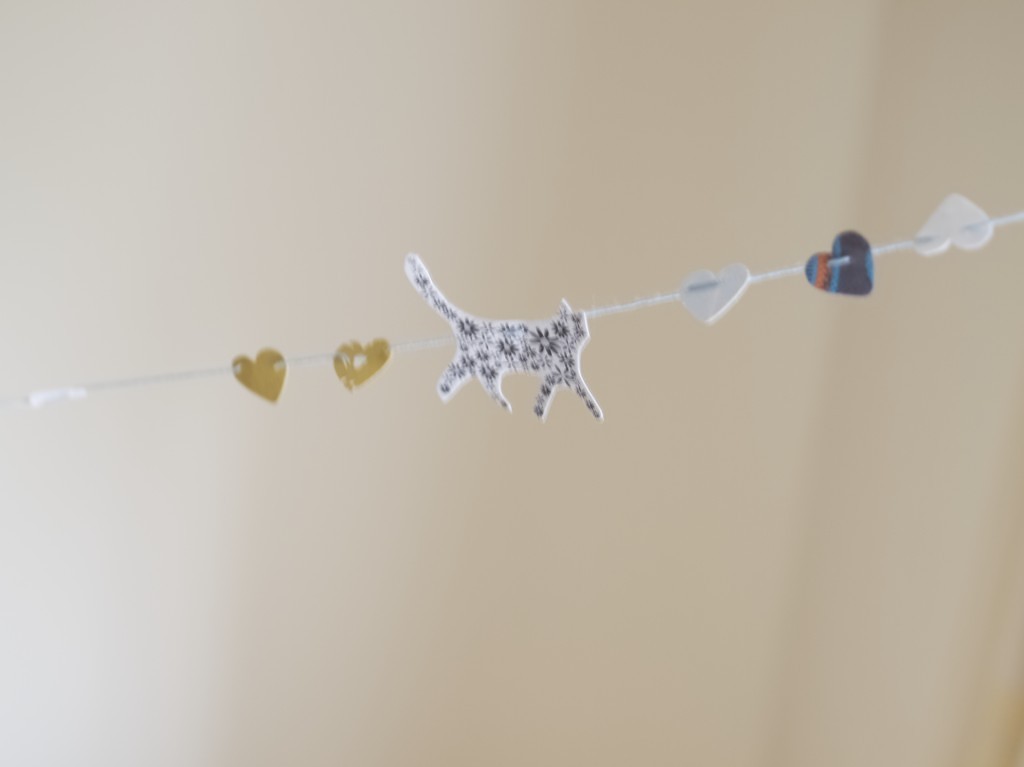
Making a garland out of greeting cardsLast weekend we had our house warming party! I got busy with the decoration straight away… well, at least with the planning. I generally love garlands, because they are fun to make and they give such a wow factor (if you make enough of them of course). I used all of those greetings cards that we have received for our engagement and wedding, because I would not like to throw them out (but I can’t keep them either). I absolutely love reusing something that I already have! Making a garland out of greeting cardsWe simply (me and Vicki) have made many heart shapes out of the greeting cards by using this heart hole punch. They are easy to find in many craft shops, I am sure one of the Tiger shops would have them ;-). Making a garland out of greeting cards Making a garland out of greeting cardsVicki even cut out some of the shapes that she found on the cards. Here you could find even more hearts, birds, flowers and even butterflies!!! Making a garland out of greeting cardsMeanwhile I started connecting all the card shapes with needle and thread. Making a garland out of greeting cards Making a garland out of greeting cardsLeia was really eager to help, mainly because she believed that we are making a new toy for her. Making a garland out of greeting cardsBut we did include a cat shaped card figure on the garland which we thought was super cute!!! :)Making a garland out of greeting cardsHope you feel inspired for your future parties to come ;-)

Rasa x

3

Courgette pizza crust

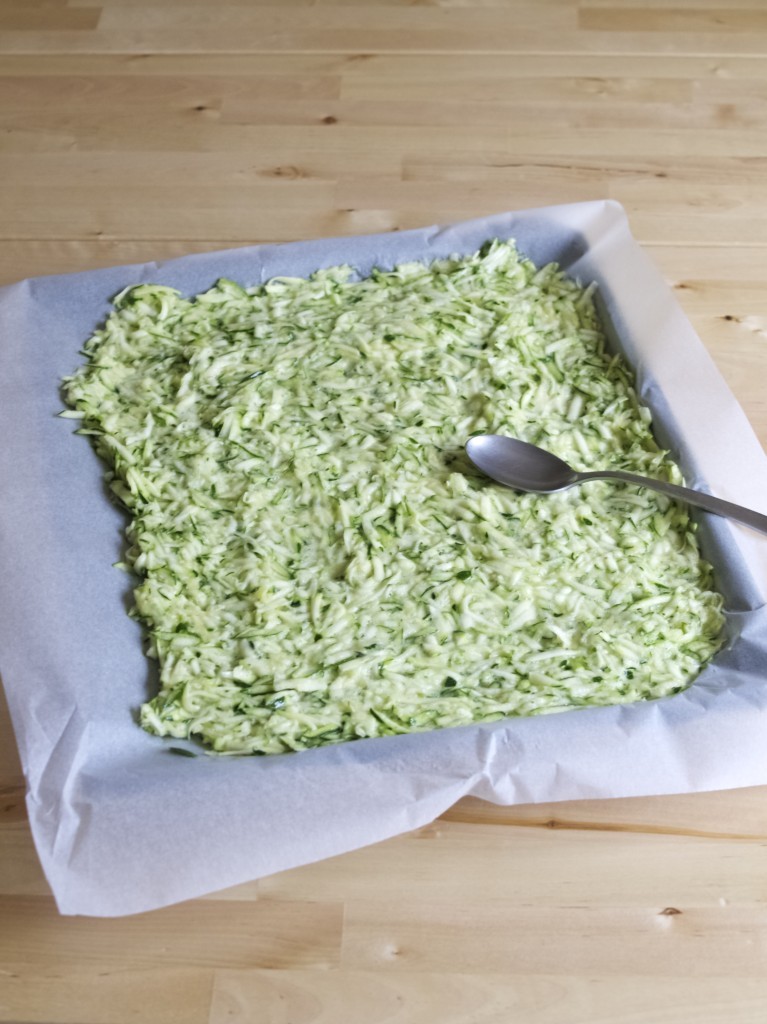
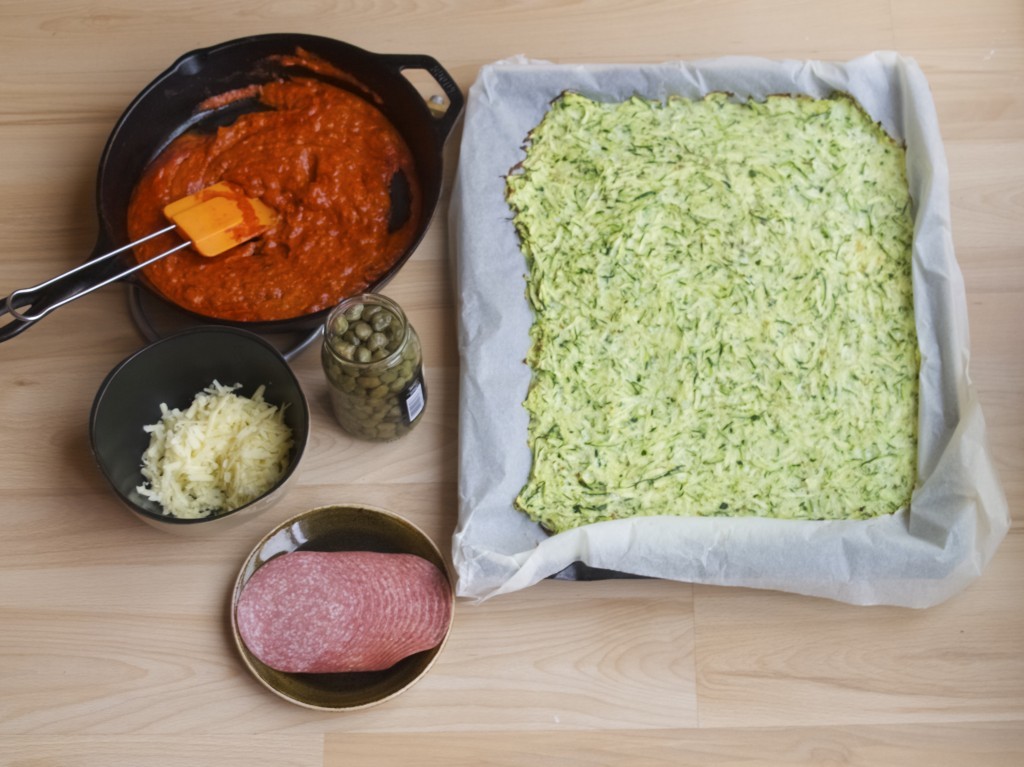
Courgette pizza crustI believe that pizza is everyone’s favourite meal, well except in Joni’s childhood (he used to dislike tomatoes, can you believe that?). Have you tried making your own at home? We had and this is just another version of it. Although you should not expect courgette crust taste like flour crust, it it is still very satisfying in healthier way.

COURGETTE PIZZA CRUST

  • 3 courgettes
  • 2 eggs
  • 1tsp rosemary
  • salt to taste

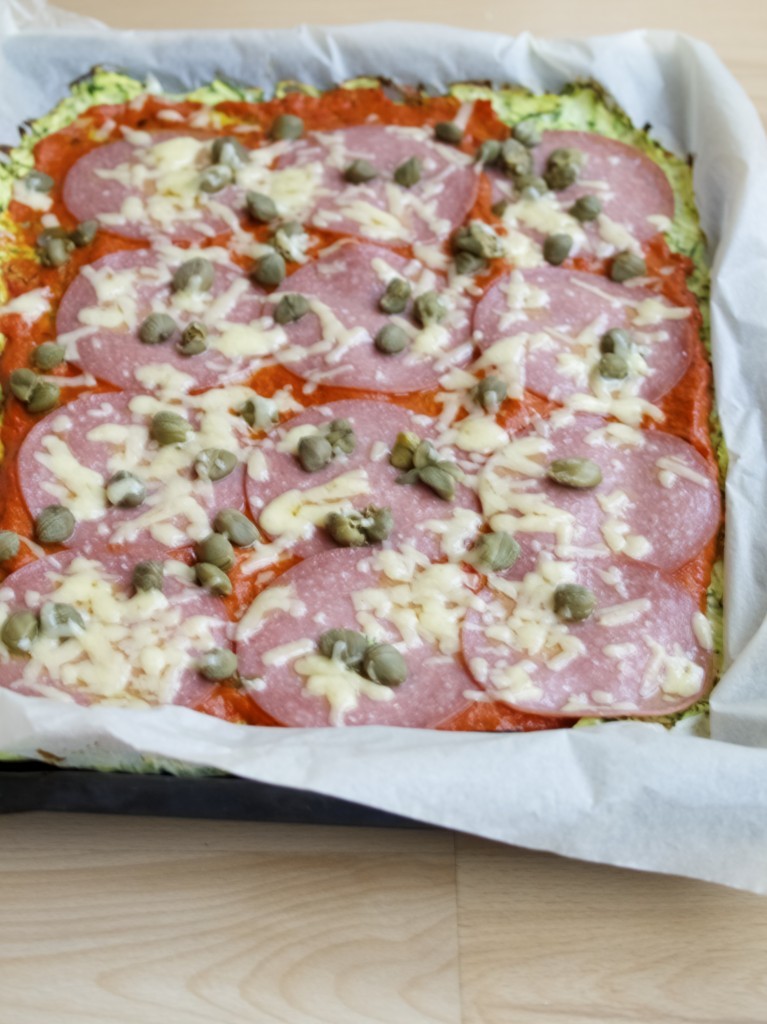
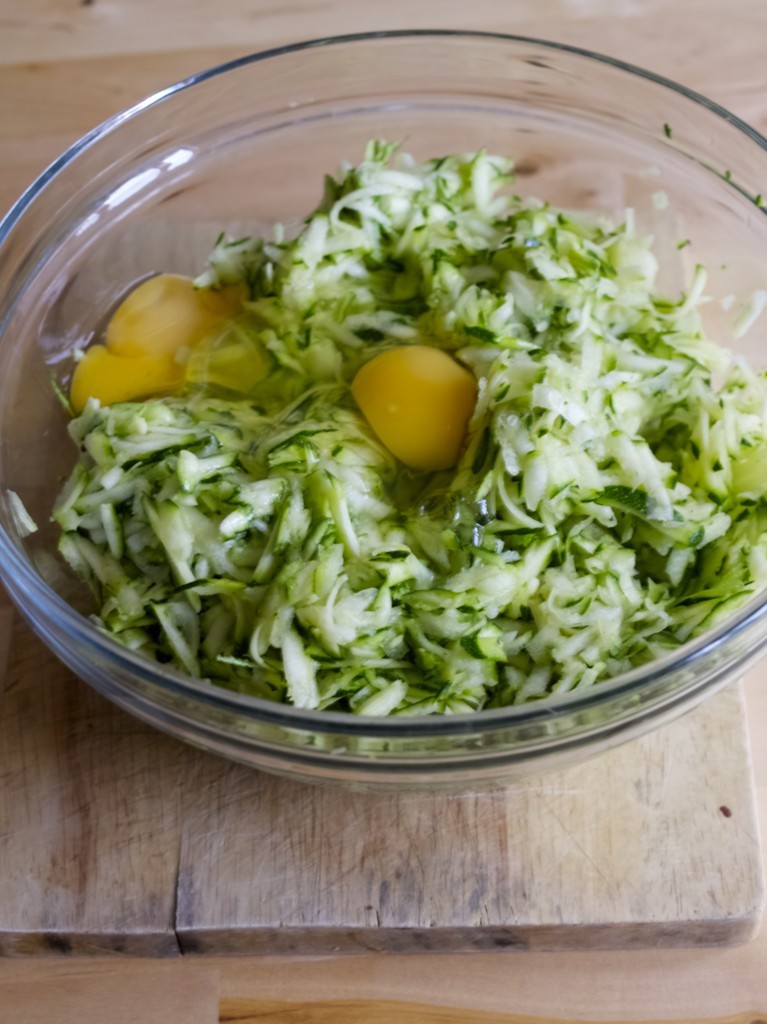
1. Shred the courgettes in the bowl and mix it together with eggs, rosemary and enough of salt. Courgette pizza crust2. Spread the courgette mixture evenly on the baking paper. Bake it in preheated 200C oven for 30min until the edges becomes slightly coloured.Courgette pizza crust3. Cover it with a little sauce (I mixed some tomato puree with pepper pesto), cheese and your favourite pizza toppings. Bake it for another 10 min or so untill it becomes all melty.Courgette pizza crustEnjoy!

Rasa xoxo


1

Meet the newest member of our team ;-)
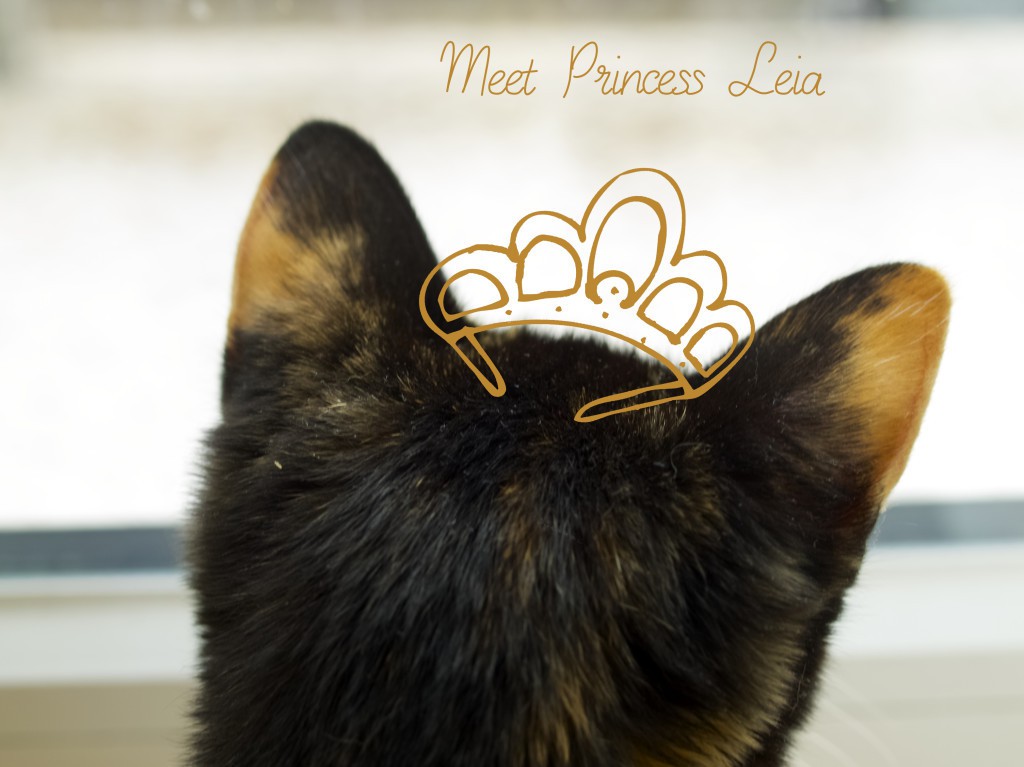
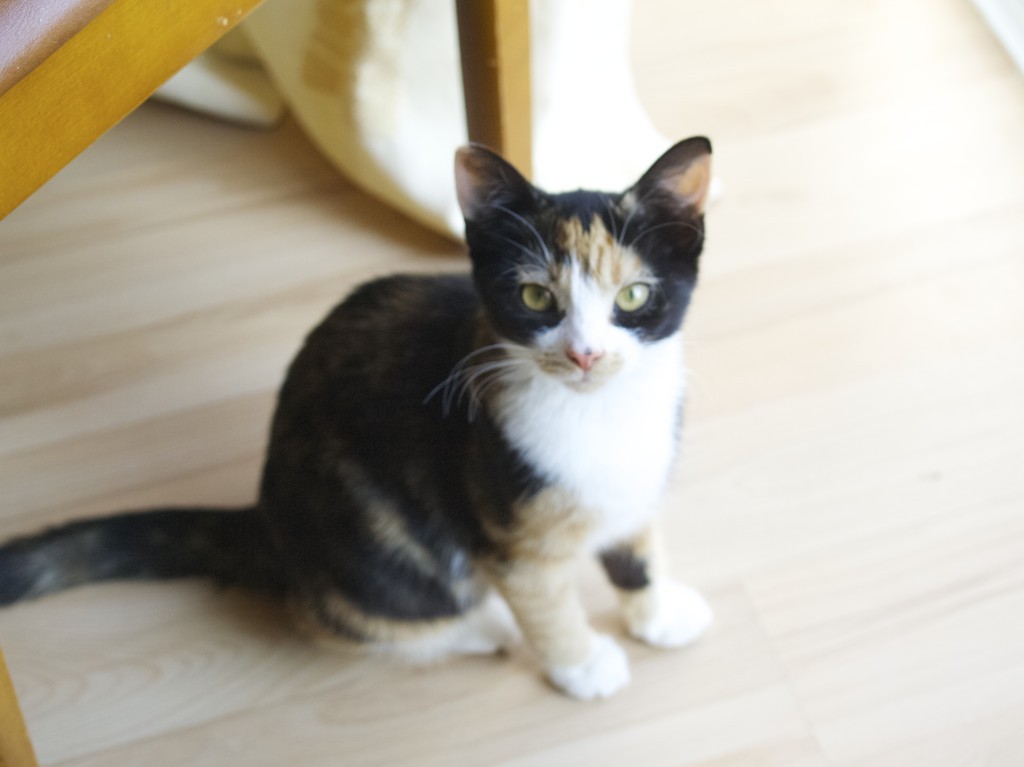
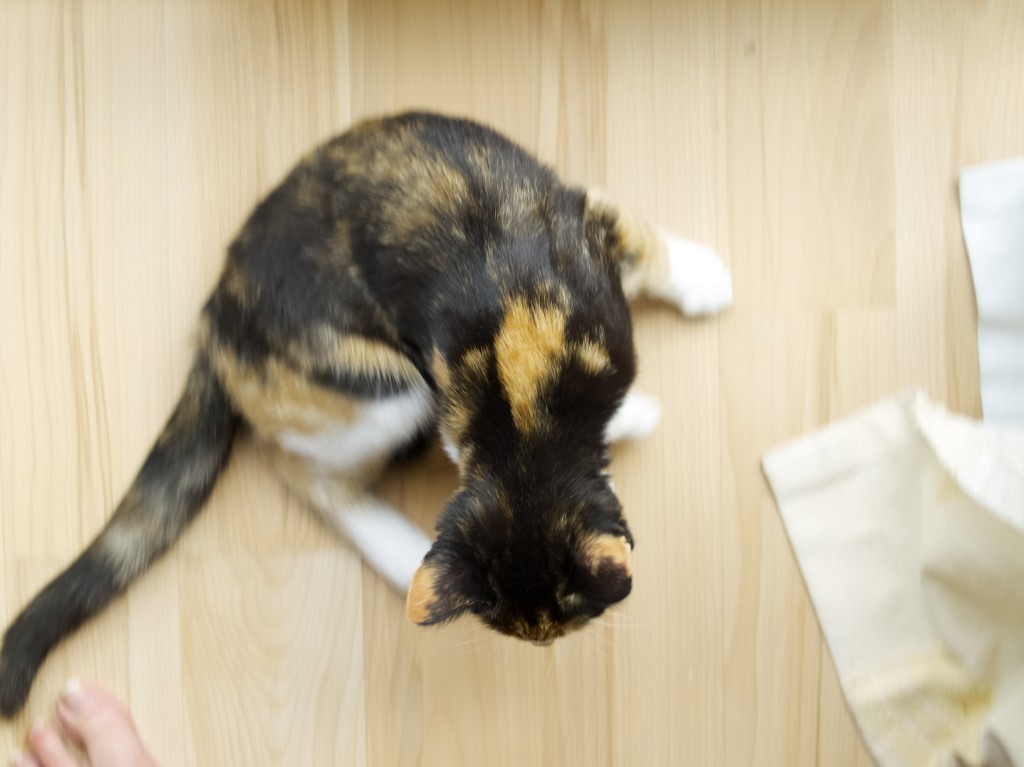
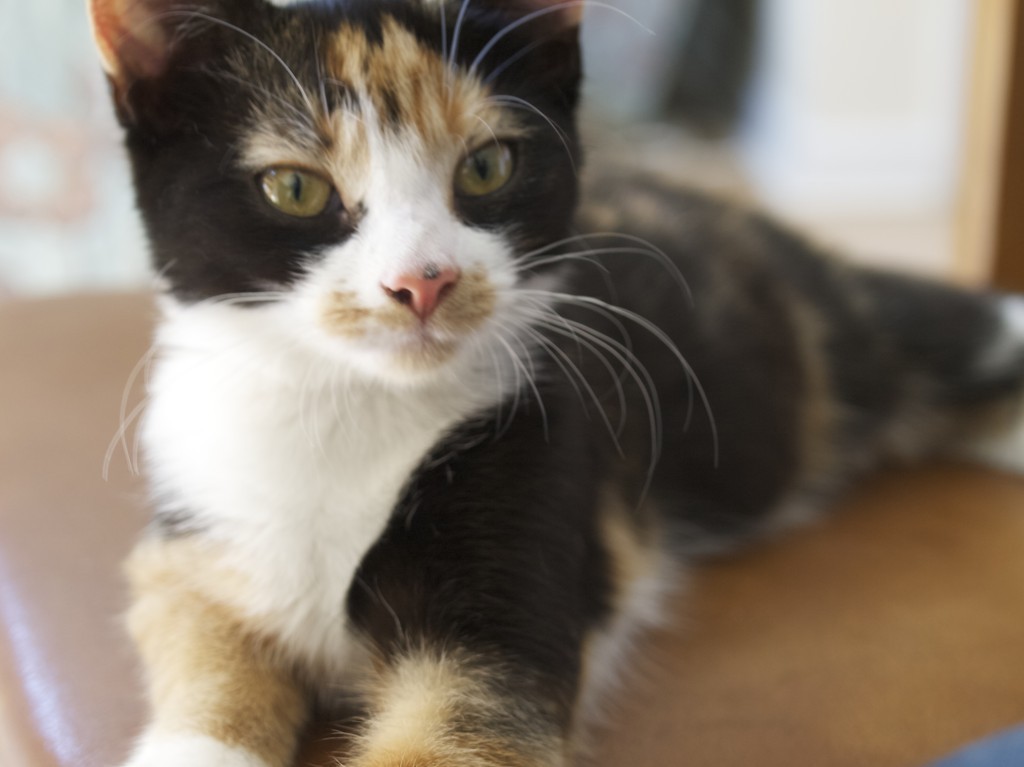
Meet our new member Princess LeiaLeia is my early birthday gift from Joni that we are finally introducing to you. She settled in just fine in our Bedford flat and now ready to be part of the quality assurance process of future projects. Hopefully you will like her as much as we do :-)… And no, she never has been a part of Star Wars… NEVER!

Meet our new member Princess Leia Meet our new member Princess Leia Meet our new member Princess Leia Meet our new member Princess Leia Meet our new member Princess LeiaHappy kitten Thursday!

Rasa xoxo


2

Pinterest challenge: chicken piccata

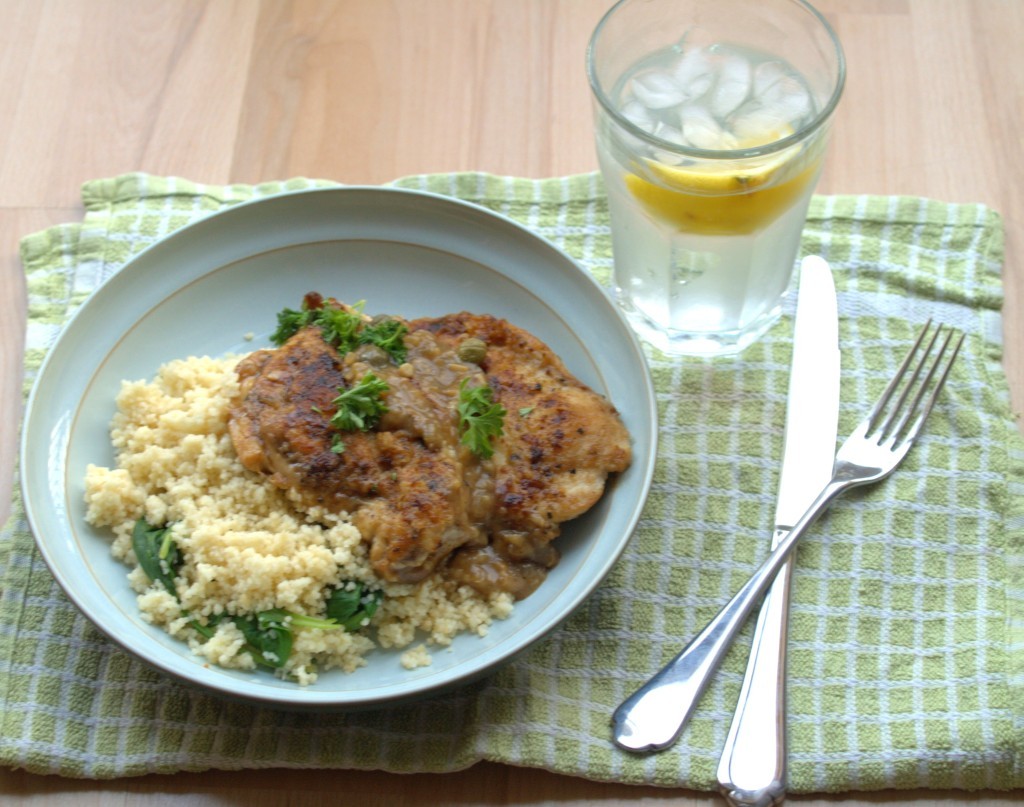
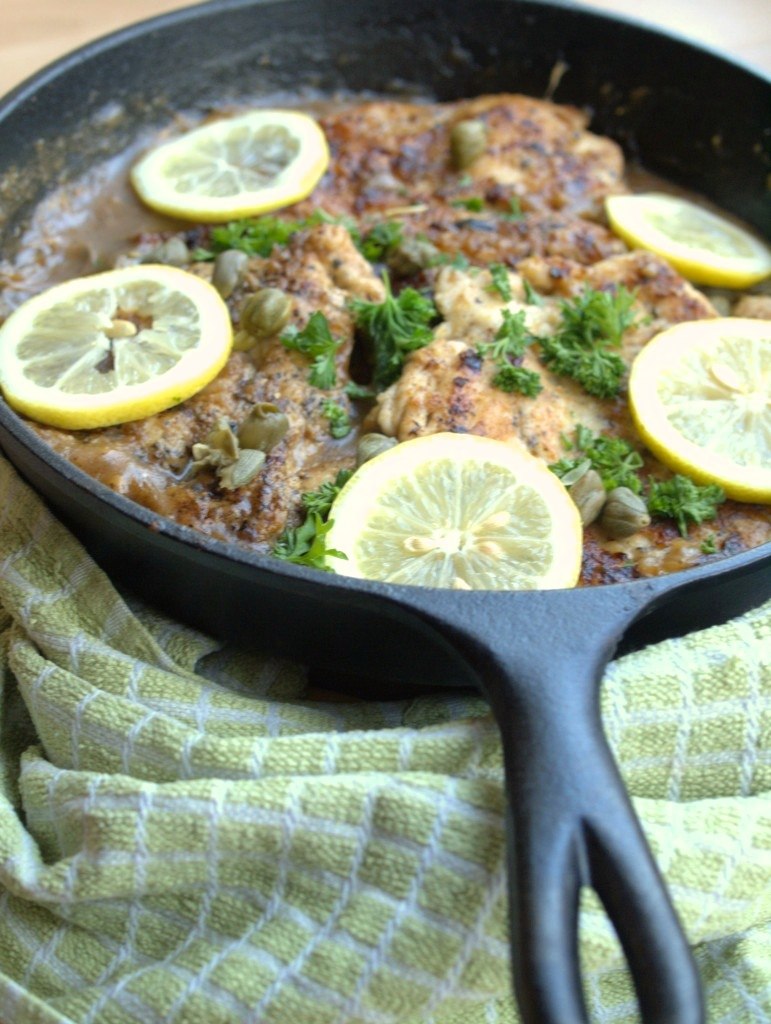
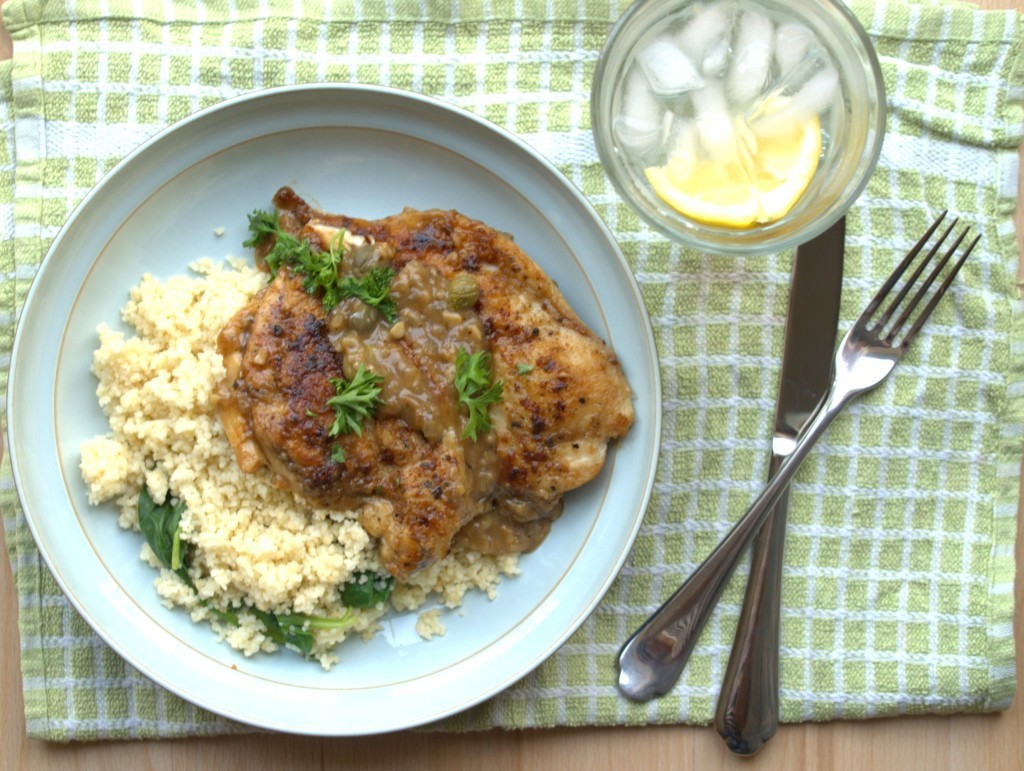
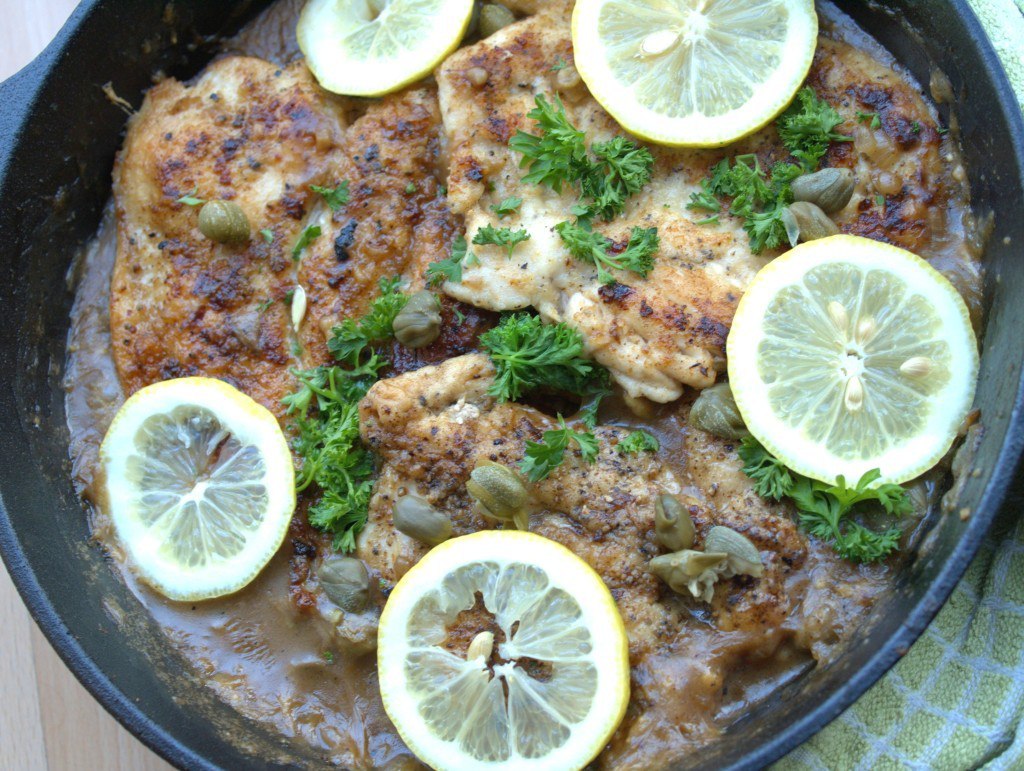
I chose this recipe the other day when Joni felt like chicken for dinner. It turned out really tasty, and creamy, and everything you want from dinner! This recipe from the clever carrot (love the title) is definitely going to my commonly cooked food list :).Chicken piccata/lemon chicken recipieCHICKEN PICCATA adopted from The Clever Carrot

  • 680g boneless, skinless chicken breasts
  • 1 cup flour
  • 1 tbsp. olive oil
  • 2 tbsp. butter, divided
  • ¼ cup shallots, diced
  • 1 garlic clove, finely minced or crushed with a garlic press
  • ¼ cup white wine
  • 1½ cup chicken stock
  • 2 lemons
  • ¼ cup brined capers, drained
  • salt + pepper
  • lemon slices
  • ¼ cup fresh flat-leaf parsley, roughly chopped
(for couscous)
  • 1½ cup couscous
  • 1½ cup chicken stock
  • 1 bag baby spinach

Chicken piccata/lemon chicken recipie1. Butterfly the chicken by slicing each breast in half horizontally. Place in between 2 sheets of parchment paper (or plastic wrap). Gently pound with a meat mallet to about 1cm thick.

2. Season the chicken with salt and pepper and dip it in the flour.

3. In a large skillet, warm the olive oil and 1 tablespoon of butter over medium heat. Add the chicken and brown on both sides, about 3-4 minutes per side. Work in batches if necessary. Remove the chicken to a plate and cover it with foil to keep warm.

4. Add the shallots to the pan; if it seems a bit dry, add a splash of olive oil. Sauté until soft, but not colored, about 2 minutes.

5. Add the garlic and cook until fragrant, about 30 seconds.

6. Add the wine and bring to a boil, scraping up any brown bits stuck to the bottom of the pan. Reduce the liquid by half.

7. Add the chicken stock and bring to a boil. To thicken the sauce, add a splash of stock to the leftover flour and whisk well to dissolve any lumps. Add the flour mixture to the pan, whisking constantly until the sauce is slightly thickened.

8. Reduce to a simmer and stir in the remaining 1 tablespoon of butter.

9. Add the juice of half a lemon and sprinkle in the capers.

10. Return the chicken and any accumulated juices to the pan. Taste the sauce; season with extra lemon juice, salt and pepper if desired. Garnish with lemon slices and fresh parsley.

11. To make couscous side pour boiling stock onto the dry couscous with spinach and cover for 3-5min. Serve it with chicken.
Chicken piccata/lemon chicken recipie
Enjoy (because it really ment to be enjoyed!!)
Rasa xoxo
0

Our weekend in Norfolk

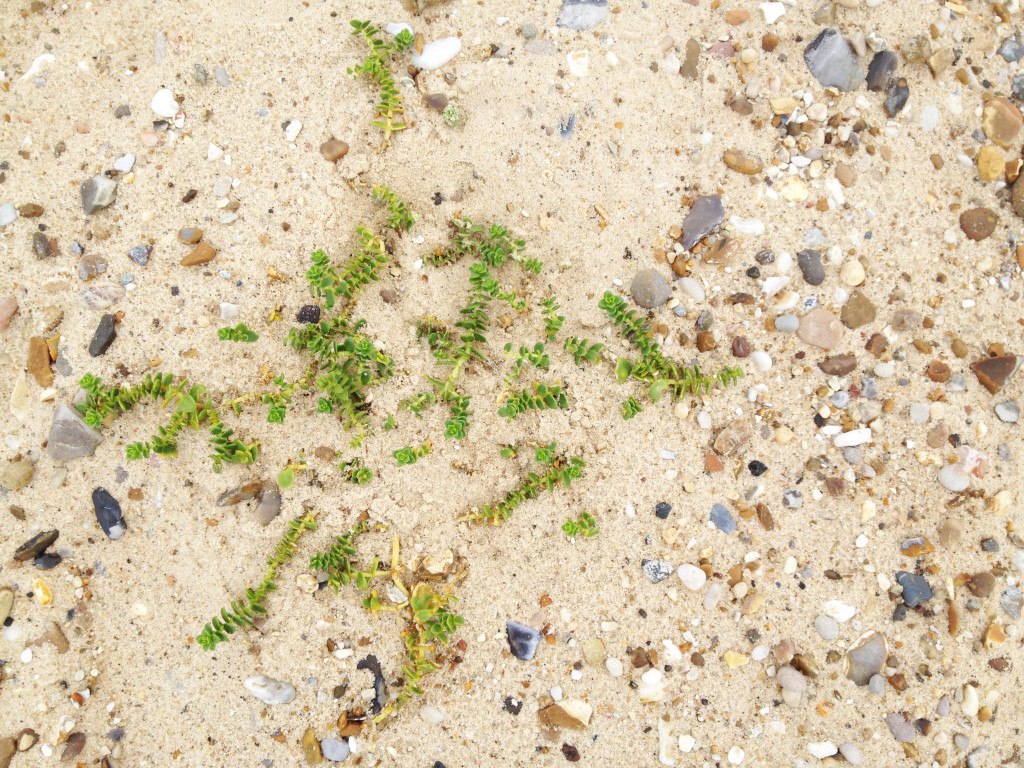
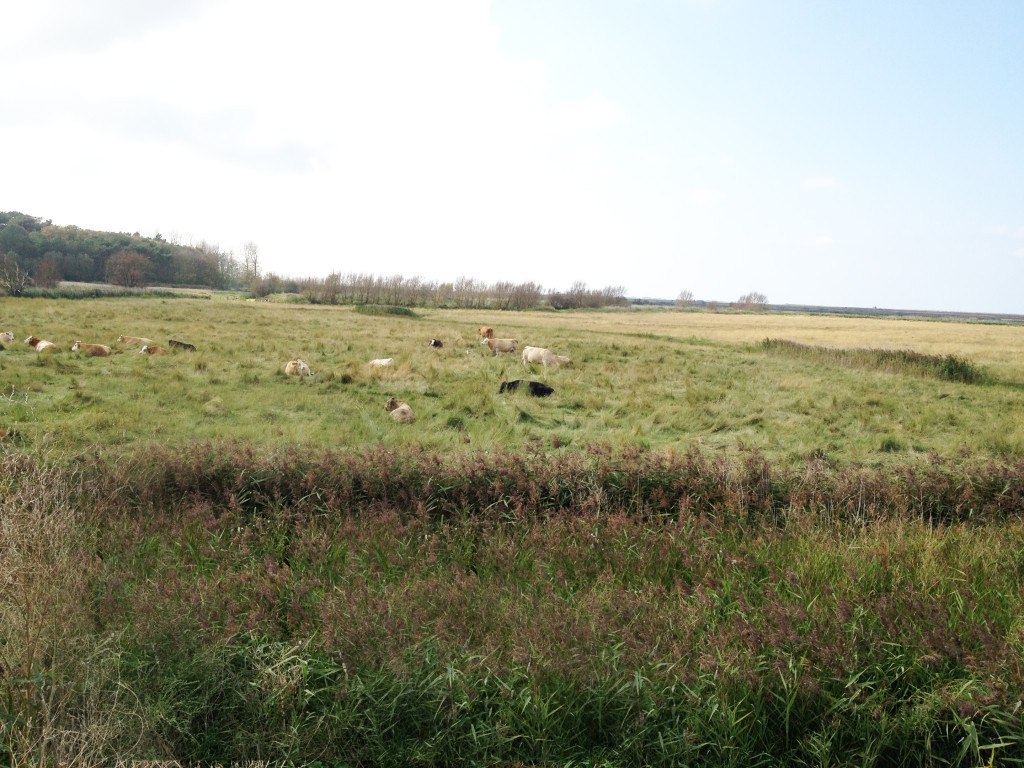
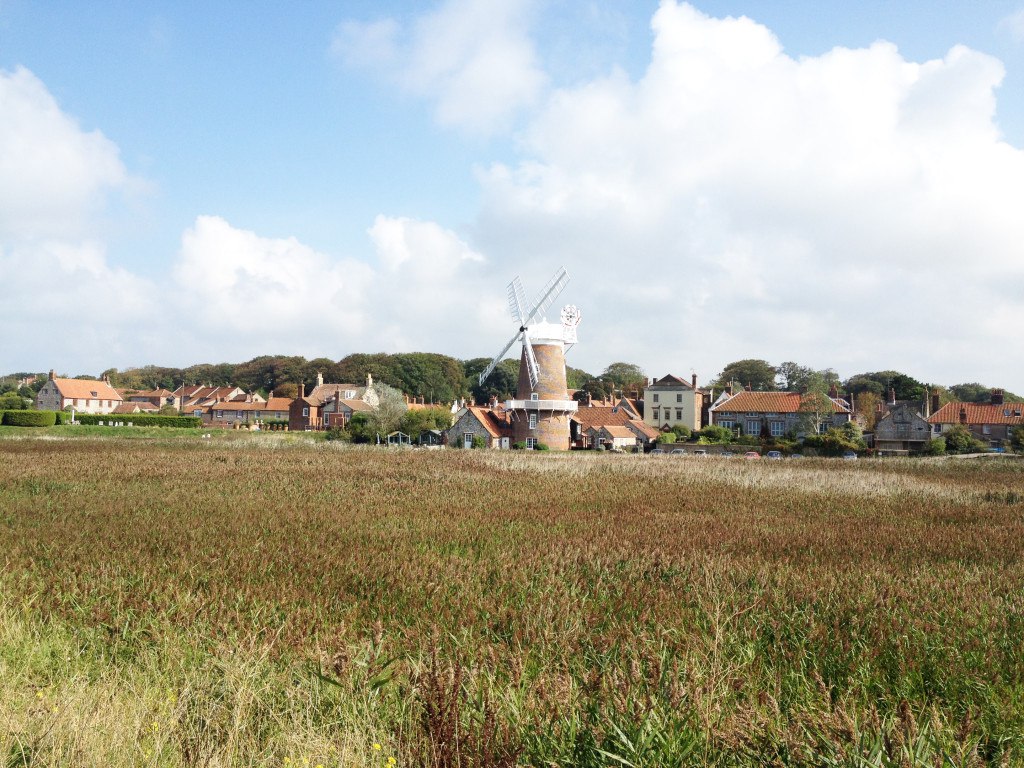
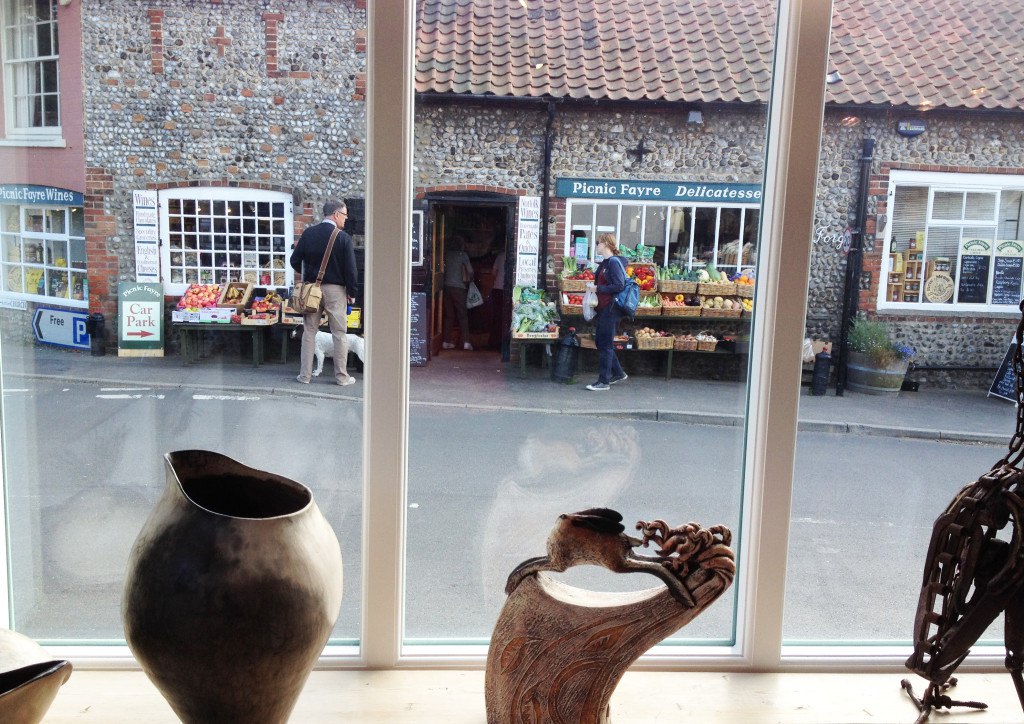
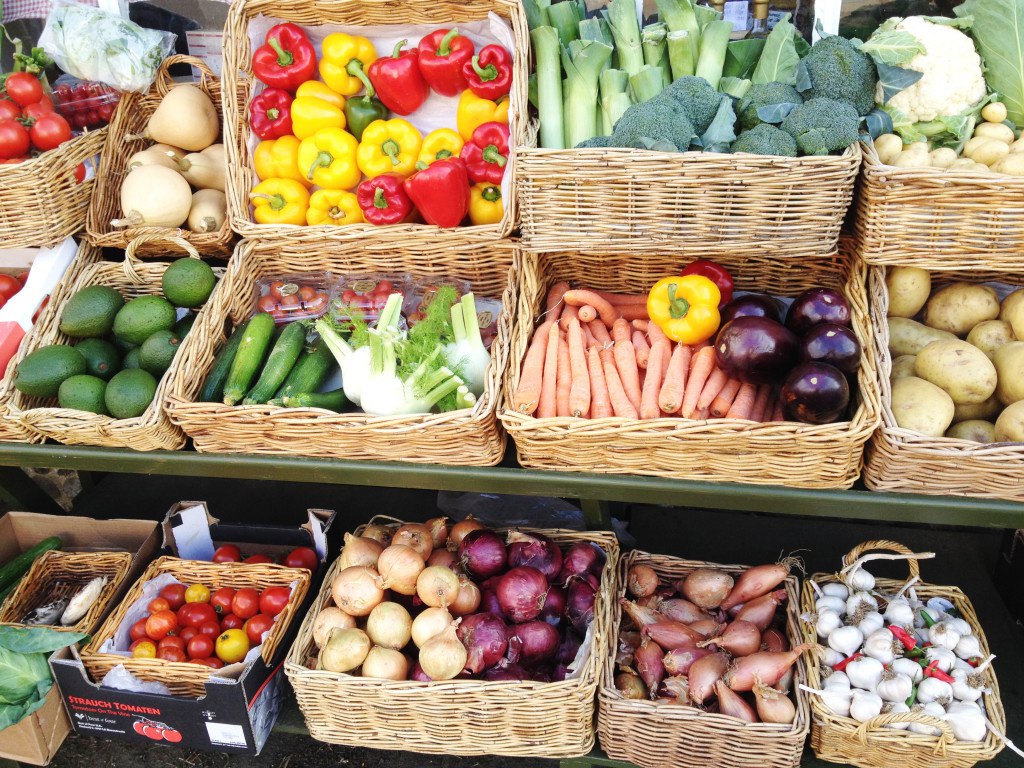
Seaside in YarmouthLast weekend we were really lucky to visit Norfolk! We stayed in Yarmouth (a seaside town) and the next morning we had an amazing time at Claire and Jason wedding (our first wedding after me and Joni got married!!). But’ lets’s stop there at the seaside. I am big fan of seaside, especially the ones that have white sand and are plain like canvas. Plenty of space for your thoughts!Seaside in YarmouthSeaside in YarmouthNext, on our last day, we visited our granny in Cley. Here we celebrated aunt Diana’s birthday. I was quite amazed by the countryside and a local town. most of the houses made out of flint stones (ha ha, almost like the Flinstones!)countryside in Cley countryside in Cley local shops in Cley local shops in Cley local shops in CleyHave a lovely week ;-)
Rasa xoxo


0

Life in UK

London in dimmed lightLove the pic above taken by my friend Jacolien from Stuff to Love! It reminds me of what a great multicultural city I used to live. This is where I lived most of my time while in UK!

Yesterday I passed my life in UK test!!!!! I just thought that I might as well become a british citizen after living here for 14 years and after getting married to my most wonderful english husband. Here are few fundamentals I learned while living in UK.

1. BEEING PART OF COMMUNITY, and this what we are trying to create at Friendly Nettle, a craft community that inspires you to craft :).

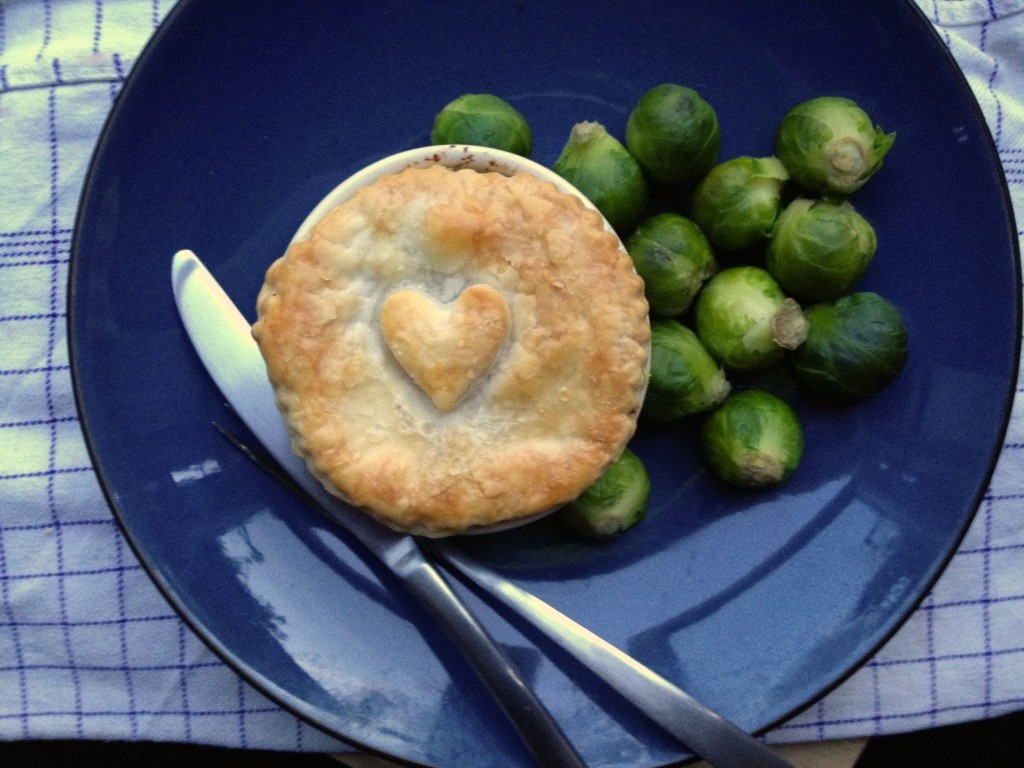
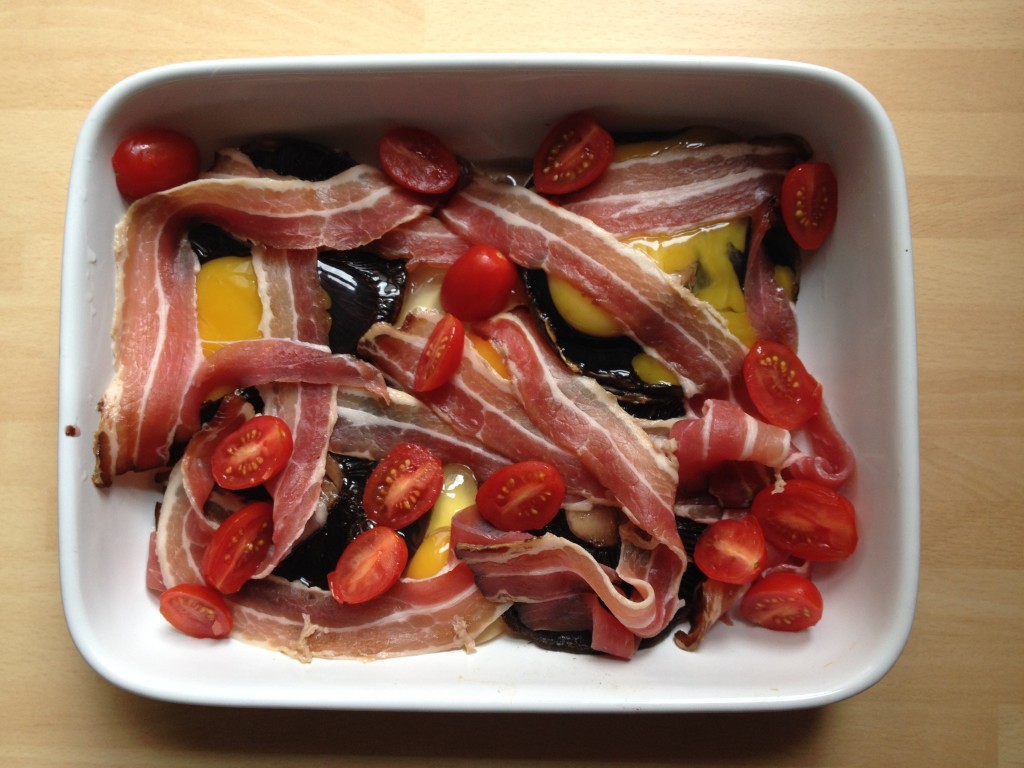
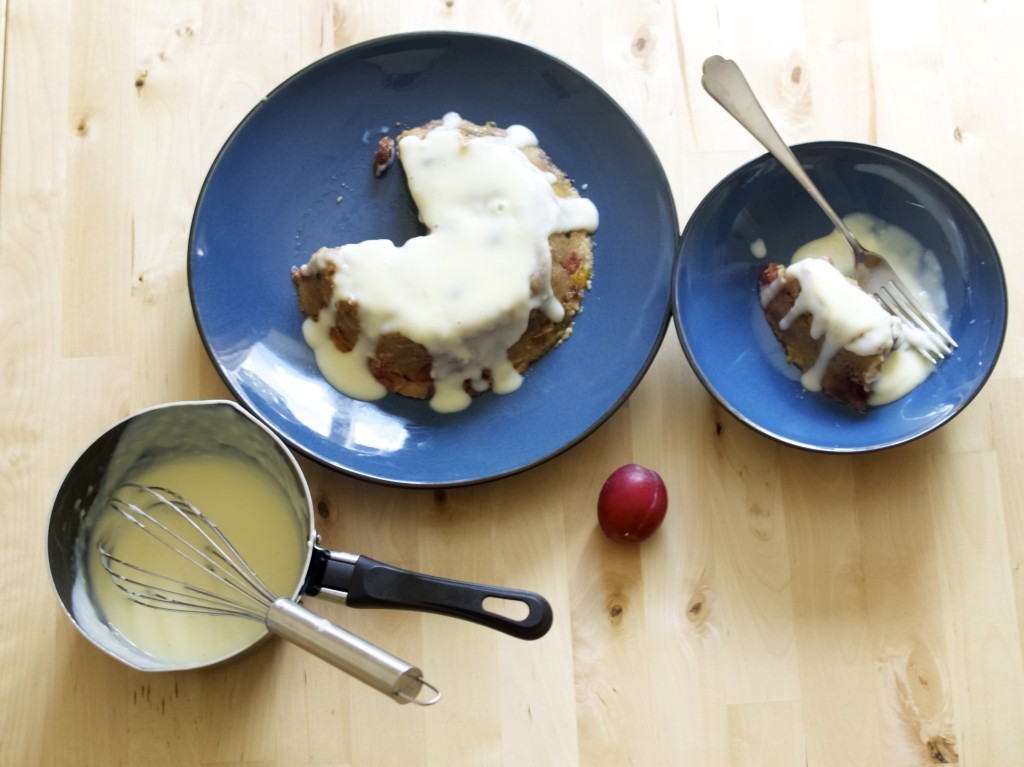
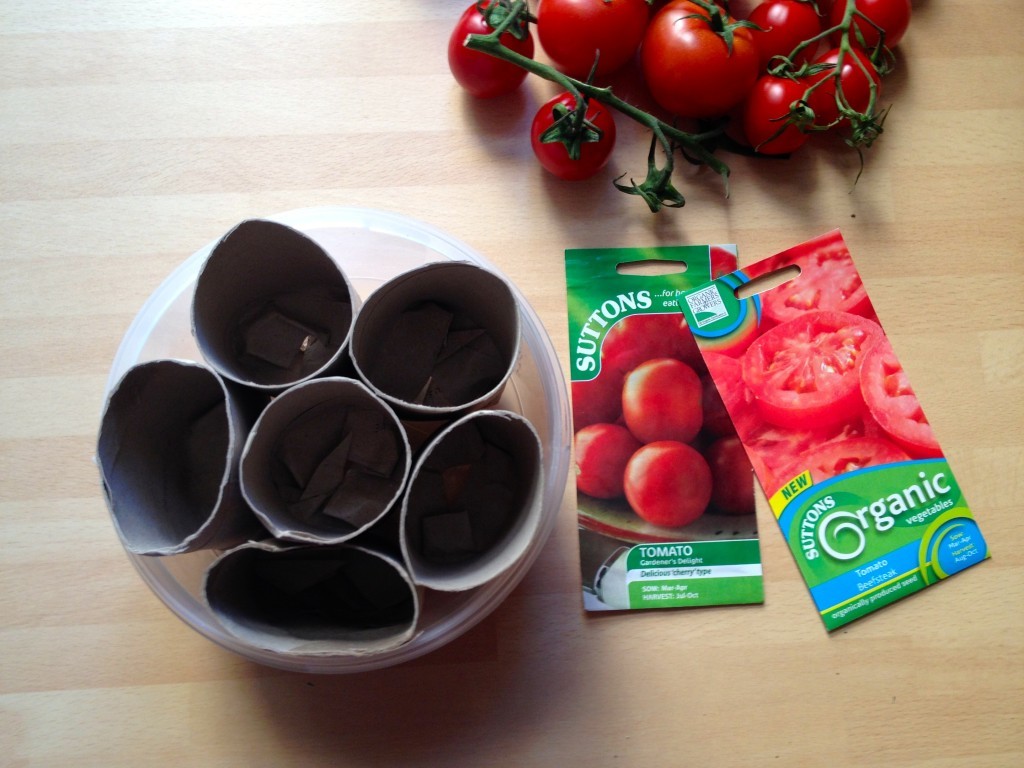
Online Cafe Community2. COOKING. Now, I know Britain is not famous for it’s cuisine, but you would be surprised there are many english dishes you can enjoy! Here are few I have tried: Steak and Ale PiesSteak and ale piesEnglish BreakfastBaked English Breakfastand Plum Steam Puddinga healthier plum steamed pudding3. GARDENING. I know that not many of us can enjoy this, but there are plenty of allotments available to rent! Here is how I grew tomatoes this yeartomatoes 101Enjoy your weekend!

Rasa xoxo

0

Pinterest challenge: berry, chocolate and oat cookies

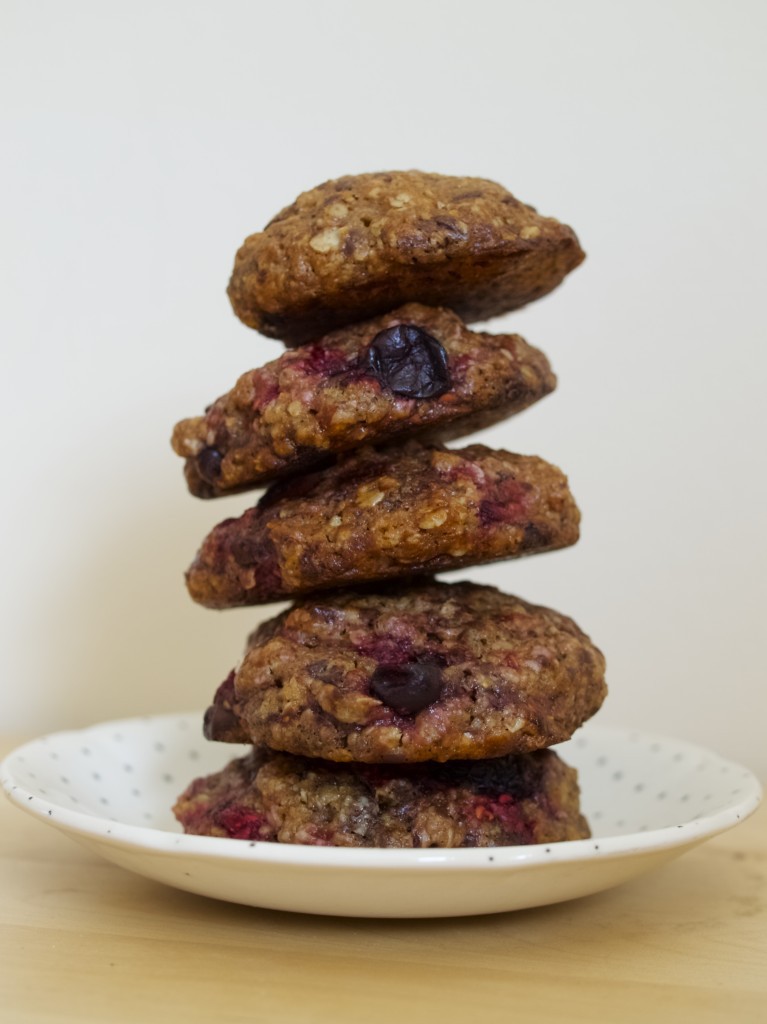
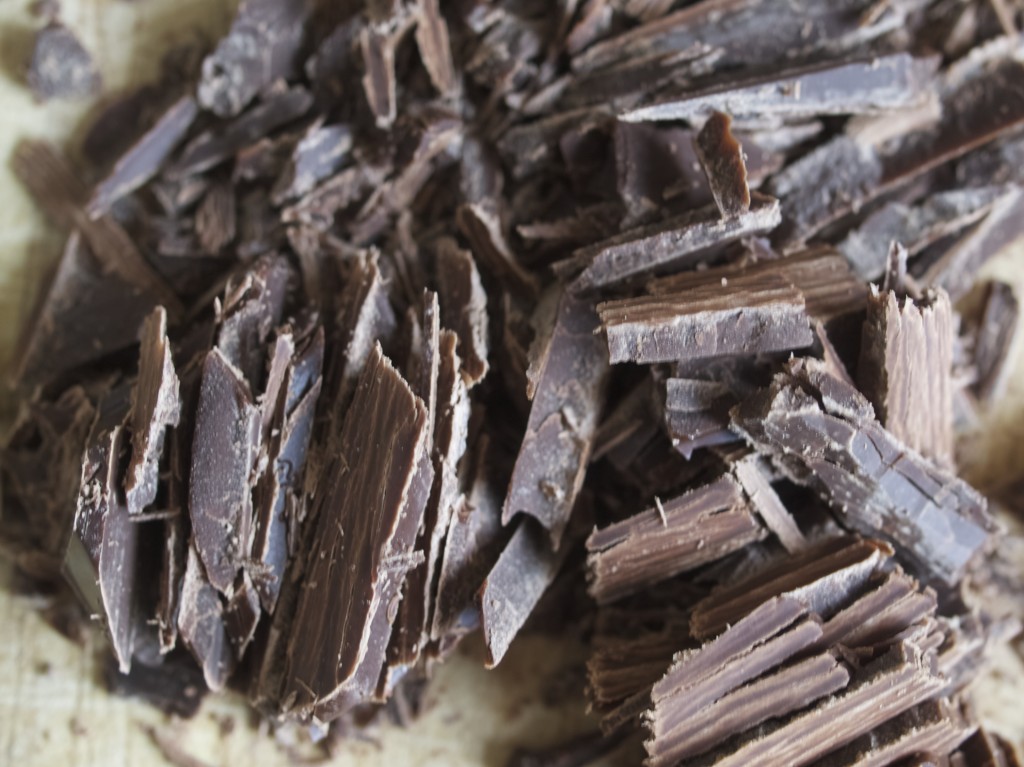
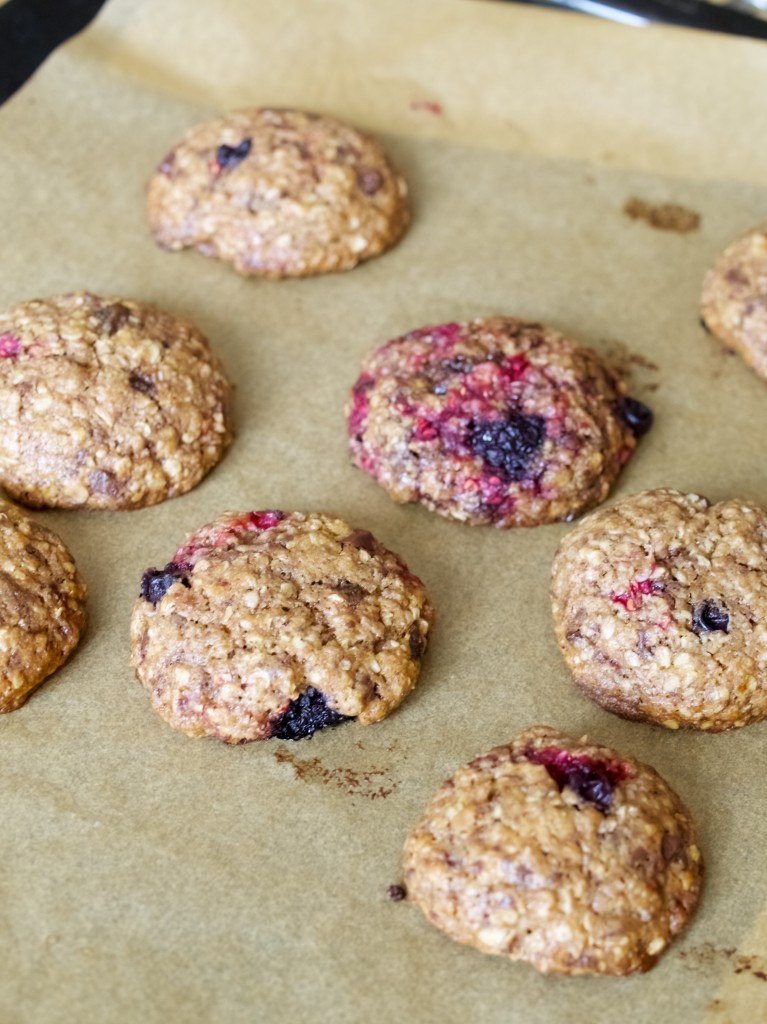
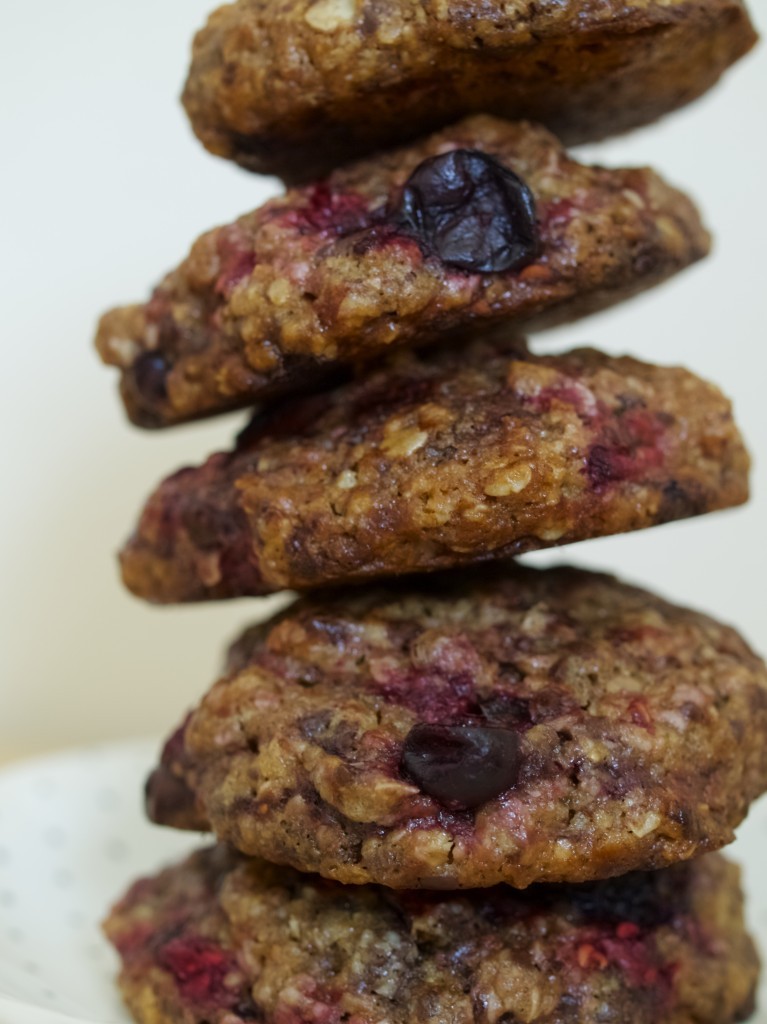
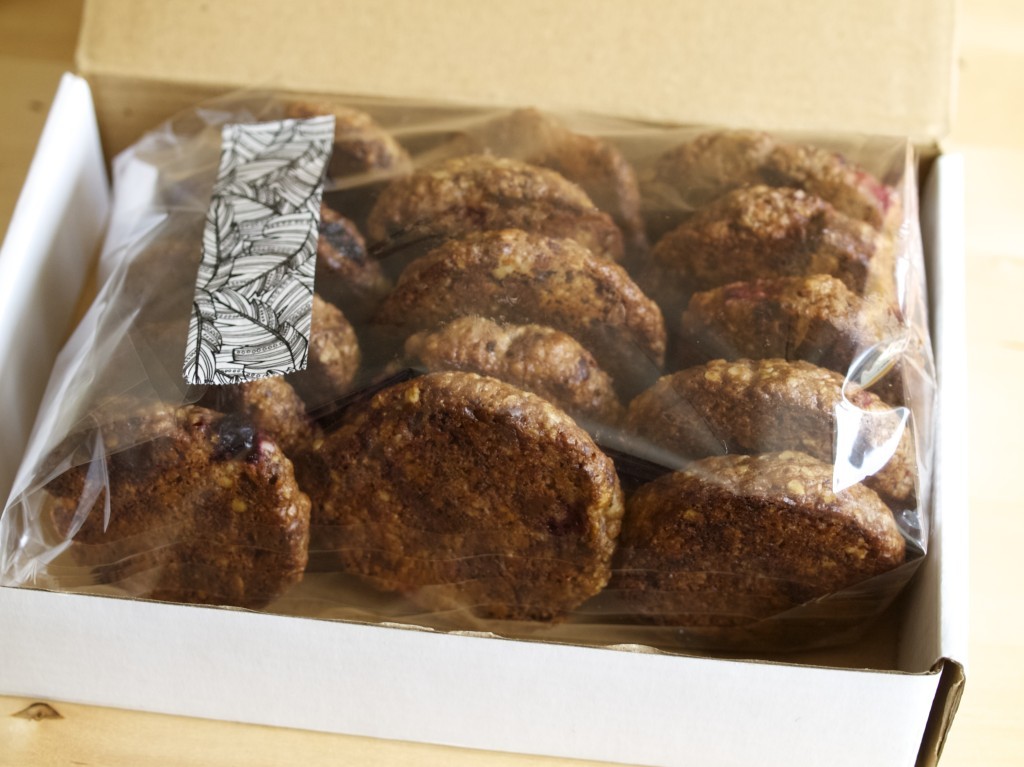
Berry, chocolate and oat cookies recipieI wanted to bake some cookies to be send to our aunt as a thank you gesture (I really hope she have received them already). This recipe from Lady and Pups  have been perfect. I used mixed berries instead of blueberries as I had them. I particularly loved the idea of browning butter for it. This was my first time doing it!! I think it gives a nice rich flavour to any cookie (almost any!). Berry, chocolate and oat cookies recipieBERRY AND CHOCOLATE OAT COOKIES adopted from Lady and Pups

  • 1/2 cup (1 stick/113 grams) of unsalted butter
  • 1/3 cup (71 grams) of granulated sugar
  • 1/3 cup (63 grams) of dark brown sugar
  • 1 egg
  • 1 tsp of vanilla extract
  • 3/4 cup (101 grams) of all-purpose flour
  • 1/2 tsp of salt
  • 1/2 tsp of ground cinnamon
  • 1/4 tsp of baking soda
  • 1 1/2 cup (136 grams) of quick-cooking oats
  • 1/2 heaping cup (85 grams) of chopped semi-sweet chocolate
  • 1 cup (125 grams) of frozen berries

1. Melt the unsalted butter in a small pot over medium heat, and continue to cook for approx 5 min until the butter has turned clear and the milk solids are browned.  Pour the browned butter into a large bowl and let cool slightly for 5 min

2. add the granulated sugar and dark brown sugar into the browned butter and whisk until smoothly combined.  Add the egg and vanilla extract, and whisk until thick and velvety.  Sift the all-purpose flour, salt, ground cinnamon and baking soda right into the bowl, then whisk again until smooth

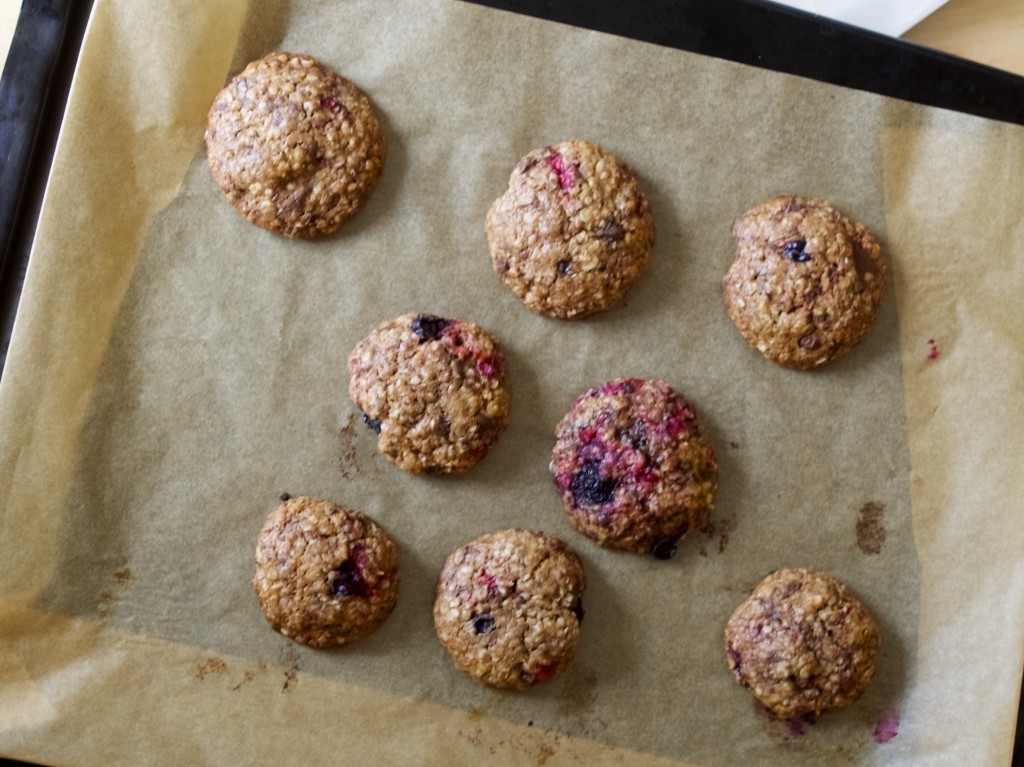
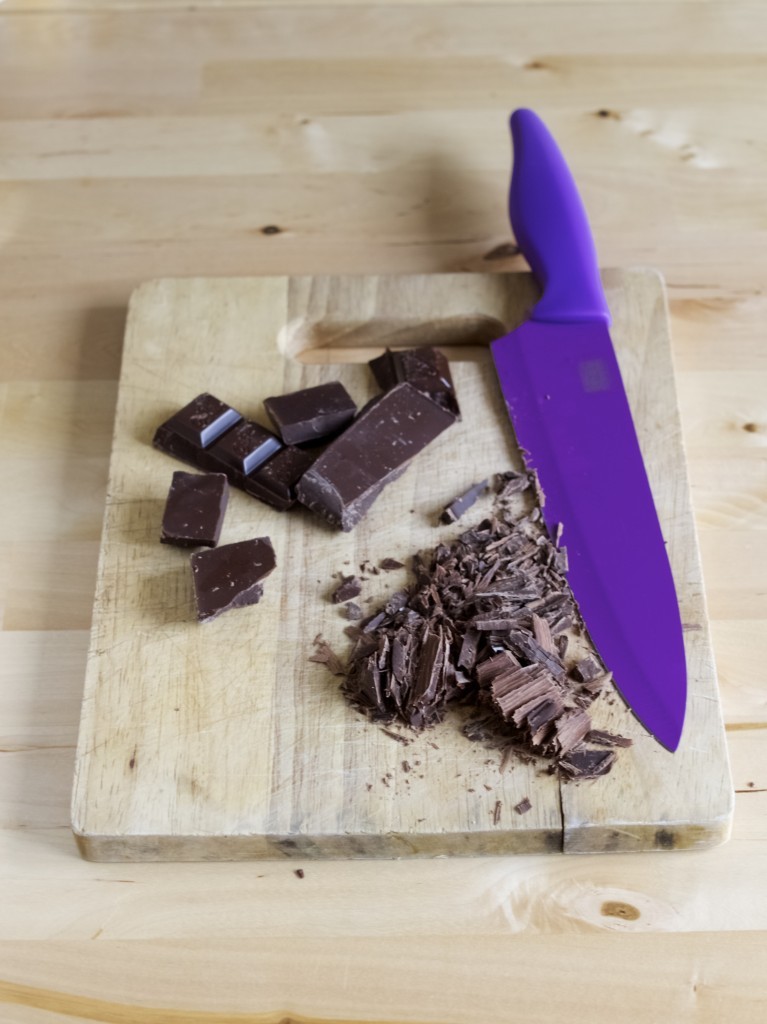
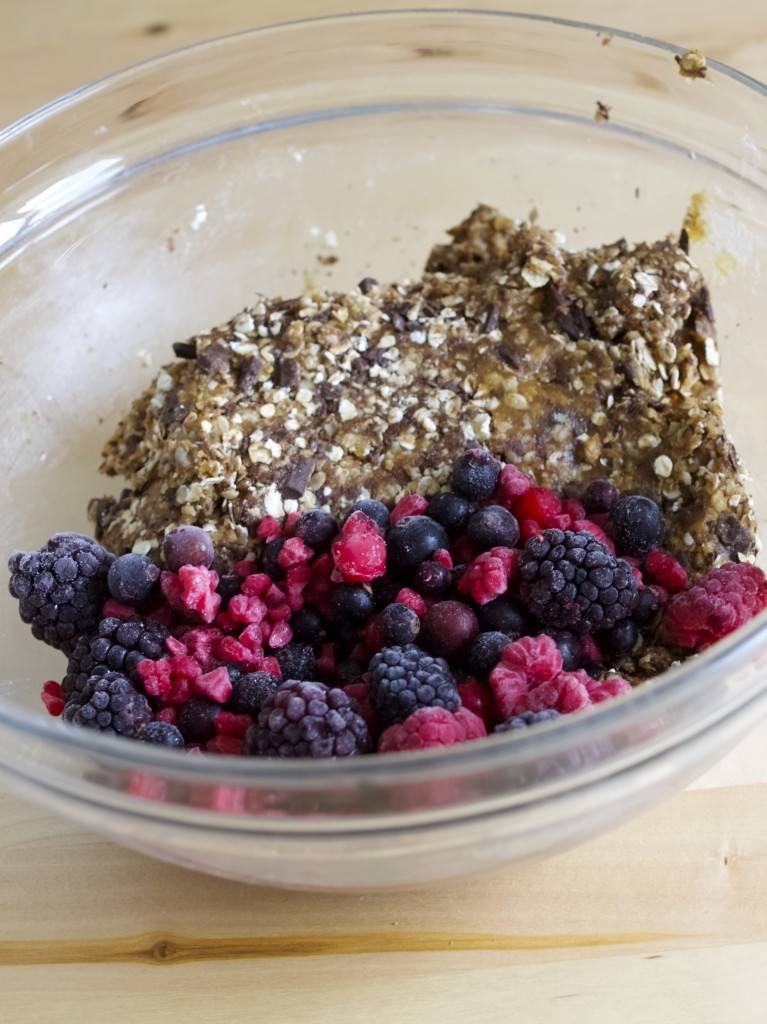
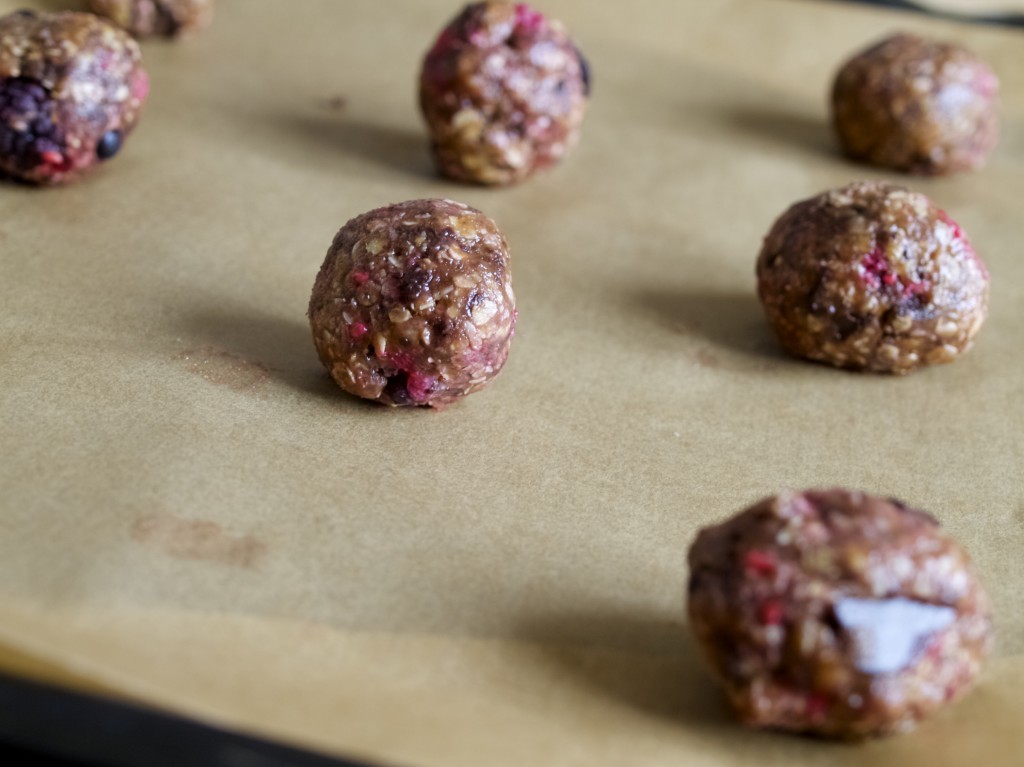
3. Switch from the whisk to a spatula, then add the quick-cooking oats and chopped dark chocolate.  Fold the mixture until evenly incorporated.Berry, chocolate and oat cookies recipie Berry, chocolate and oat cookies recipie4. Add the frozen blueberries and fold again until even.  The cookie-dough will instantly firm-up as the frozen blueberries are mixed in.Berry, chocolate and oat cookies recipie5. Scoop about 1 1/2 tbsp of cookie-dough onto a parchment-lined baking-sheet, with about 1″ of space in between each.  The dough should be firm enough to shape with your hands.  Make round dough-ball for a taller/thicker cookie, or press it down into a disk for a thinner cookieBerry, chocolate and oat cookies recipie6. Bake in the preheated 180C oven for 12-13 min, until the edges are set and the centre is slightly soft. Let it cool for 10 min before transferring onto cooling rackBerry, chocolate and oat cookies recipie Berry, chocolate and oat cookies recipie Berry, chocolate and oat cookies recipieEnjoy!

Rasa xoxo

0

Happy 1st of September!

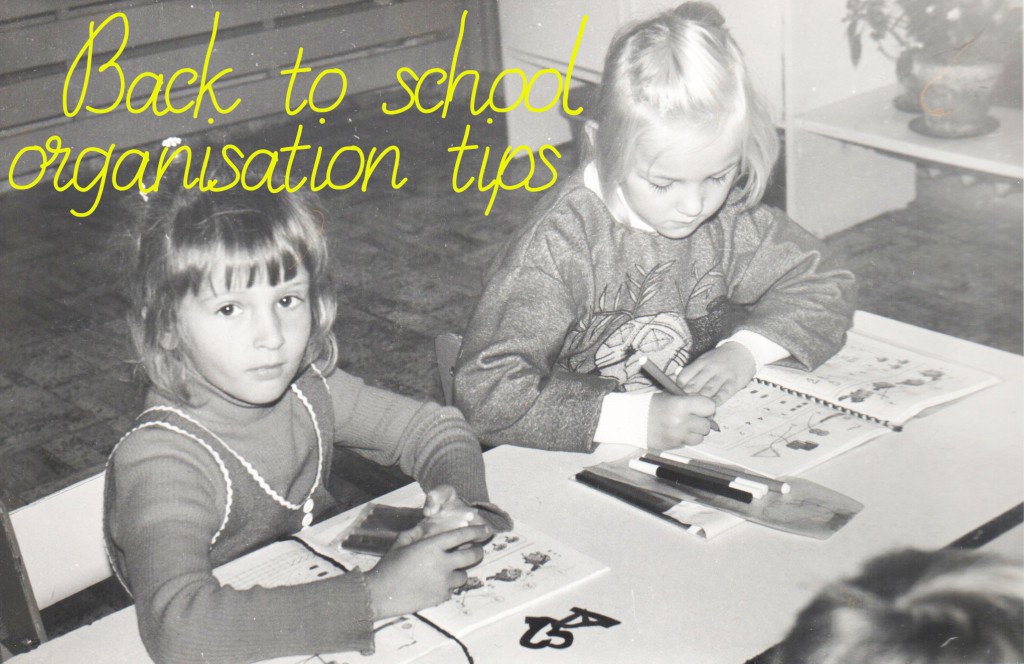
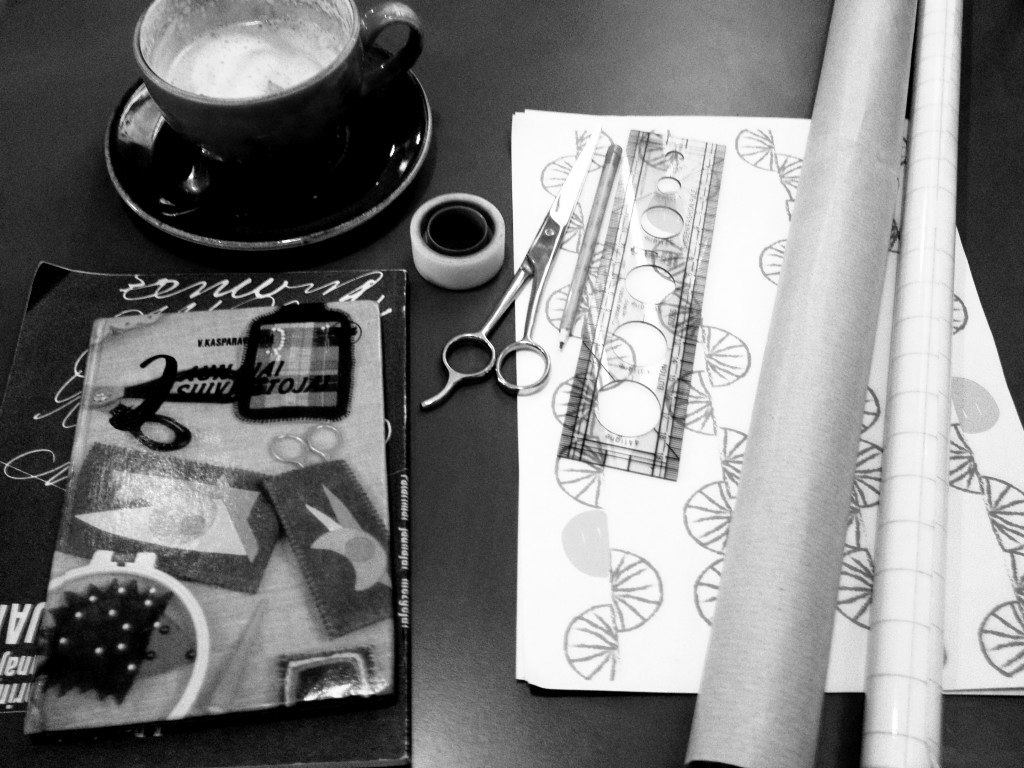
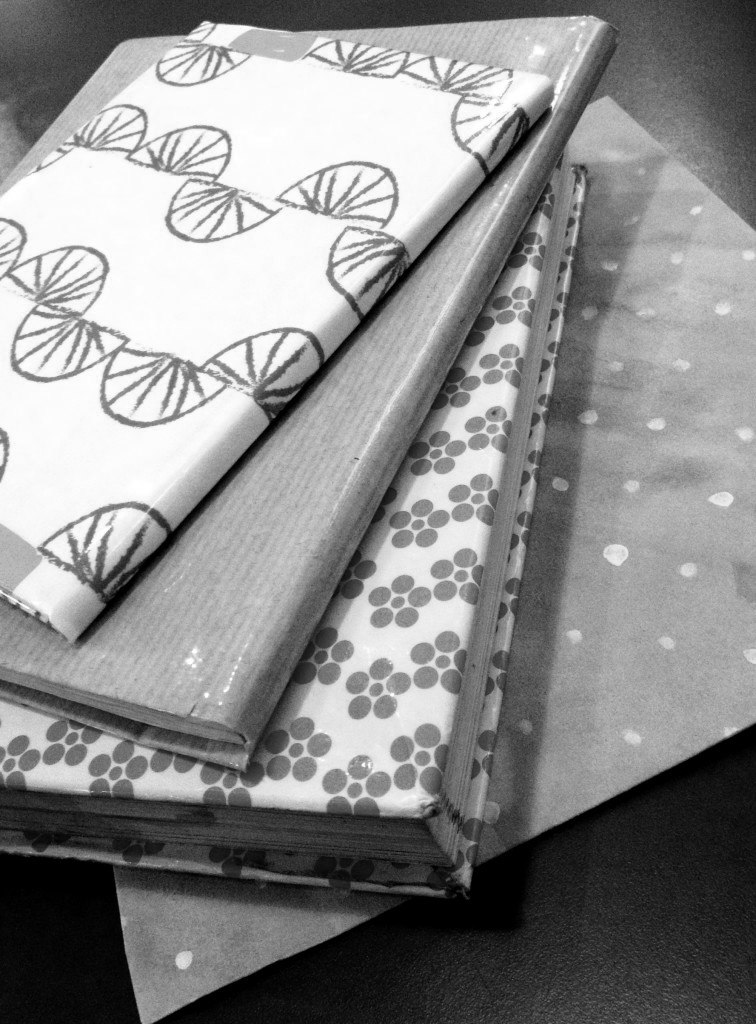
my school years1st of September has always been an official 1st day at school in Lithuania with celebration and parades. Don’t you think that celebration is a great way to start the school? To me this was something I looked forward to, although I was never a good student (except arts and biology). Free lovely pattern printouts Another thing I was looking forward to at school was catching up with my friends, shopping for new stationary, organising the books and getting ready to start. So I could say organisation has been my stronger point. I used to enjoy (still enjoying) putting things in order so it looks prettier and it’s easy to find stuff when you need them. I guess I should be able to give you some tips in this area of my expertise. But one thing I should point out that this won’t make you a better student and spending too much time on it will lose your focus on something else more important. I of course have learned that good balance is the key to almost everything! My school yearsFree lovely pattern printouts to cover your booksSo today I would just like to share a project on how to protect your books with pretty covers (extra printable patterns as well). Click here for full project walkthrough. protecttive book cover DIY protective book cover DIY


Good luck and have fun at school (or work)

Rasa x

0

Things I look forward to in September

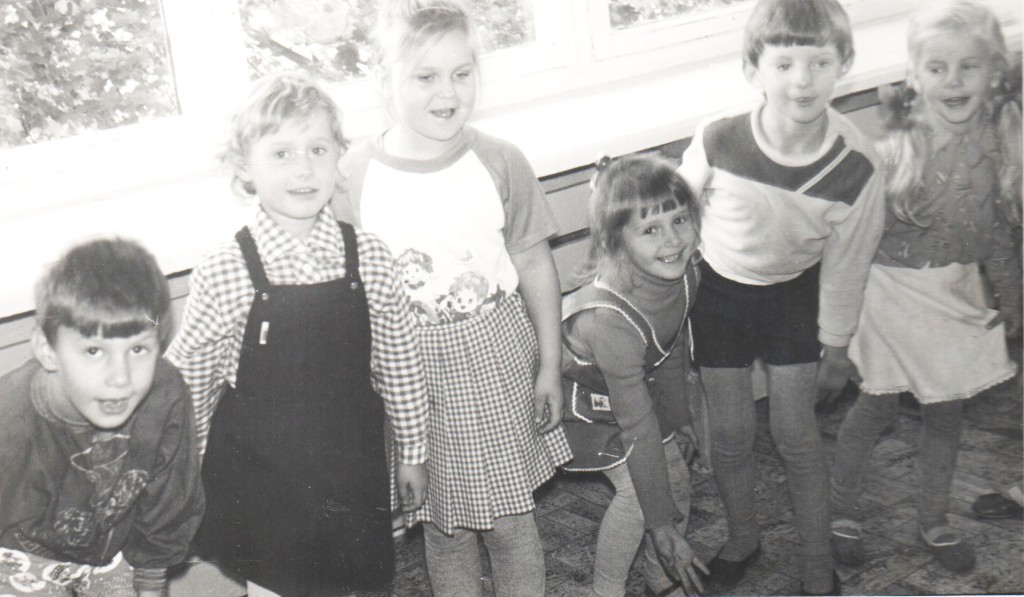
Me - thirty years ago!September is my favourite (after April and May of course)! And that’s not because it’s my birthday month (pic above is me – thirty years ago)! I love September, because it represent new beginnings and I can start work from new perspective. The wether change indicates that I can finally start counting down till Christmas! Anyways, here are many things I look forward to in September.

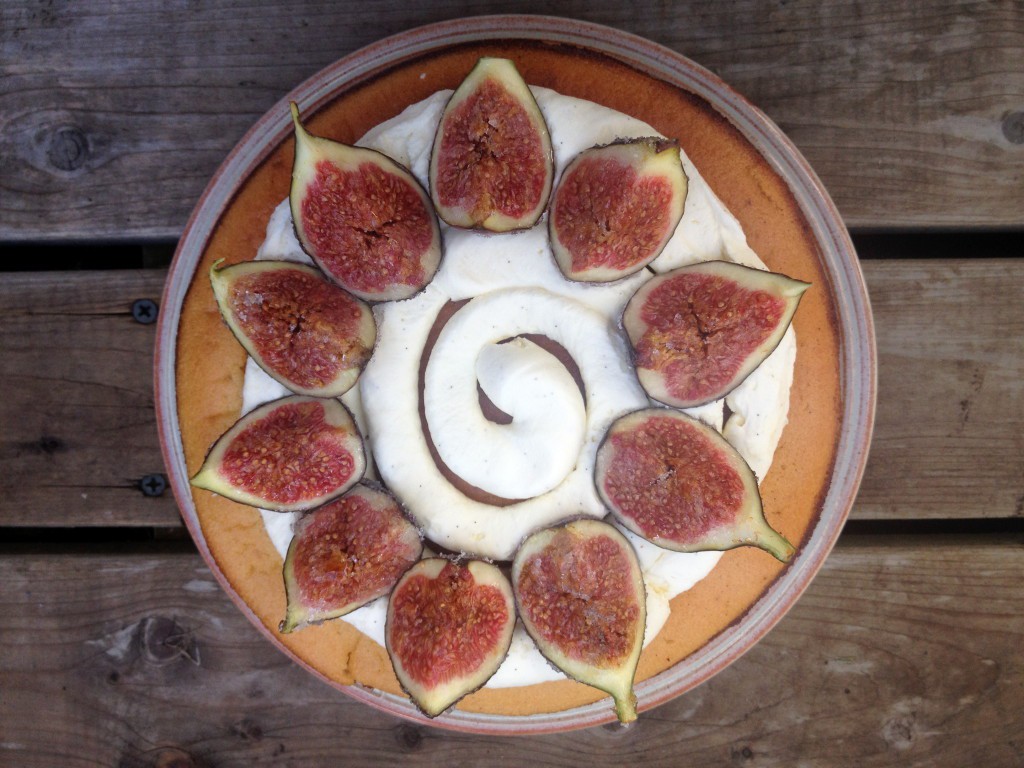
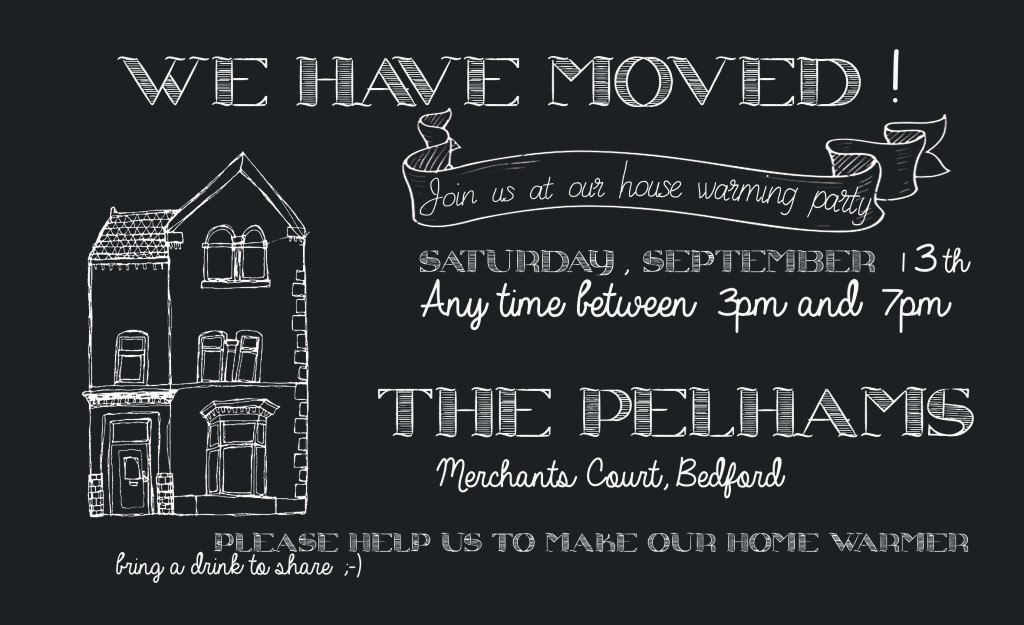
1. MY BIRTHDAY! That’s pretty obvious, but who likes getting old? Oh, no… birthdays to me just = more cake! Last year I baked honey mascarpone cake with figs, but this year it’s a surprise. Joni is quite eager to bake it this time… Looking forward!Birthday cake2. CLAIRE & JASON WEDDING! We just finished our wedding celebration. All thank you’s have been send and our wedding fund account is about to be finalised and closed! It’s wonderful to go and celebrate a wedding of someone else!Our wedding 20143. HOUSE WARMING PARTY, who doesn’t like a party? We have finally moved and settled, so we thought we should celebrate! Will work on blog next ;-)Housewarming party invite4. COMPLETING A KNITTED PROJECT! Winter is coming up, so I started new sweater project. Looking forward to the end result!My new knitting project!Happy September!

Rasa xoxo

0

Slow cooker cabbage rolls (called little pigeons in Lithuanian)

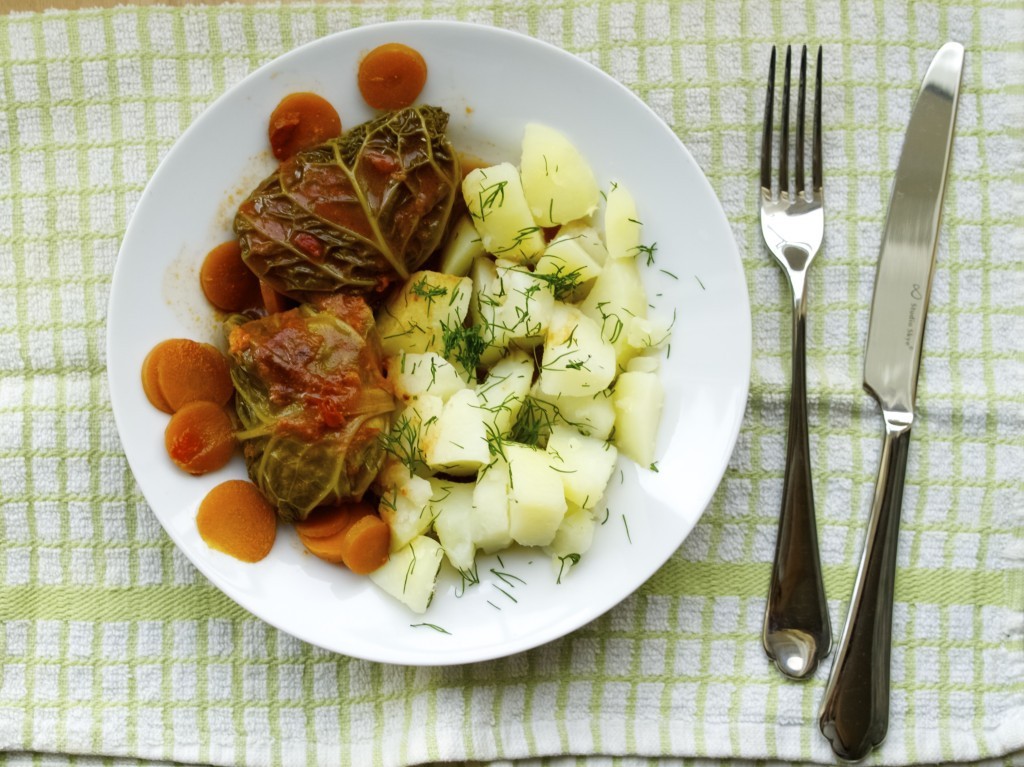
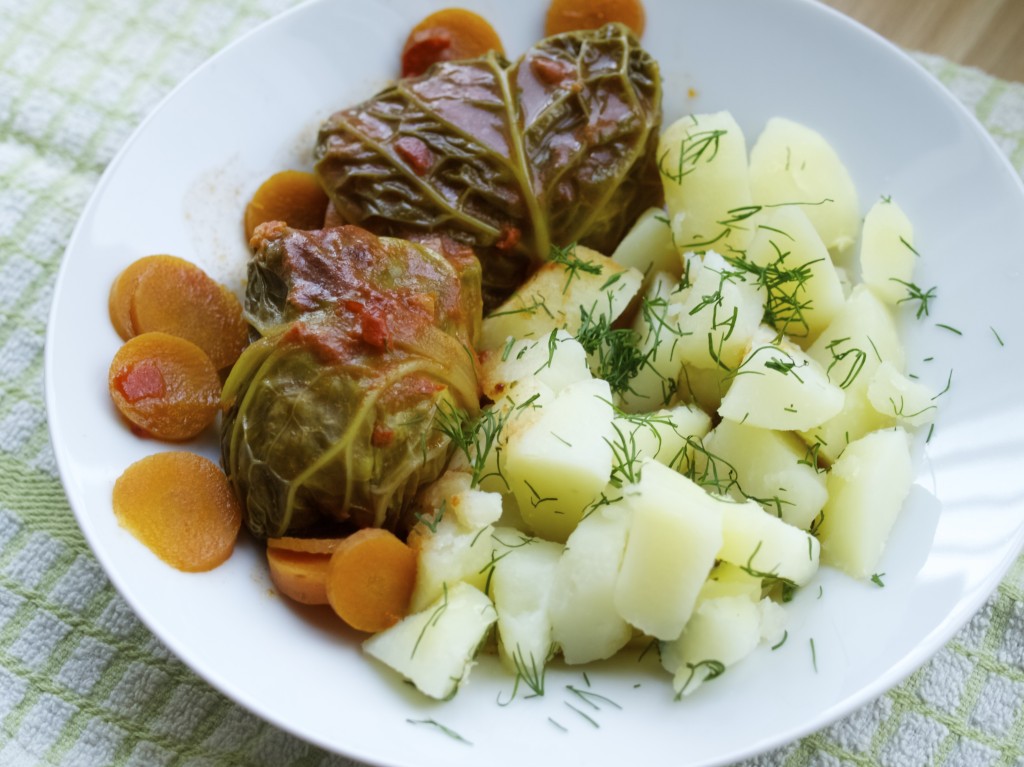
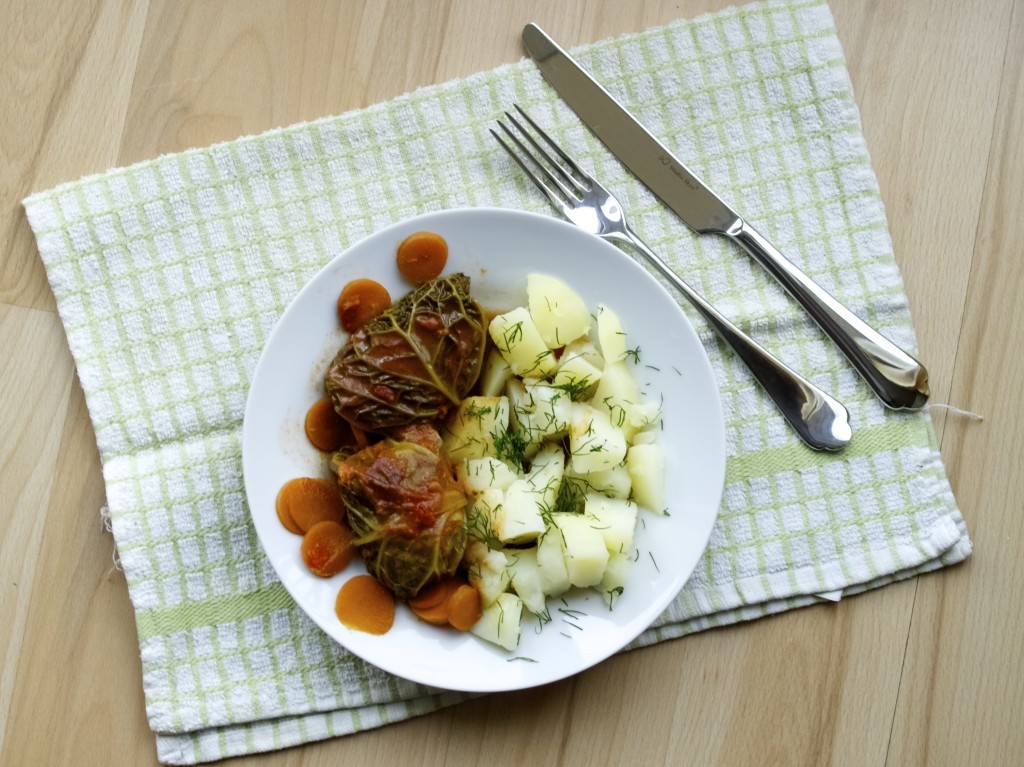
Slow cooker cabbage rolls (also known as little pigeons in Lithuanian)I loved cabbage rolls when I was a kid and this was my first Lithuanian dish that I learned to make all by myself! I am proud to even say that my dad doesn’t even know how to make them and he is big on patriotic food! We call cabbage rolls ‘balandeliai’ which actually means ‘little pigeons’. Cute isn’t it? Here I share my new version via slow cooker, because I am mad about slow cooker these days. It’s like revolution to me…. ok, ok, I will get over it soon!Slow cooker cabbage rolls (also known as little pigeons in Lithuanian)SLOW COOKER CABBAGE ROLLS

  • 1 Savoy cabbage
  • 70g risotto rice (dry)
  • 500g minced pork
  • 2 carrots, shredded + 2 sliced for the pot
  • 2 celery sticks, shredded
  • 1 bunch of dill
  • salt and pepper
  • 3 heaped tbsp tomato puree
  • 1 tsp paprica
  • 1l beef or chicken stock
  • boiled potato to serve

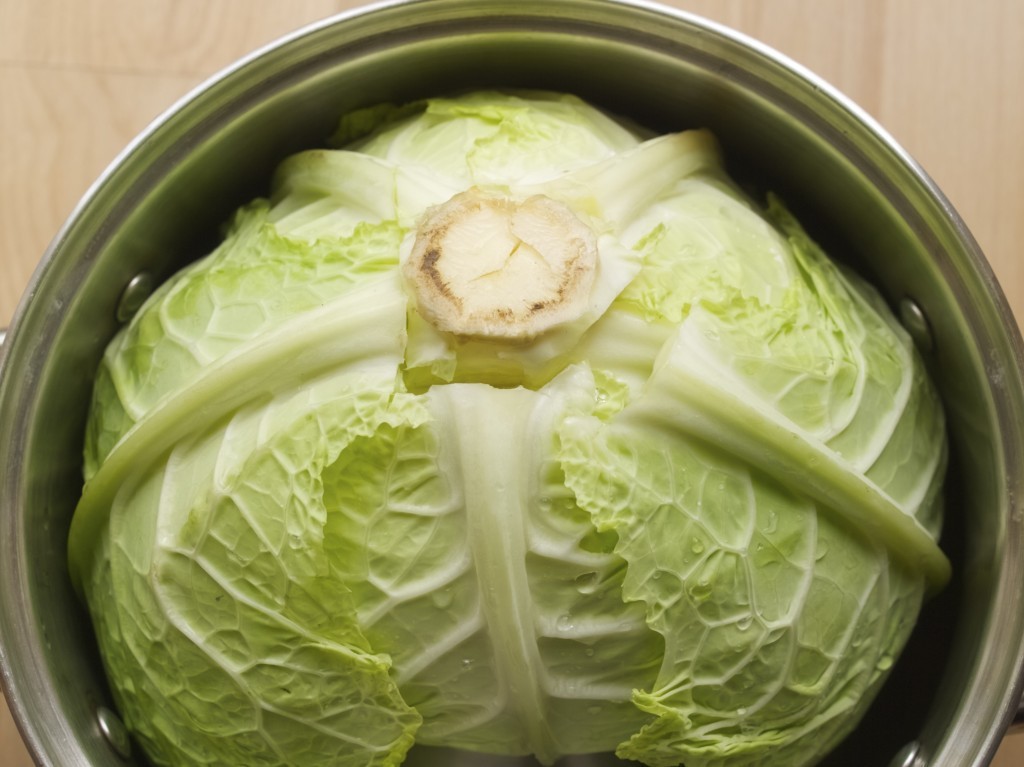
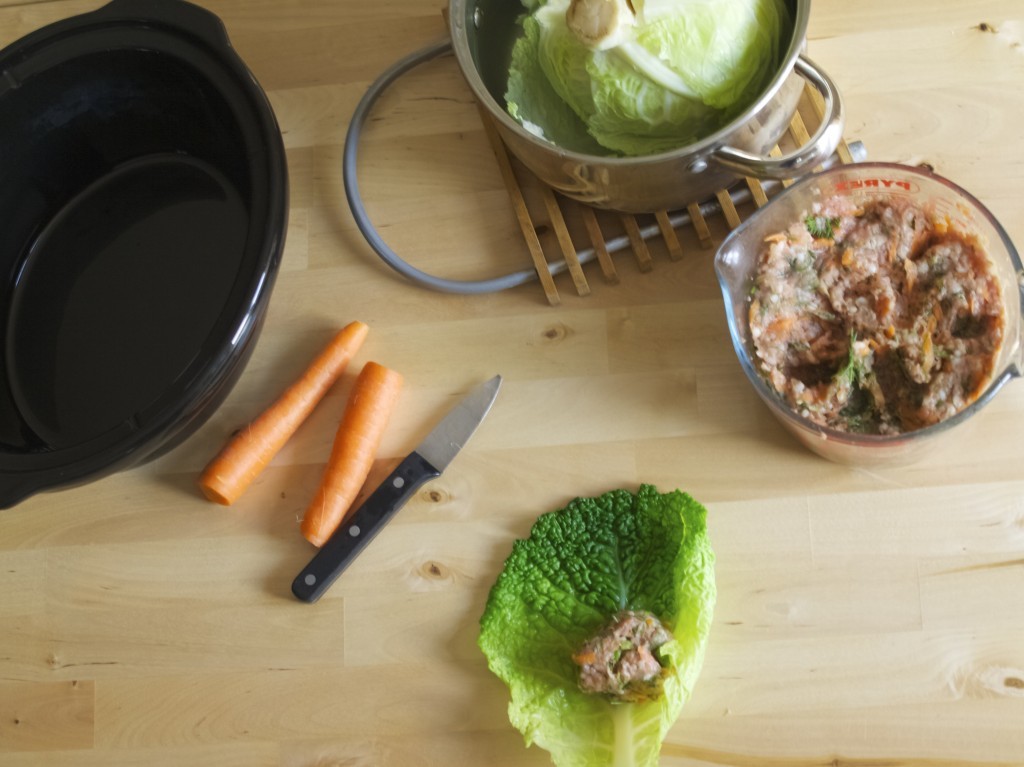
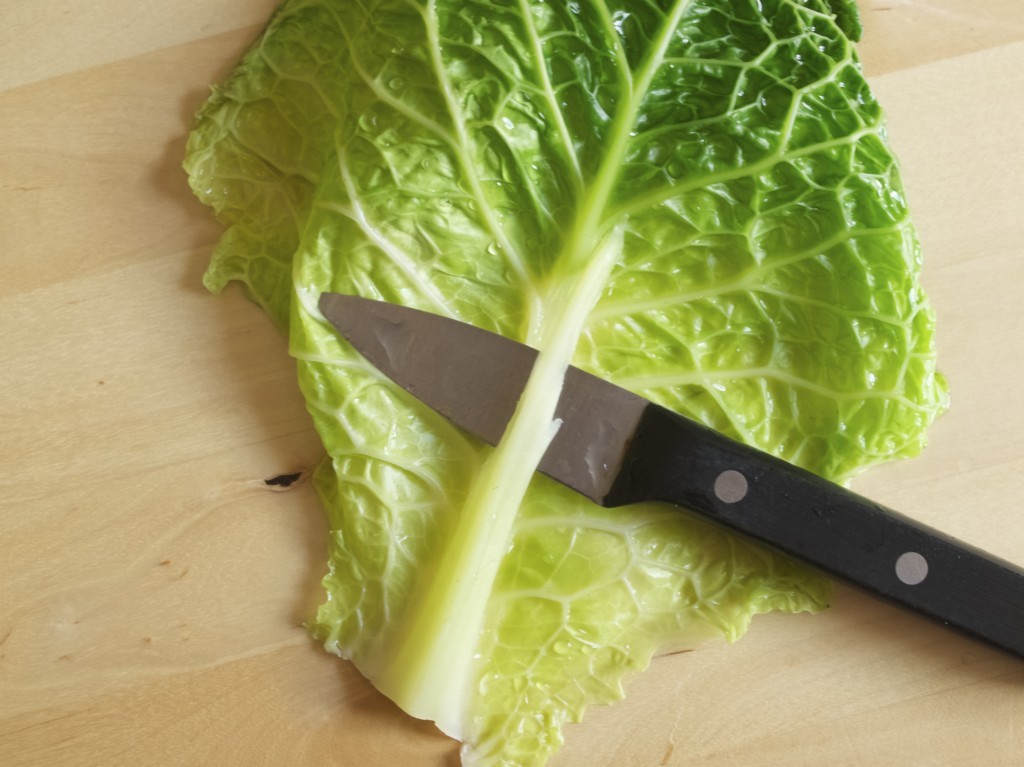
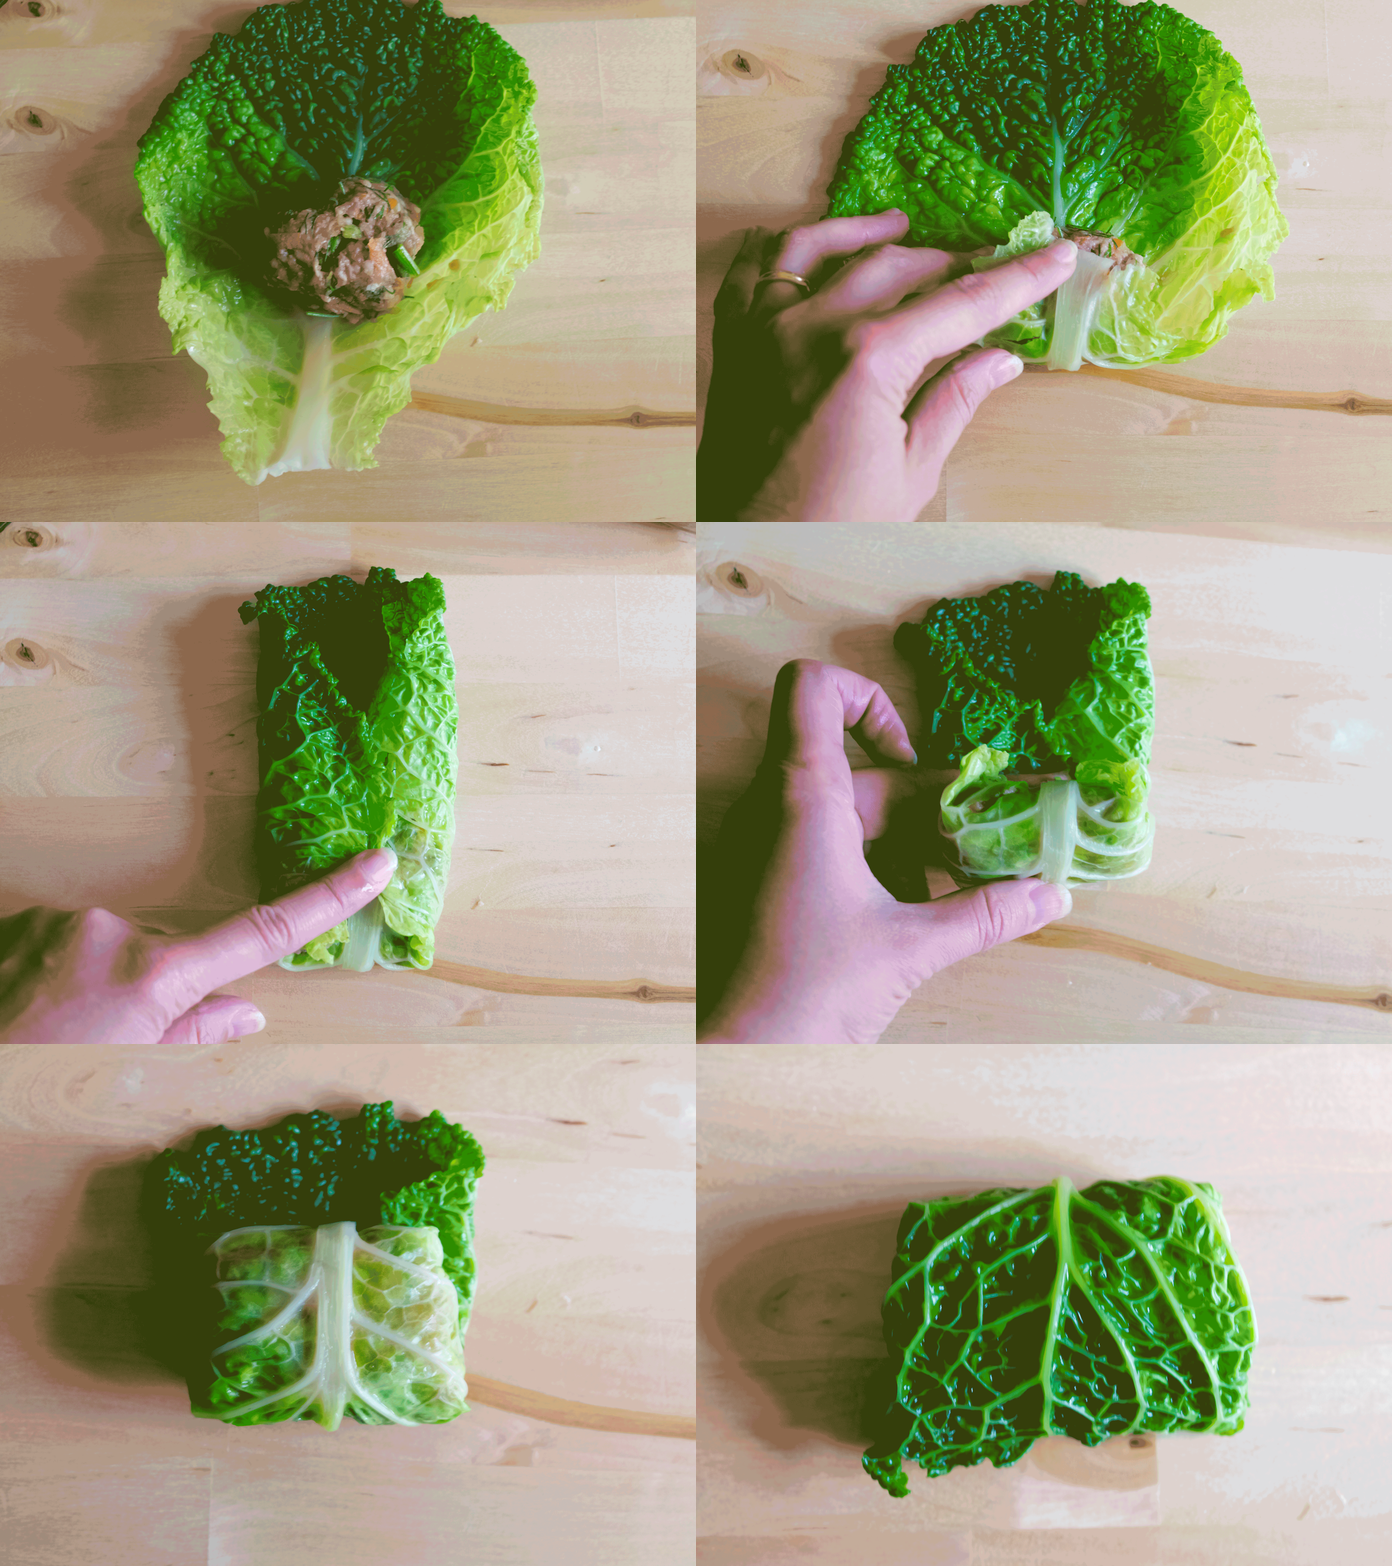
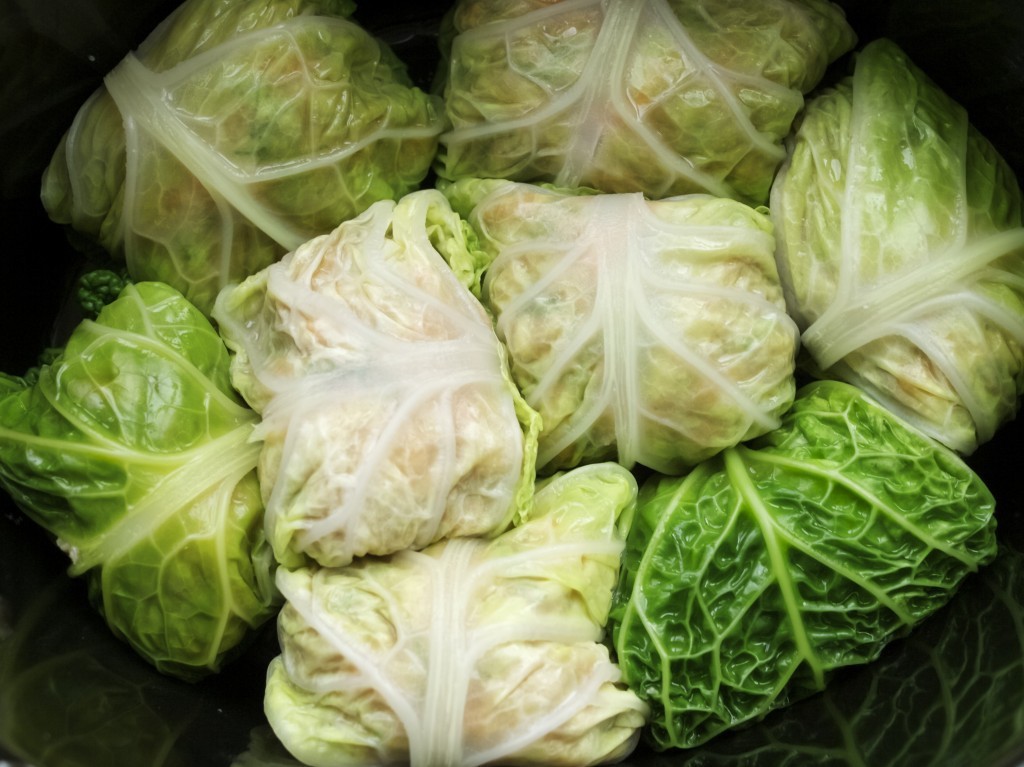
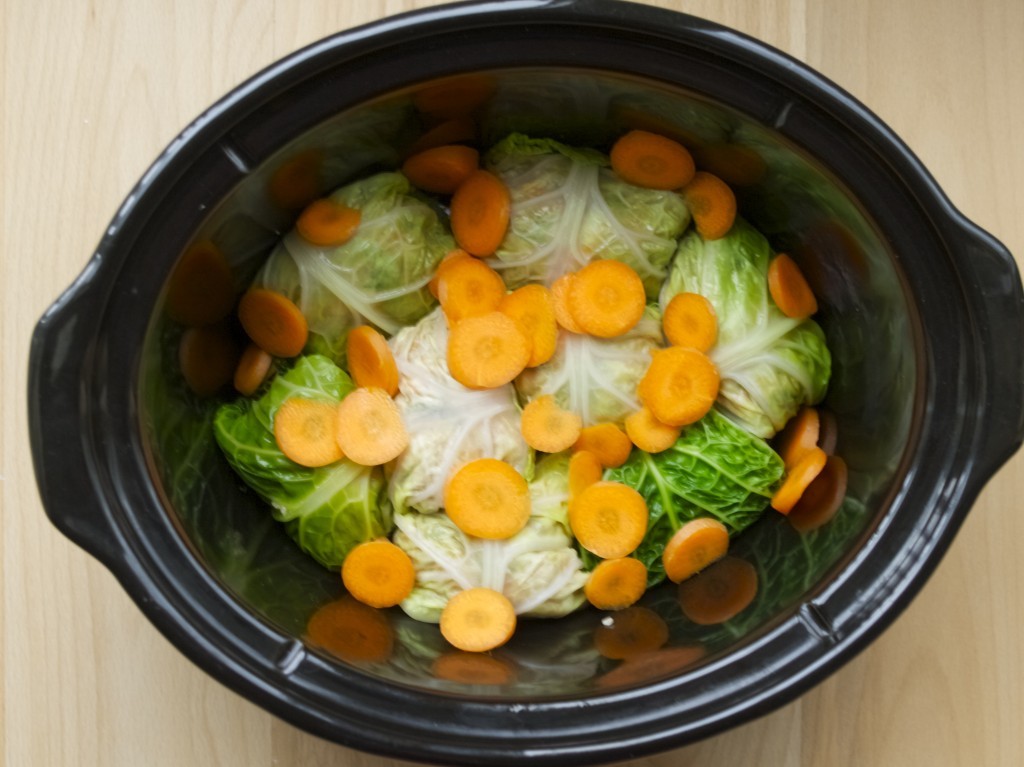
1. First cook the cabbage, but only lightly, this is because we want the leaves become all flexible (easy for rolling). So with knife cut around the cabbage stalk so its easy to remove the leaves later on. Dip the cabbage in boiling water and simmer it slightly. The water should cover the cabbage and if it doesn’t then turn it in the pot while cooking so it gets cooked evenly.Slow cooker cabbage rolls (also known as little pigeons in Lithuanian)2. Meanwhile, get ready!!! Mix minced meat together with rice, shredded carrots, celery and chopped dill until well incorporated. Season it well.Slow cooker cabbage rolls (also known as little pigeons in Lithuanian)2. Set the workspace right! Have slow cooker ready, meat stuffing, cooked cabbage (rinsed under cold tap), all on the same table. Slow cooker cabbage rolls (also known as little pigeons in Lithuanian)3. Before wrapping thin the cabbage leaf stalk so it is even easer to roll meat in it. Simply just run the knife along side to cut a hard piece away. Slow cooker cabbage rolls (also known as little pigeons in Lithuanian)4. Wrap the stuffing into the cabbage leaves.wrapping-meat-in-the-cabage5. Place the cabbage rolls into the bottom of the pot.Slow cooker cabbage rolls (called little pigeons in Lithuanian)6. Cover the bottom layer of cabbage with chopped carrots and repeat the same again creating a second layer of cabbage rolls. Slow cooker cabbage rolls (called little pigeons in Lithuanian)7. Spoon tomato puree on top, sprinkle paprika and cover with stock. Cook for 3-5 hours according to your slow cooker guidelines.Slow cooker cabbage rolls (called little pigeons in Lithuanian)Gero apetito!

Rasa xoxo

0

17 Christmas gift project ideas to start making now

17 wednesdays to go till ChristmasRecently one of our readers e-mailed me some wonderful pics of projects she completed, that she made for Christmas gifts. That prompted me to think about the gifts I am going to make this year. But how long before Christmas should you start making handmade gifts? Join our forum discussion! But for now, here are some ideas to get you started.

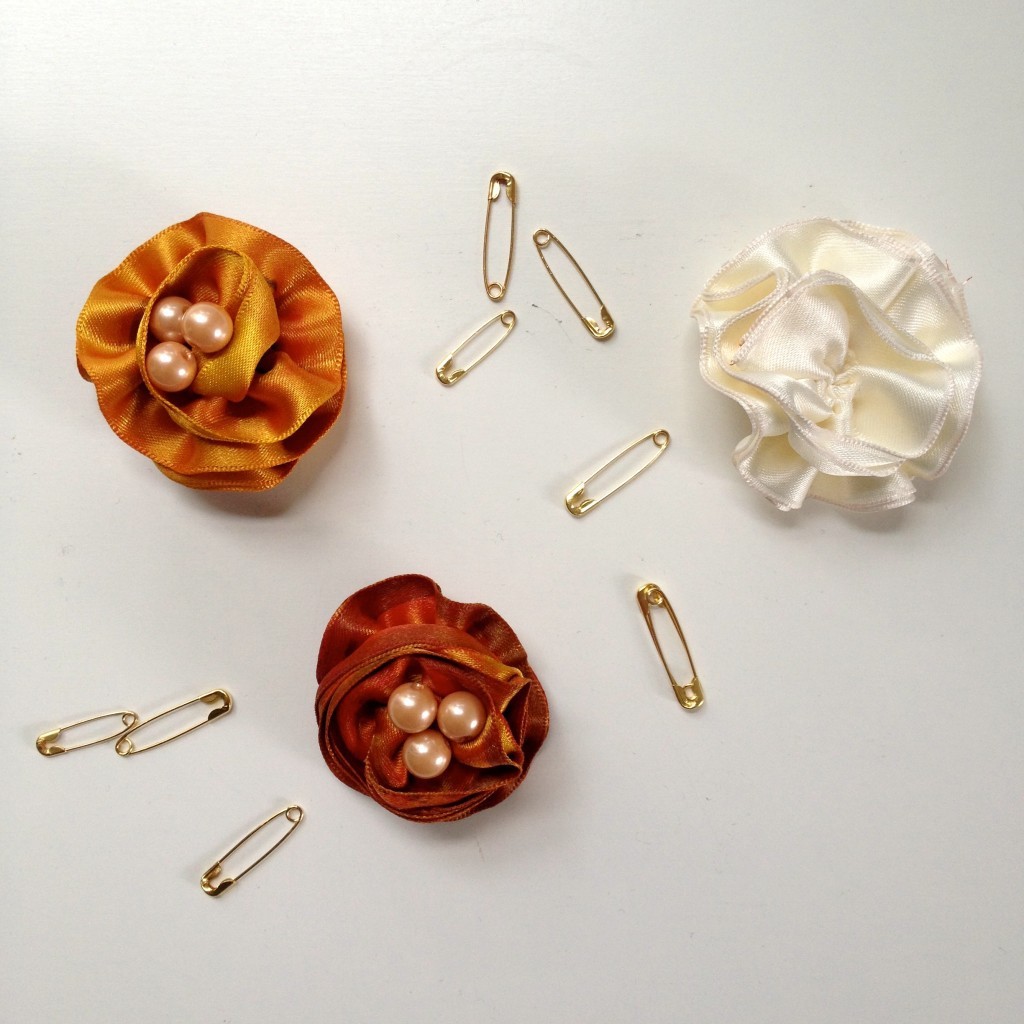
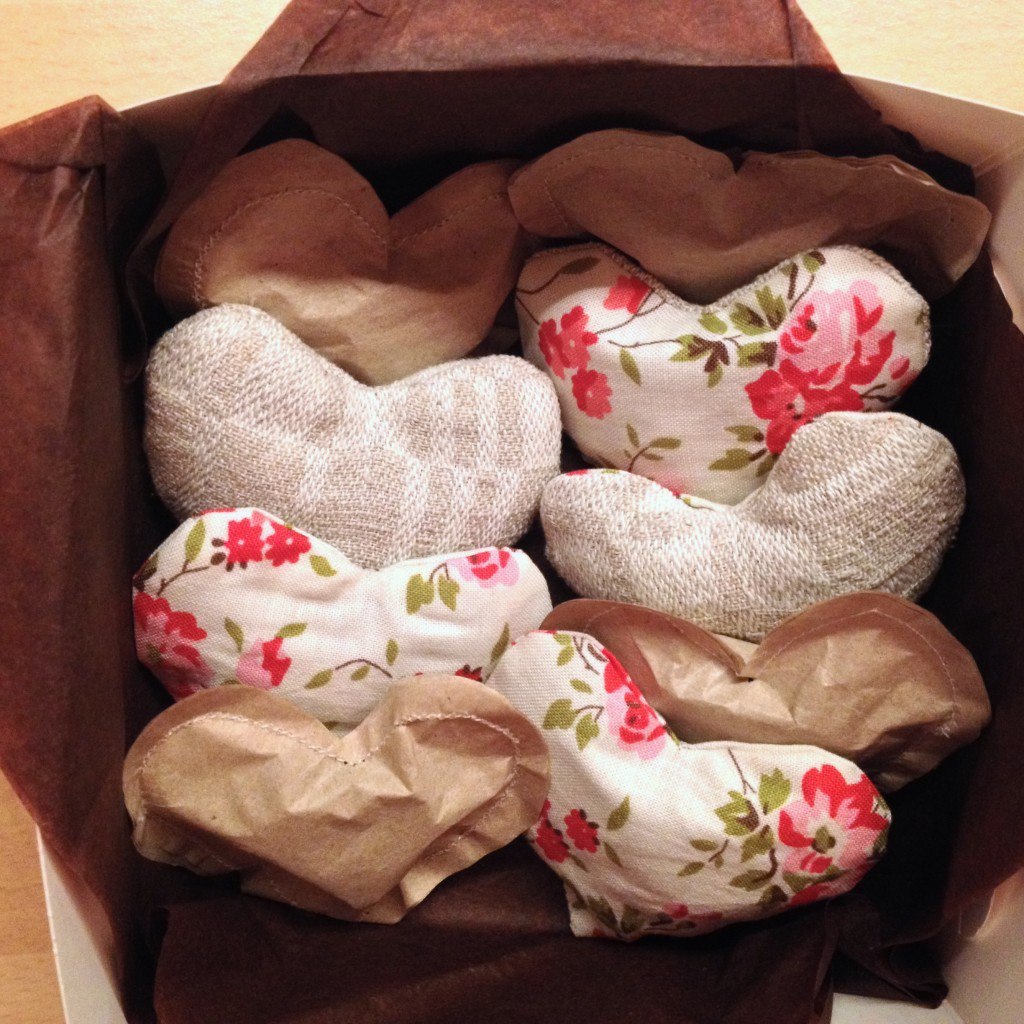
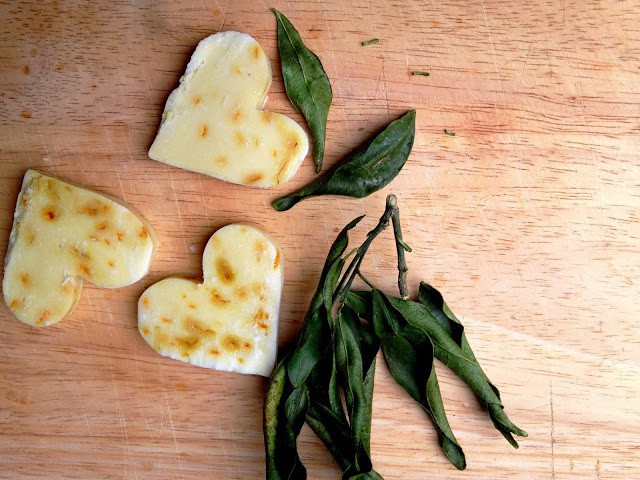
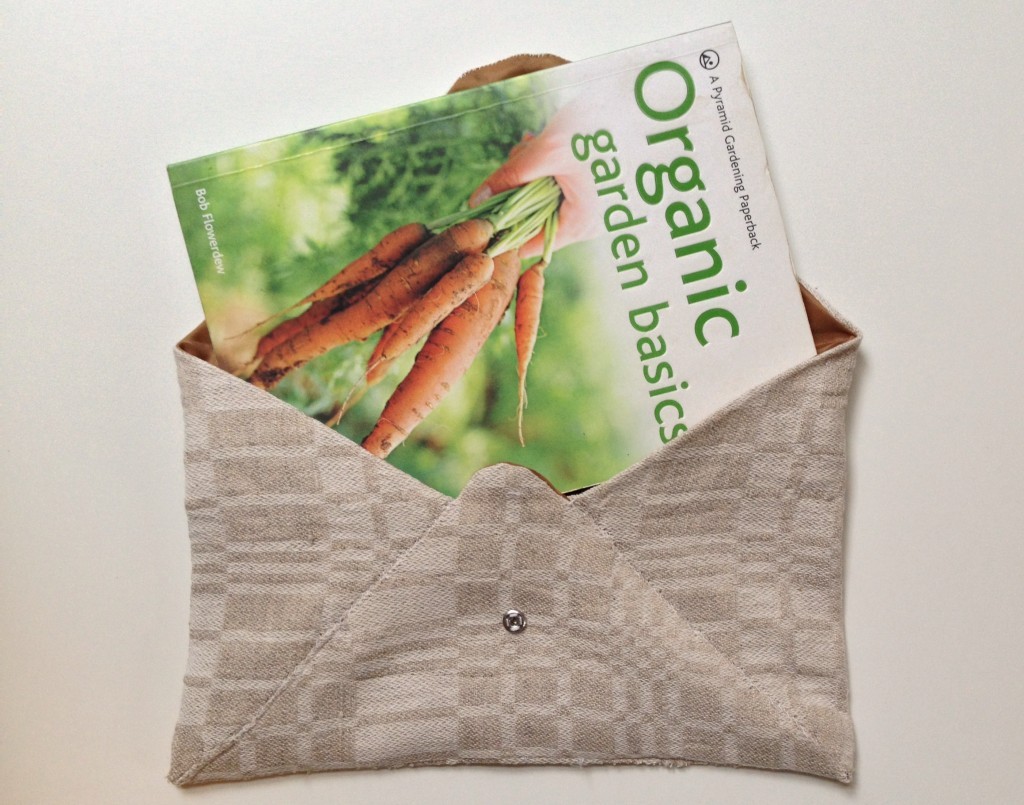
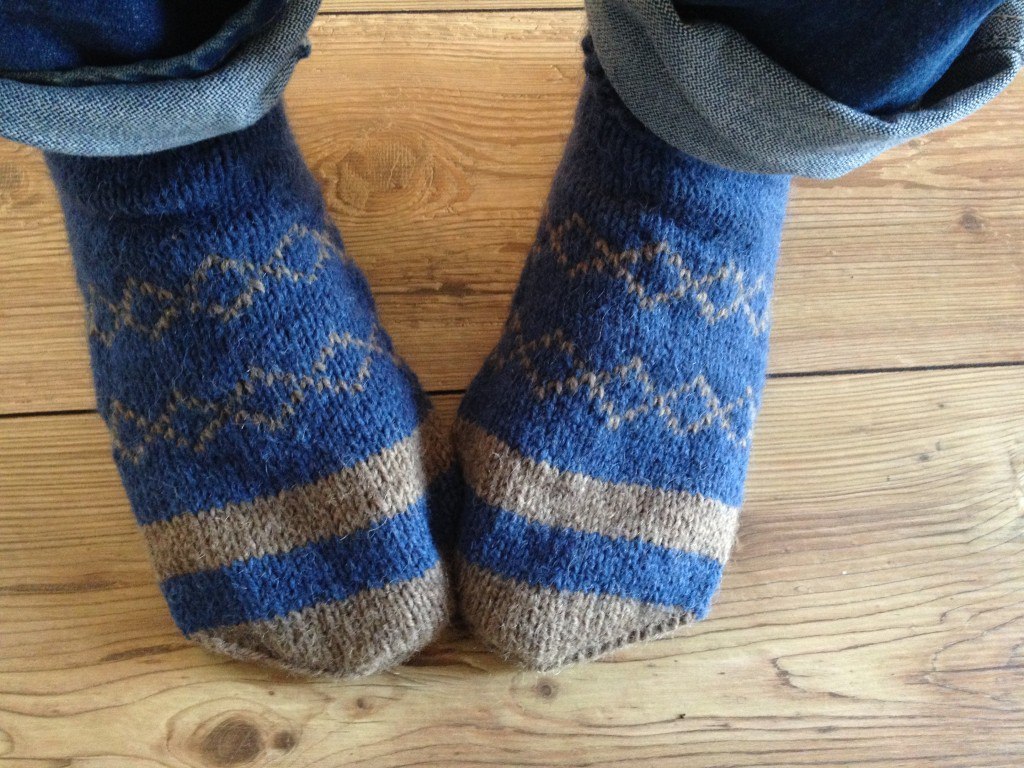
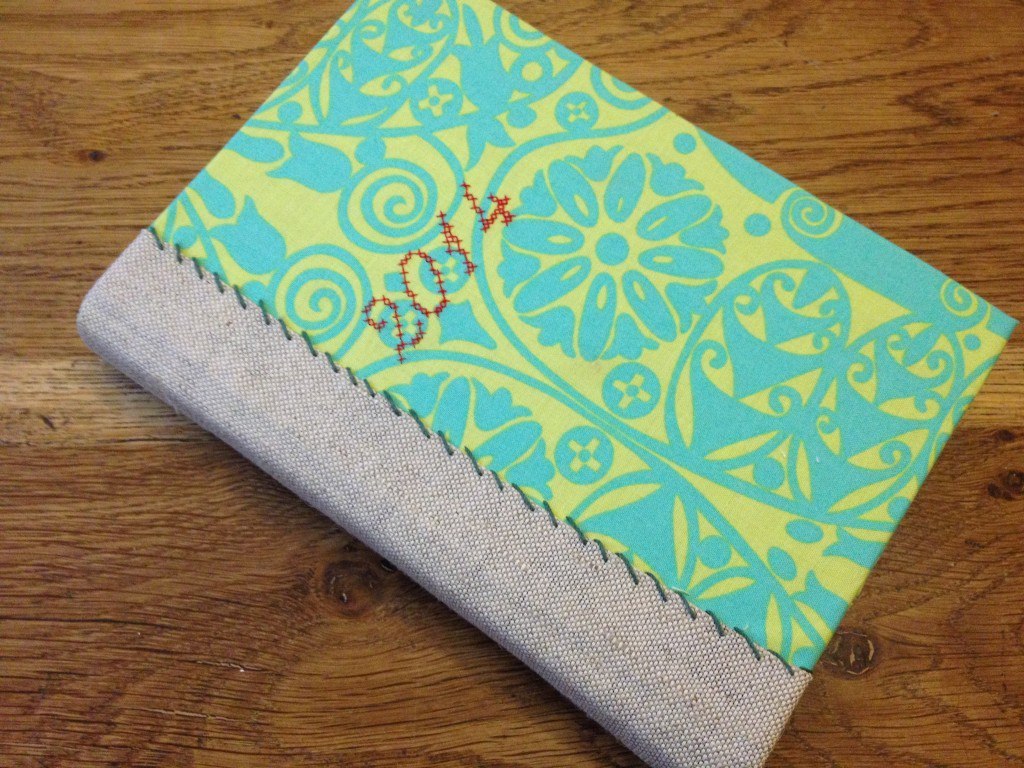
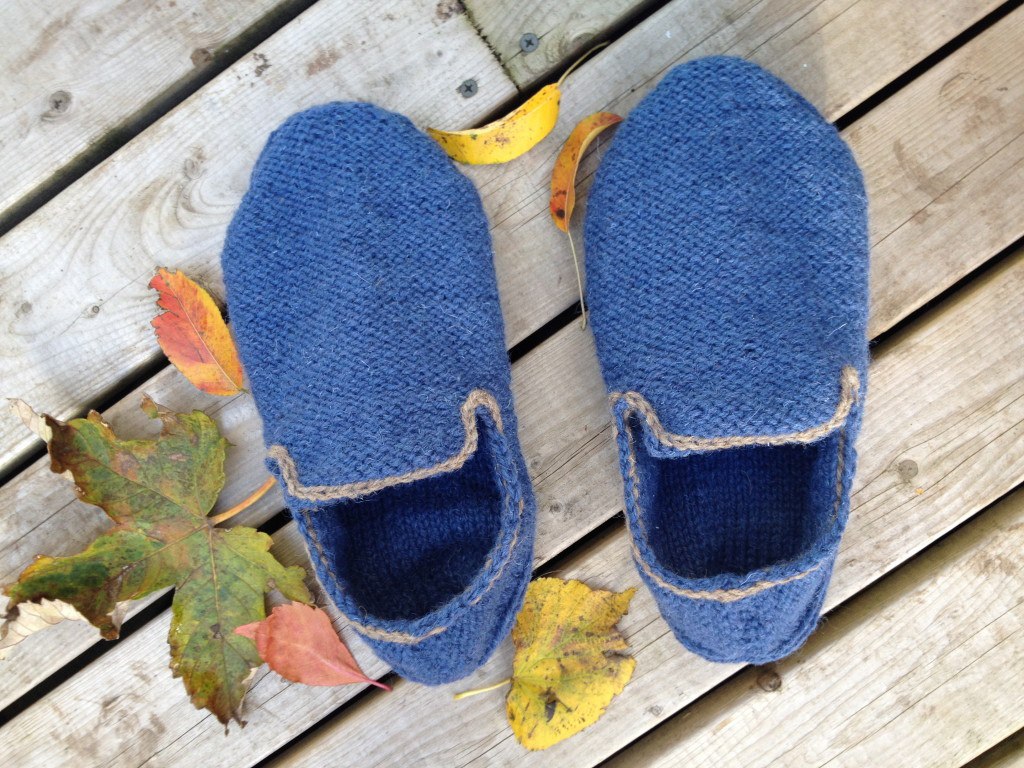
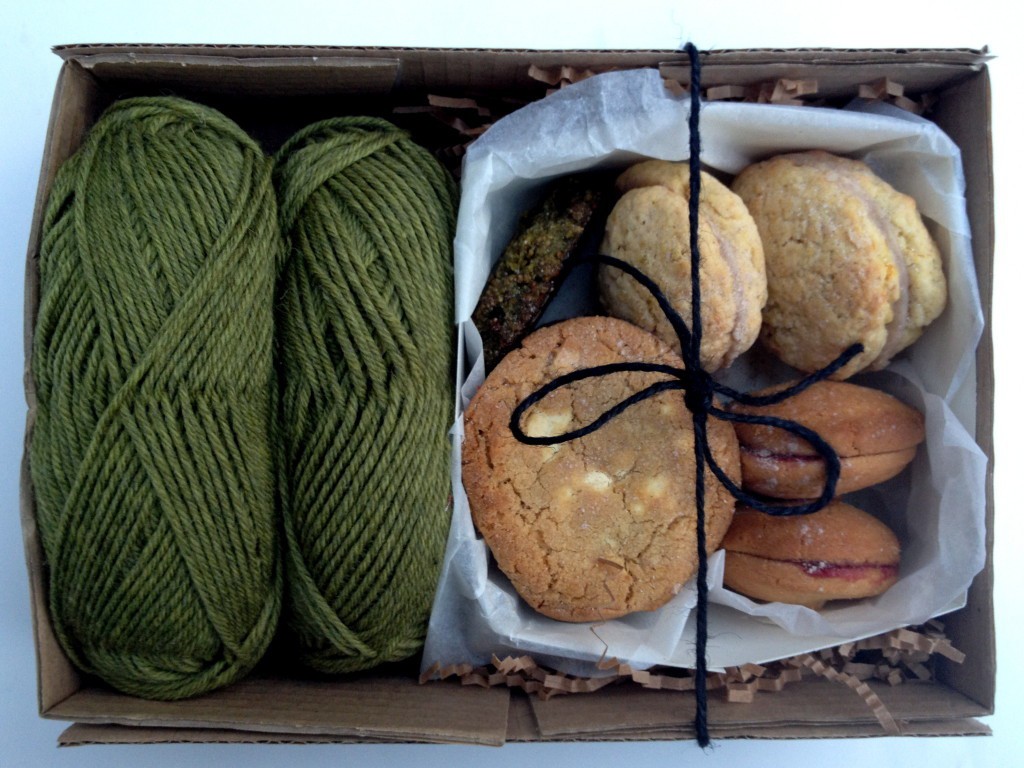
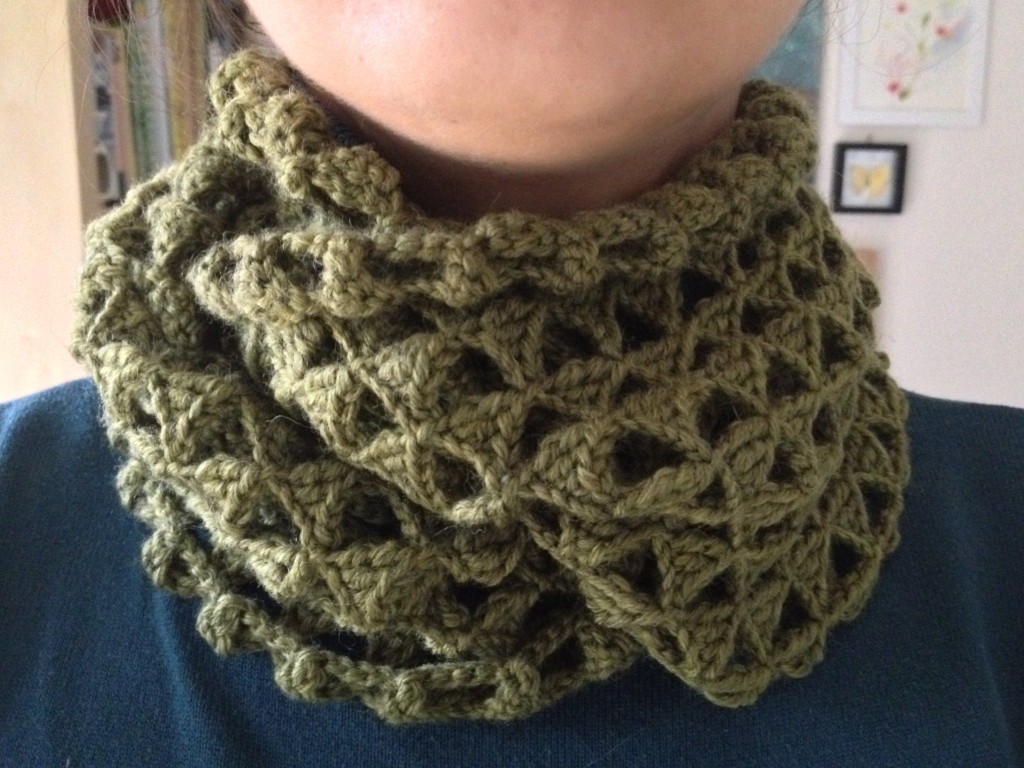
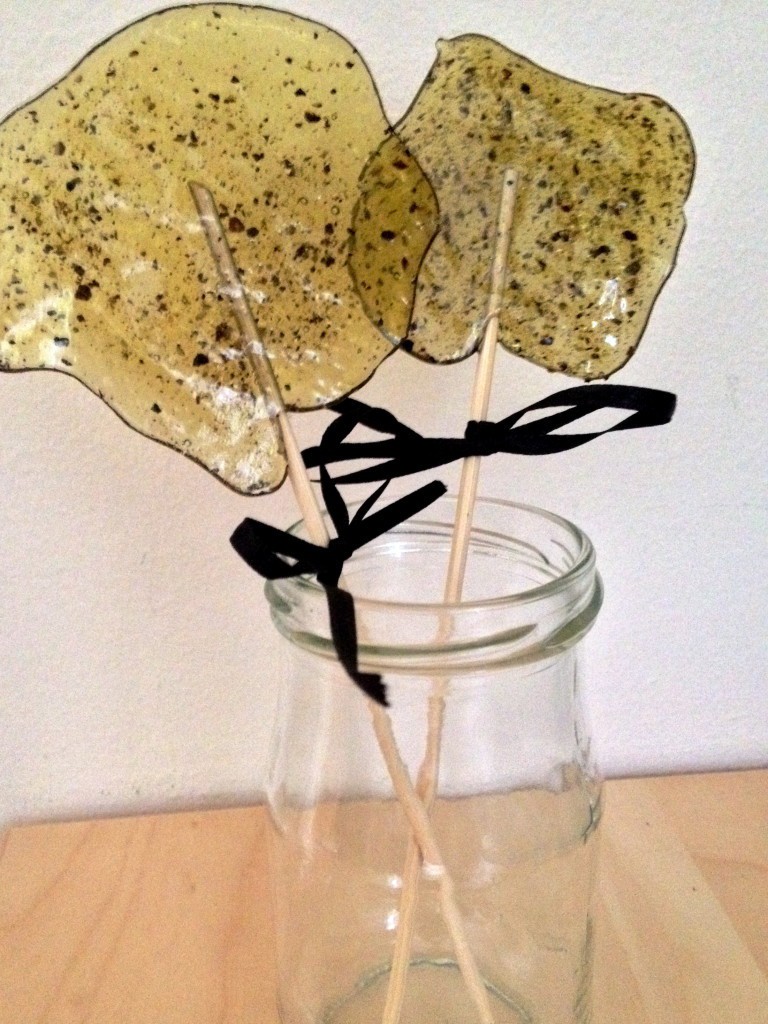
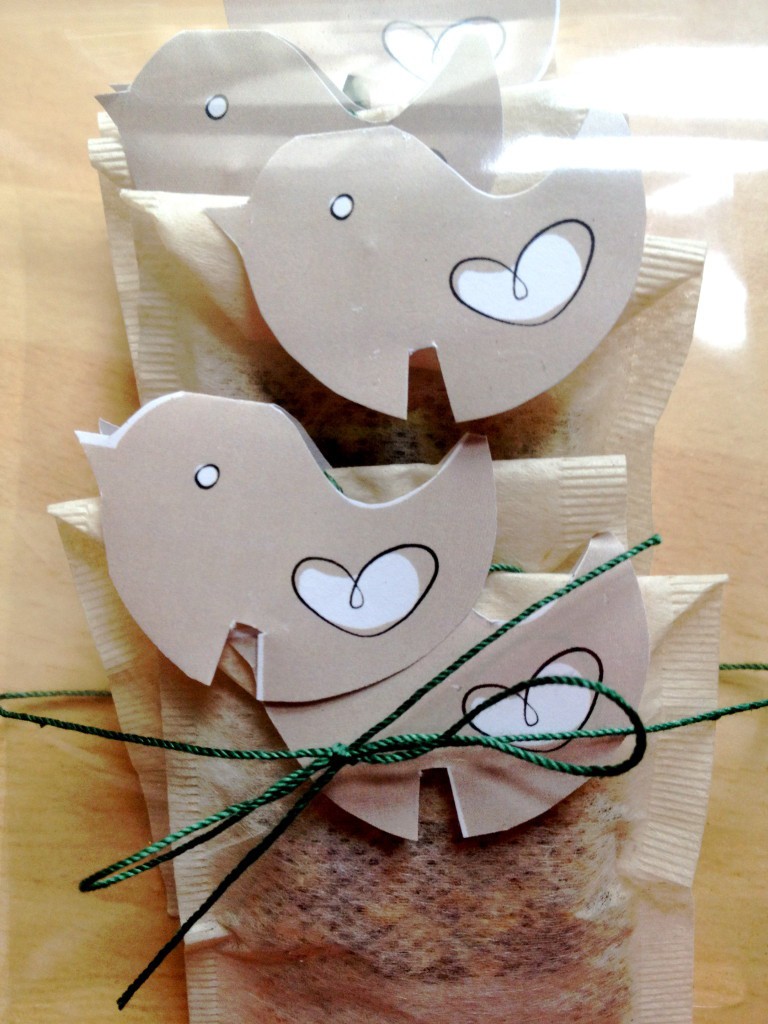
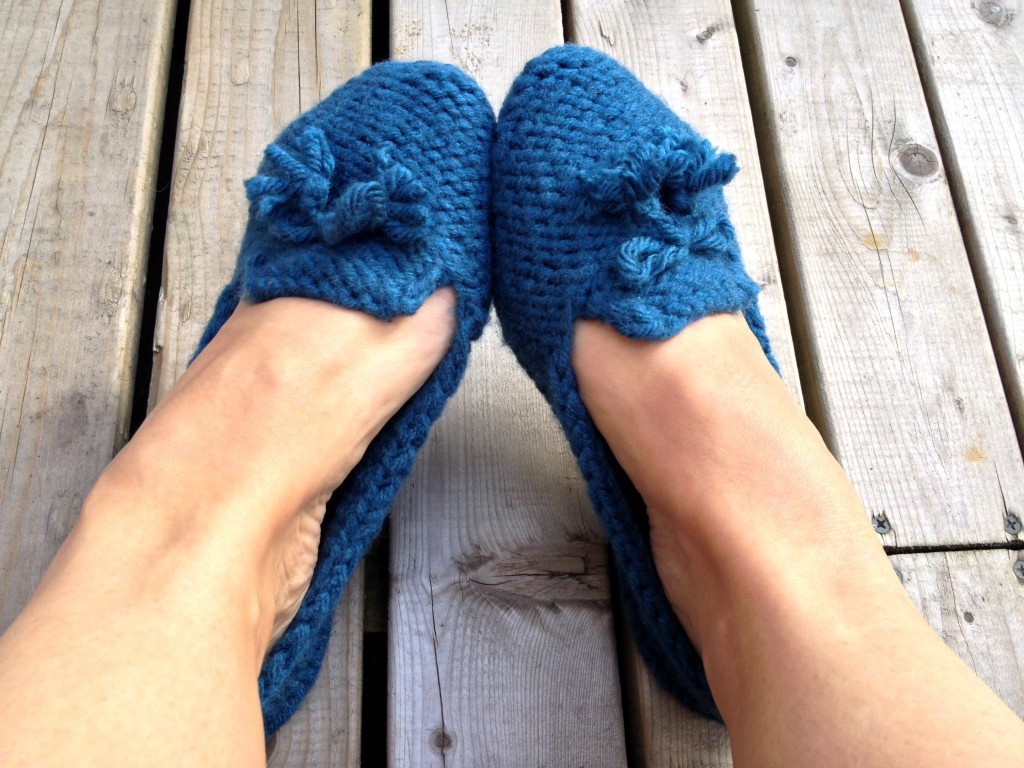
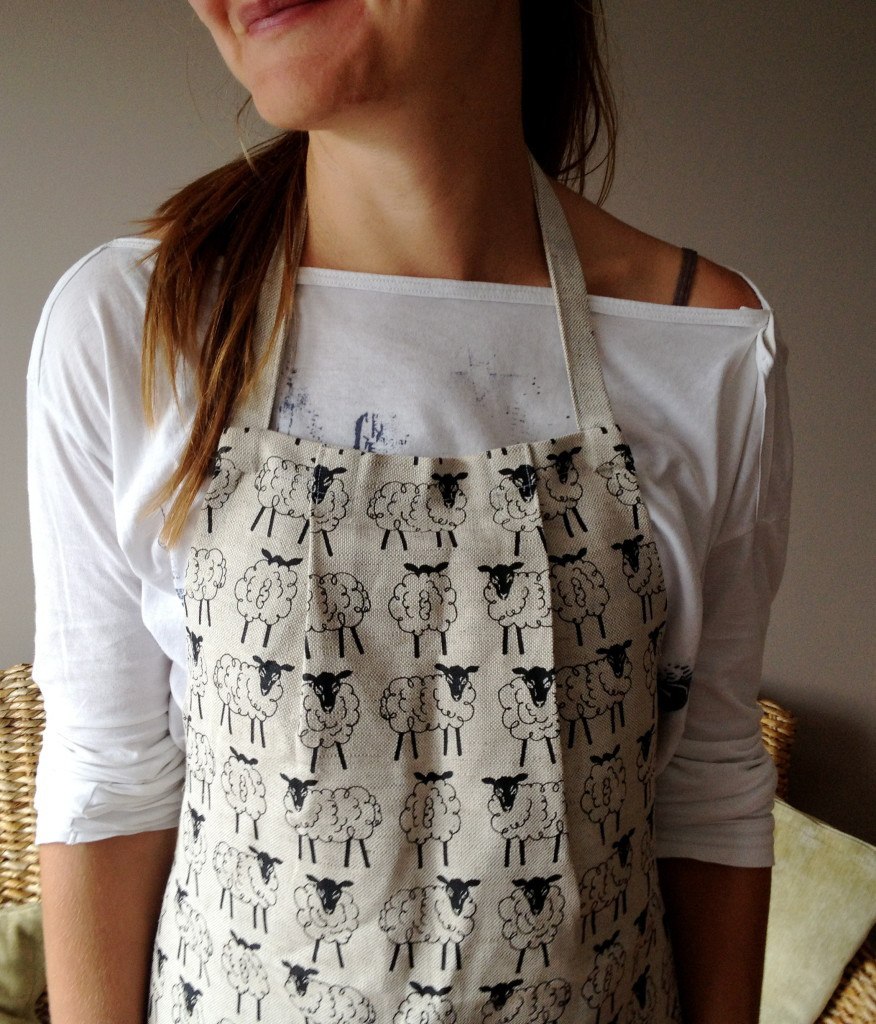
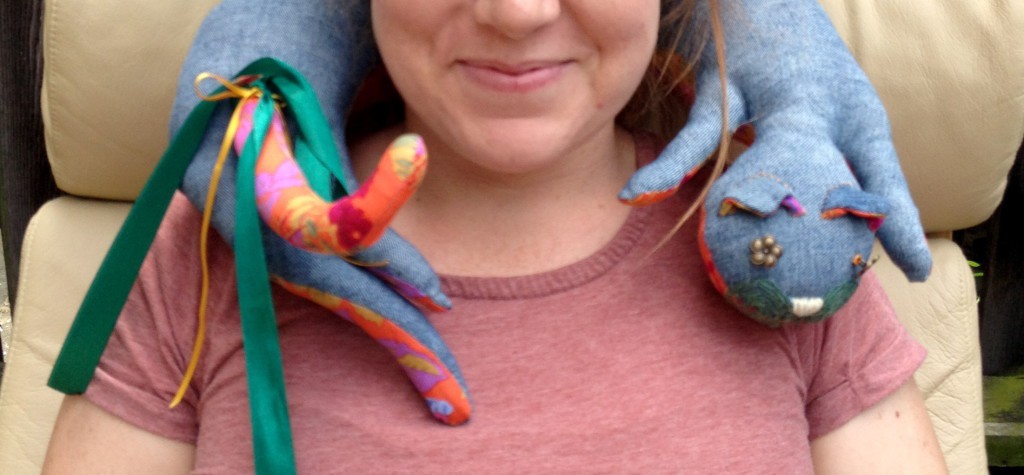
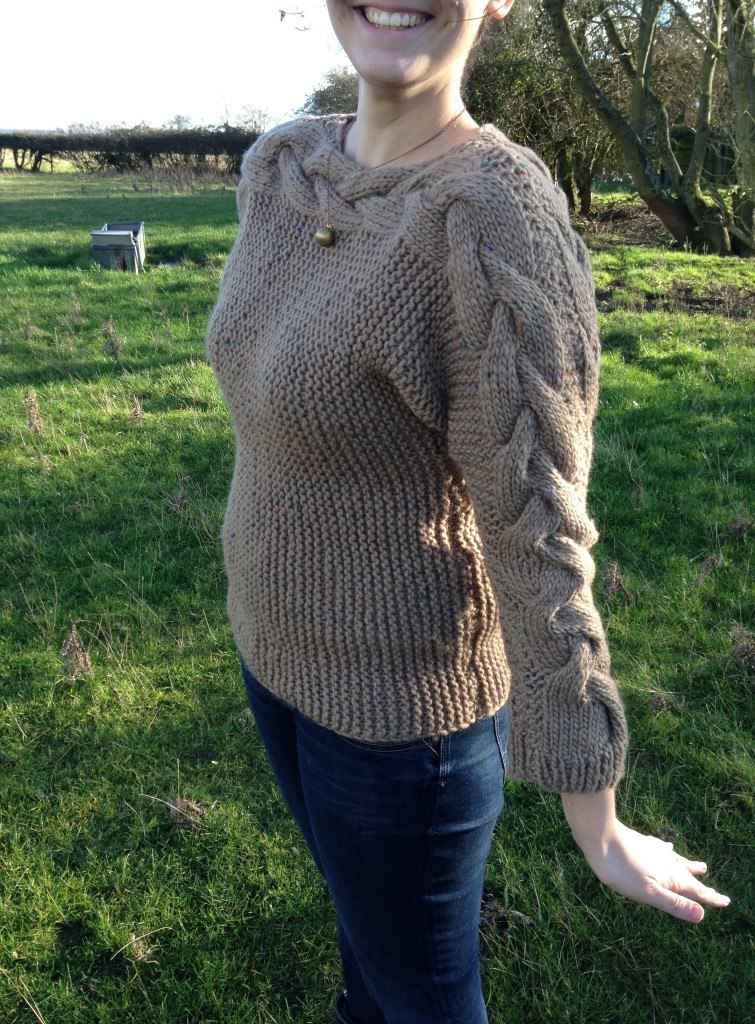
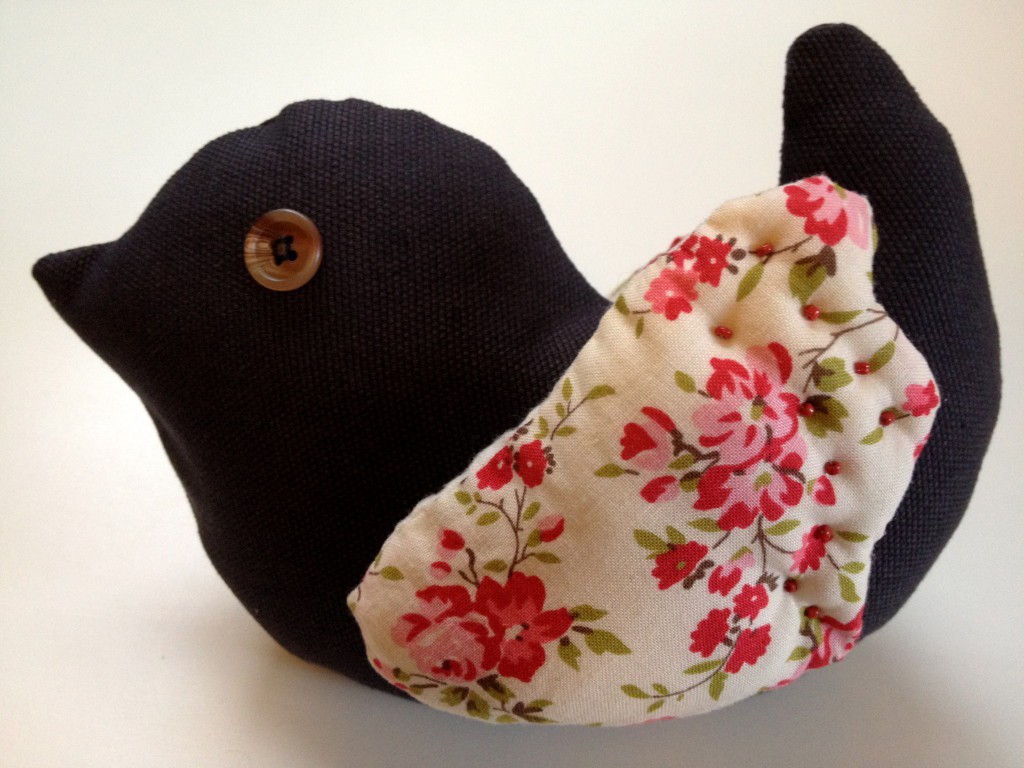
1. RIBBON FLOWER BROOCH, perfect for all the girls out there!Ribbon flower brooch DIY2. SIMPLE TATTED BEAD NECKLACE, another good gift for pretty ladies like you ;-)tatted bead necklace DIY3. SCENTED RICE HEARTS, quick gift to anyone (I am sure you could pull out a manly scented heart if you made it in check fabric)scented rice hearts DIY4.  HEART SHAPED SOAP, make many in one go! citronella, lemon and orange soup DIY5. ENVELOPE BOOK POUCH, great for all of those book worms out there!Easy to make envelope pouch DIY6. KNITTED SOCKS! Who doesn’t need socks?knitting socks basics7. CABLE SWEATER, for someone really really special!Cable Sweater8. FABRIC COVERED DIARY, good way to help someone to start their new year organised (subtle way to hint) :).fabric covered diary DIY9. LOAFERS FOR HIM!Loafers for him DIY10. CROCHETING/KNITTING KIT WITH COOKIES, a great gift from baker to maker! Just wrap some yarn, crochet hook/knitting needles, printed project and some cookies!crocheting kit with cookies11. TRIANGLE CROCHETED INFINITY SCARF, is the most fun to make!Crocheted Infinity Scarf12. HOMEMADE CANDIES, yum :-bvanilla and peppercorn candy13. CUSTOM TEA BAGS, another one that is great for everyone (unless they don’t like tea of course!).gift teabags DIY14. KNITTED LOAFERS, it is easer than you think.Knit Loafers15. A BIRD PILLOW, or it can be a door stopper if you filled it with rice or some stones. Oh we so need a door stopper right now for all the fire doors in our new house!Stuffed bird DIY16. APRON, that’s a perfect gift from maker to baker (or cook)!Apron DIY17. A CAT PILLOW, great for travelers or those who love cats! BTW, it turns out that I am getting a cat for my birthday! Super excited!!!A Cat pillow DIYHappy Wednesday :)

Rasa xoxo

0