Top

Author Archive | Rasa Pelham

Cushion cover inspired by Liz Payne work

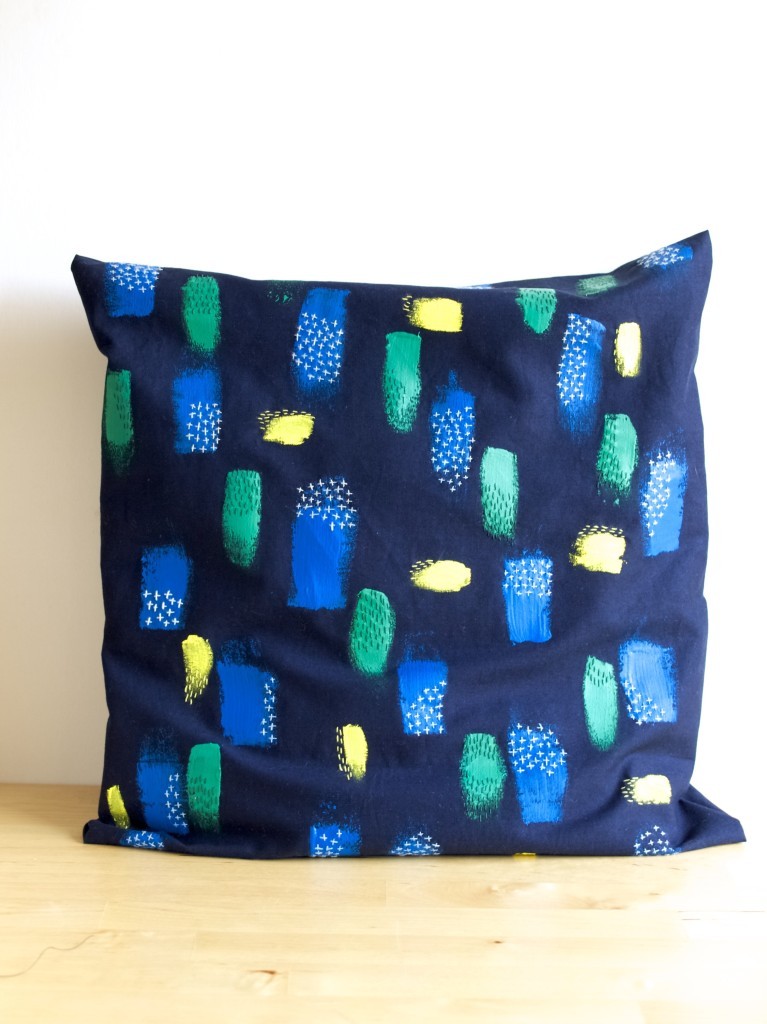
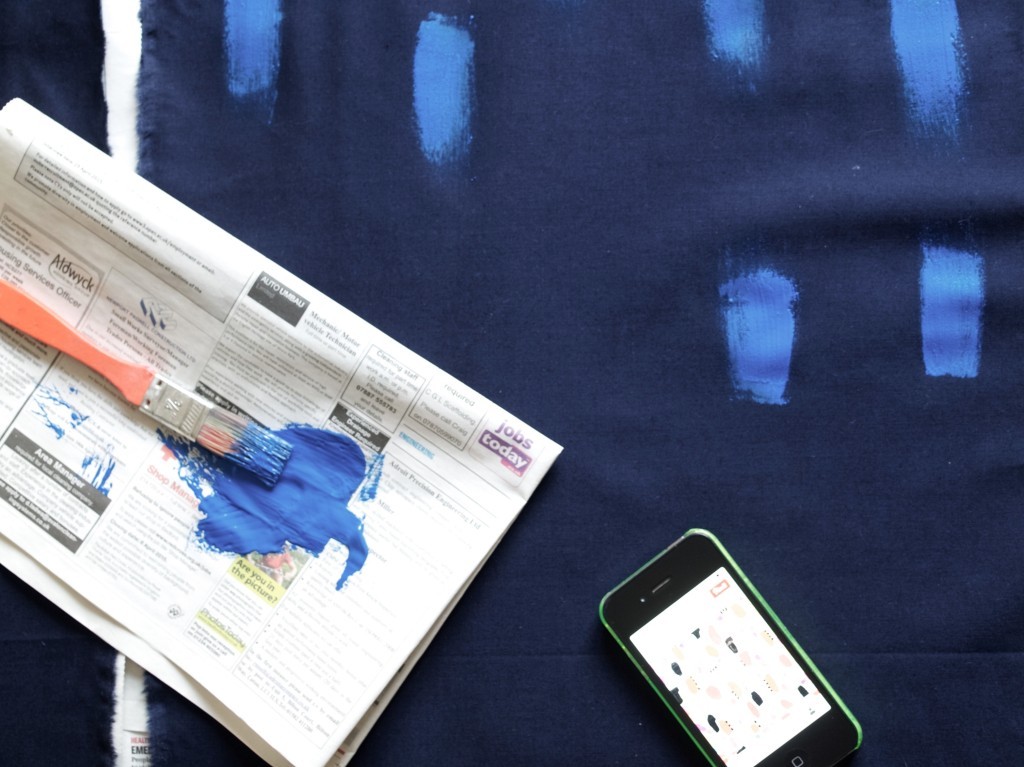
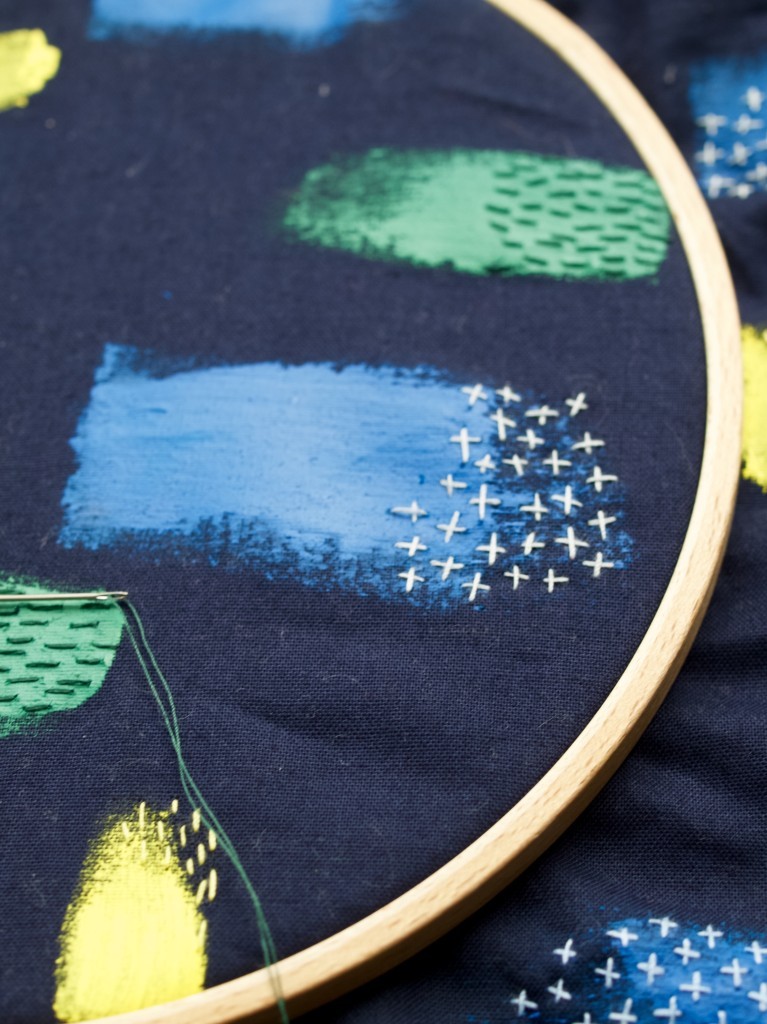
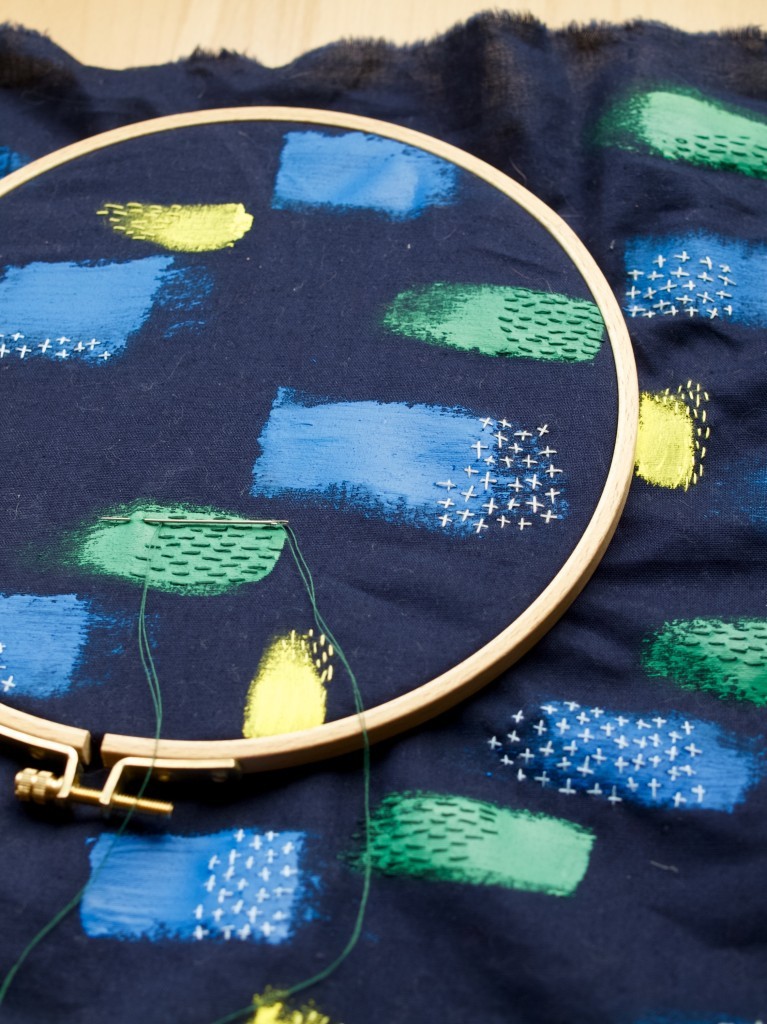
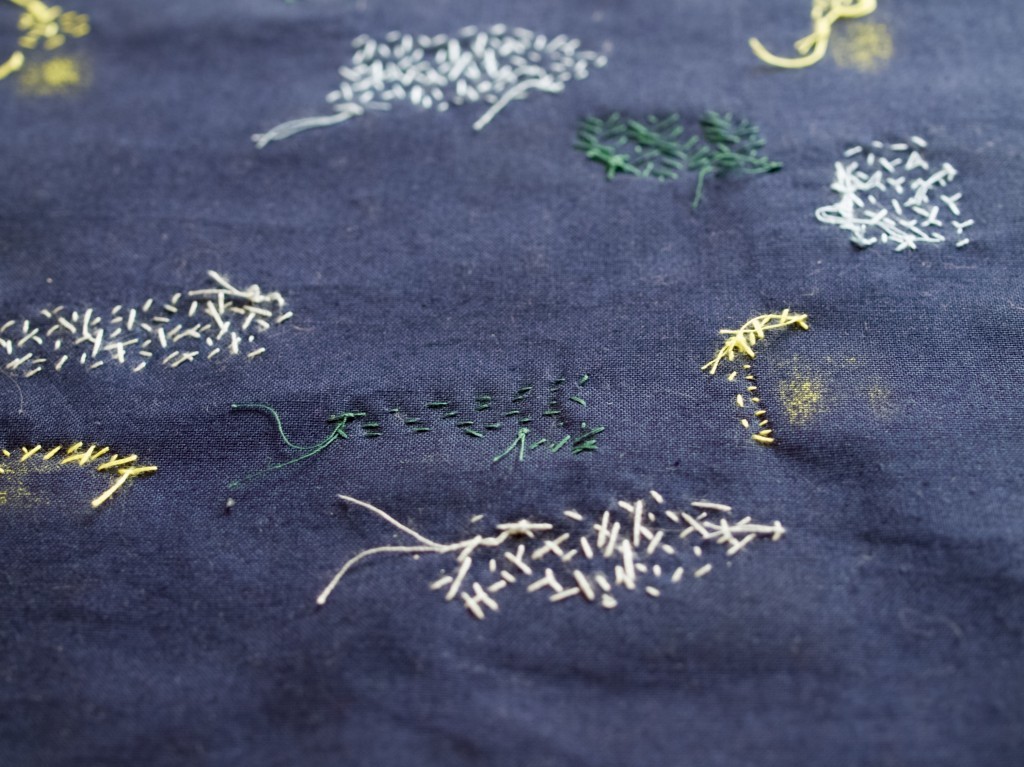
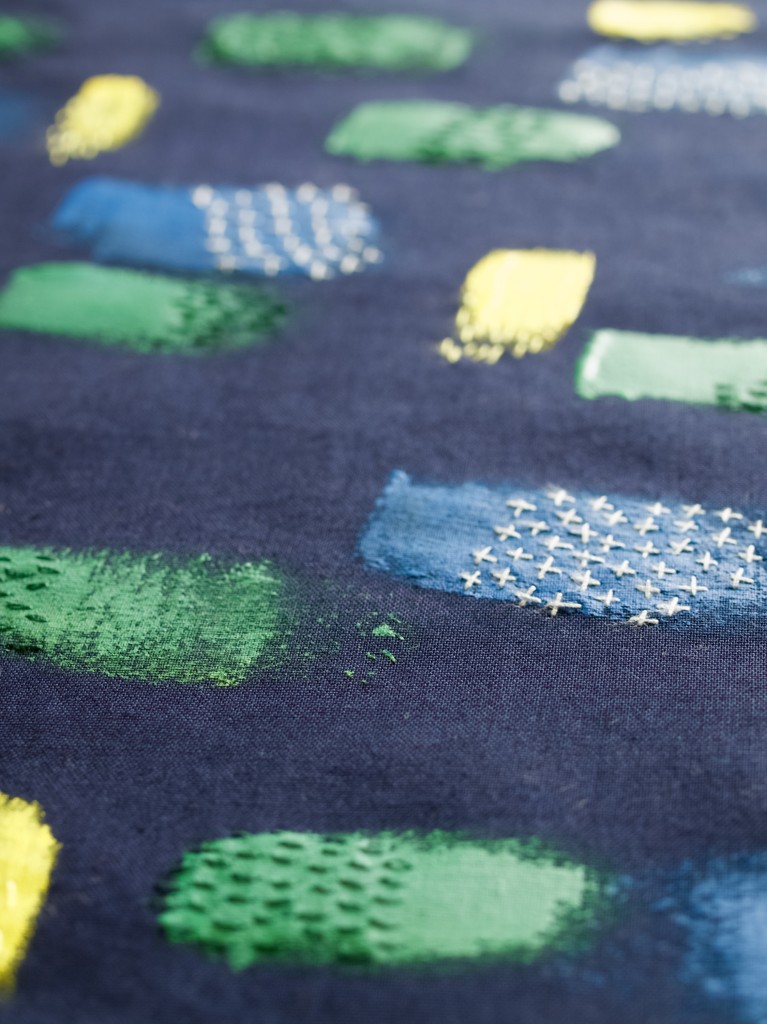
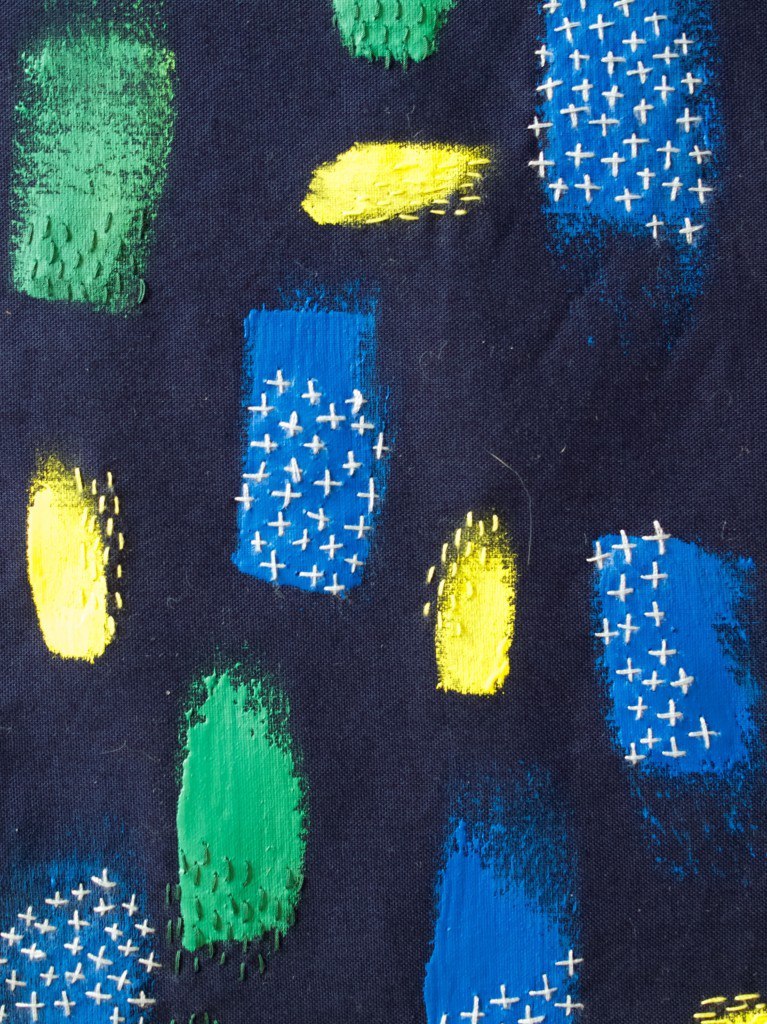
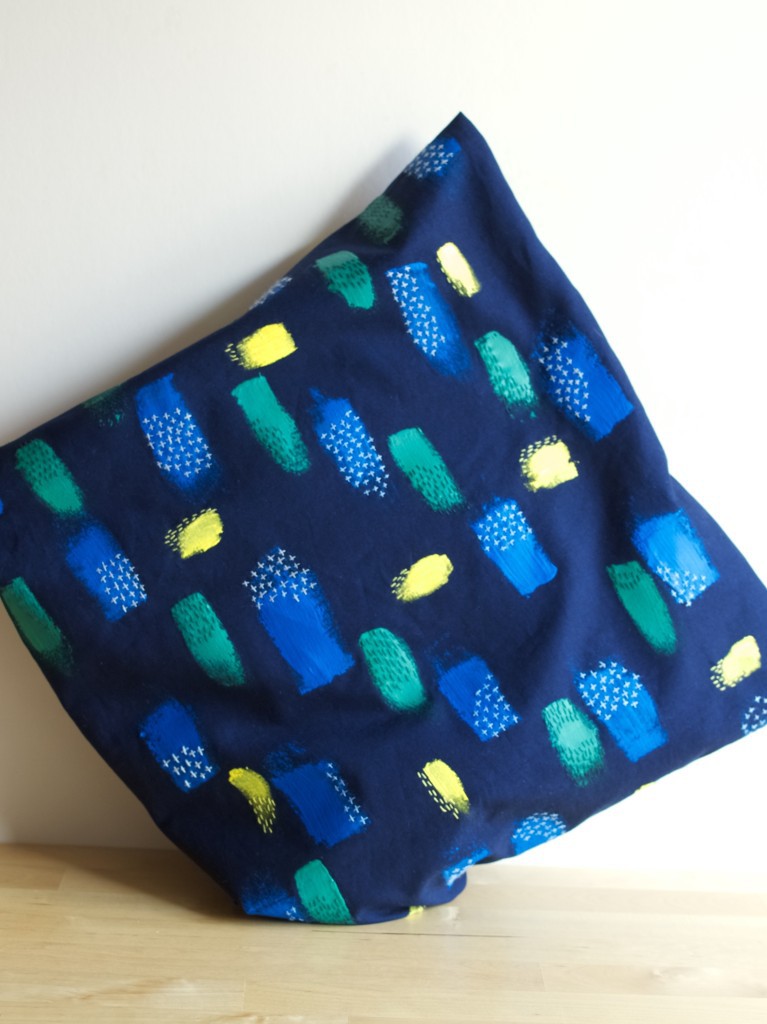
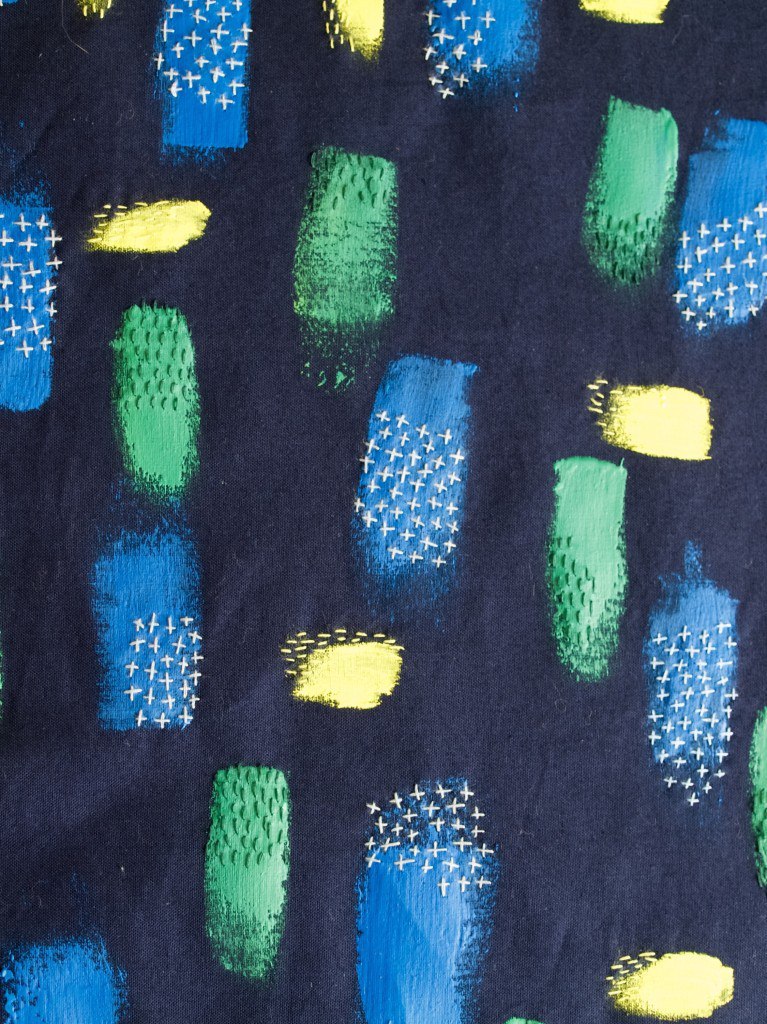
Embroidery inspired by Liz Payne artworkI loved Liz Payne’s work for quite some time now. I first came across it on Pinterest and I was completely mesmerised for it. Only recently I have decided to make something that is inspired by her work. Ok, not exactly in same colours, but still used similar technique! Easy removable cushion cover DIYTo make this cushion cover I first cut out the pattern needed and then painted it over with some oil based fabric paint (you can use any other fabric paint, but since I did it on dark fabric I wanted the paint colour to really stand out).Embroidery inspired by Liz Payne artworkThen I picked 3 thread colours to match the paint and started embroidering all over mostly using straight/basic stitch. I wanted to do other stitches such as fly stitch or even french knot stitch but realised that it would have taken up a lot of time (Liz Payne must really have a lot of patience!).Embroidery inspired by Liz Payne artwork Embroidery inspired by Liz Payne artworkEmbroidery inspired by Liz Payne artwork Embroidery inspired by Liz Payne artworkEmbroidery inspired by Liz Payne artworkThere you go, my finished cushion cover! For full DIY click here.Easy removable cushion cover DIYI hope you feel inspired too x

Rasa

0

Pinterest challenge: chilled cucumber soup

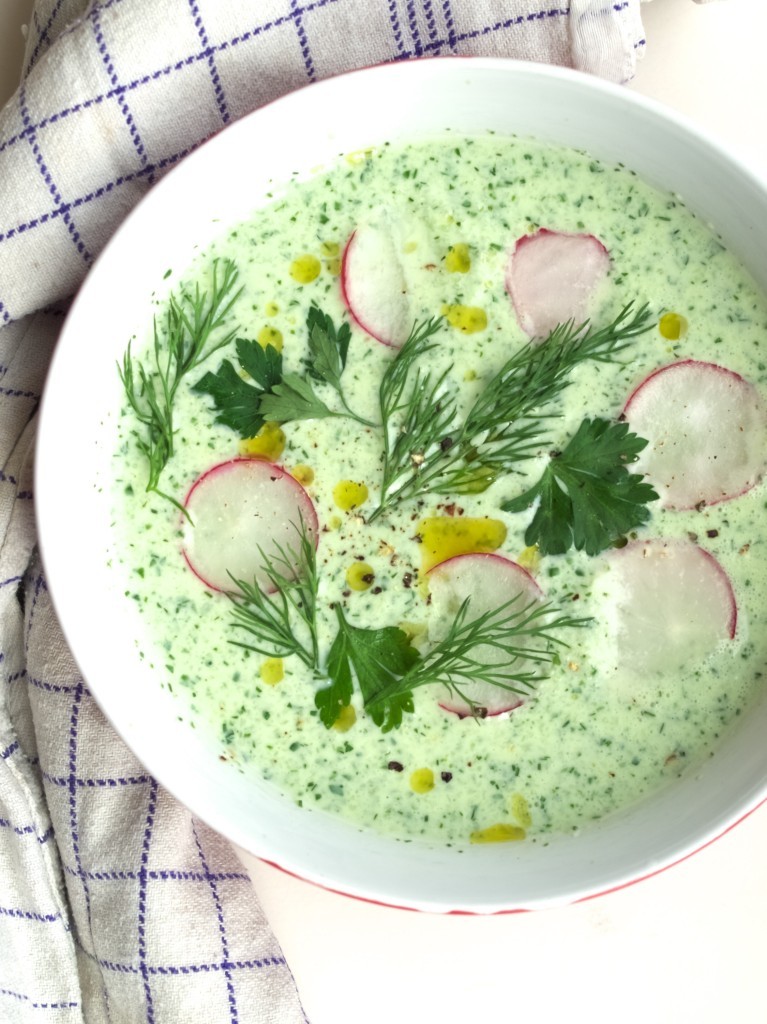
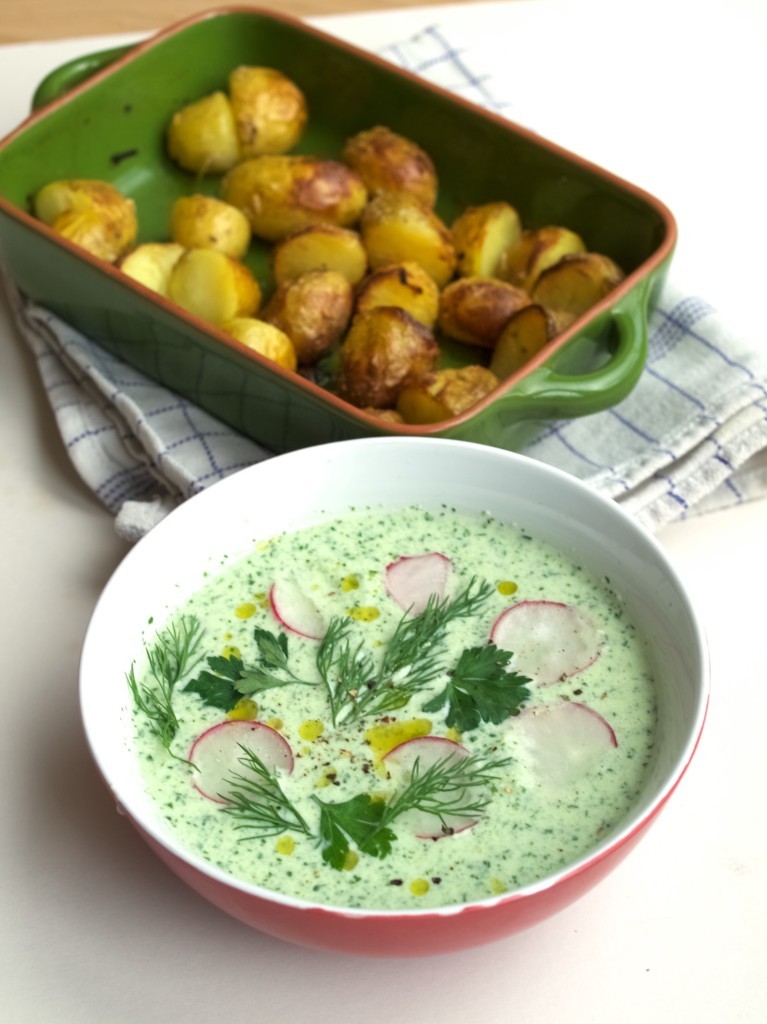
Chilled cucumber soup recipeAlthough it went chilly outside, I have been craving for refreshing foods such as salads or chilled soups like this one. Chilled soups aren’t common in England but because I am Lithuanian I am quite familiar with it. My favourite was chilled beetroot soup until I came across chilled cucumber soup here on this adorable blog! I slightly modified the recipe and served it with roasted new potatoes (just what any other Lithuanian would do). Chilled cucumber soup recipeCHILLED CUCUMBER SOUP adopted from Dishing Up The Dirt

Serves 2

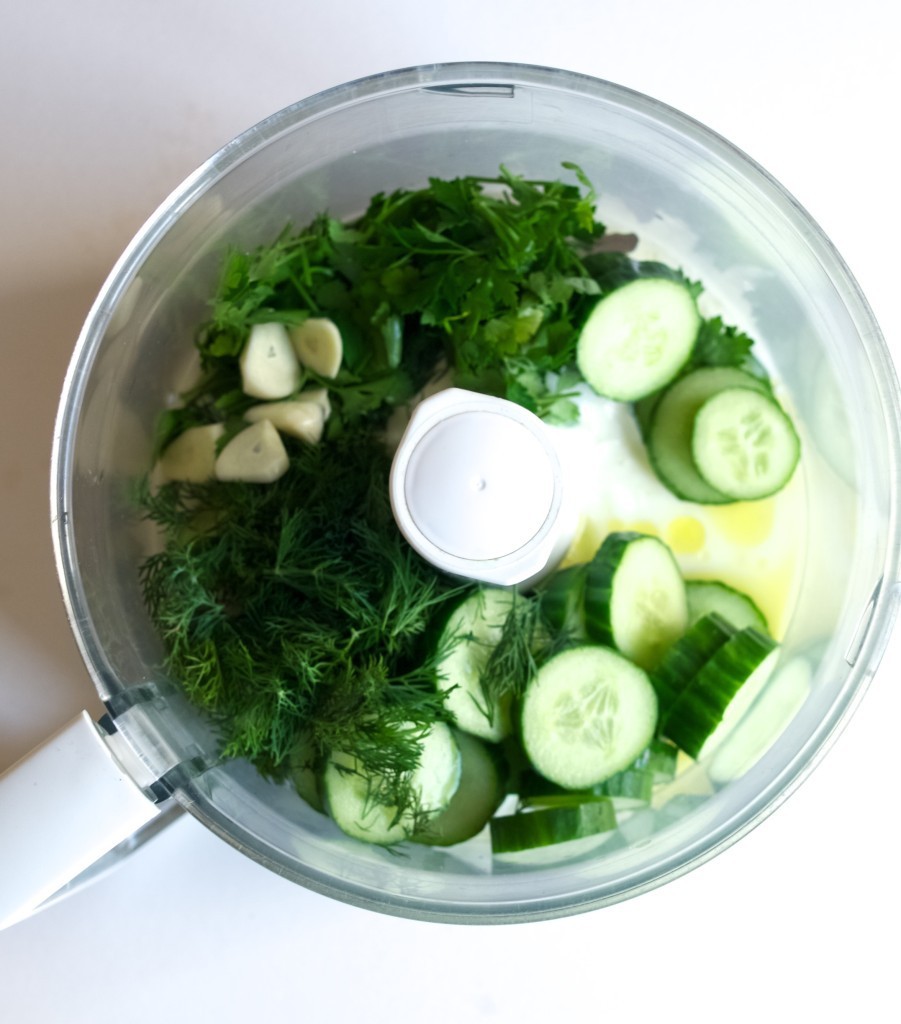
  • 1 large cucumbers, sliced
  • 300ml natural yogurt
  • 1.5tbsp lemon juice
  • 1 garlic clove, sliced
  • small handful of dill, (plus some for the garnish)
  • small handful of parsley (plus some for the garnish)
  • 2 tbsp extra virgin olive oil
  • salt and pepper to taste
  • 2-3 sliced radishes for the garnish (optional)

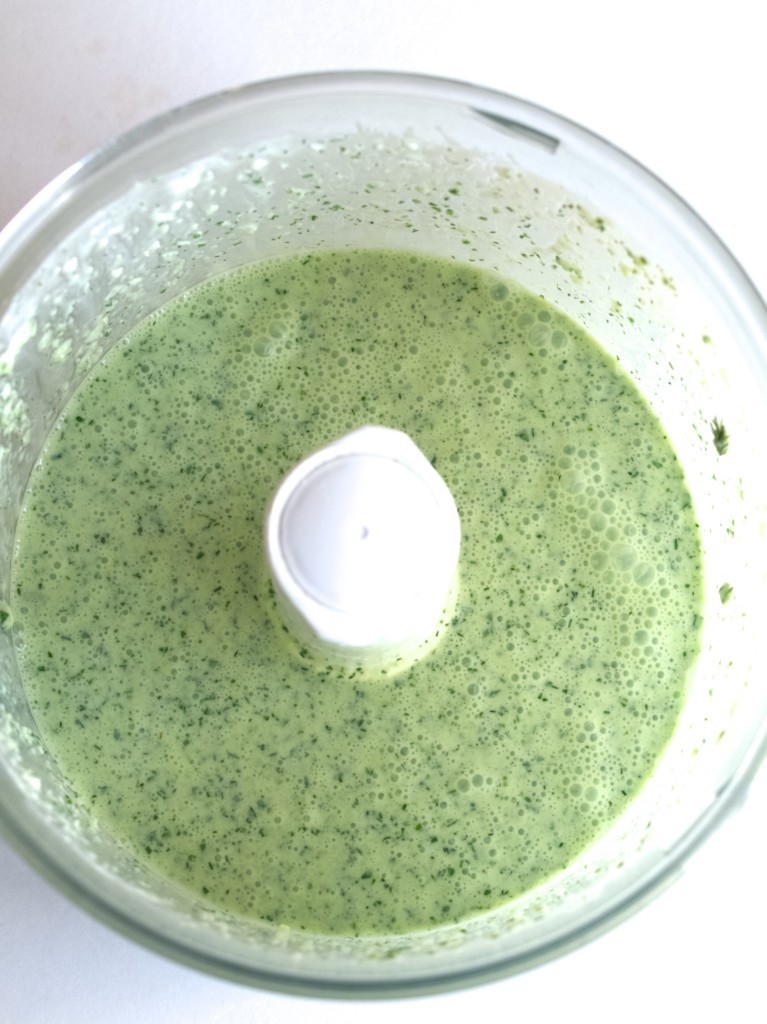
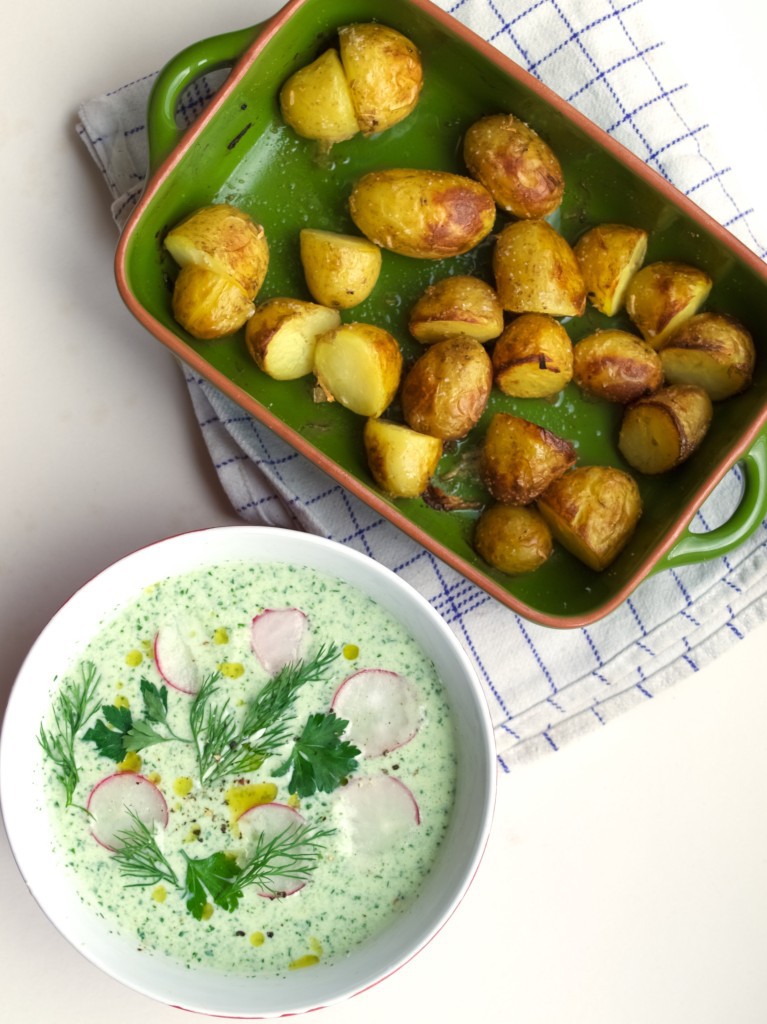
1. In a blender combine cucumber, yogurt, lemon juice, garlic, dill, parsley and olive oil. Blend until smooth.Chilled cucumber soup recipe2. Season to taste with salt and pepper.Chilled cucumber soup recipe3. Garnish with herbs and sliced radish if using. Serve it with roasted potatoes and drizzle of oil.Chilled cucumber soup recipeEnjoy!

Rasa xoxo

1

April favourites

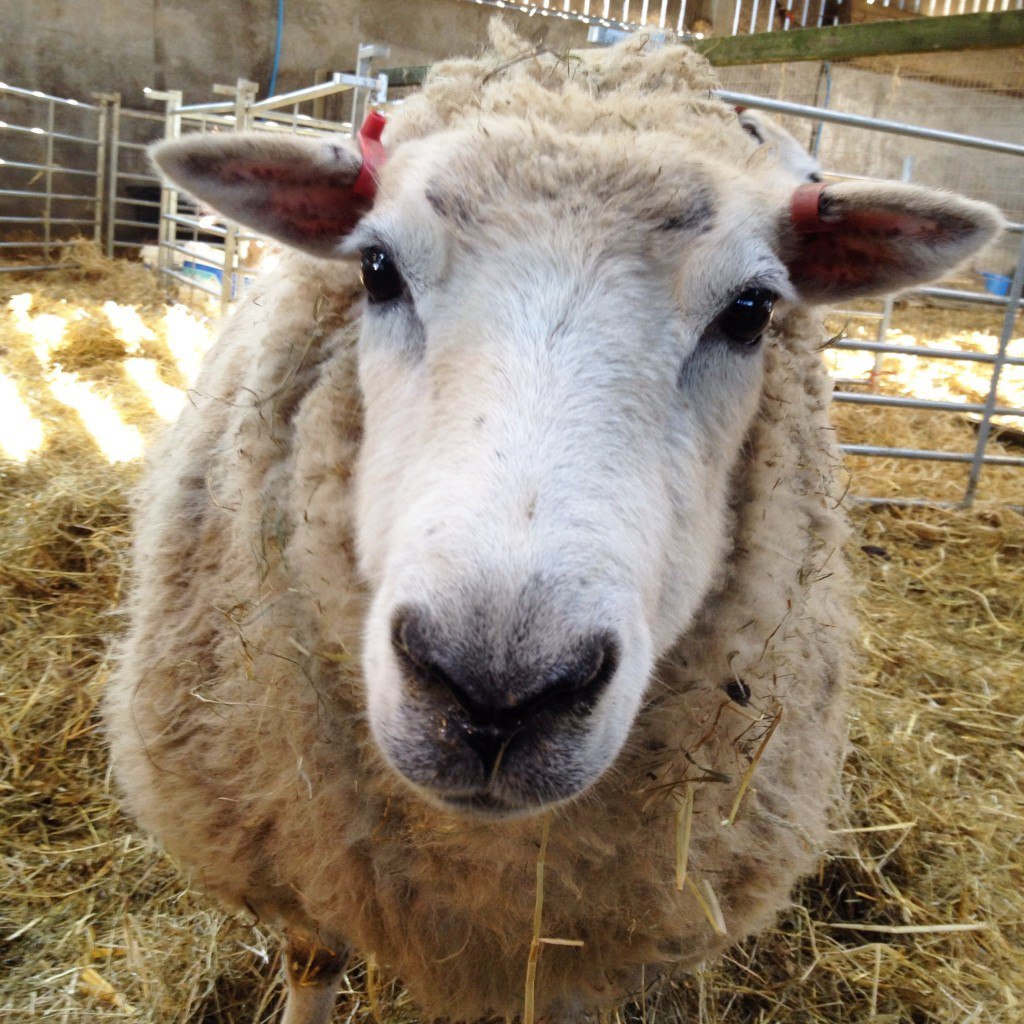
Sheep named Lucky from the farm in CobhamApril has been really exciting and we have some big news to tell! But you have to wait till the end of this post for it (so no peaking!).

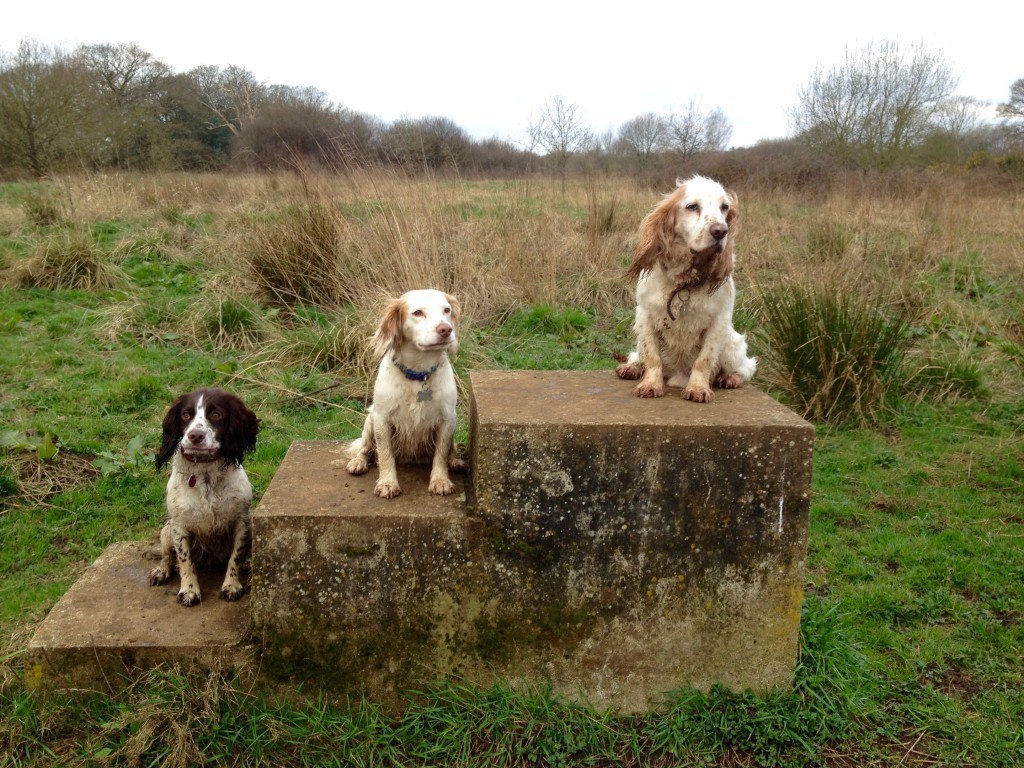
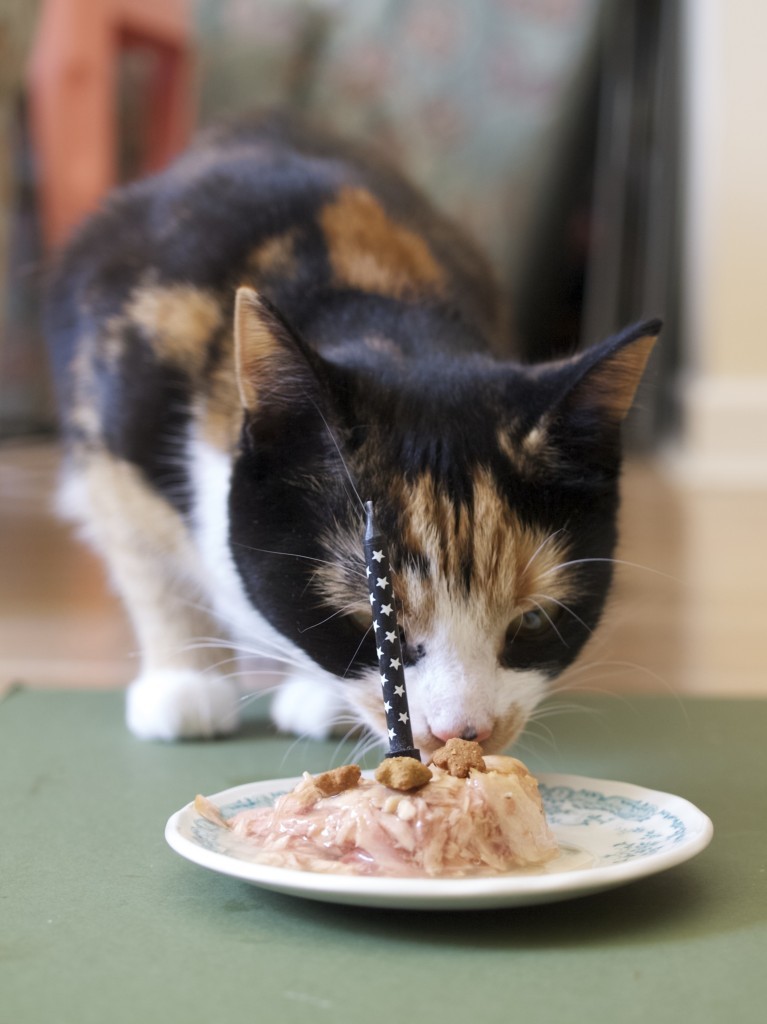
First, we all celebrated Easter, spend a lovely time with the family in Woking.  While there we went for a walk with these three (bellow) and I even had an opportunity to visit a private farm in Cobham where I have met some pretty sheep :-).Walks in Surrey :)We had a mild “heat wave” here in England… can you believe that? I made this one ingredient ice cream to keep myself cool.one ingredient ice cream (almost!) We celebrated Princess Leia’s birthday, which was quite fun (I have never celebrated pet’s birthday before). Princess Leia birthday "cake"And… finally big news!!!… tam ta ram!!!… We are expecting another Pelham edition to our family sometime in October!Our big news!!!Looking forward to may ;-)

Rasa

0

Varškėčiai with pesto (Lithuanian curd cheese dumplings with the twist)

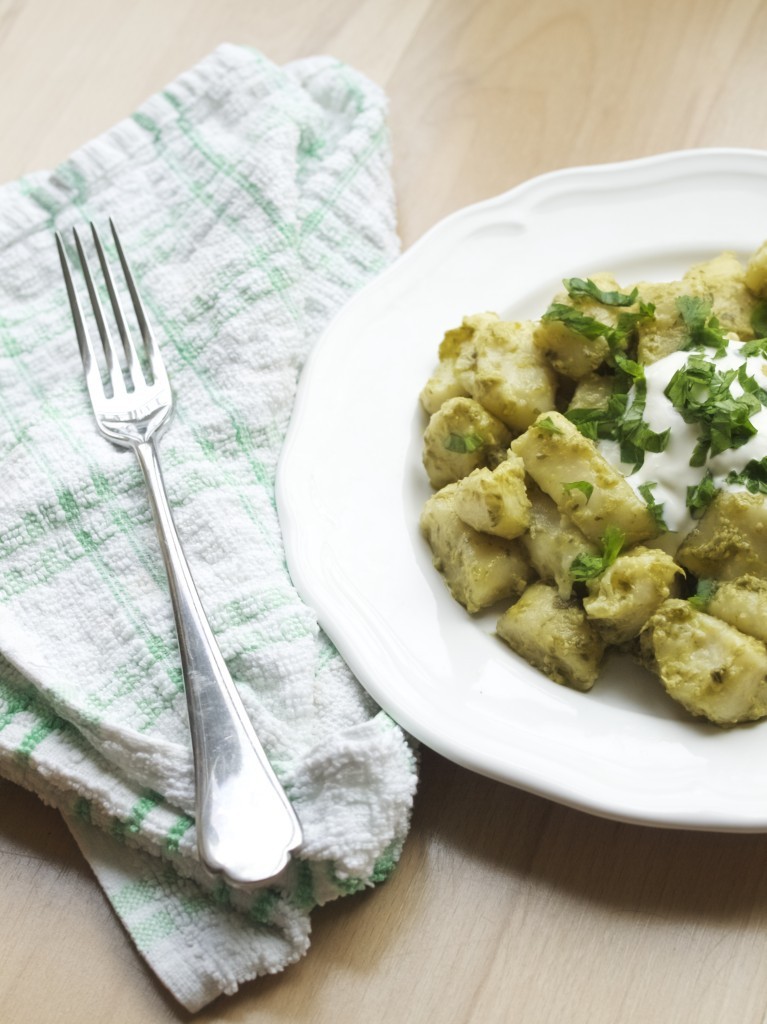
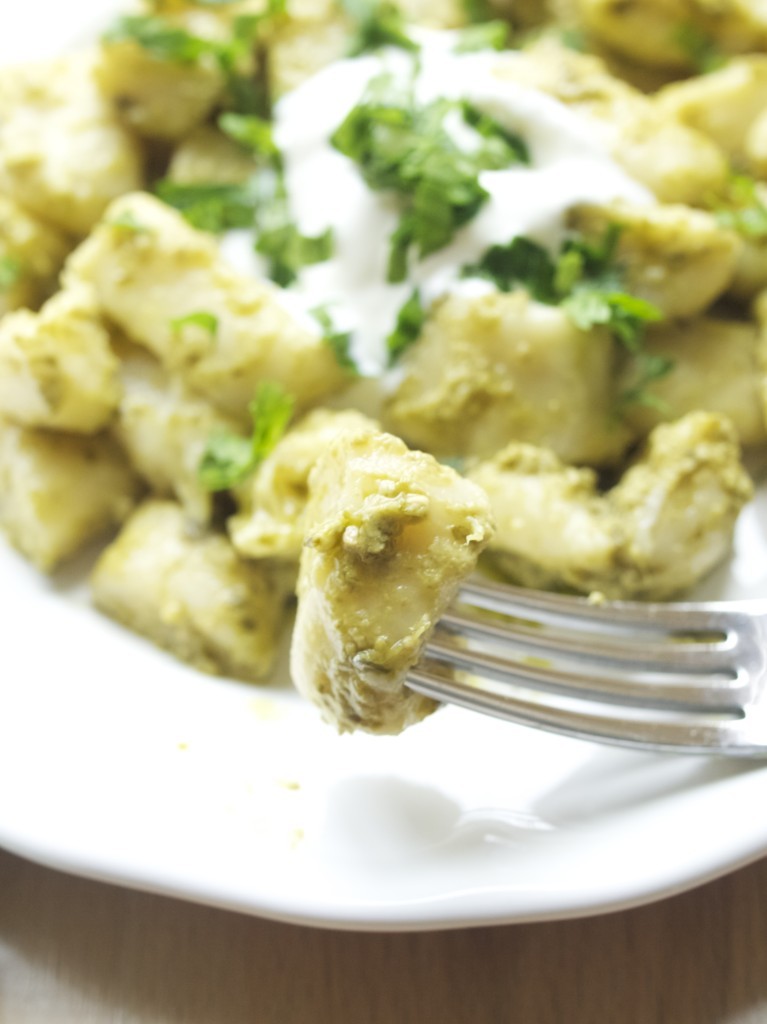
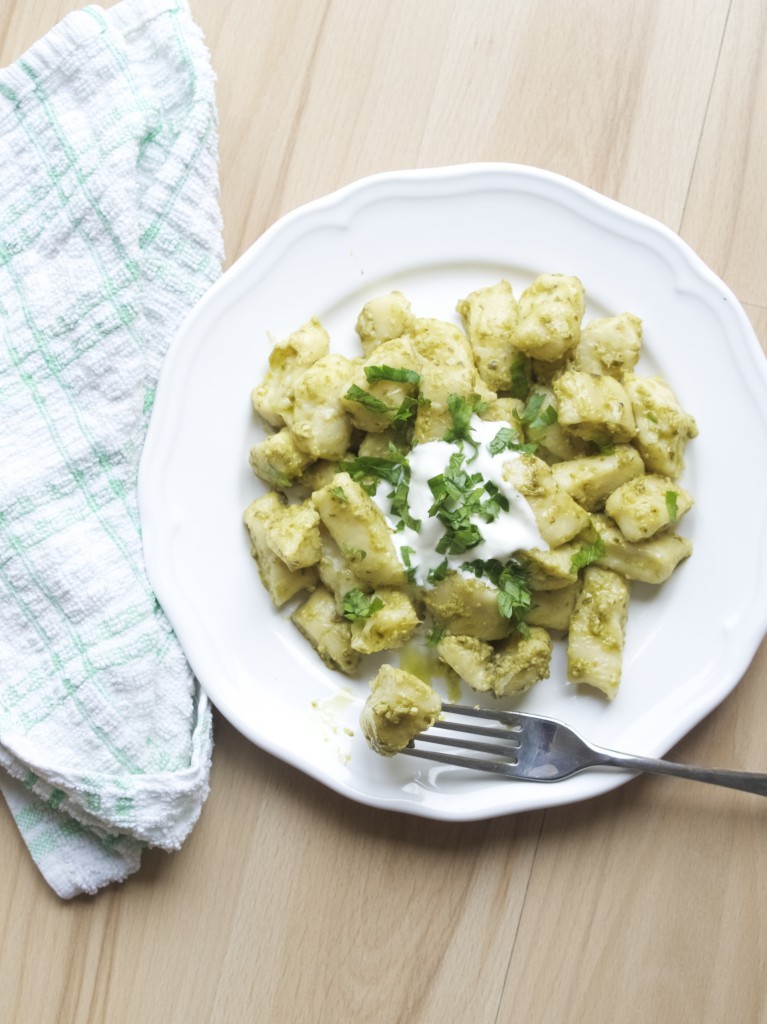
Varškėčiai with pesto (Lithuanian curd cheese dumplings with the twist)From all the foods I liked in childhood I loved my mums cooked food the most. My mum was never a good cook, in fact only recently she started feeling passion for baking. But I really liked varškėčiai that she used to make (although I realised that they were slightly different to compare to other curd cheese dumplings that I have ever tasted). Traditionally varškėčiai are soft type dumplings that are often served with jam and sour cream. My mum used to add more flour into them making them more pasta like and served savoury with sour cream and butter. So it’s up to you what way you want to make them (less flour or more), but I decided to go with savoury and serve it with pesto (oh it was so yummy! I think I might be the first one to try them this way!).Varškėčiai with pesto (Lithuanian curd cheese dumplings with the twist)Varškėčiai are very simple to make, almost like gnocchi, except no need to prep anything ahead. Just mix three ingredients together into the dough and make the dumplings.

VARŠKĖČIAI serves 2

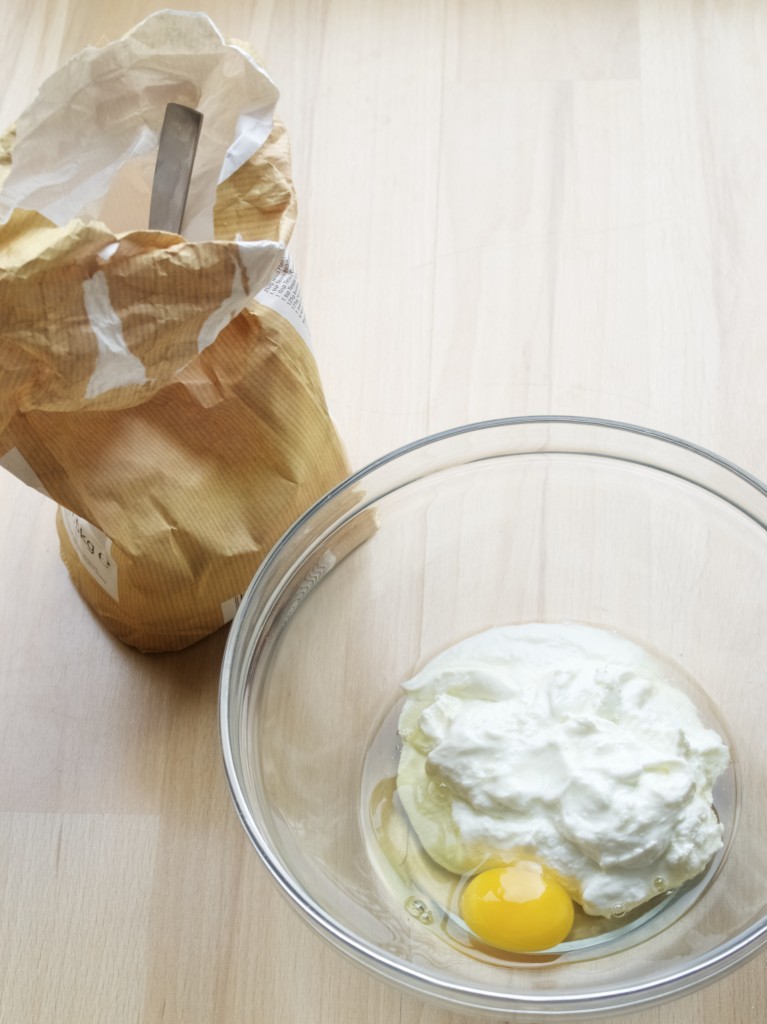
  • 250g plain quark (it came slightly different to what I am used to, but it works as fine)
  • 1 egg
  • 5-8 heaped tbsp plain flour

Varškėčiai with pesto (Lithuanian curd cheese dumplings with the twist)1. Mix the egg with the quark and gradually add flour into the mix until the dough can be handled (so it does not stick too much onto the fingers).

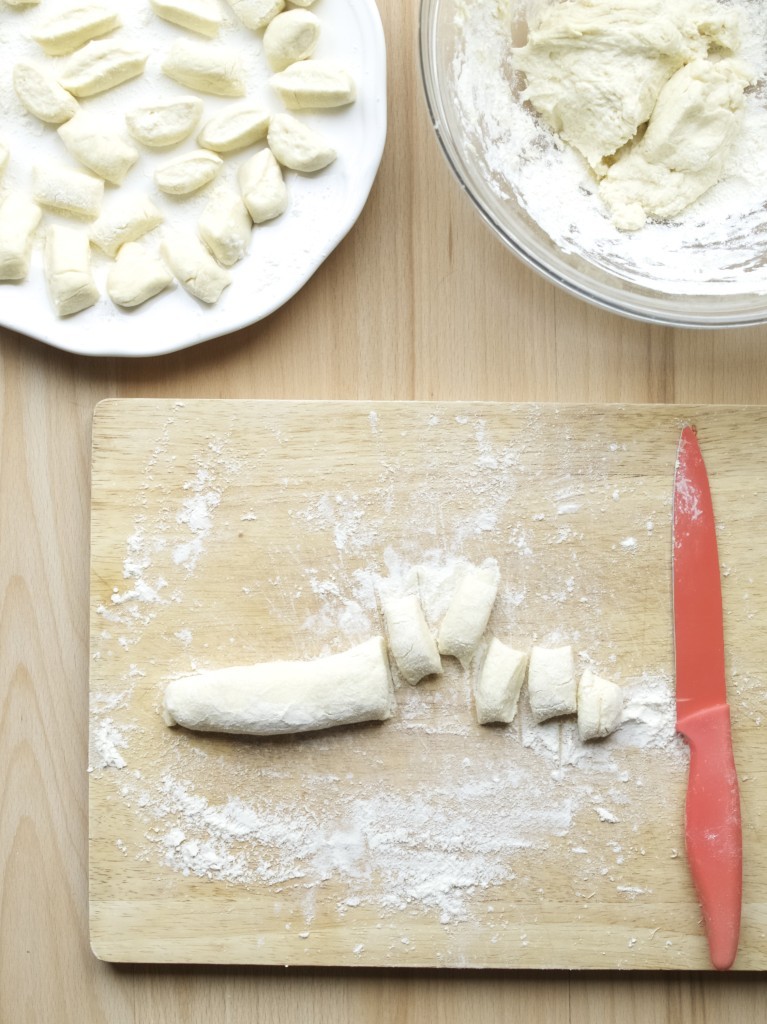
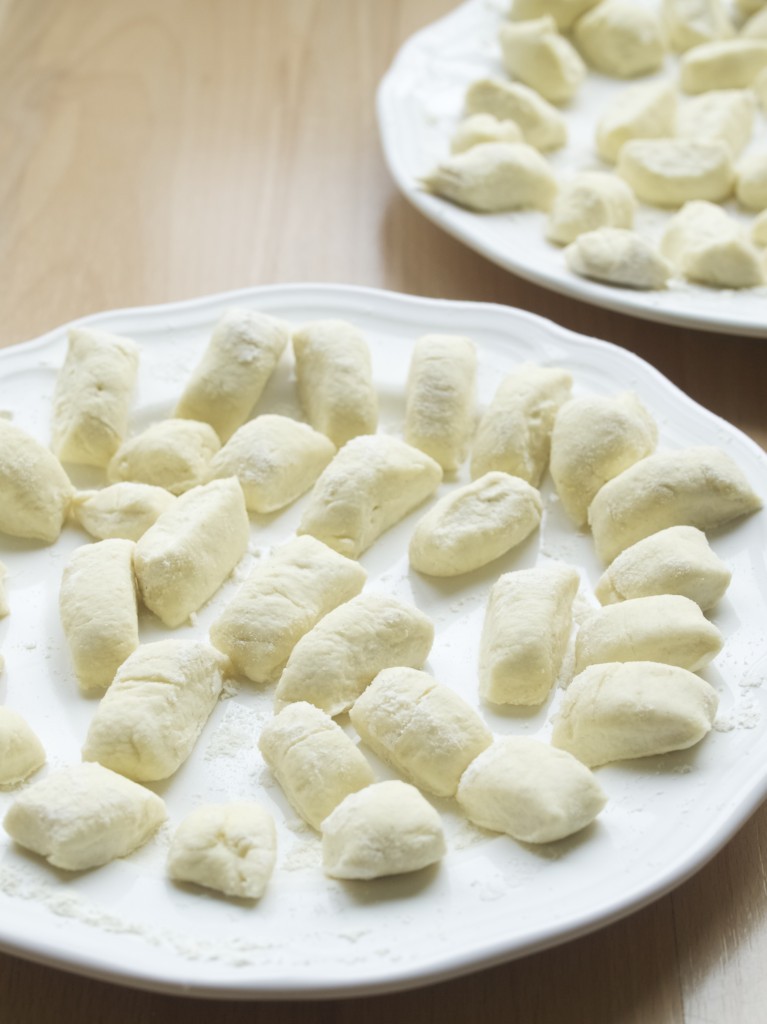
2. Make varškėčiai dumplings  in the same way as you would make gnocchi dumplings. Roll the ball of dough into the “sausage” and slice it into small bits. Lay the dumplings onto floured plates ready to be cooked.Varškėčiai with pesto (Lithuanian curd cheese dumplings with the twist)3. To cook varškėčiai drop them into the salted boiling water and cook them this way for 2 minutes until the dumplings float to the top (I usually fish them out from the top with the slotted spoon when they rise). Varškėčiai with pesto (Lithuanian curd cheese dumplings with the twist)Serve with sour cream and pesto of your choice.Varškėčiai with pesto (Lithuanian curd cheese dumplings with the twist)Enjoy!

Rasa xoxo

3

How to transfer laser printer image onto almost anything

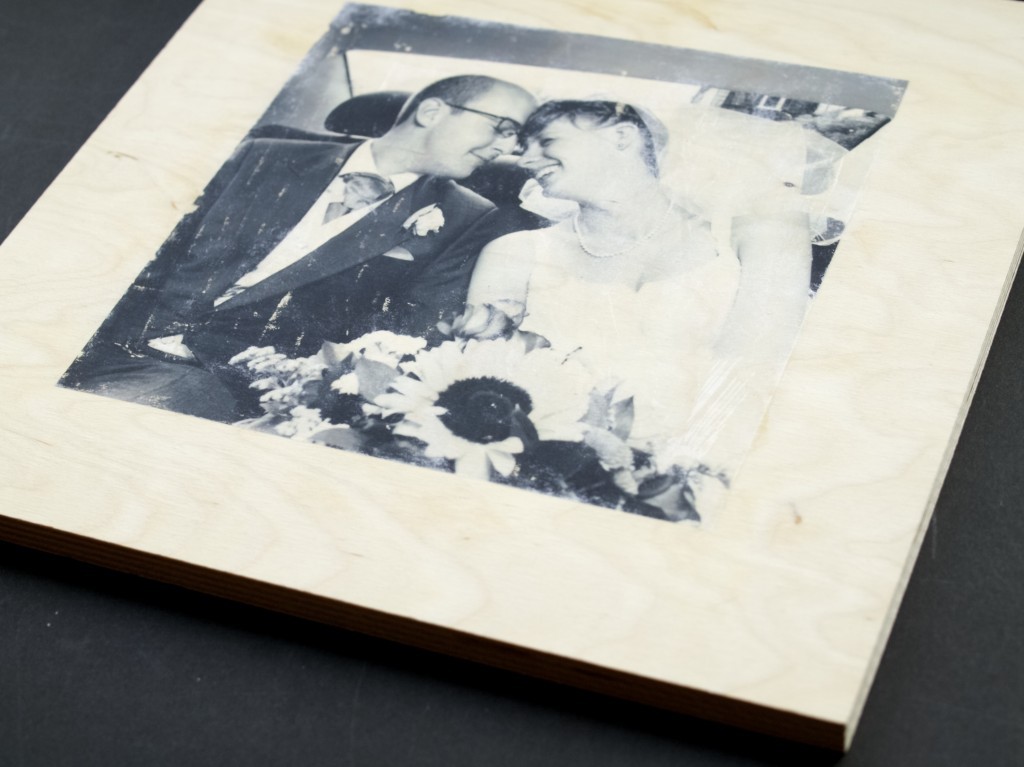
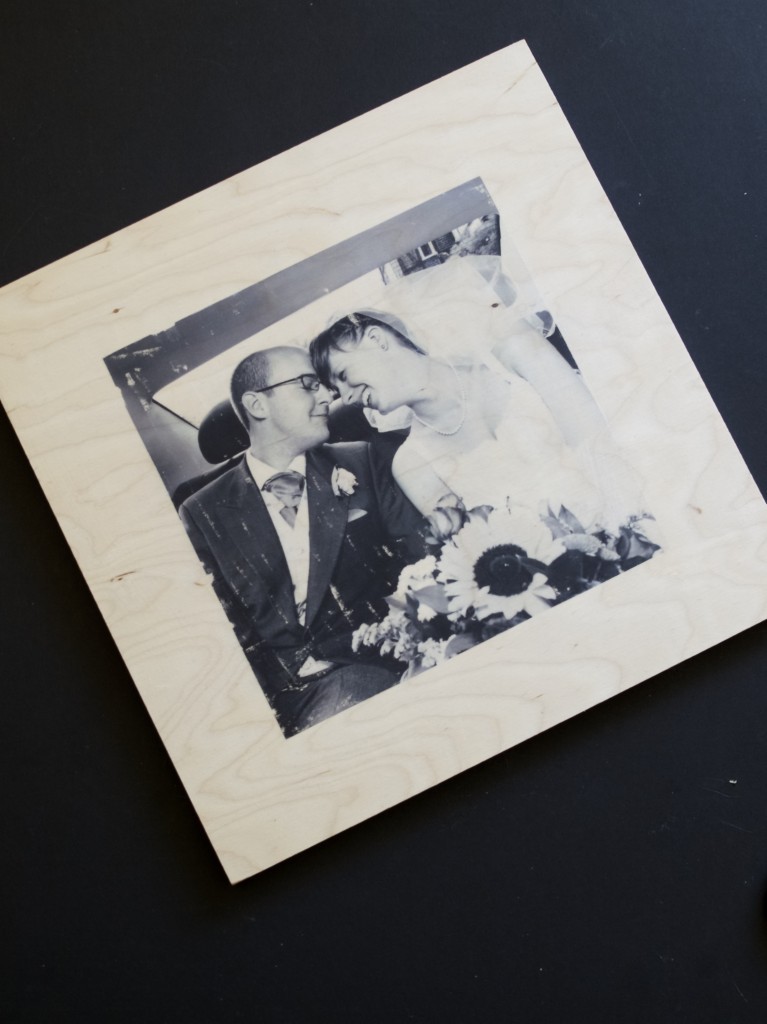
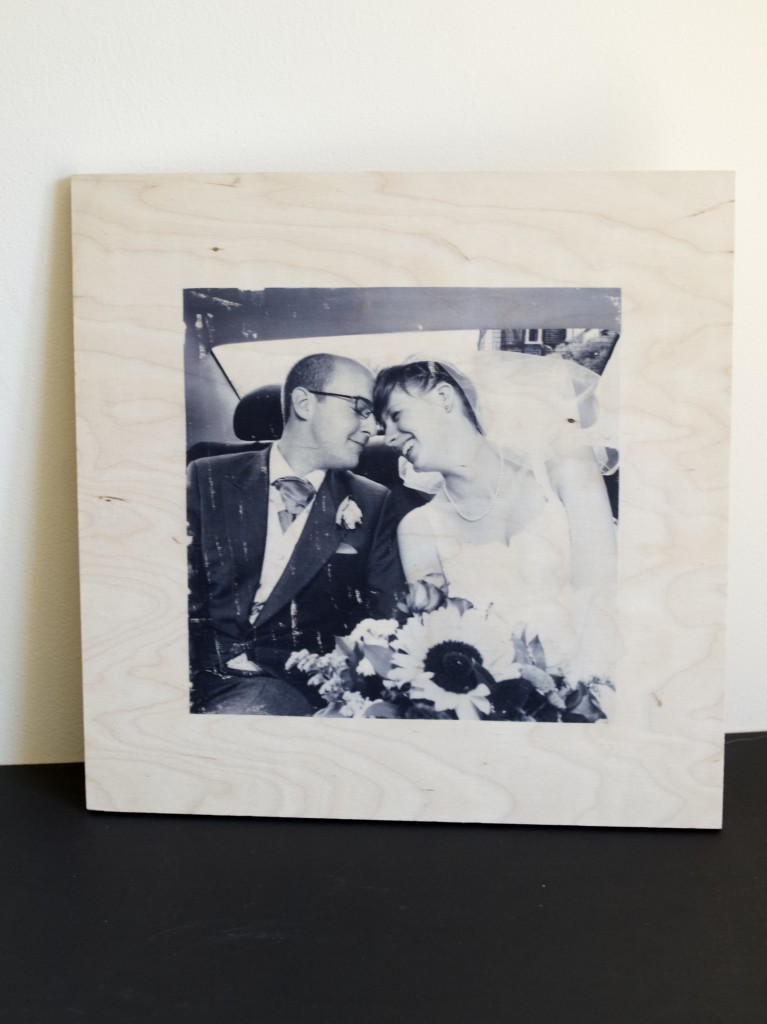
how to transfer laser printer image onto almost anythingWhen I have been asked for nicely printed wedding photo as a birthday gift I got really excited as I realised that I could try out different techniques on transfer printing. To begin with I thought I will transfer the wedding photo on canvas, but then realised printing on wood would be much more unique (well, kind off). I also got stuck with slight limitation. I have laser printer which means I could not use the ink from the printer like I would with ink jet printer. But there is always hope, even if that means buying extra products in the craft shop instead of using what is already available at home. So instead of extensive experiments I just did a bit of research on what products to use (only because I did not want to spend a massive amounts of money). Here is what products you can try when transfer printing:

PVA or Mod Podge. I heard that some people swear by it and apparently it works, especially with Mod Podge (which is I believe a fancy type of PVA). I went and bought Mod Podge only because it was available in matte finish unlike PVA basic glossy finish. However I ended up returning it after reading this helpful article.

Mod Podge image transfer (or any other brand image transfer). I have no idea where to get it, but here is the post where I have seen it used. The blogger there then used Matte Mod Podge as a finishing sealer.

Gel Medium. This is mainly used for mixing your acrylic paints with so larger areas can be painted more cost effectively. Unfortunately it often comes in huge pots, so if you only buying this for one off project it can be quite costly. They did not have gel medium in my local craft store which sort of worked out for the best! However gel medium can be used for finishing as well.

Acrylic Medium. Like gel medium it comes glossy or matte. It is also cheaper to compare to gel medium , but can’t be used for finishing the print.

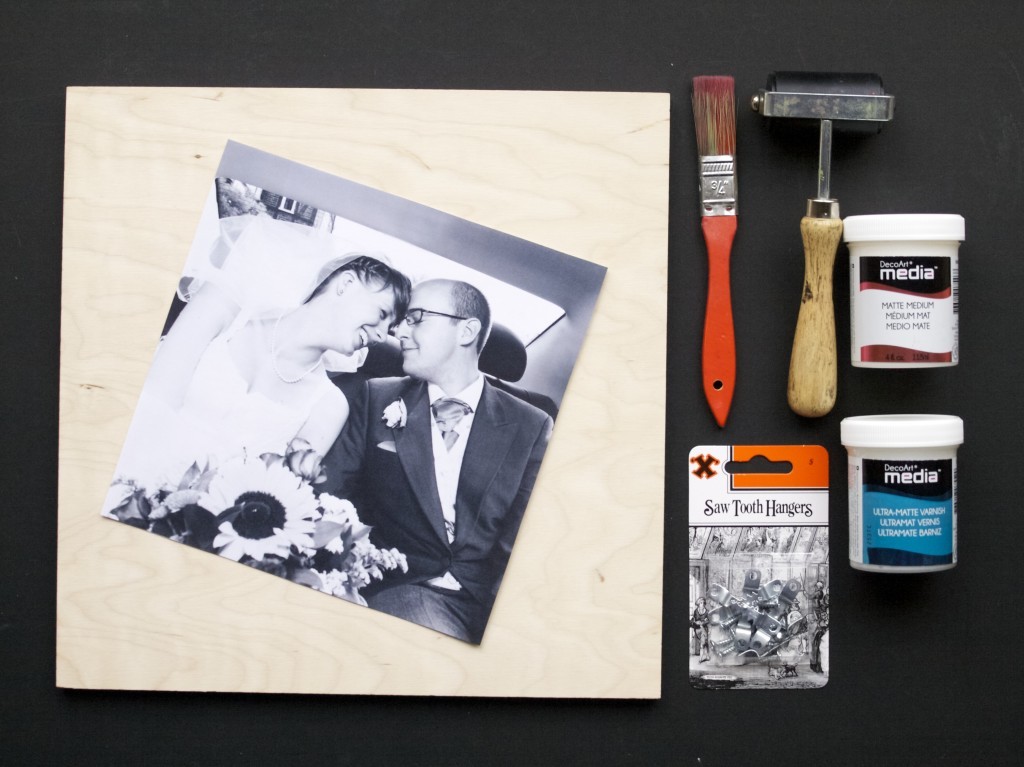
Here is what I used to make my image print:

  • A block of plywood
  • A laser printed picture, flipped horizontally on Photoshop (or any other image editing program)
  • A paint brush
  • A Roller
  • Acrylic matte medium
  • Matte varnish
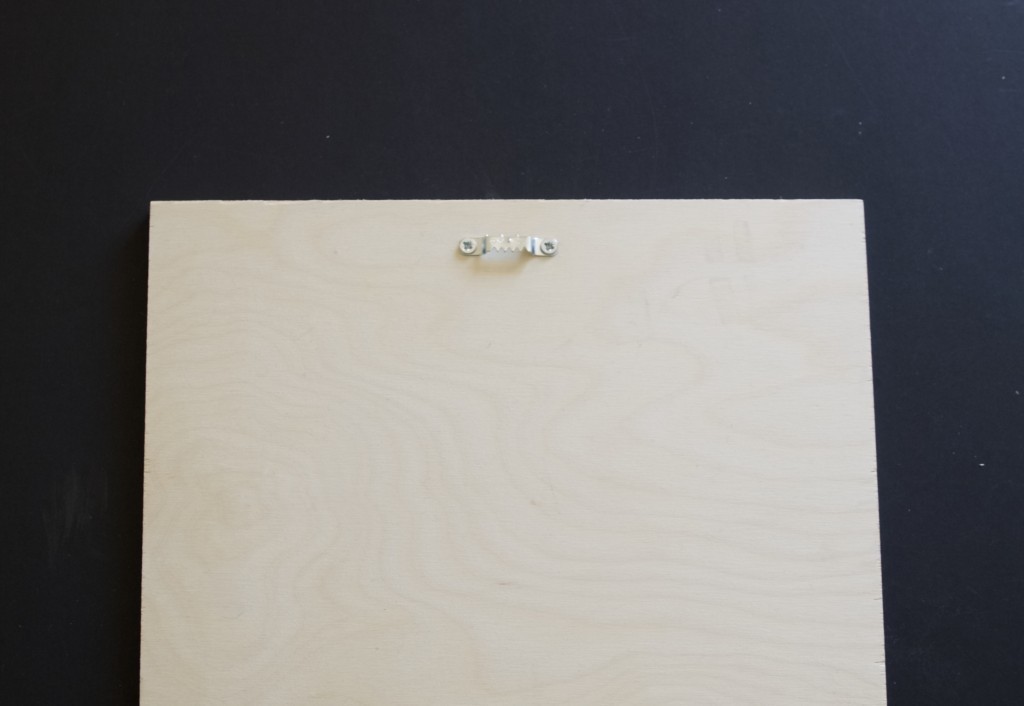
  • Saw tooth hangers (for picture hanging)
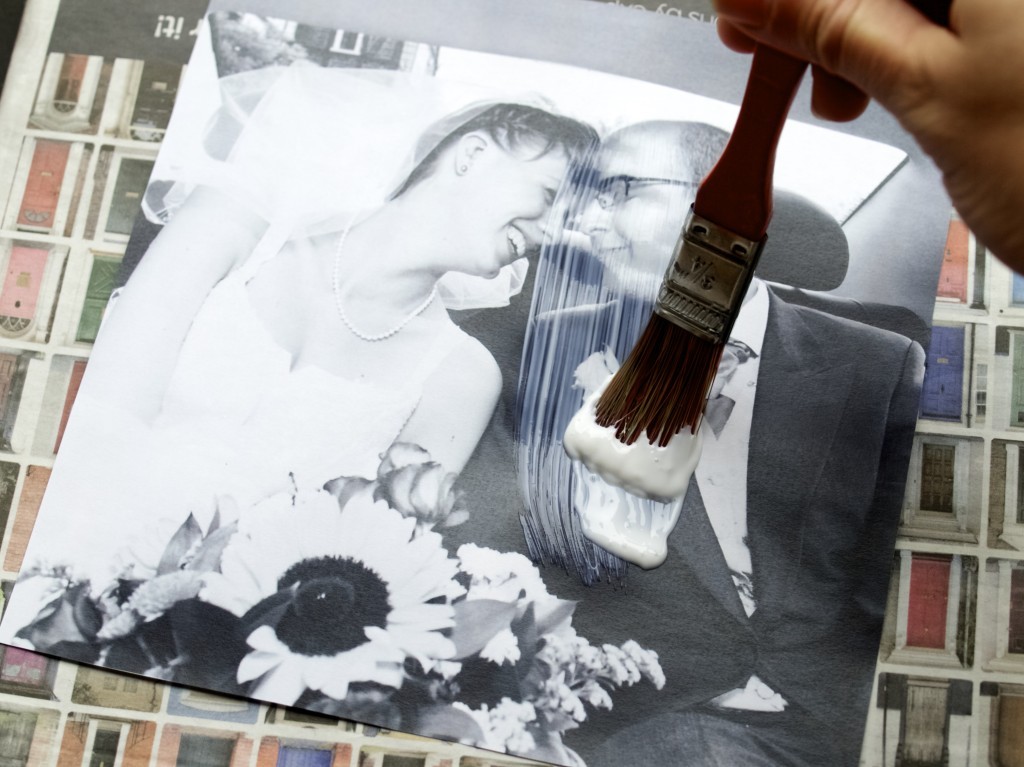
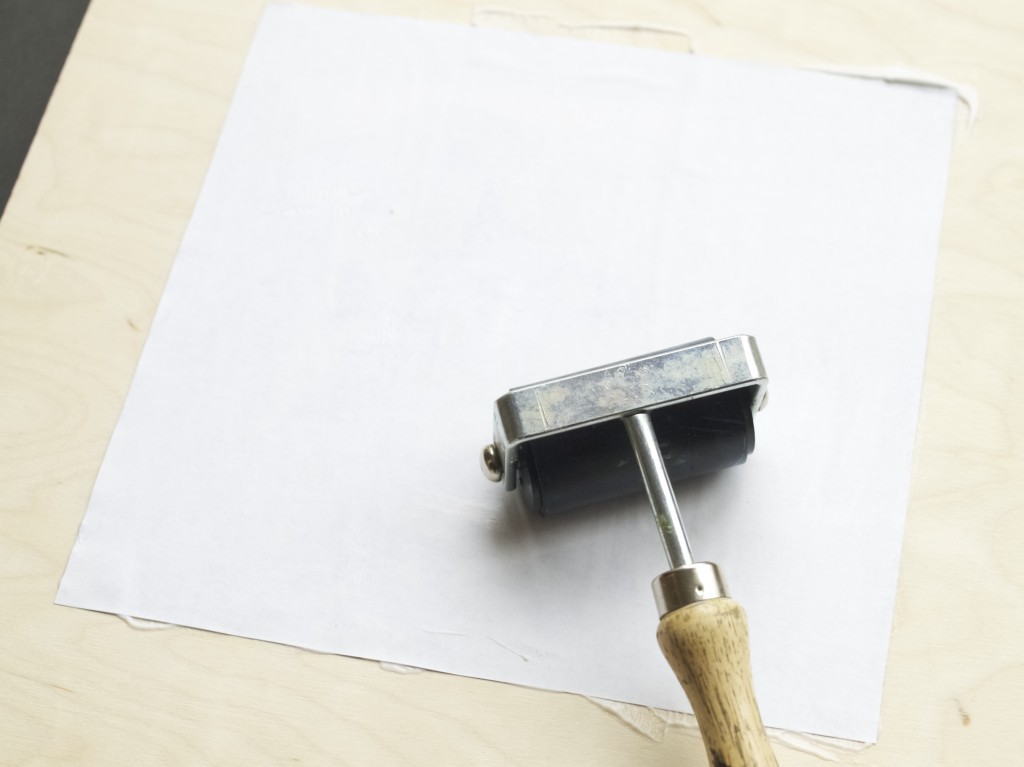
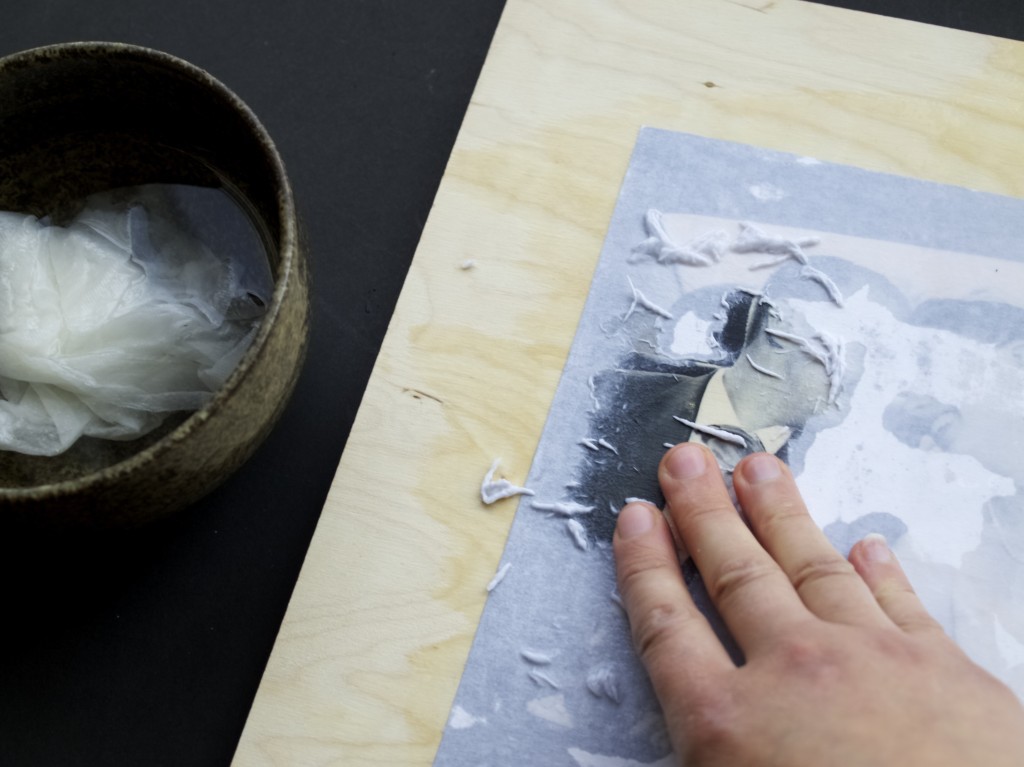
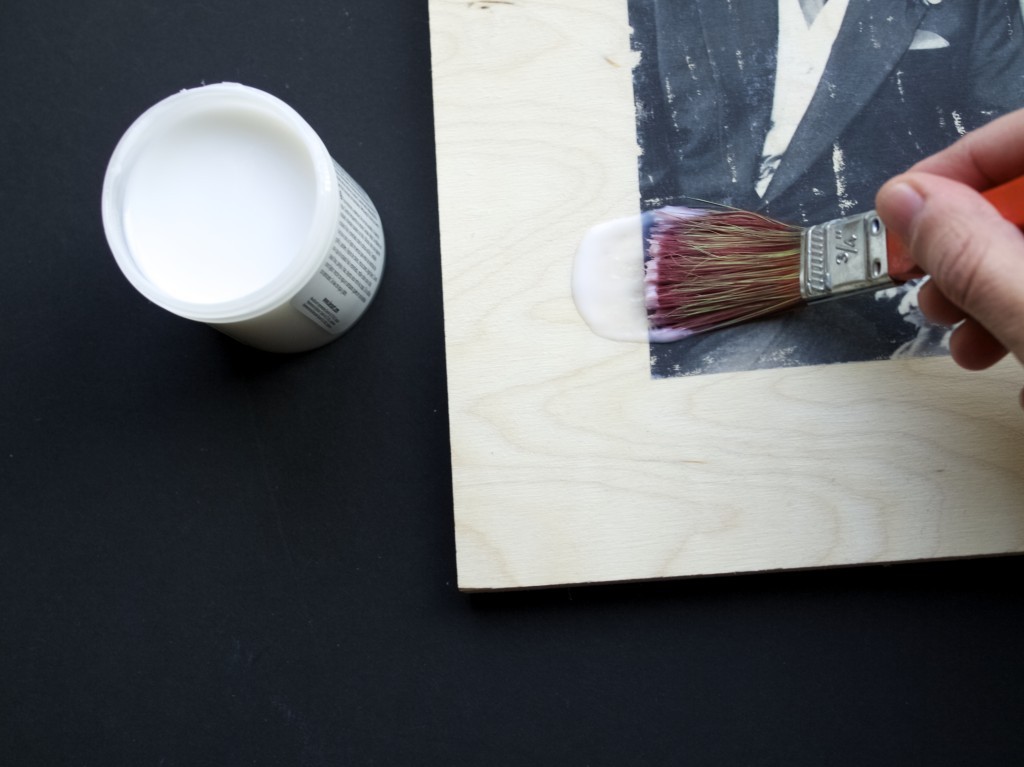
I applied acrylic medium on top of the photo.how to transfer laser printer image onto almost anythingI used a roller to press the picture onto the wood. Make sure the bubbles trapped underneath get pushed out.  how to transfer laser printer image onto almost anythingOnce completely dry (after 8 hours or so) dampen the image and start rubbing the white layer off. Make sure don’t rub too much as the image itself can be easily rubbed off at this stage.how to transfer laser printer image onto almost anythingLet it dry before the next stage…how to transfer laser printer image onto almost anythingI applied matte varnish (acrylic type) on top. This stage fixes the image onto the wood (or any other surface) and remove all the white layer imperfections as well.how to transfer laser printer image onto almost anythingApply the hanger onto the picture:
1. Measure and place the hanger in the centre. Use a pencil to mark the dots where the screws should go.

2. Make a hole with the nail (smaller then the screws) by hammering it in and then removing it with the other end of the hammer.

3. Screw the screws in to hold the hanger.how to transfer laser printer image onto almost anythingTa-da!how to transfer laser printer image onto almost anything how to transfer laser printer image onto almost anythingI hope you found this inspiring :)

Rasa
0

Leia’s birthday celebrations!

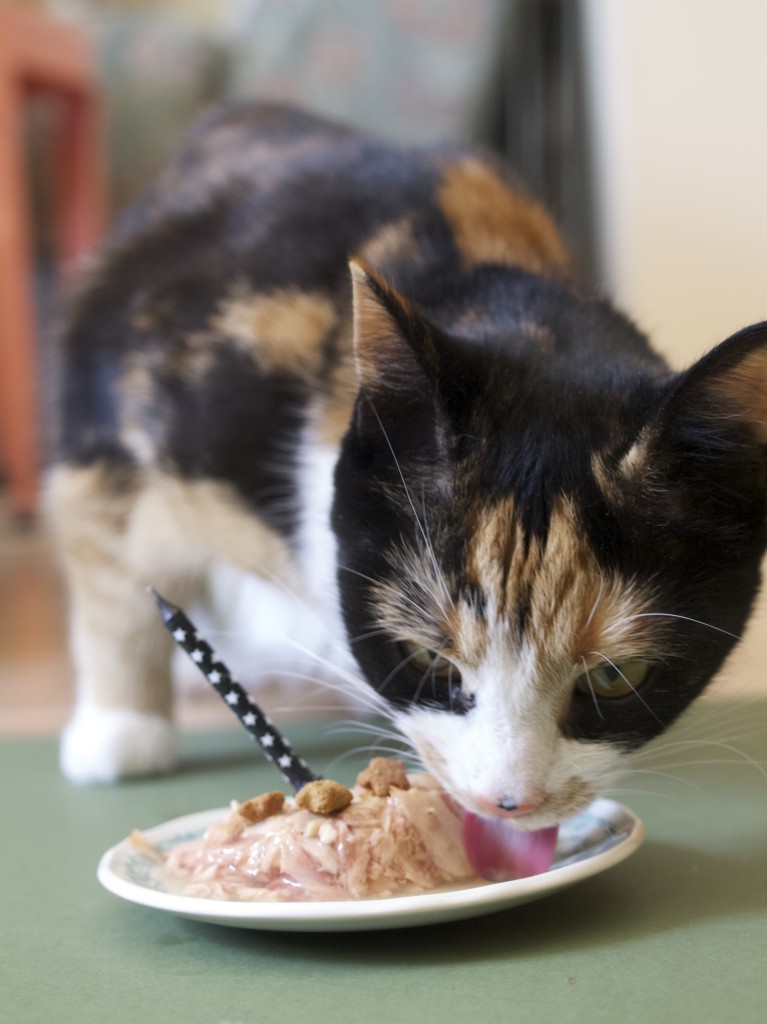
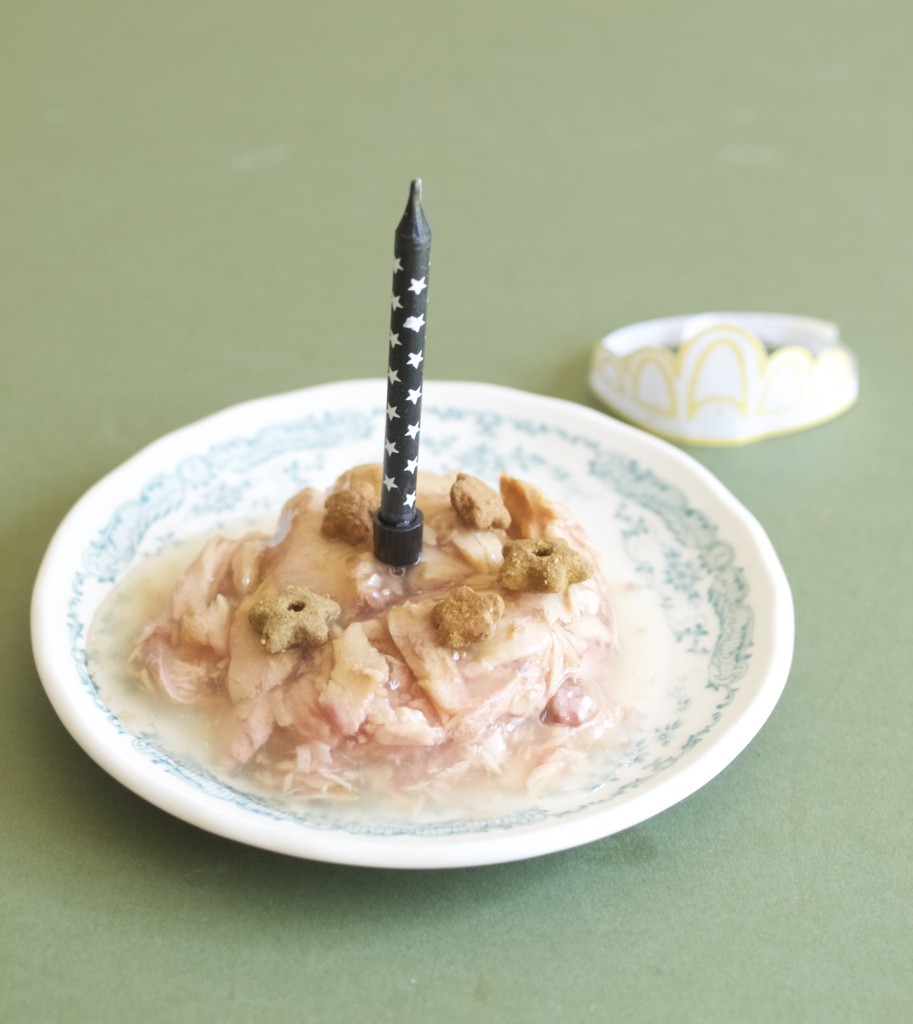
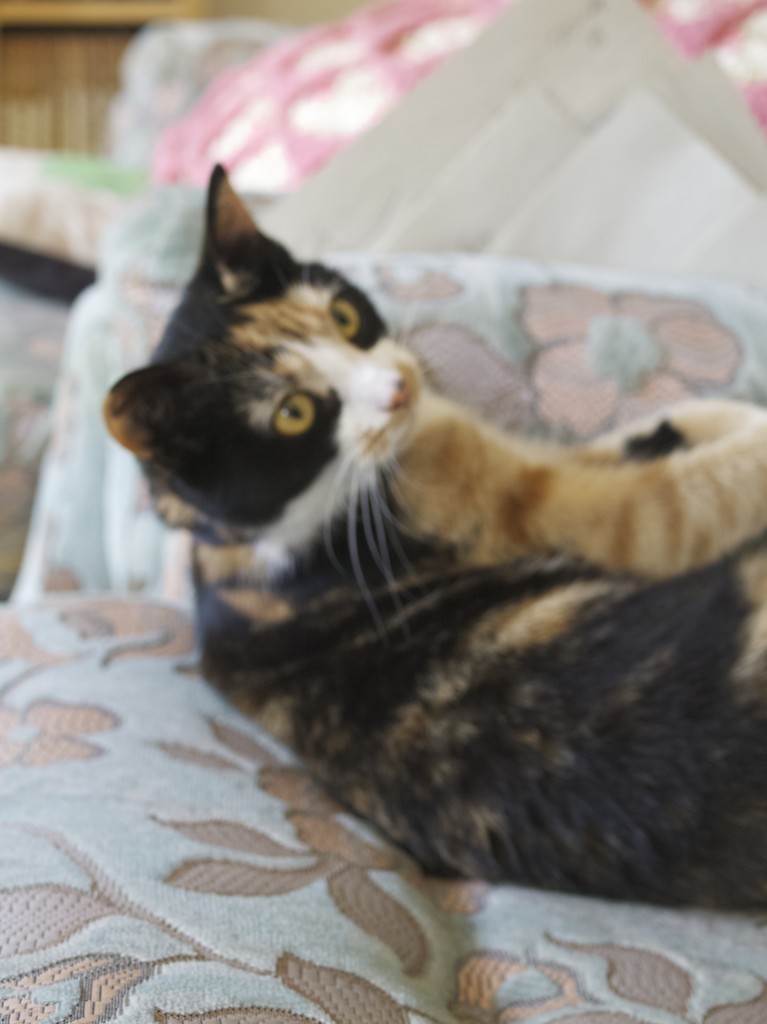
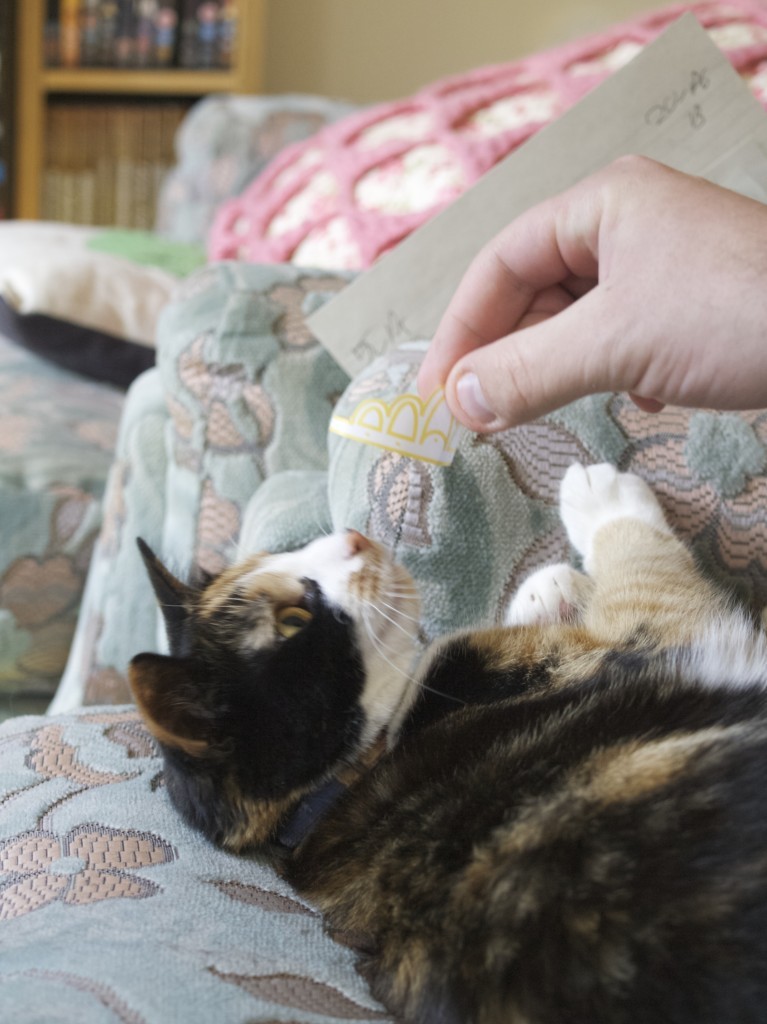
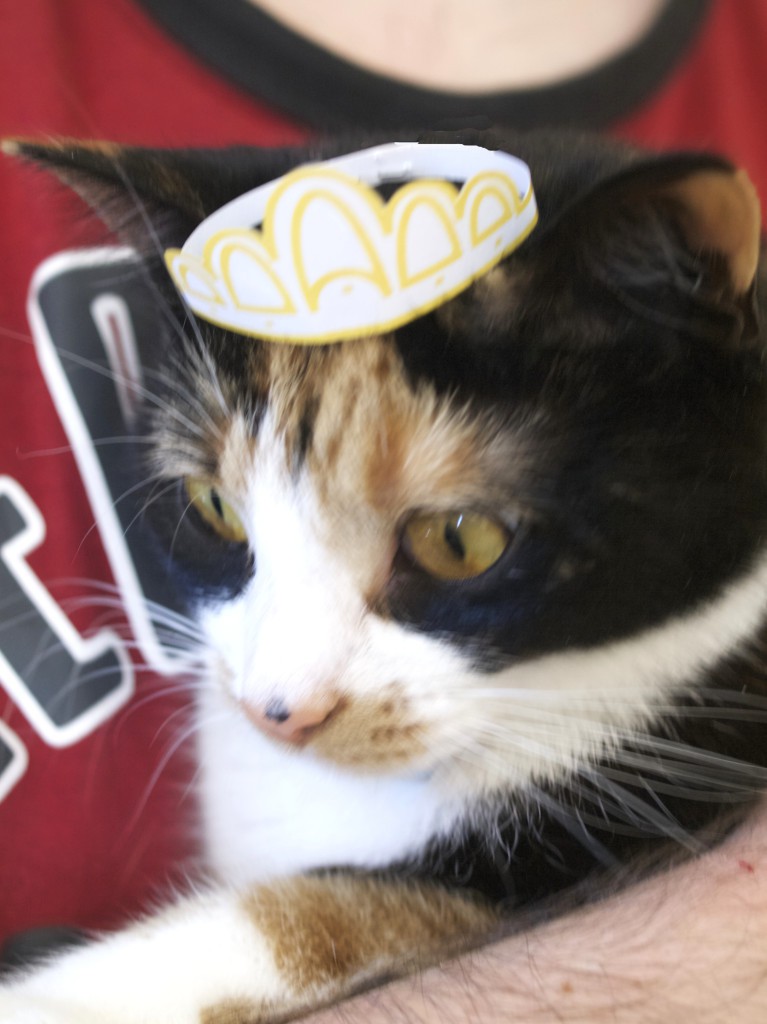
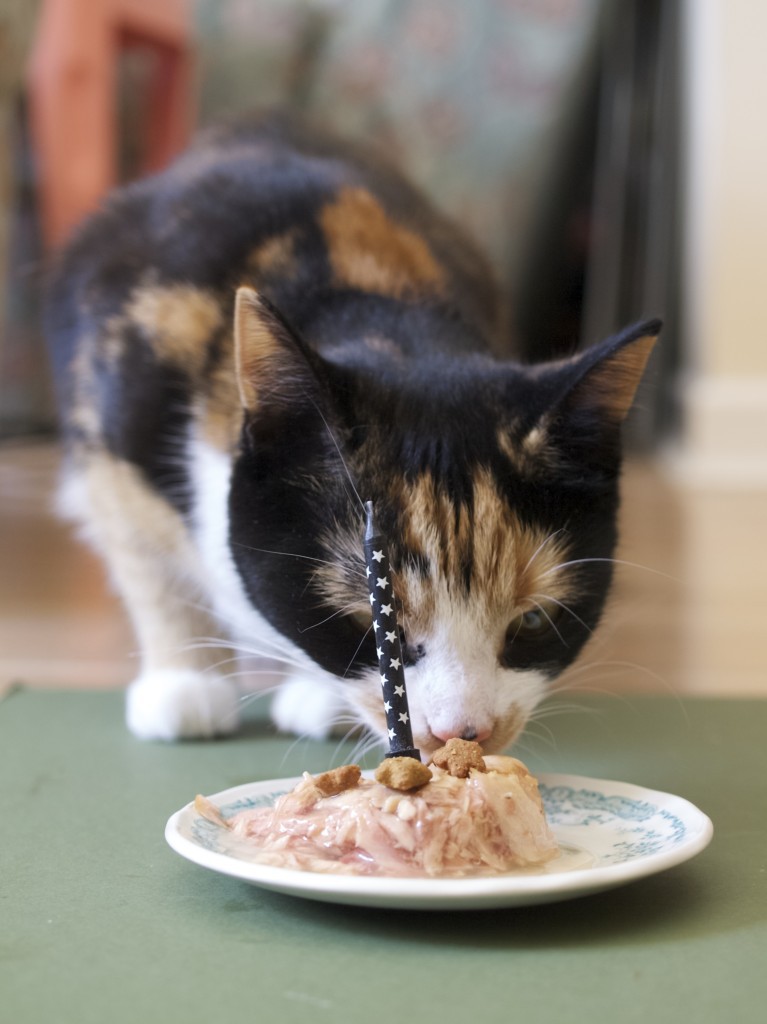
Leia's Birthday CelebrationsYesterday Princess Leia turned 1 years old (Yey!), which makes her and an adult cat now (even though she still acts like a teenager). I decided to celebrate it today however, because Saturday is the day when I am mostly free! I made her a “cake” out of tuna decorated with the treats (because she just would not enjoy a regular birthday cake) and tried placing a tiara on her head…Leia's Birthday CelebrationsTo be completely honest after seeing this a while ago I had a specific image in my head how I would celebrate Leia’s birthday. However I later realised that Leia is a cat and would not voluntarily wear a hat or eat a sweet cake (I don’t even think this would be safe for her to eat). But since she is a Princess I thought I could at least make her wear a tiara. Initially I thought I could crochet it, but then I shouted to myself “whom am I kidding?”. This much effort for crocheted tiara would most likely go to waist! Thats when I made a tiara out of paper. Leia's Birthday CelebrationsAs suspected Princess Leia did not like her crown :-(.Leia's Birthday CelebrationsBut we made her wear it anyways :-DLeia's Birthday CelebrationsFancy making tiara for your own cat? here is the drawing. All you need to do is cut it out and staple both ends together for the size you need ;-). Kitten's tiaraWell… At least Leia liked her birthday “cake”!Leia's Birthday CelebrationsI hope you have been entertained :-)

Rasa xoxo

0

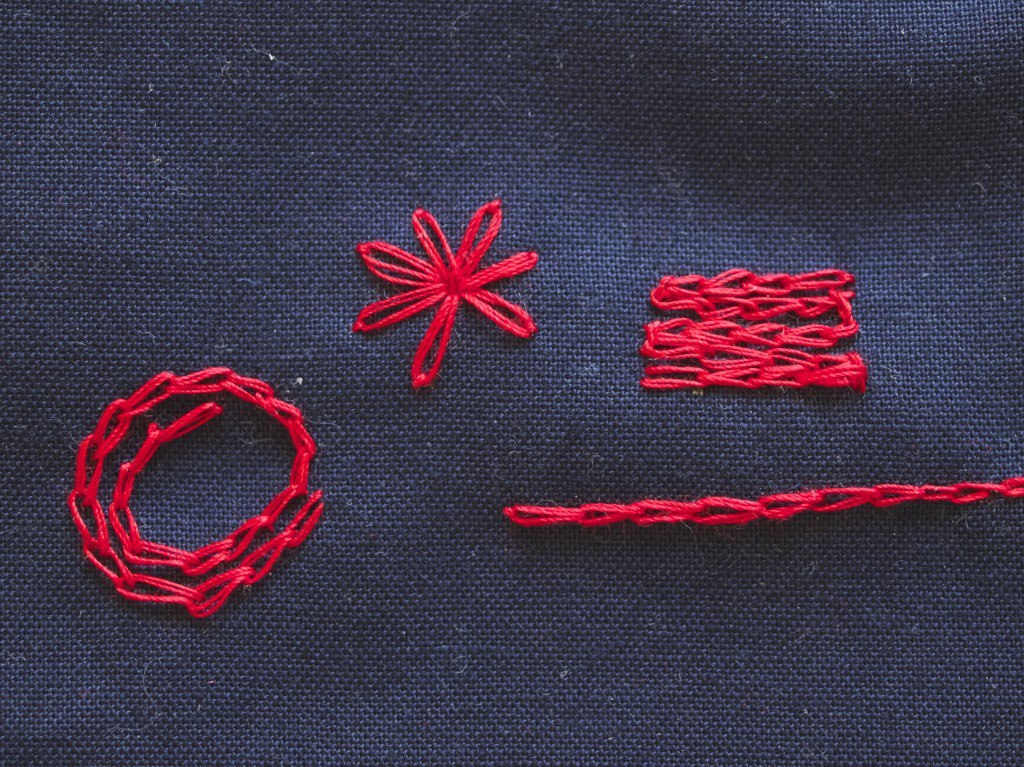
My favourite embroidery stitch styles

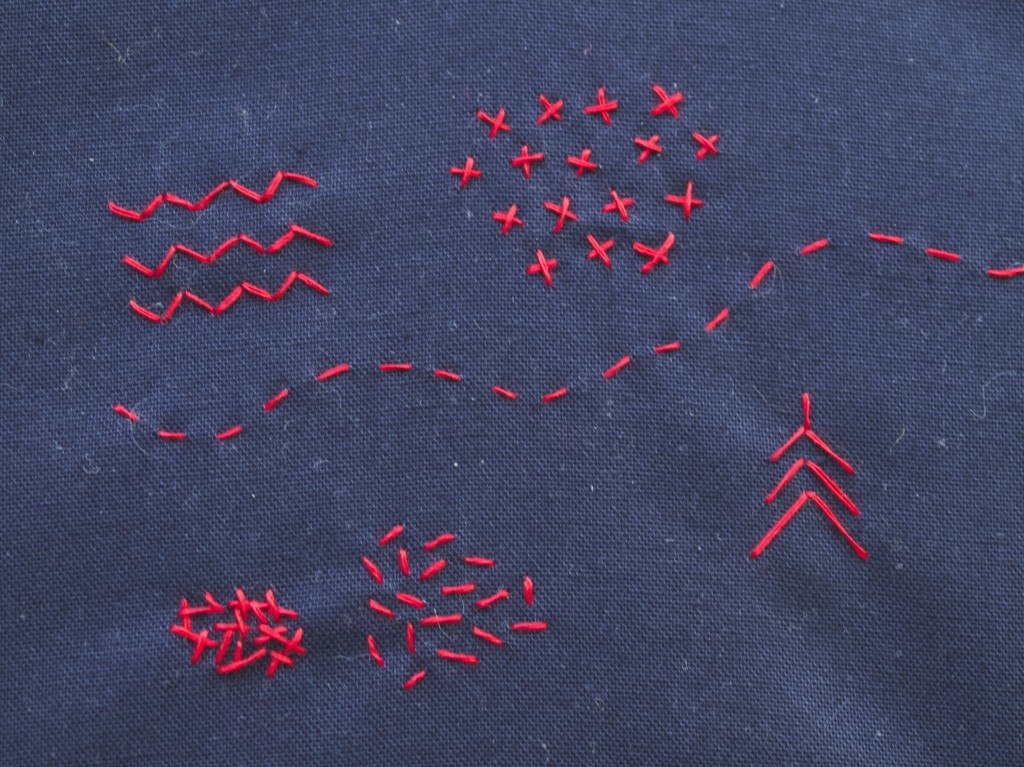
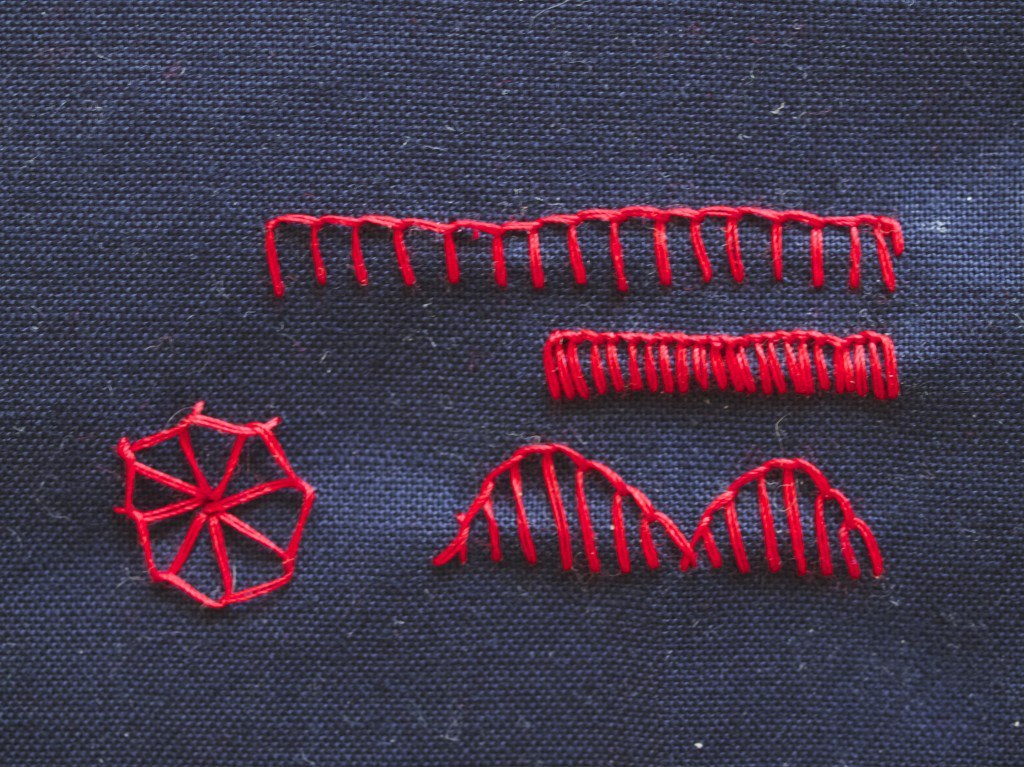
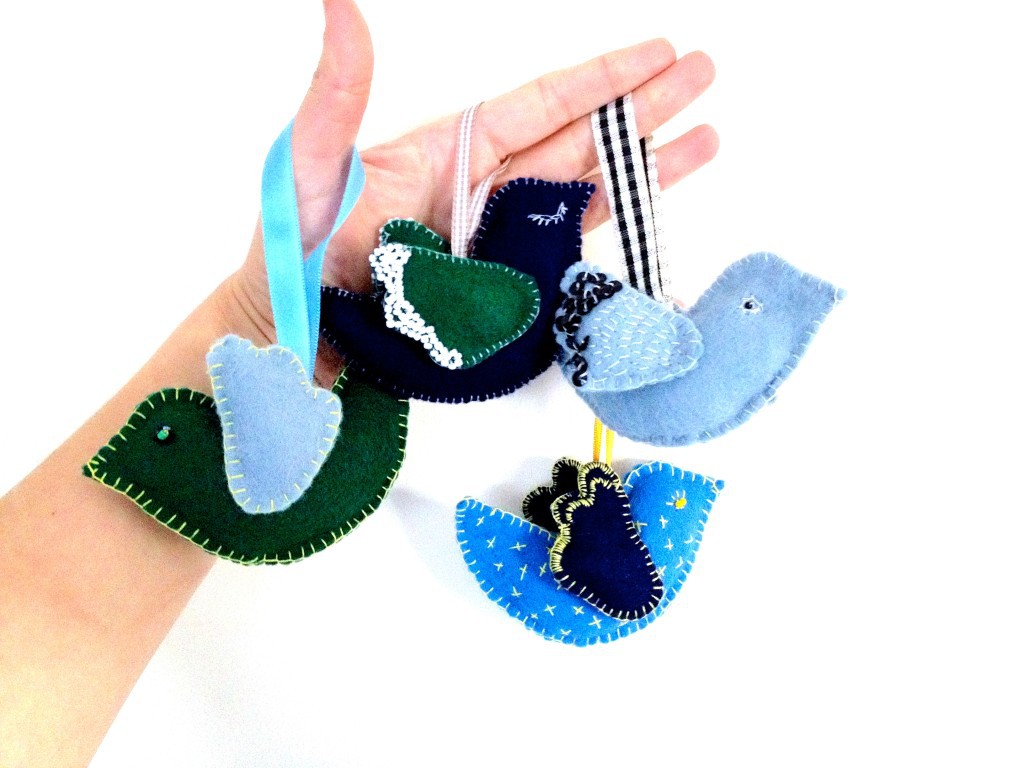
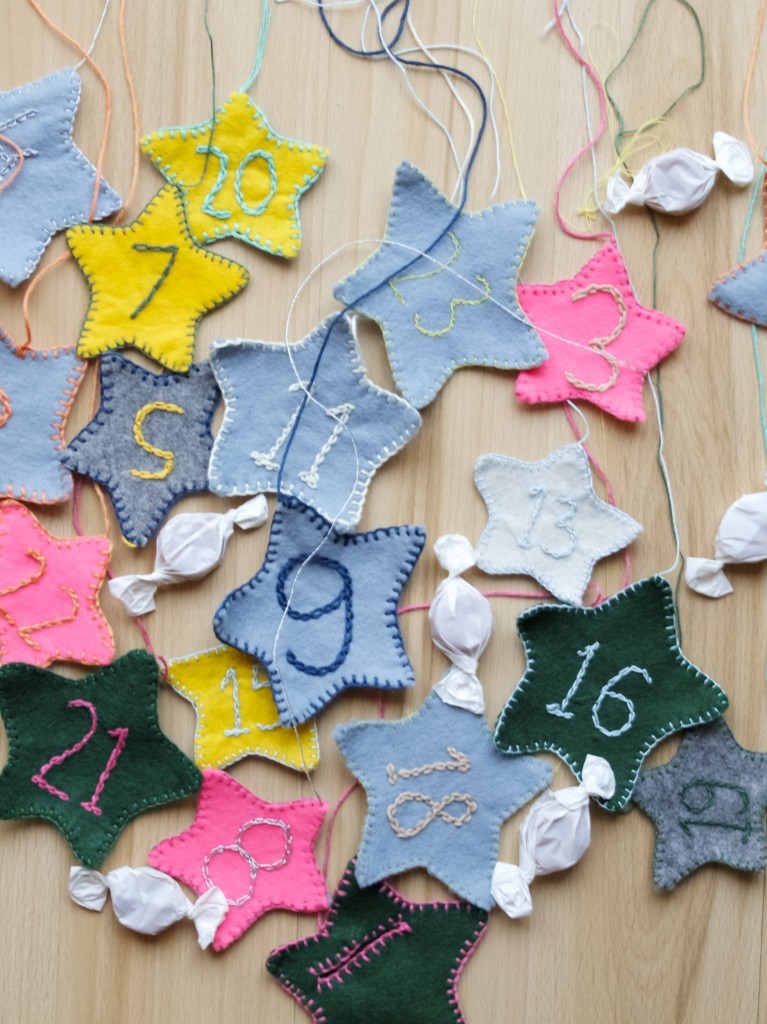
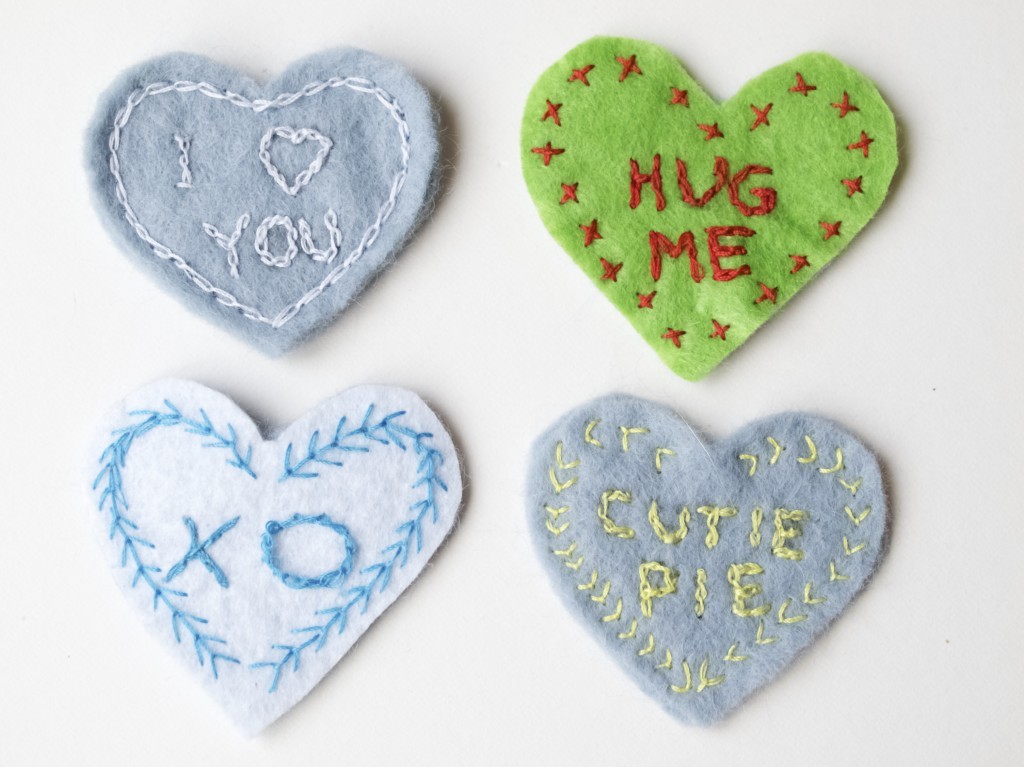
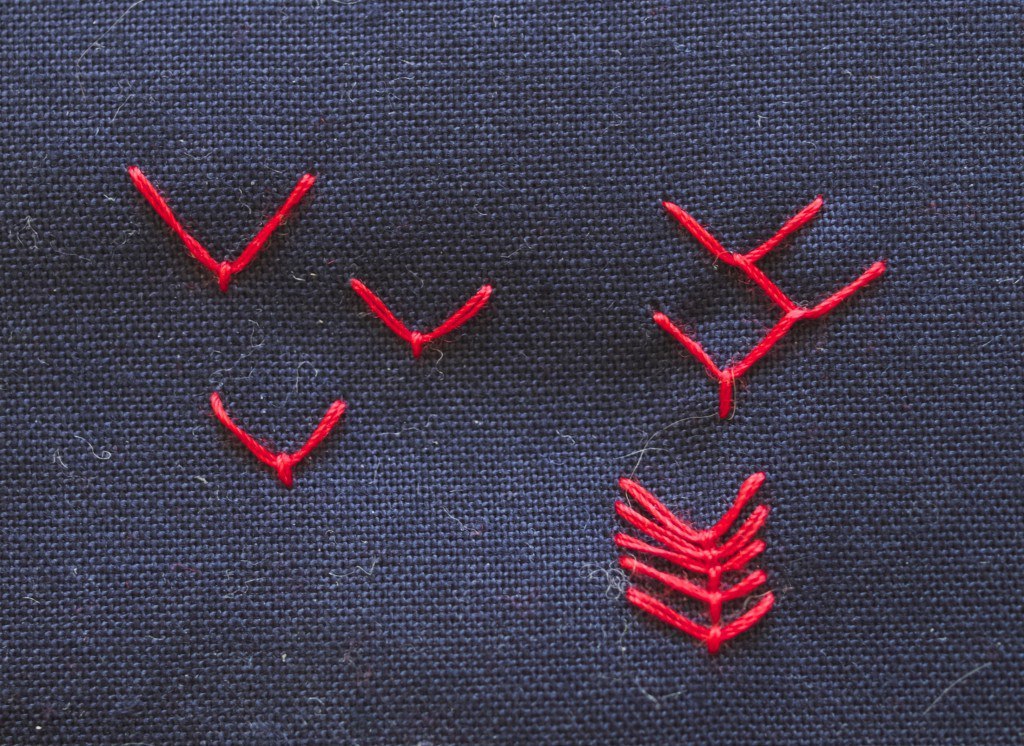
After talking how fun it is to do hand stitching (rather than using sewing machine) I thought I will share what I know about embroidery (hand stitching and hand sewing kind of go hand in hand). You might find that some of the hand stitches that you learned with hand sewing are very similar to embroidery stitches. In fact majority of embroidery stitches are based on regular hand stitches, but are more creative and freestyle. For instance, lets take the running stitch, it is identical to basic/ straight stitch! Or a button hole stitch, it’s like blanket stitch that comes in many pretty variations. Button hole stitch variationsMy favourite is basic/straight stitch that I used to create pretty cross or dash patterns on these hanging bird decorations.hand stitched birdiesFelt stars with numbersAnd remember I used chain stitch to “draw” those advent date numbers on these hanging felt stars. Chain stitch is so useful for outlining and filling!Chain stitch variations Hand stitched fridge magnetsAnd when it comes to slightly more complicated stitches I do loooove fly stitch! It’s so pretty isn’t it?Fly stitch variationsI hope you find this inspiring!

Rasa xoxo

0

One ingredient ice cream (well… almost)

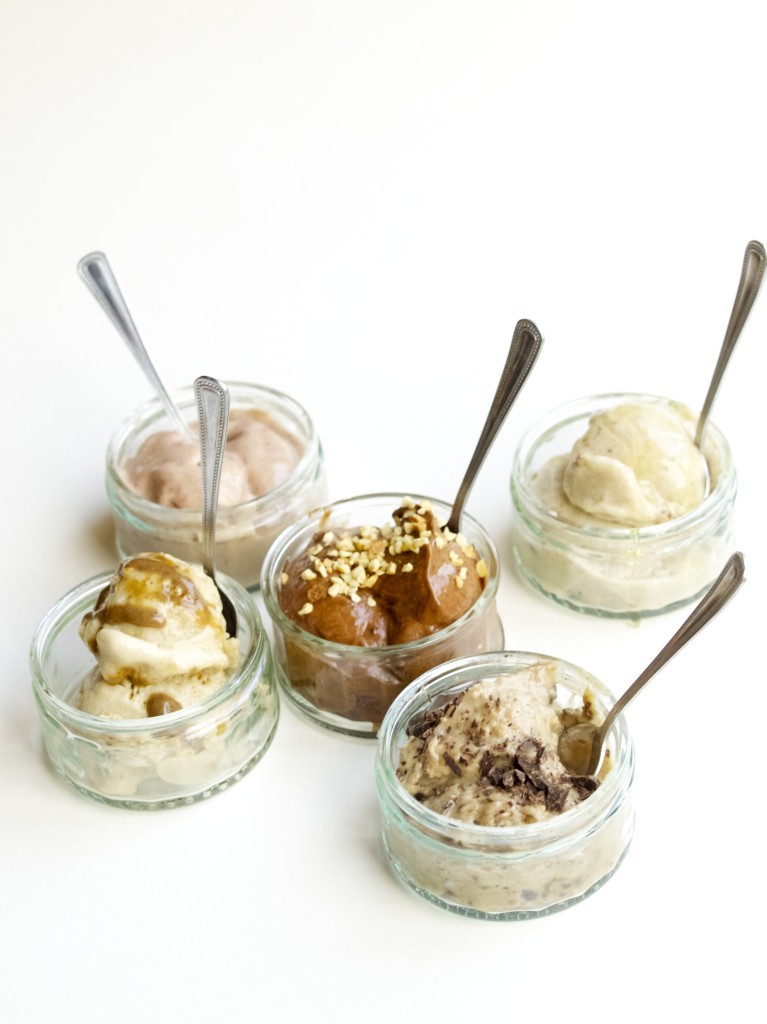
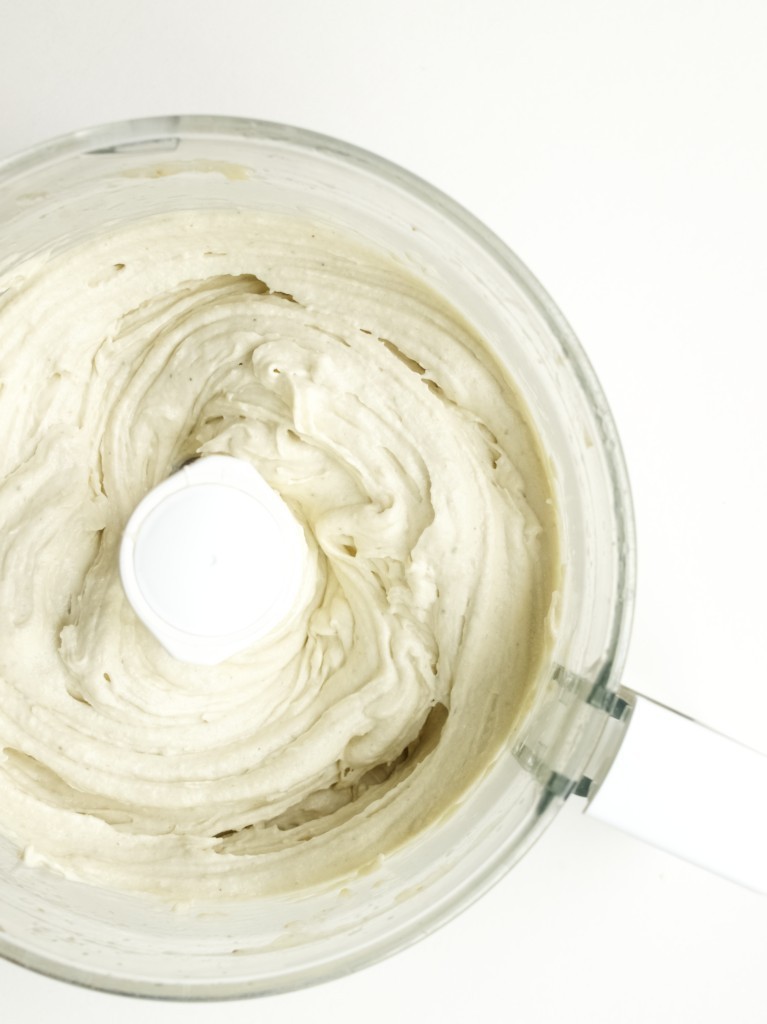
One ingredient ice cream (well... almost) Although I eat ice cream any time of the year, I think today is a special ice cream day. For a long time I wanted to make one of those one ingredient ice creams, so I had a look here and there and realised it is quite quick and simple to make! So here is ho I made it…One ingredient ice cream (well... almost) So if you have not checked the links above maybe you have already guessed what this one magical ingredient is? Yes, it’s just a banana! I have been freezing my unused bananas for quite some time now so I had a good amount to play with.

ONE INGREDIENT ICE CREAM

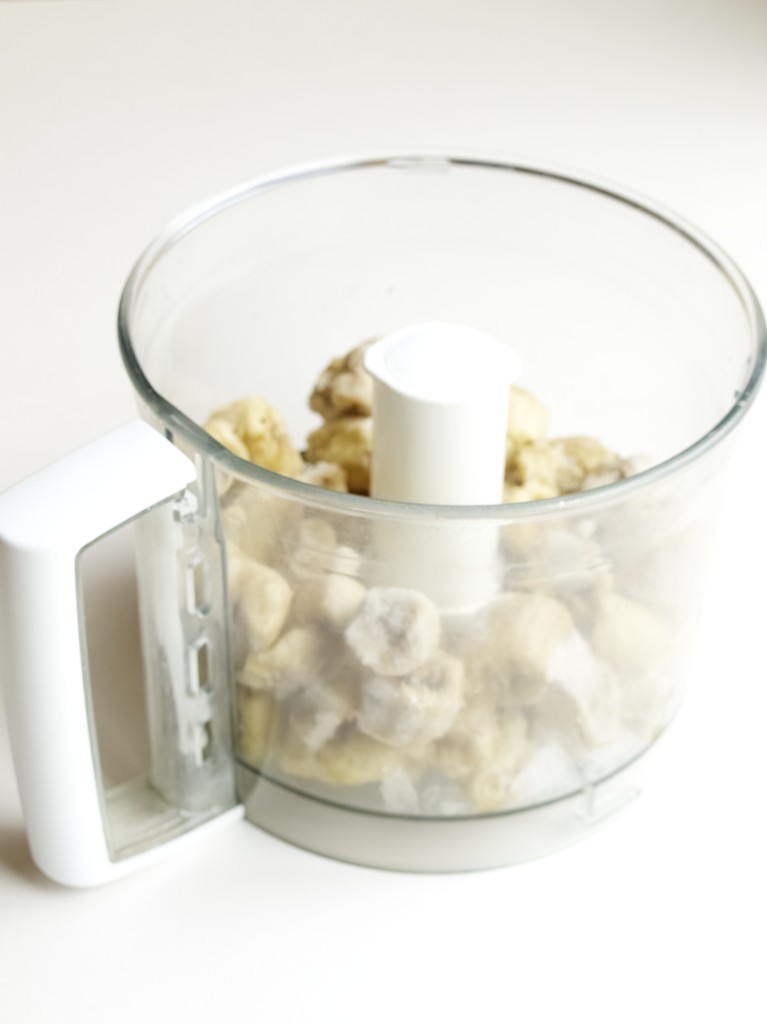
  • Frozen bananas, chopped

1. All you need to do is put the frozen bananas into the food processor and blend it!One ingredient ice cream (well... almost) It takes some time for the bananas to blend but eventually it turns into this creamy mass that can be enjoyed straight away. One ingredient ice cream (well... almost) Unless you want to play with some other flavours!

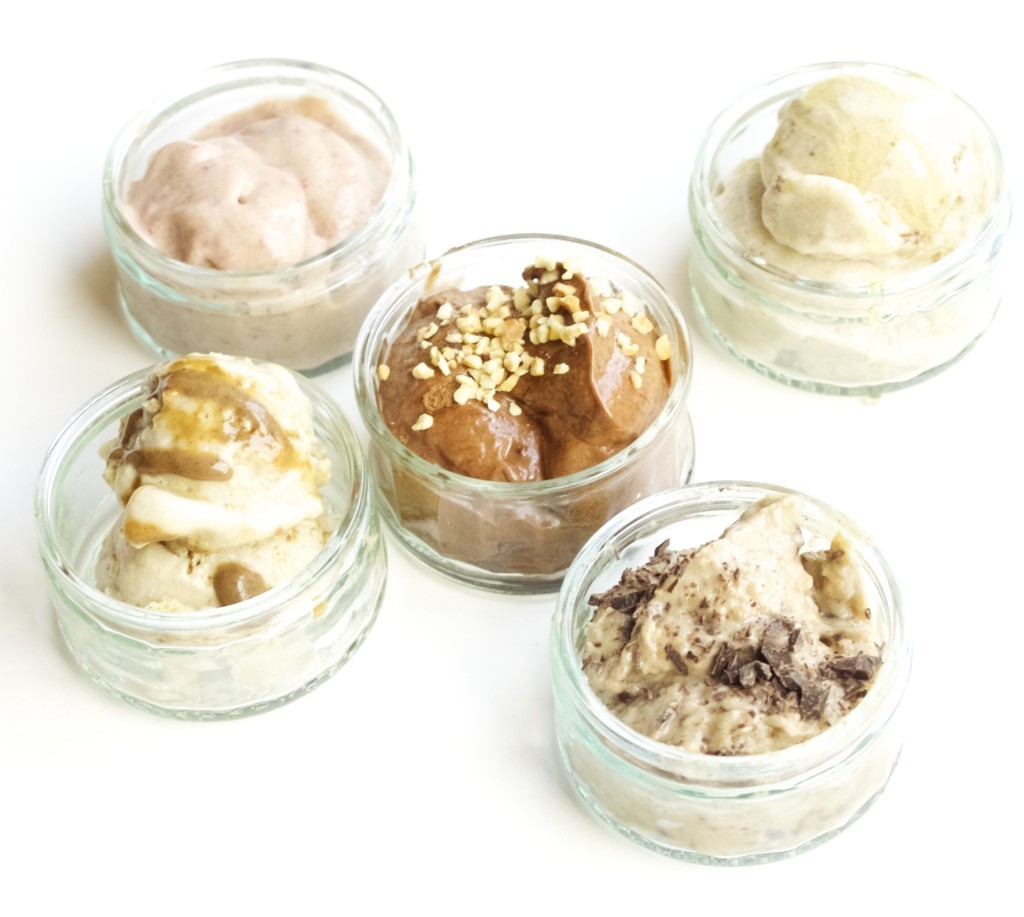
You can add any of the following

  • peanut butter
  • Nutella
  • chopped nuts
  • biscuits
  • honey
  • caramel
  • cocoa powder
  • cinnamon, cardamom or ginger
  • frozen berries

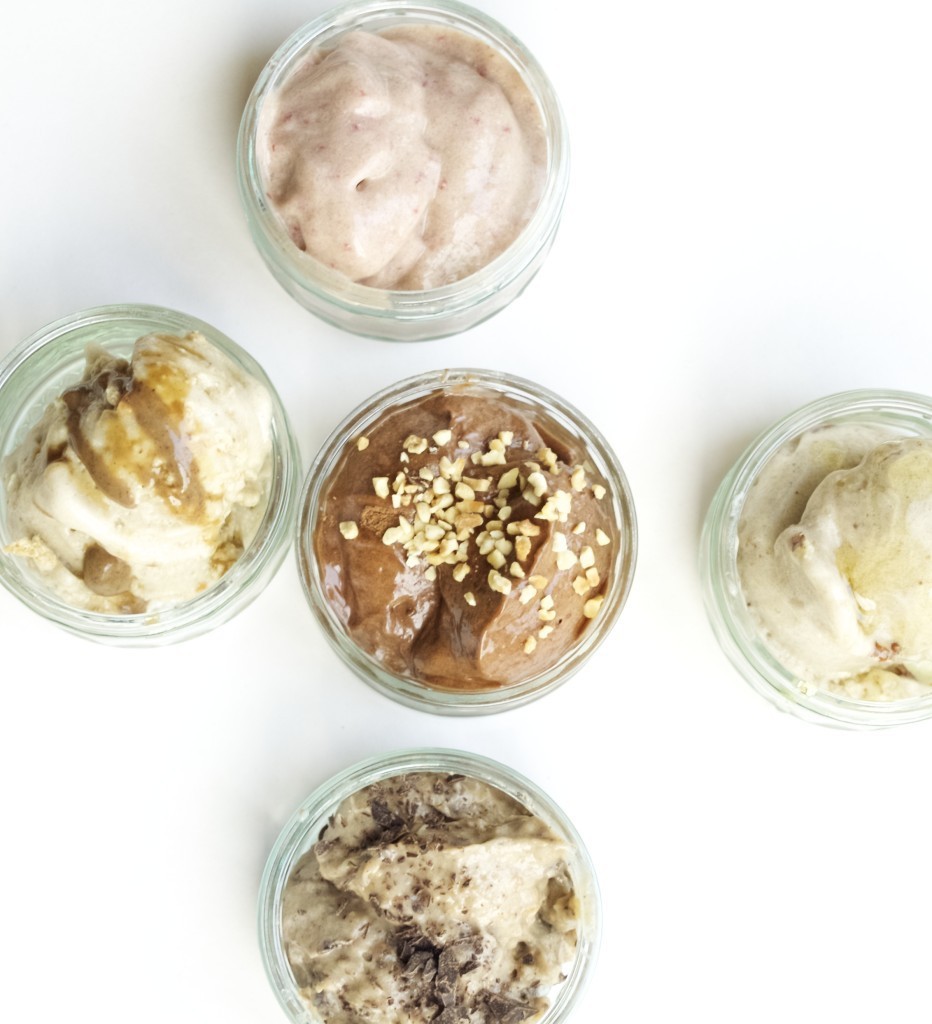
I tried out few flavour combinations myself

  • Peanut and chocolate chip (our favourite!)
  • Nutella with chopped hazelnuts (I loved it even when I dislike chocolate ice cream)
  • Digestive and caramel (almost like banoffee pie)
  • Pecan and honey (we found this tasting a bit plain)
  • Cherry and almond (we liked the least as we could taste the banana which did not suite the overall taste)

One ingredient ice cream (well... almost)

Enjoy hot weather!

Rasa xoxo

1

A year with books: “Oh Dear Silvia” Review

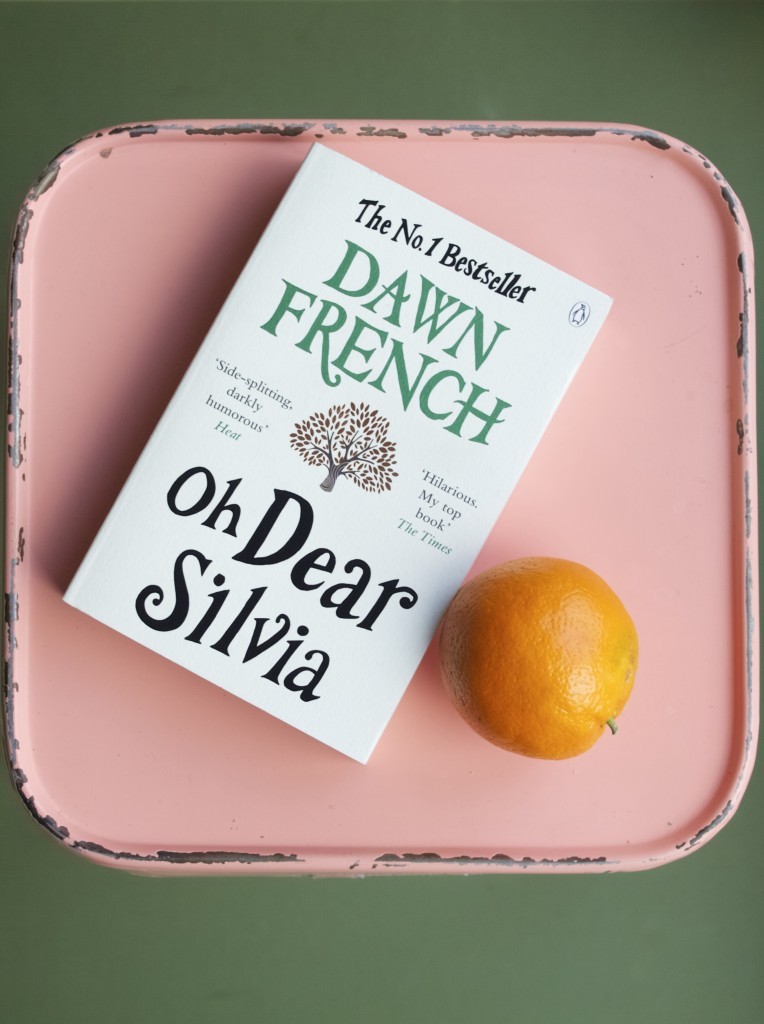
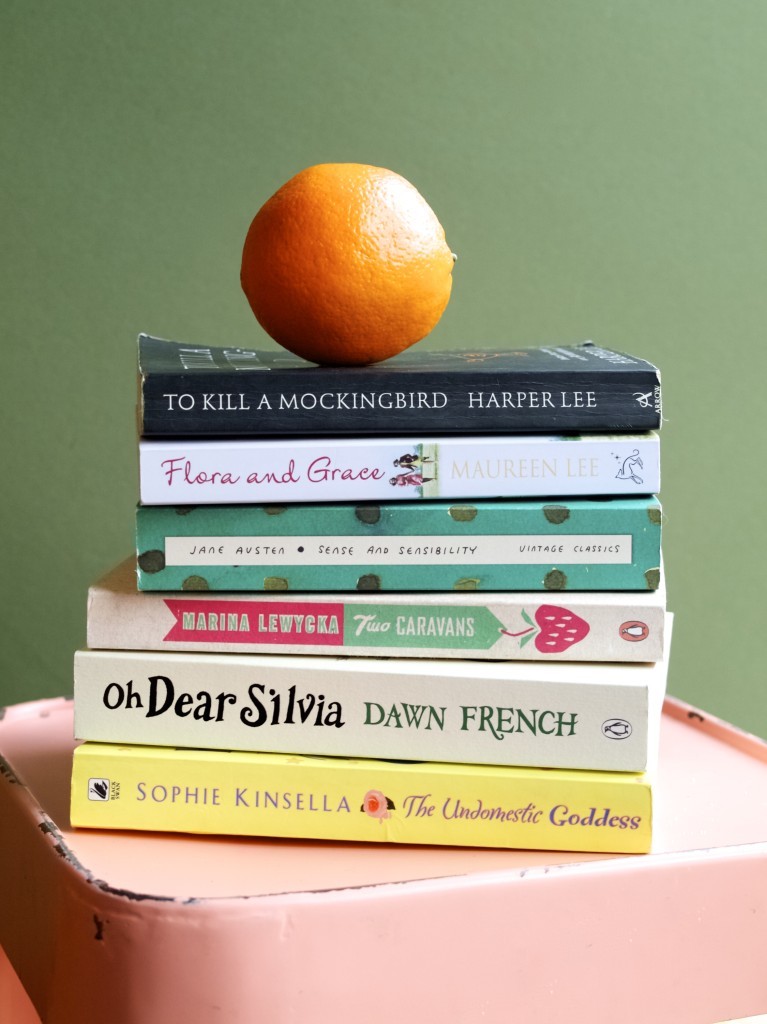
"Oh Dear Silvia" Dawn French book reviewIt is April and my second book reading is finished, yey! Five more wonderful books to go! Although I did not have much time to read these couple of months, every time I picked up this book it kind of melted as I read (that is a sign of good book I think). Anyways, as mentioned before I read one of the other Dawn French books in the past, so this kind of effect has been expected. In “Oh Dear Silvia” I could see the same writing technique used as in “A Tiny Bit Marvellous”: the story told by characters themselves.

What I liked about it? A lot of things! First it was the familiar Dawn French writing style.  Since the story is told by characters themselves the words and phrases have been specifically chosen according to each unique character. The story is slowly revealed  through each characters opinion, emotions and experience. So at one point you feel angry at one character and later on you realise that they have a reason  why they acted the certain way. The other reason why I liked this book it’s because I found it really really funny (no wonder, Dawn French is a well known comedian!). I also loved the story line, completely unexpected! Although I hoped it worked out slightly differently for Silvia (psst… not not telling you one bit of the story).

What I did not like about it? Not much! Except perhaps that it was hard to read at some parts of the book. Some characters had a strong Jamaican or Irish accents written out quite literally. It was part of that wonderful writing style so i did not mind it that much. I understood what needed to be understood!

Is it worth Buying? Totally! If you like Dawn French sense of humour then this book is for you ;-). You wont get disappointed!

"Oh Dear Silvia" Dawn French book reviewI think my next book to read is “Two Caravans” written by Ukrainian writer Marina Lewycka. That should be interesting and Hilarious (apparently)!"Oh Dear Silvia" Dawn French book reviewI hope you found this review helpful!

Rasa xoxo

1

March favourites

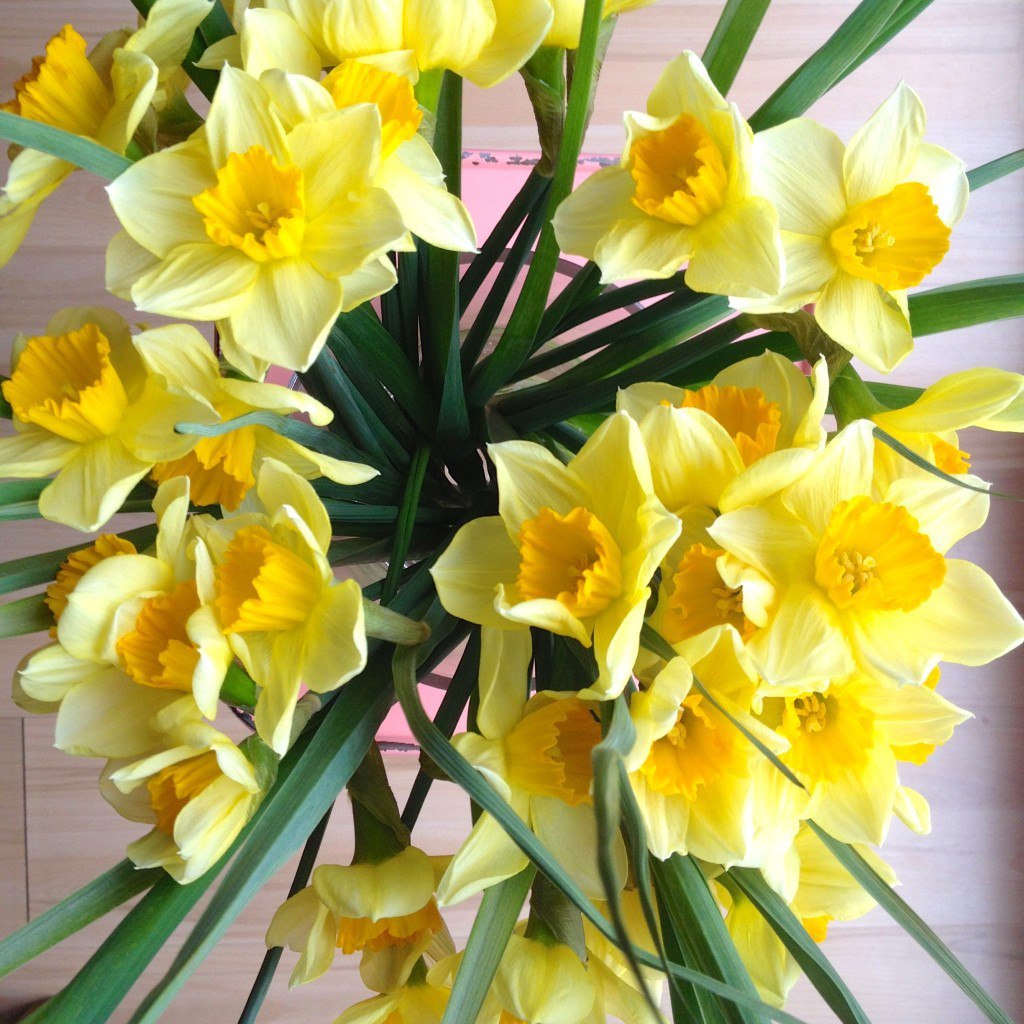
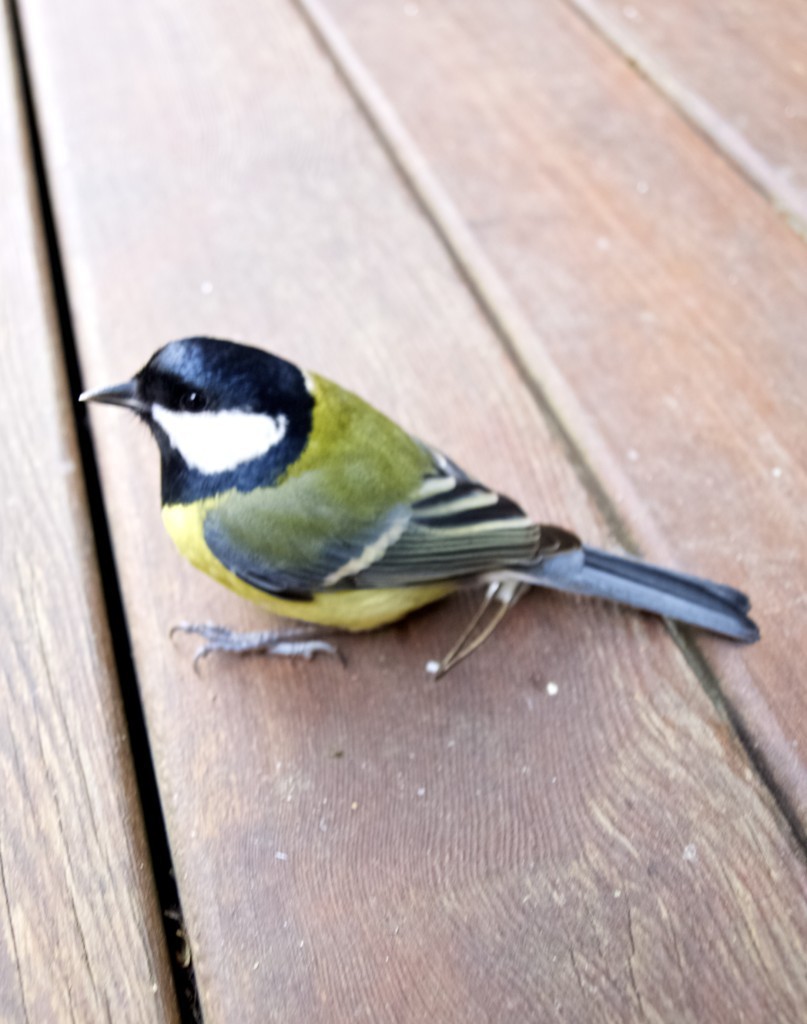
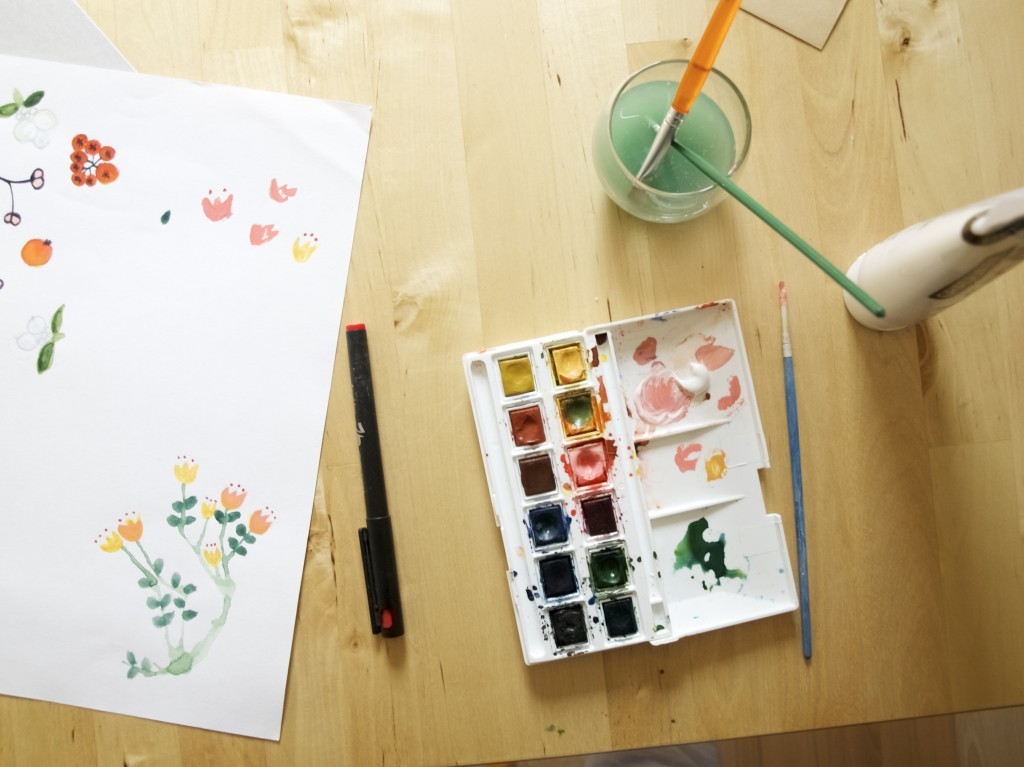
Goodbye MarchMarch brought the spring! It’s definitely getting more cheerful and warm here :-). Look at the flowers everywhere…Spring flowers from my sisterIn the begining of the month I have visited Lithuania. March is when we celebrate my mum’s and my little brother’s birthdays so I thought I will make a surprise visit (although the surprise did not quite work out this time). I loved going to the forest (right next to our home) for a walk almost everyday, it was the best holiday so far this year! Look at this pretty bird that bumped into our window (don’t worry he is ok now). A little bird from the forestOh and I saw eclipse for the first time in my life! The sun looked like a moon in the sky at night. Quite amazing!Eclipse 2014Have done few massy crafts this month. Some painting (handmade card for mother’s day of course)…Handmade everythingAnd some marbling with nail polish on Easter Eggs!

Speaking of Easter, I will be away… so will catch up next week?!Marbling using nail polishHappy Easter!

Rasa xoxo

0

Hanging marbled egg decorations (not only for Easter!)

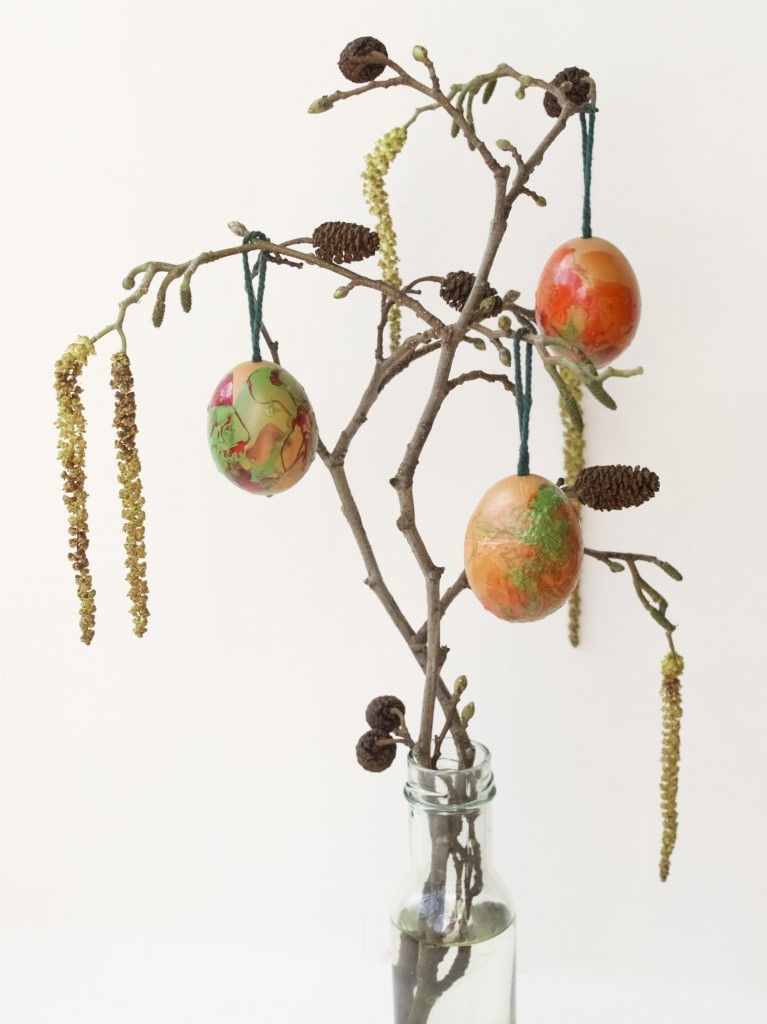
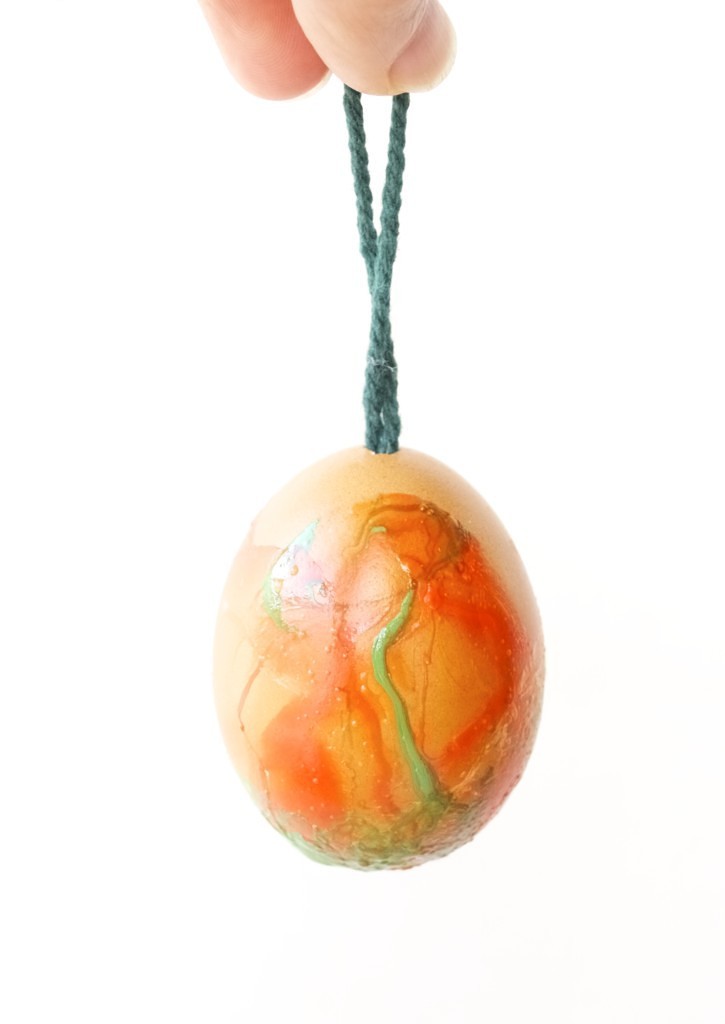
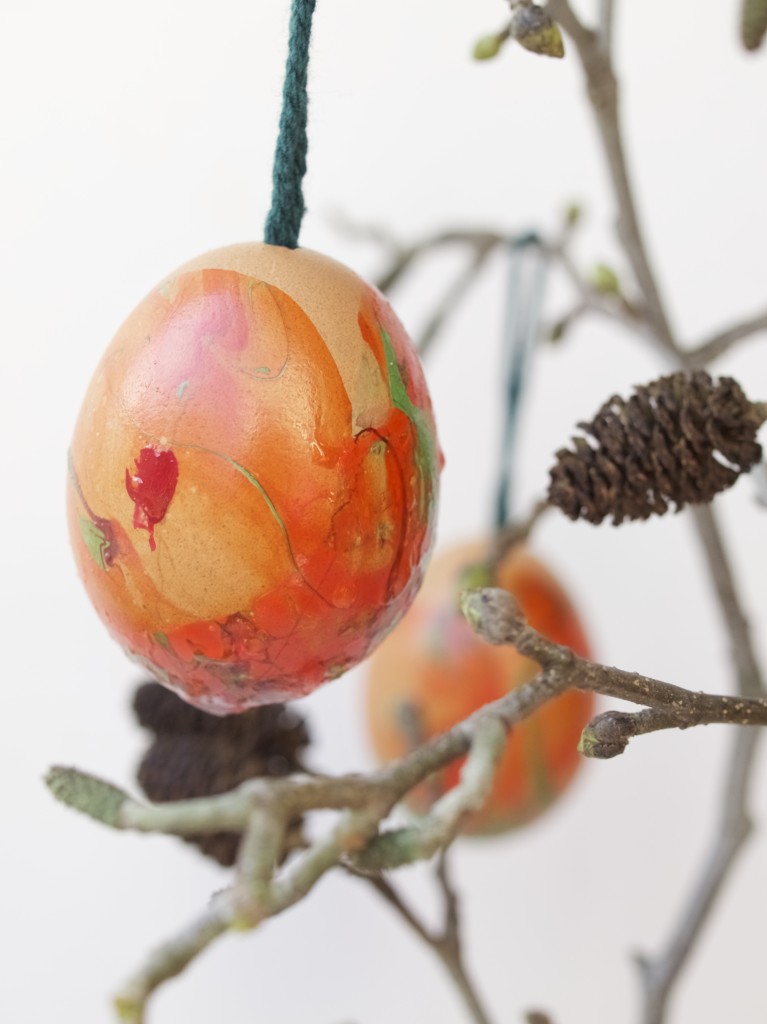
Hanging marbled egg decorationsSince Easter is coming up soon (so looking forward to it!), I thought I will make these hanging egg decorations. Last year I went au naturel with dying the Easter eggs, but this year I have decided to pain my eggs with the nail polish. I wasn’t sure how safe it is to eat the eggs that have been painted this way so I took extra precautions and made hanging decorations out of eggs instead. I have seen plenty of different marbling techniques on Pinterest (also had a chance to try this while in college), but nail polish technique seemed like the most suitable. Hanging marbled egg decorations Hanging marbled egg decorationsTo make the hanging egg decoration, first you need to remove the inside of and egg without breaking an actual egg shell. Why? Because in order to hang it you need to make the egg much lighter in weight (otherwise it would weigh out the branch you hanging that egg on!). I have done this “operation” quite many times in my childhood. I remember we used to make loads of hanging egg decorations not only for Easter!

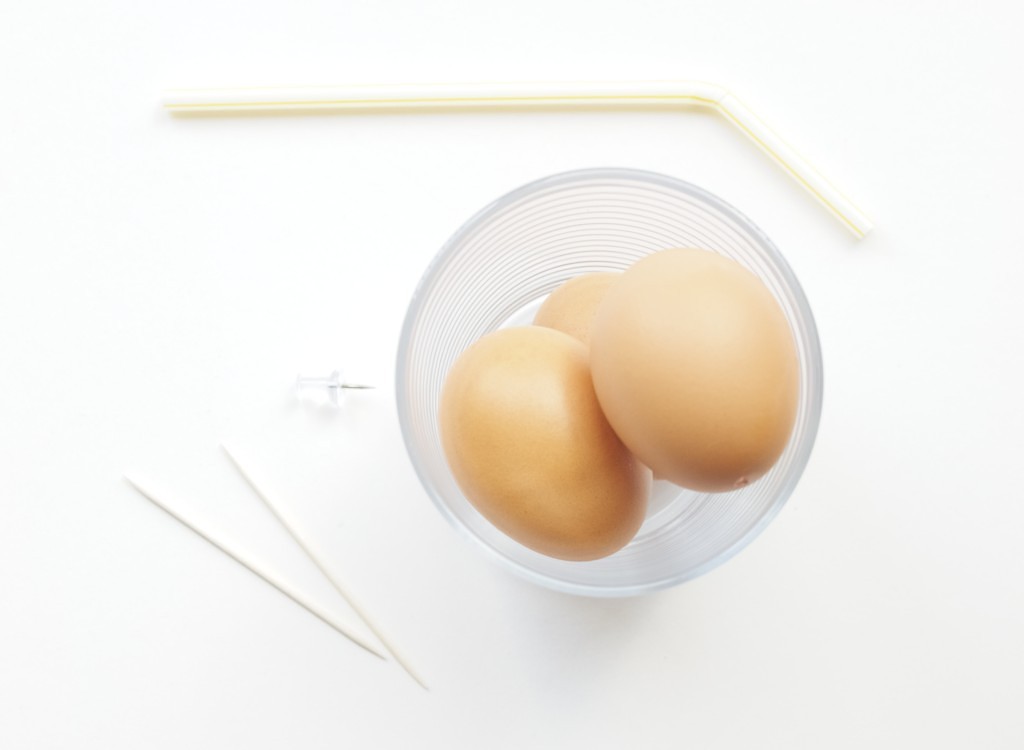
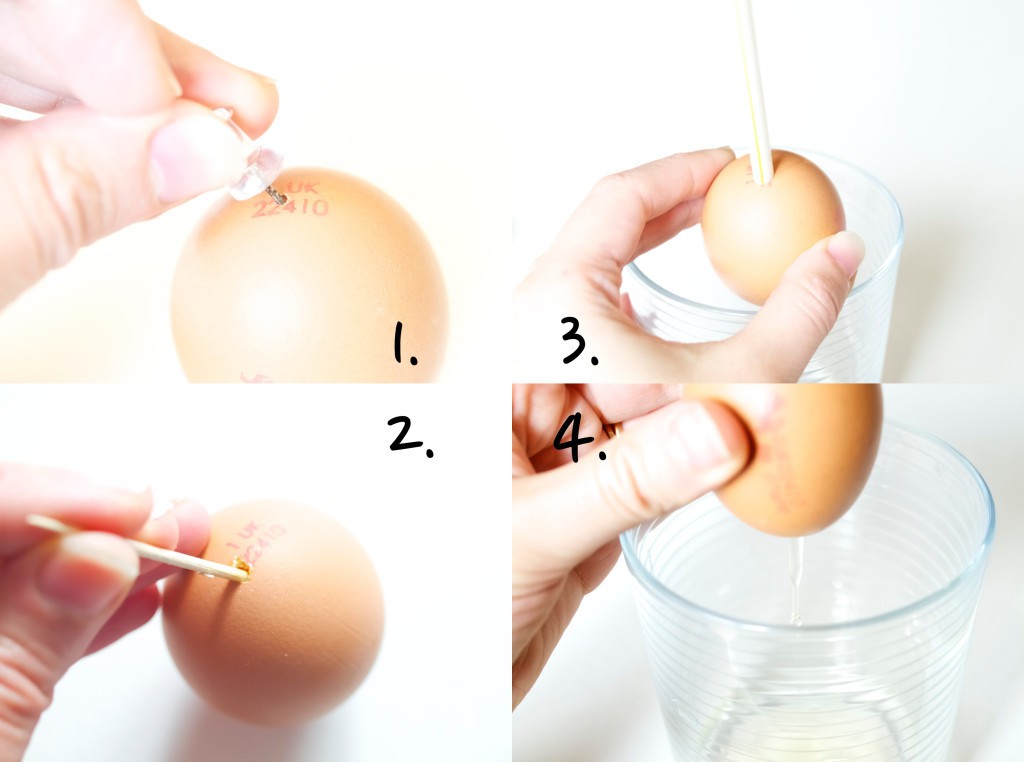
To remove the eggs from the shell safety you will need the eggs (of course!), a straw, push pin and some toothpicks. If you have a long thick needle it may be even better to use it instead of push pin and toothpicks. Hanging marbled egg decorations1. Make a hole by LIGHTLY twisting a push pin against the egg shell at the bottom or top of the egg (you will need two holes: one at the top and one at the bottom). Eventually you will get a small hole that needs to be widened. I usually make few holes around the main hole so I can break large enough hole the slightly larger than the toothpick.

2.  With the toothpick break the yolk by stabbing it through the hole.

3. Blow into the hole with the straw (this may take a while) until it becomes easy to blow.

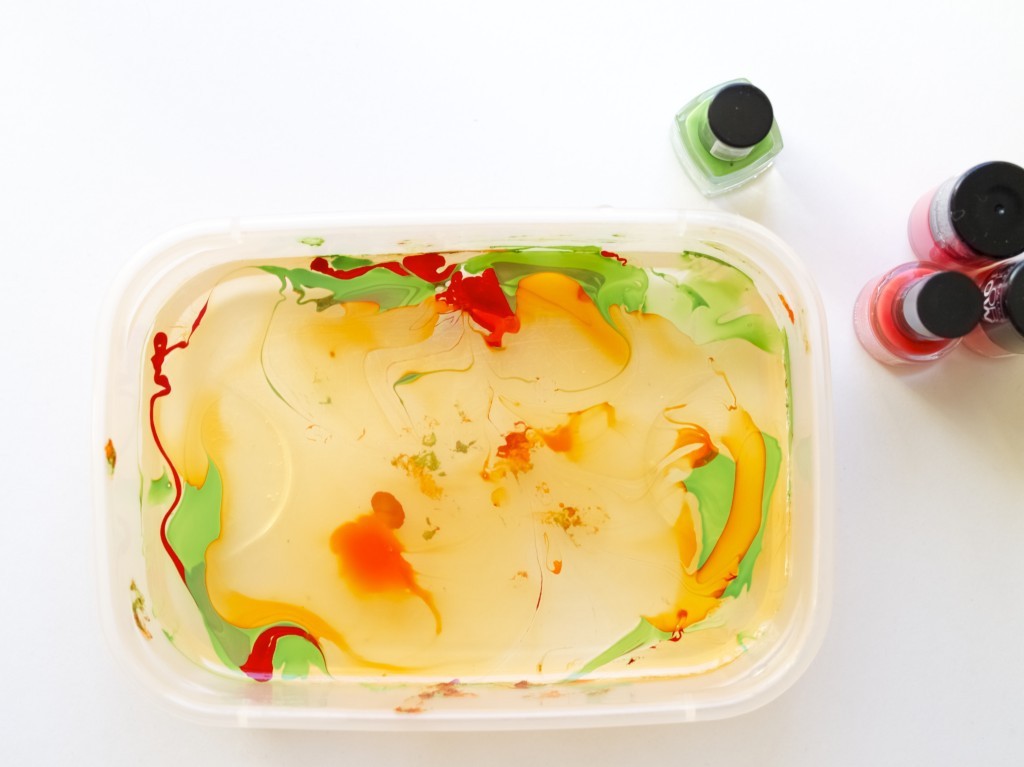
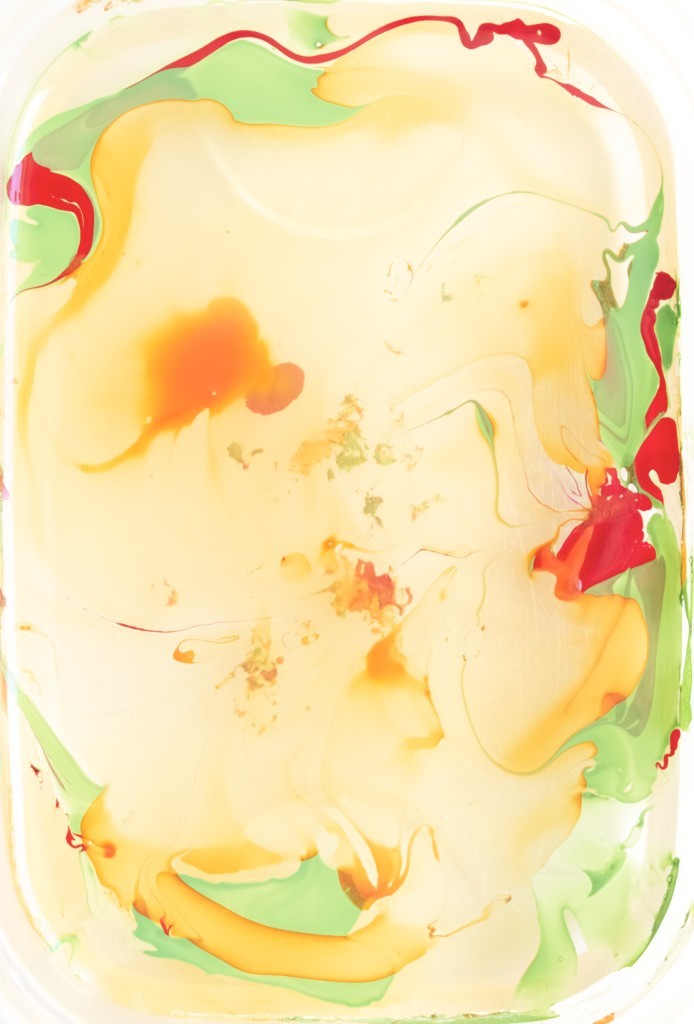
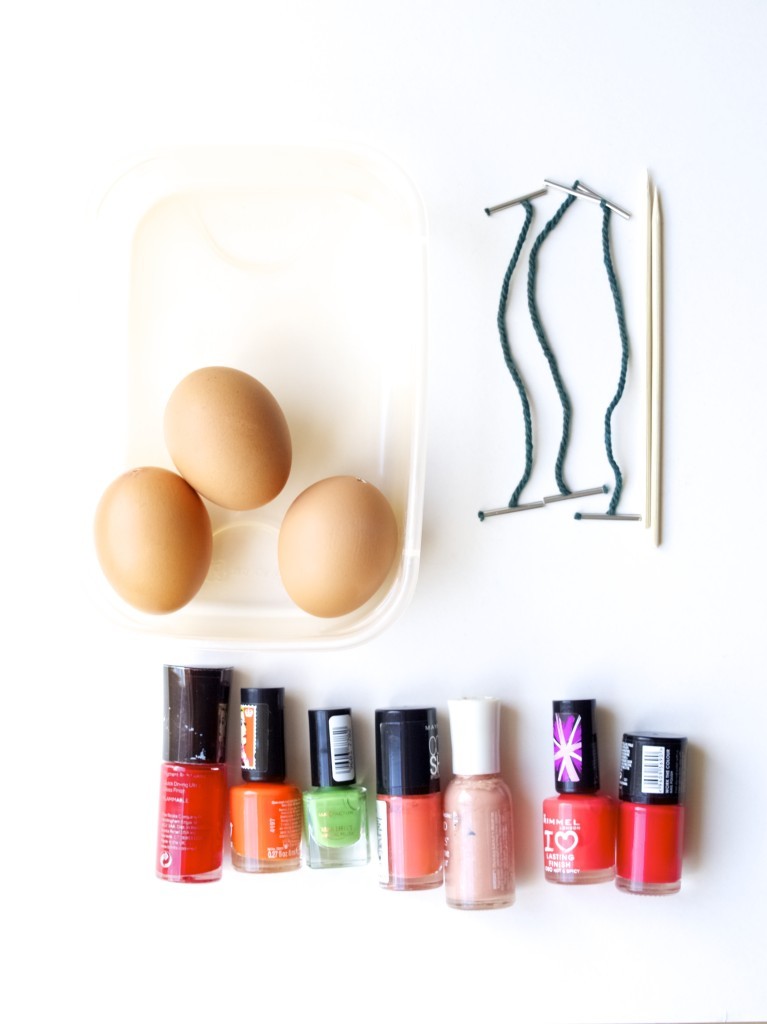
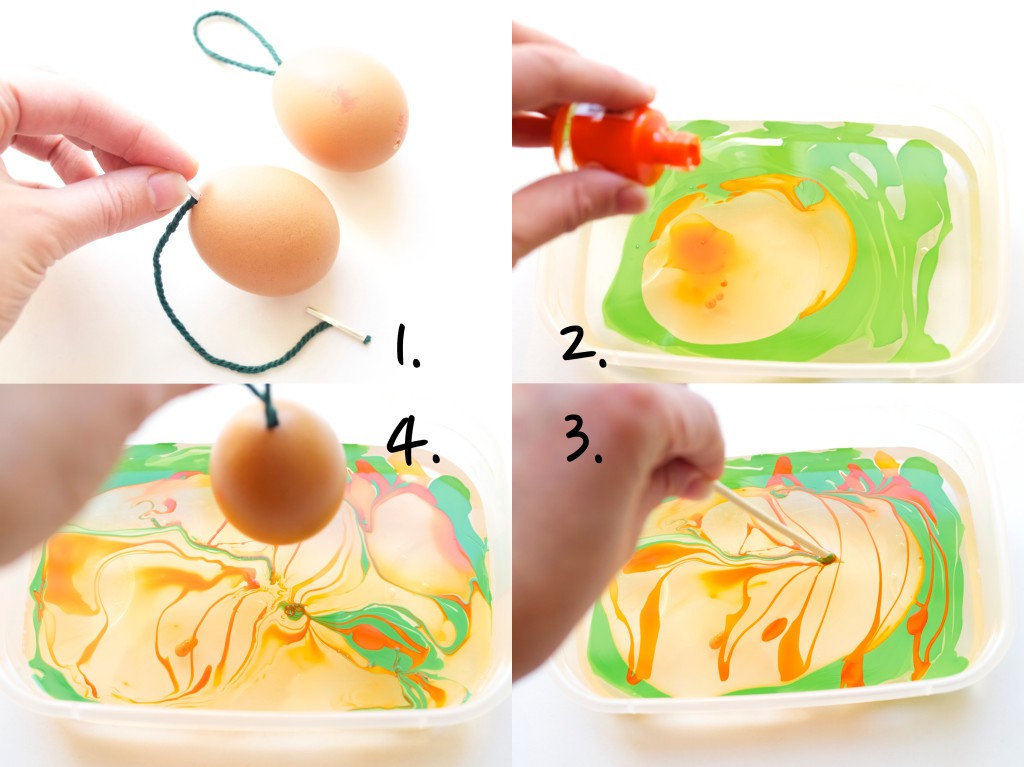
4. The egg liquid should come out through other side of the egg.Blow the egg out of the shellThe next stage is marbling! As mentioned above, I had a chance of trying out this wonderful “painting” effect while in the college. Although I remember it being messy as the paint took forever to dry, I still like the look that this effect makes. As soon as I realised that you can use nail varnish I was so eager to try it out, because I knew nail varnish do dries out and become solid.Nail polish marblingFor egg marbling session you will need the empty eggs (see previous stage to learn how to remove the inside of an egg), a shallow disposable container, treasury tags, a tool to swirl the colours (I used wooden skewers) and nail varnish.Hanging marbled egg decorations1. Insert both ends of treasury tag through the top egg hole to form a loop.

2. Prepare the marbling container by filling it with some water and dropping few nail polish colours inside it.

3. Use a tool (disposable preferably) to swirl the colours. This is completely optional and I found that the eggs that came out the nicest was marbled with the nail varnish that wasn’t swirled.

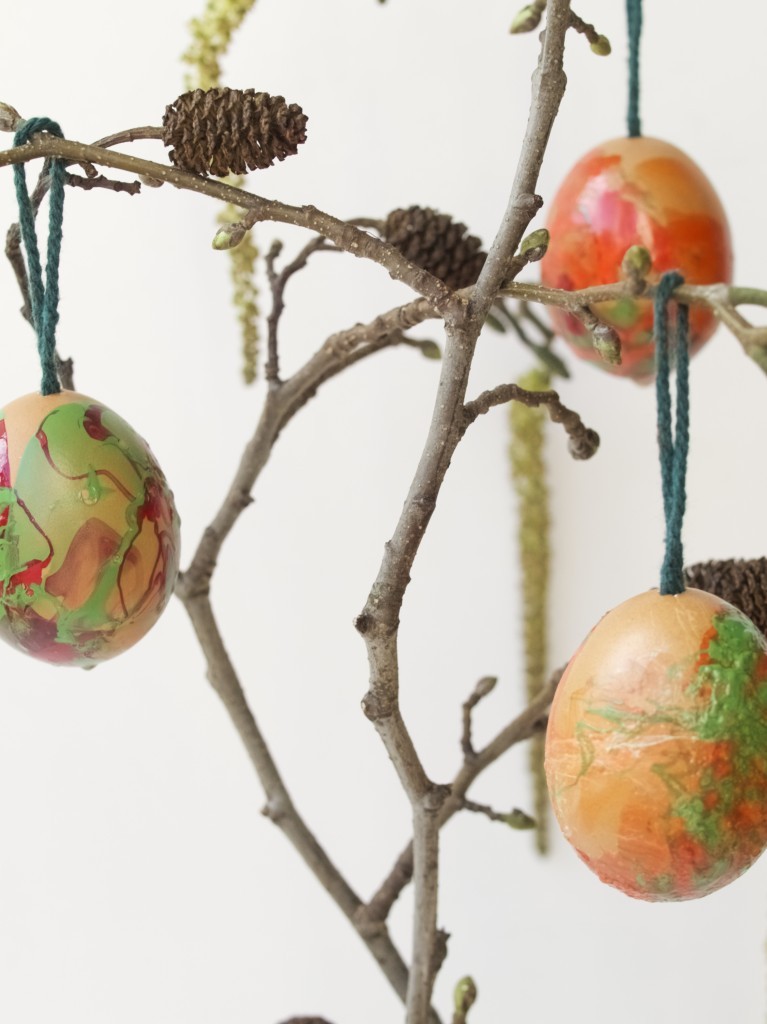
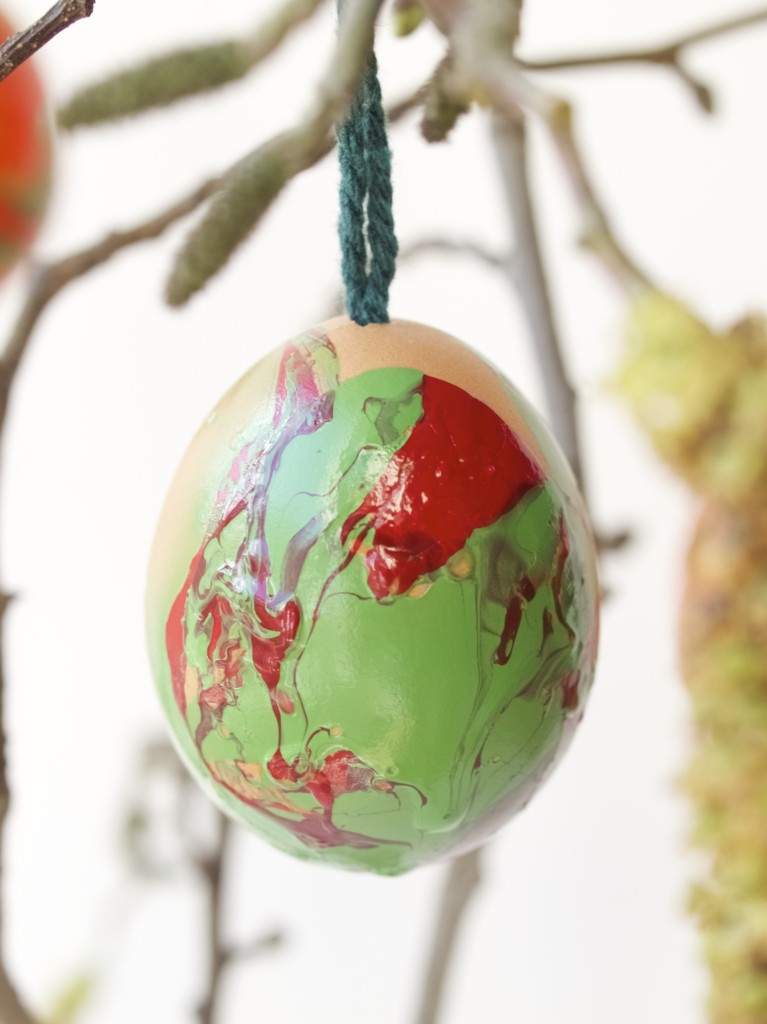
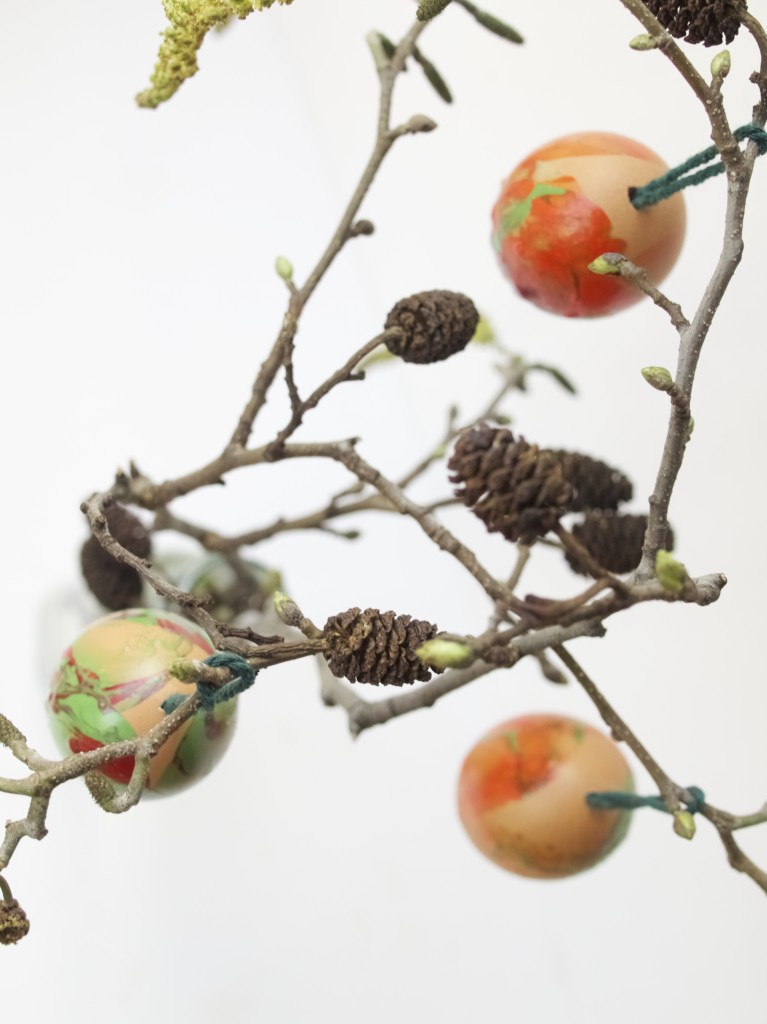
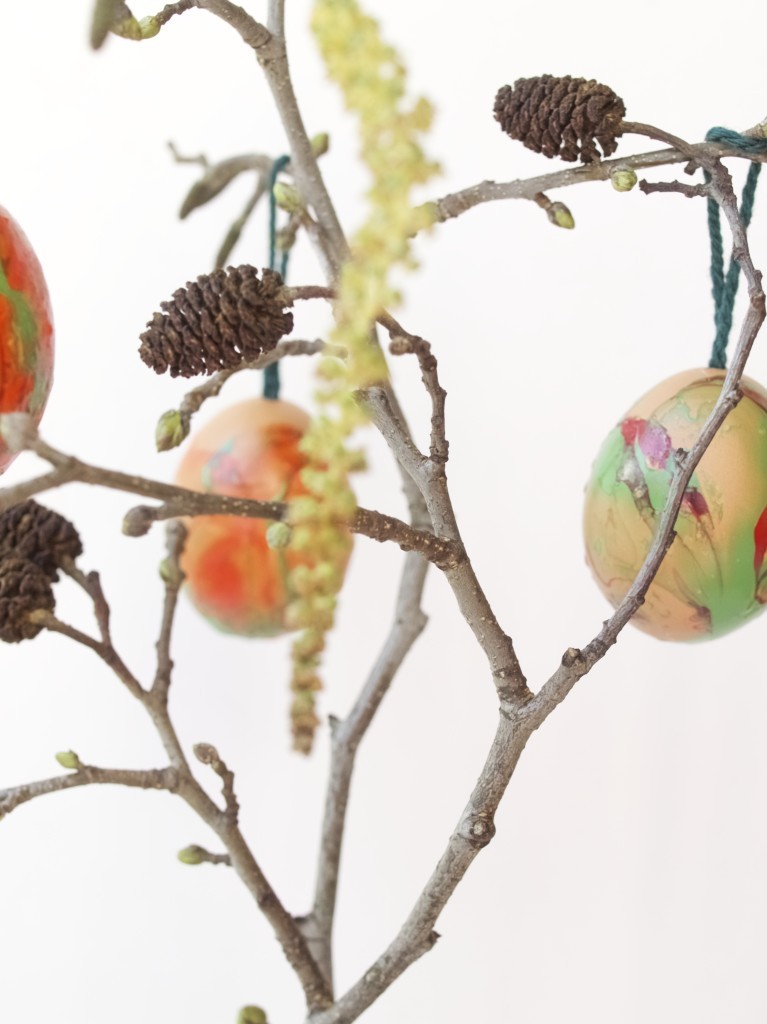
4. Dip the egg and roll it on the water surface as much as you can so it covers the whole surface.Egg shell marbeling with nail polish copy Hanging marbled egg decorationsHang the eggs to dry and once dry decorate the tree branch or anything else you want at home with it ;-).Hanging marbled egg decorations Hanging marbled egg decorations Hanging marbled egg decorationsI hope you found this inspiring :-)

Rasa xoxo

0

Pinterest challenge: Chickpea flour cookies (not gluten free)

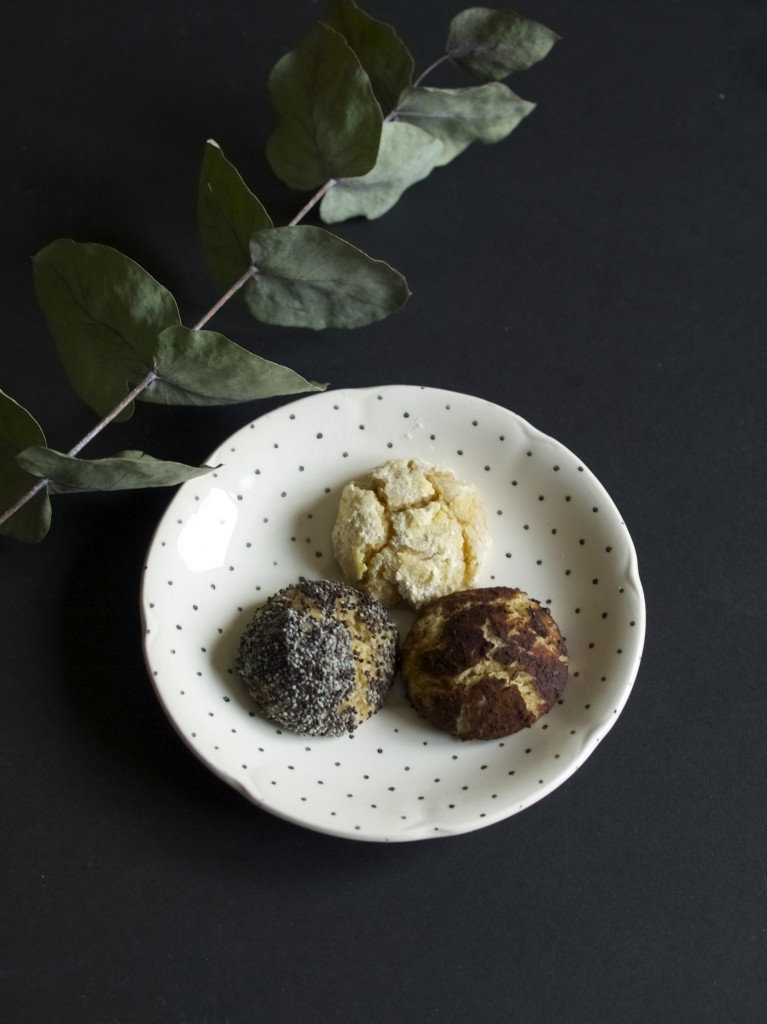
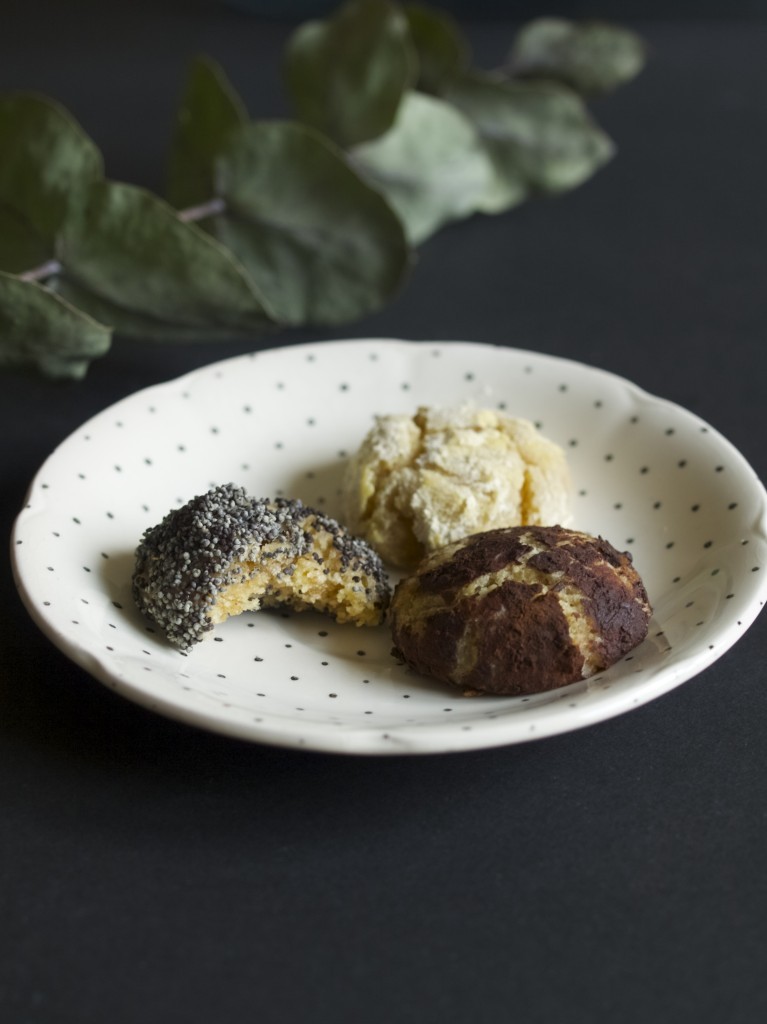
Chickpea flour cookies recipeHey everyone and welcome to my Pinterest challenge! Have not had one for a while so I though I will do it today. I picked this recipe for few reasons. One was that I had some chickpea flour left in my cupboard. I was experimenting with different flours to make a gluten free brownie while ago and chickpea did not work quite well there as the flavour of it is quite strong. But I definitely think that chickpea go well in these cookies, although you might find it a bit overpowering. Do you like chickpeas? Now imagine them sweet. Nice thoughts? Then definitely make them! Another reason for going for this challenge is because these cookies seemed so Easter-friendly. I am saying that because Easter do relate with truffles to me. And making these cookies felt a bit like making truffles!

I made a small batch of them as I did not know how successful will they be. Also because I did not have THAT much of chickpea flour! Anyways if you want to make more of them feel free double or triple the recipe.

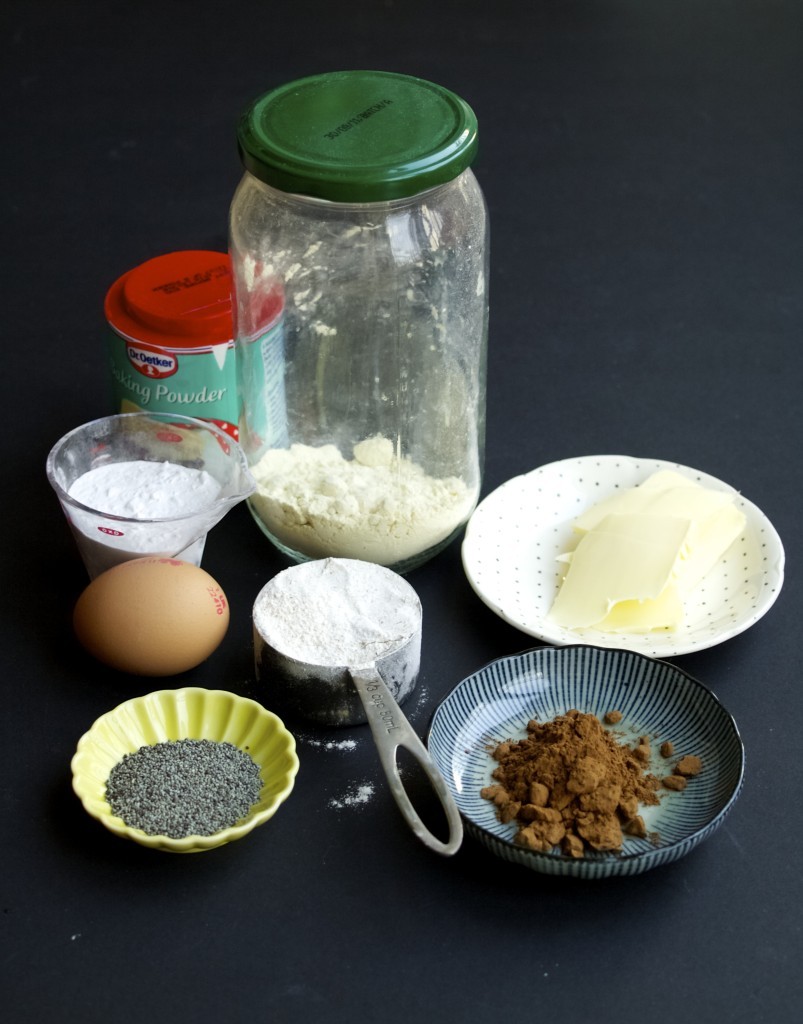
CHICKPEA FLOUR COOKIES adopted from Give Recipe

(for the dough)

  • 25g chickpea flour
  • 45g whole wheat flour
  • 30g icing sugar
  • 1 egg yolk + some egg white if needed
  • 35 butter
  • 0.5 tsp baking powder

(for coating)

  • 1 egg white, whisked
  • 3 tsp chickpea flour
  • 3 tsp cocoa powder
  • 3 tsp poppy seeds

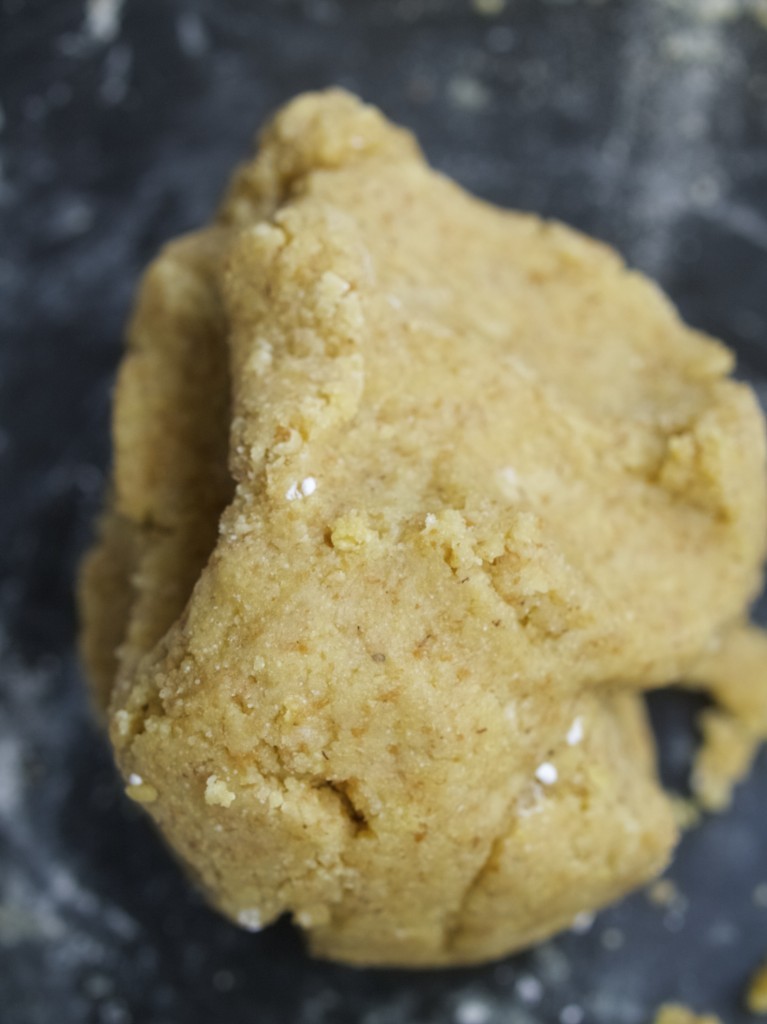
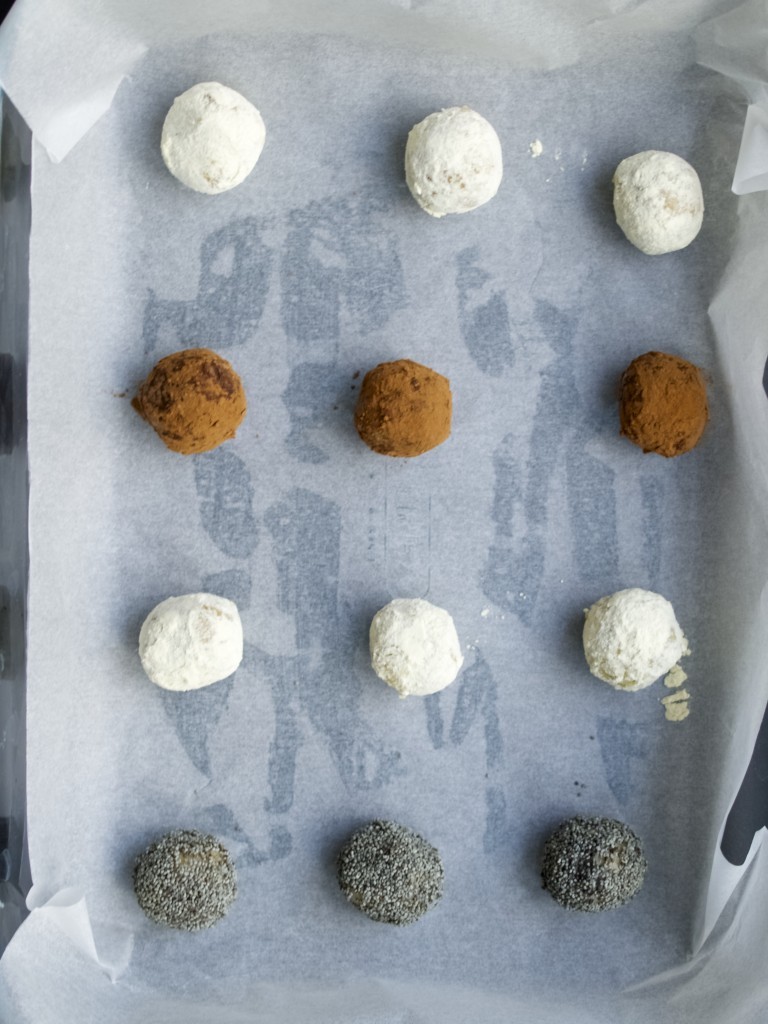
Chickpea flour cookies recipe1. Mix all ingredients of dough and combine them very well with your hand. Add extra egg white if needed to form smooth and soft dough like in the picture bellow. Chickpea flour cookies recipe2. Make mini balls from the dough. Dip them into whisked egg white first and then coat them with cocoa powder, poppy seeds and chickpea flour. Place them into lined baking pan.
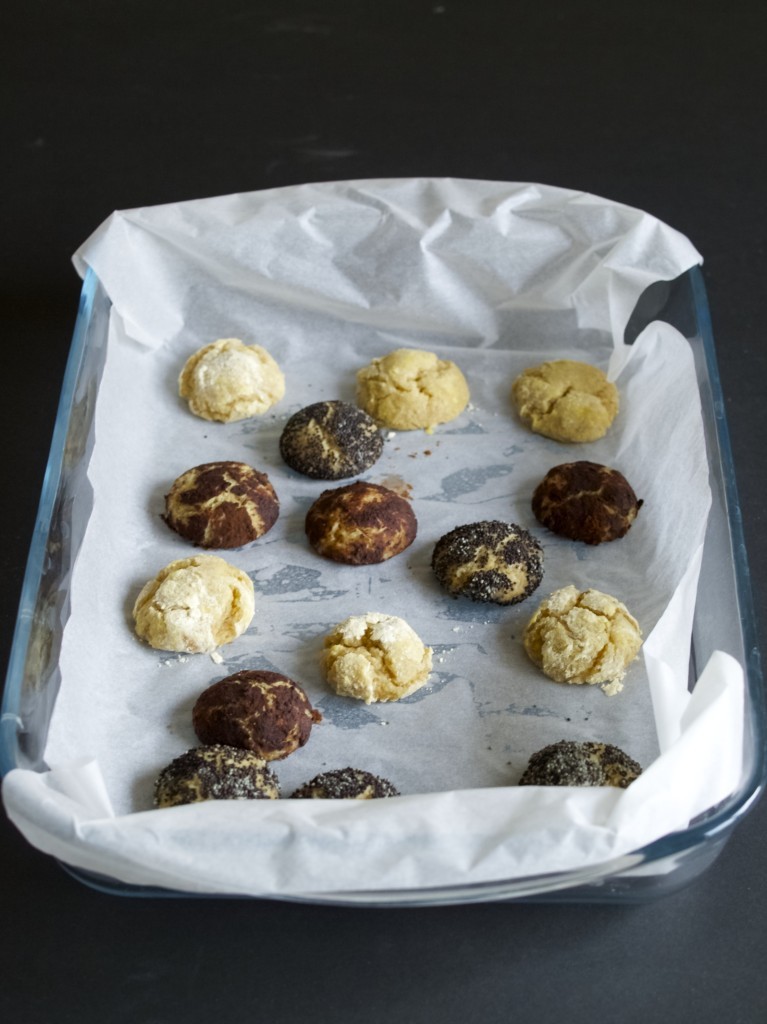
3. Keep the cookies in the fridge for an hour before baking.Chickpea flour cookies recipe4. Bake them in preheated 180C oven for 10-15 minutes. Let it cool before eating ;-).Chickpea flour cookies recipe Chickpea flour cookies recipeEnjoy!

Rasa xoxo

0

Never ending, upcycled crochet rug (made of socks!)

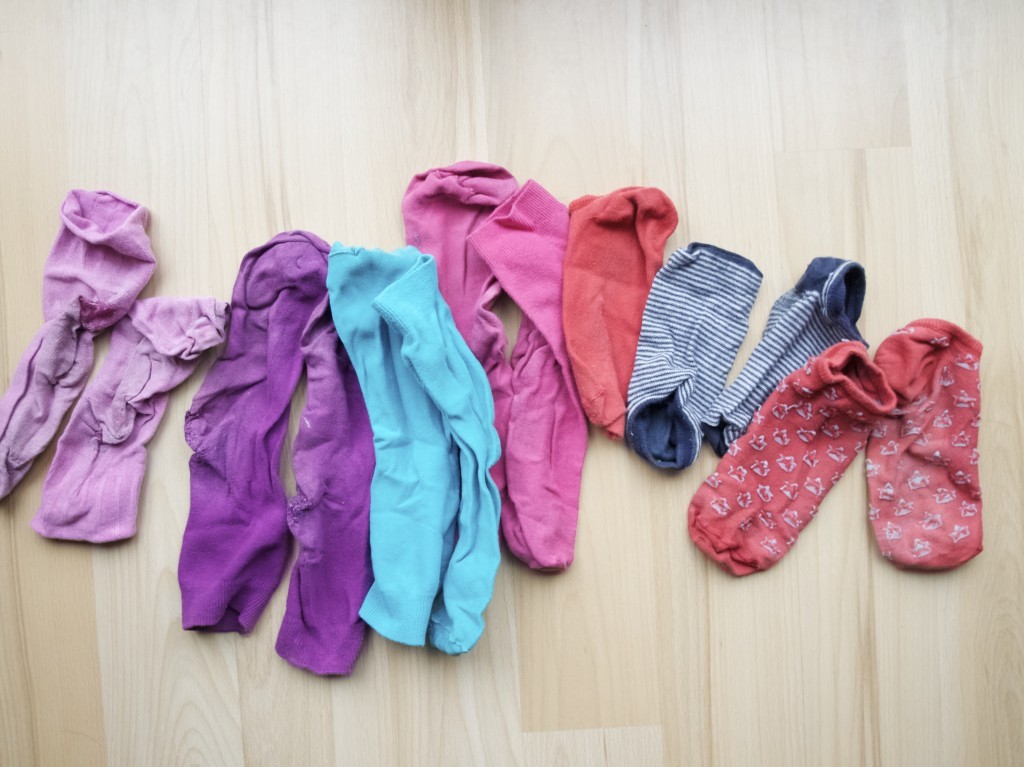
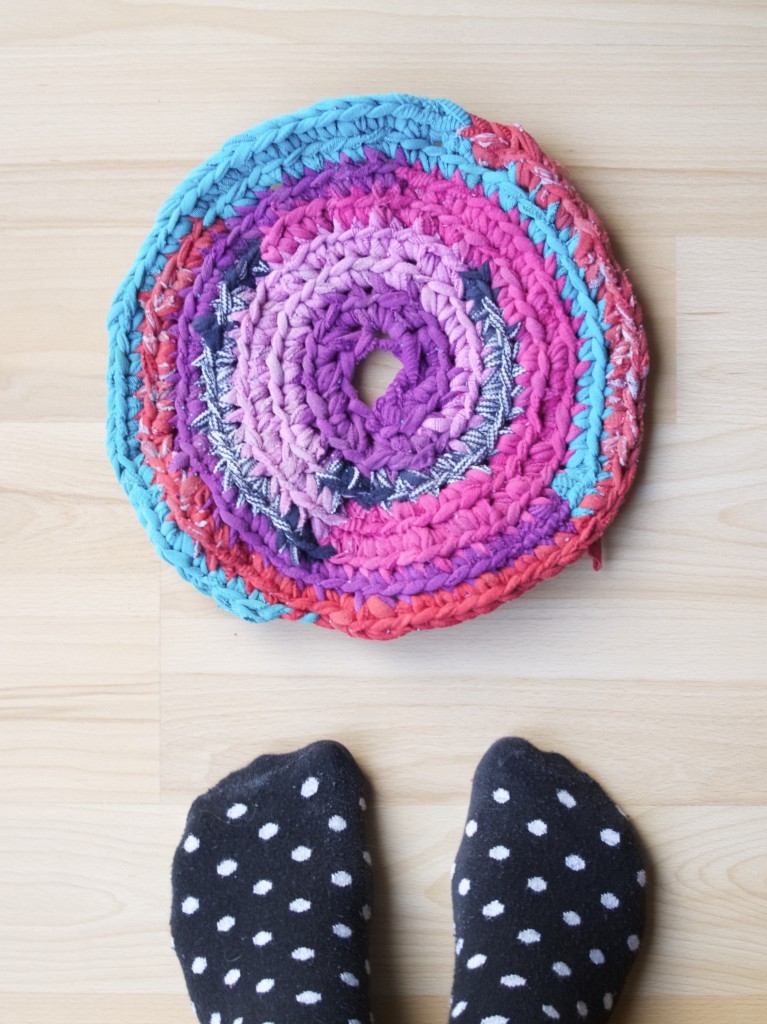
Upcycled crochet rug made of socks DIYHi there and here are my olds socks! You are probably wondering why I am showing my colourful collection of socks that I no longer wear. Well… I kept them for very very long for the day like this when I finally go ahead and do the upcycling project that I had thought of ages ago. To be honest what really prompted me to do it is finding out that my friend is also on the same idea and well ahead of me ( I am quite competitive and everything tend to be a race for me even if the other person have no idea that I am racing with them), I went ahead and did it.

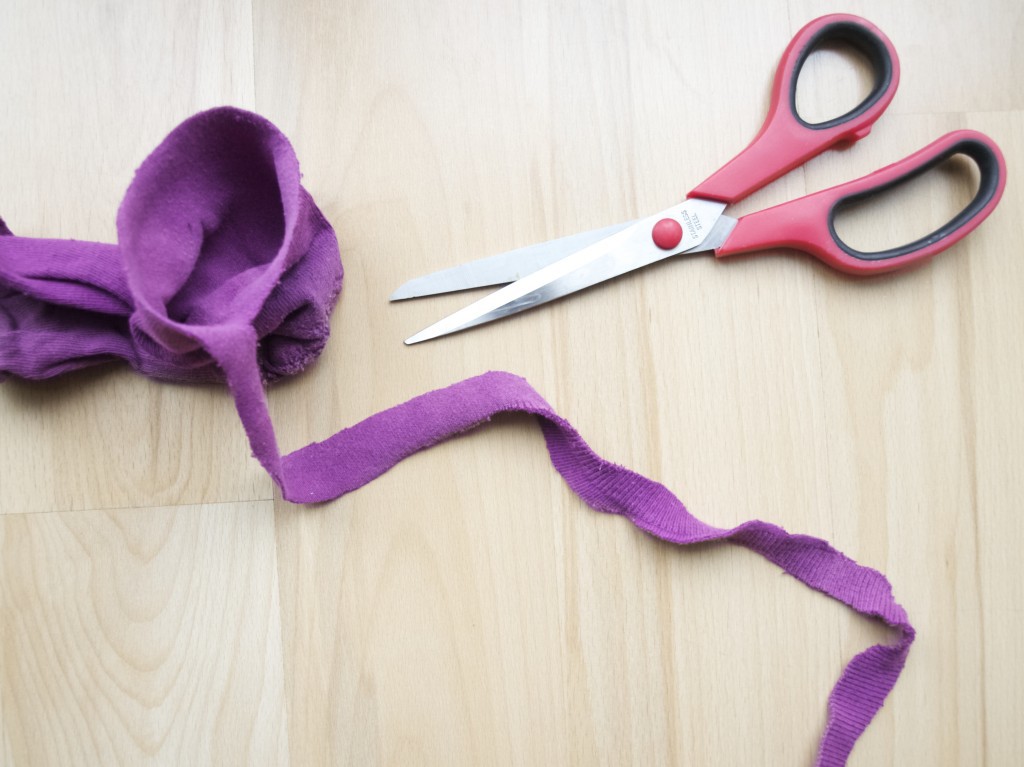
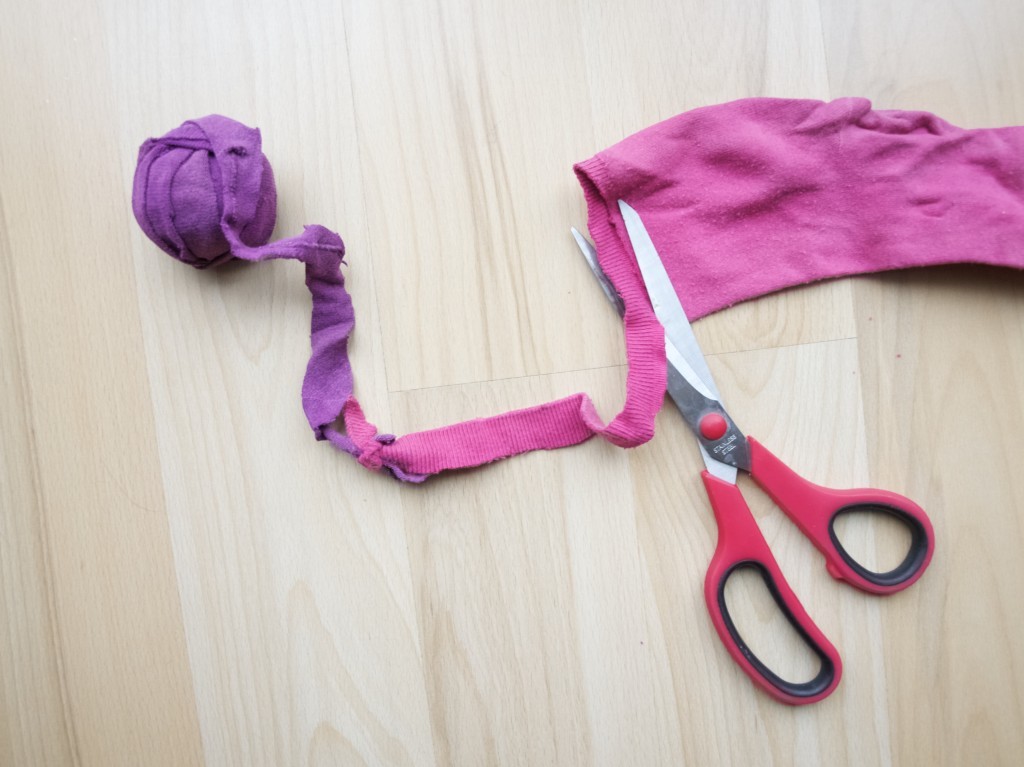
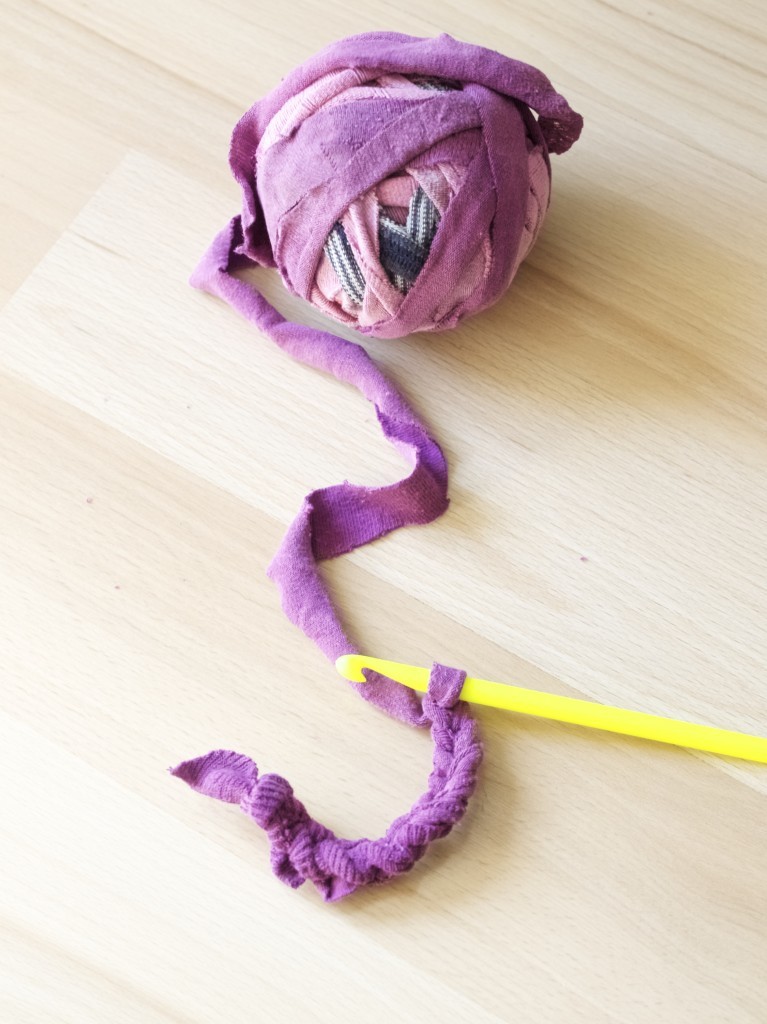
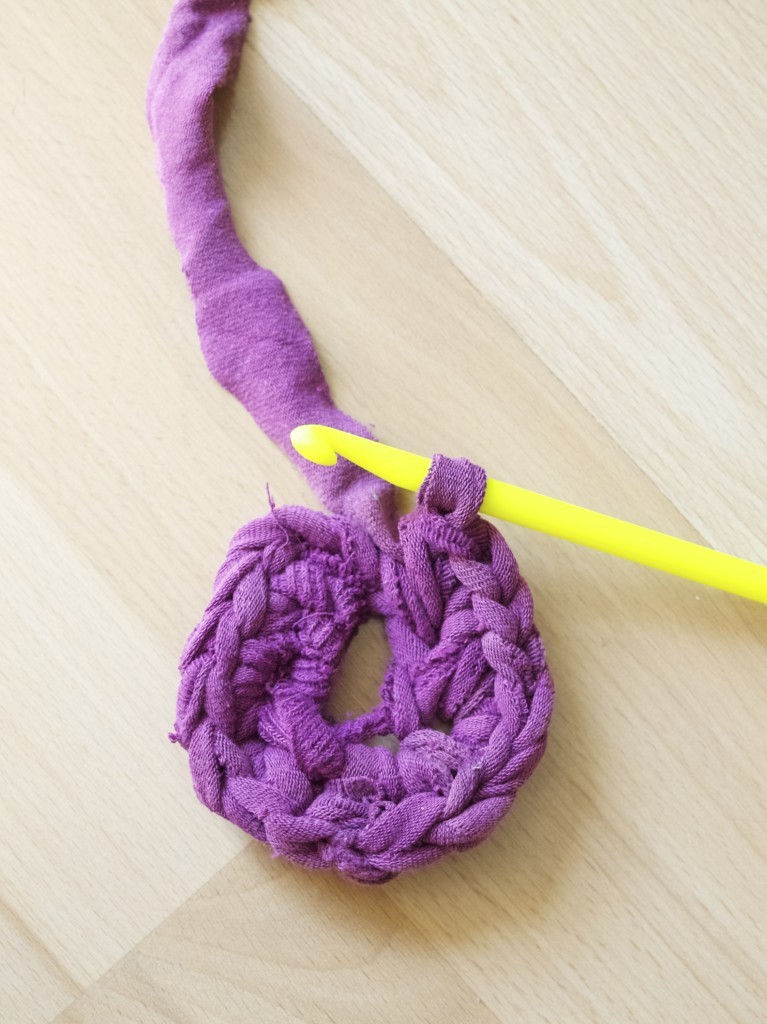
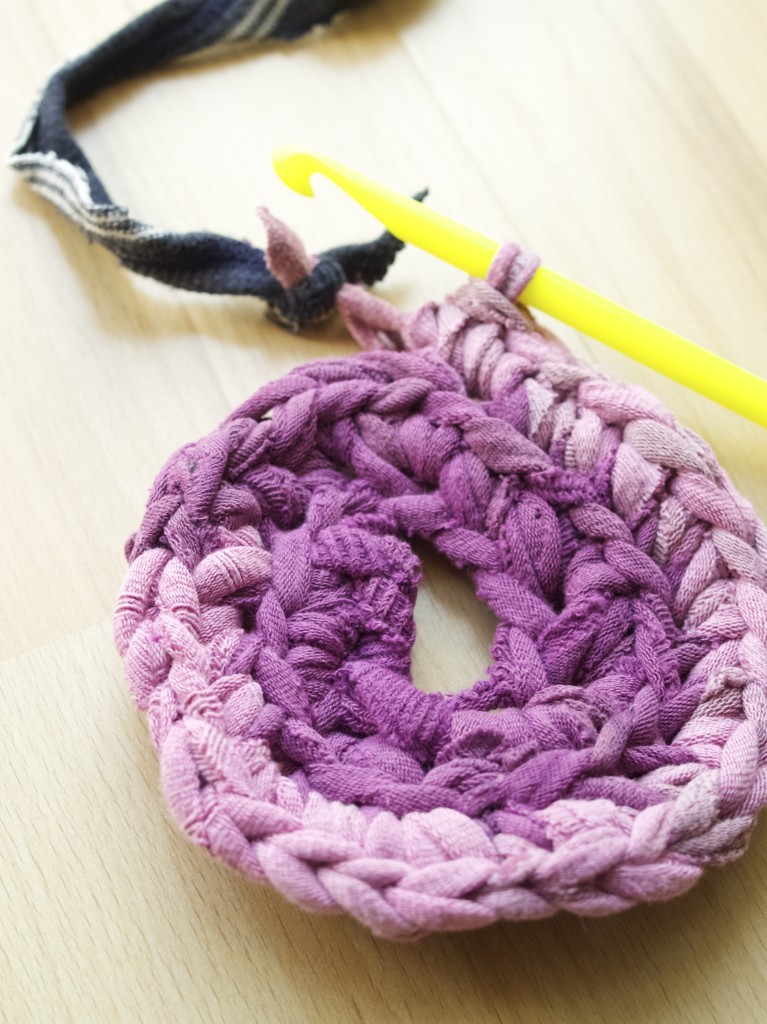
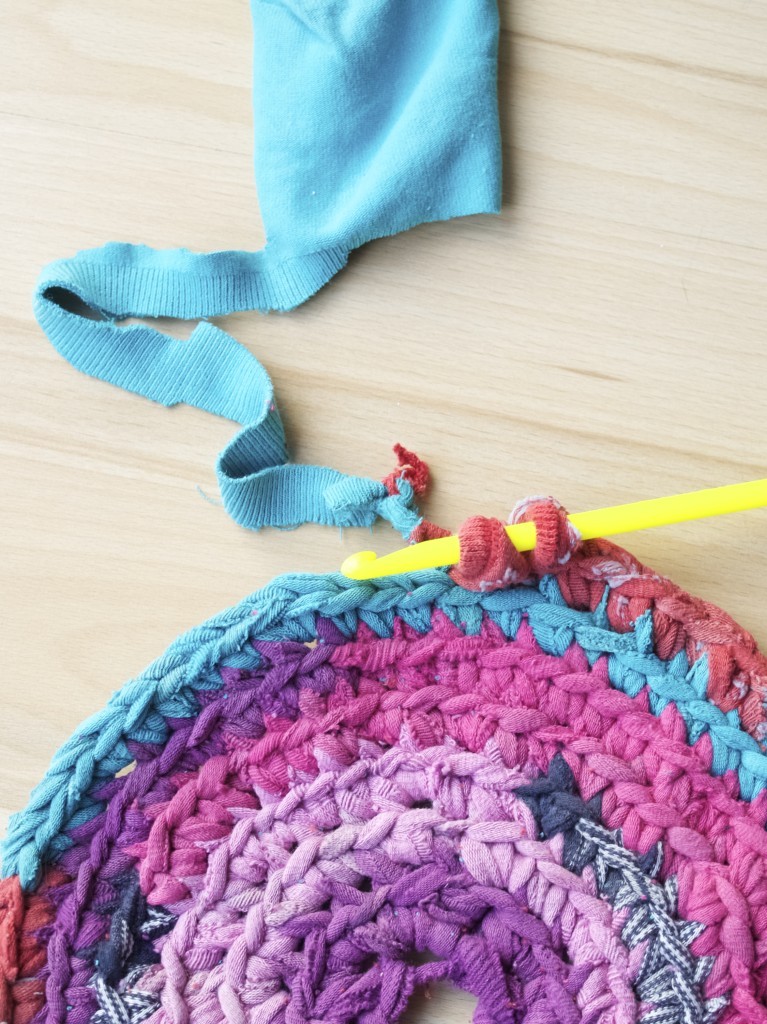
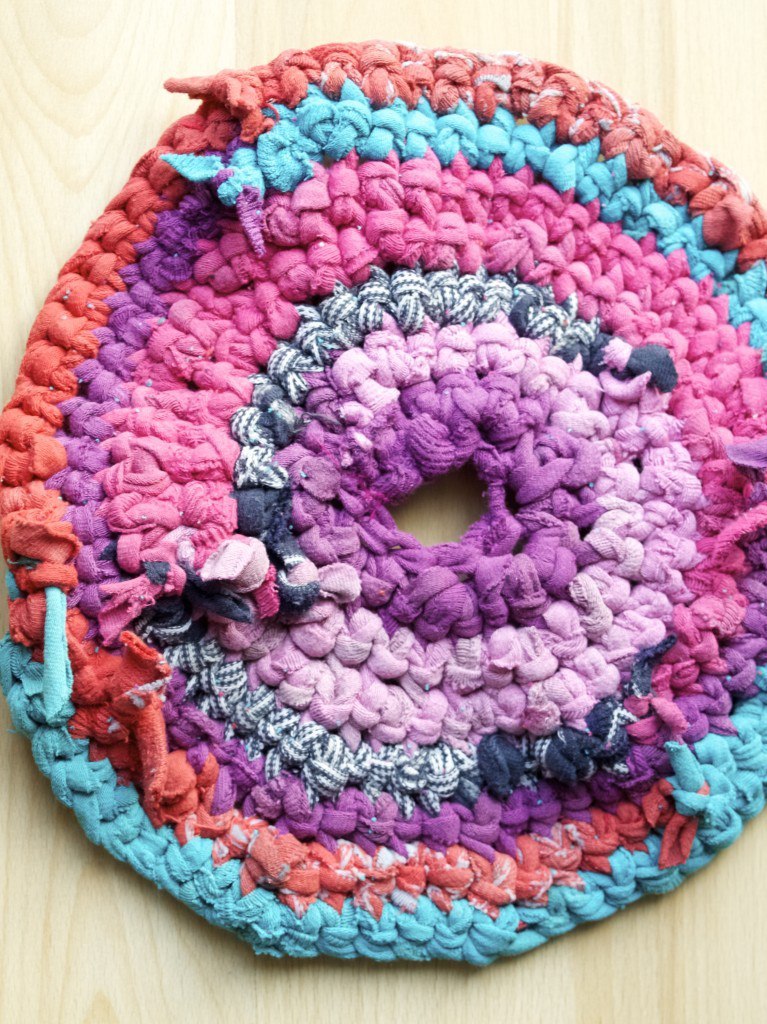
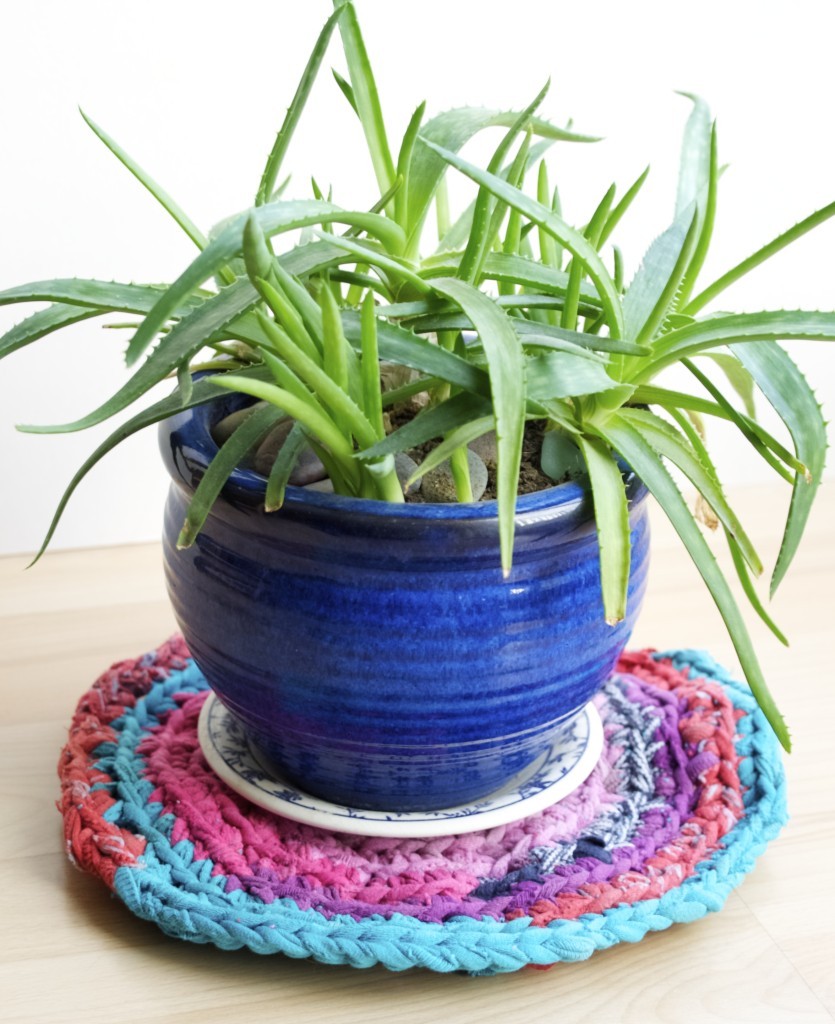
So today I will share how it all went. I essentially made a mini rug (still in process to get bigger and bigger) out of socks that are too worn to wear but too pretty to throw away. Upcycled crochet rug made of socks DIYTo make the ‘yarn’ I have cut the sock in spiral direction,Upcycled crochet rug made of socks DIYthen joined it with other socks by tying the knot.Upcycled crochet rug made of socks DIYI ended up with a ‘yarn’ ball that was big enough to start crochet. I started with the chain stitch!Upcycled crochet rug made of socks DIYThen formed a circle. For the tutorial video click here!Upcycled crochet rug made of socks DIY Upcycled crochet rug made of socks DIYWhen the ‘yarn’ ball is finished you can always attach another sock to it. It can be never ending, always expanding circle rug!Upcycled crochet rug made of socks DIYHide all the knots on the wrong side (that side that faces the floor, which is not visible).Upcycled crochet rug made of socks DIYMy rug is tiny at this moment, but don’t you worry it will soon expand when I add all Joni’s old socks in it :-D.Upcycled crochet rug made of socks DIY Upcycled crochet rug made of socks DIYI hope you found this inspiring!

Rasa xoxo

0

Chilled beetroot soup (šaltibarščiai)

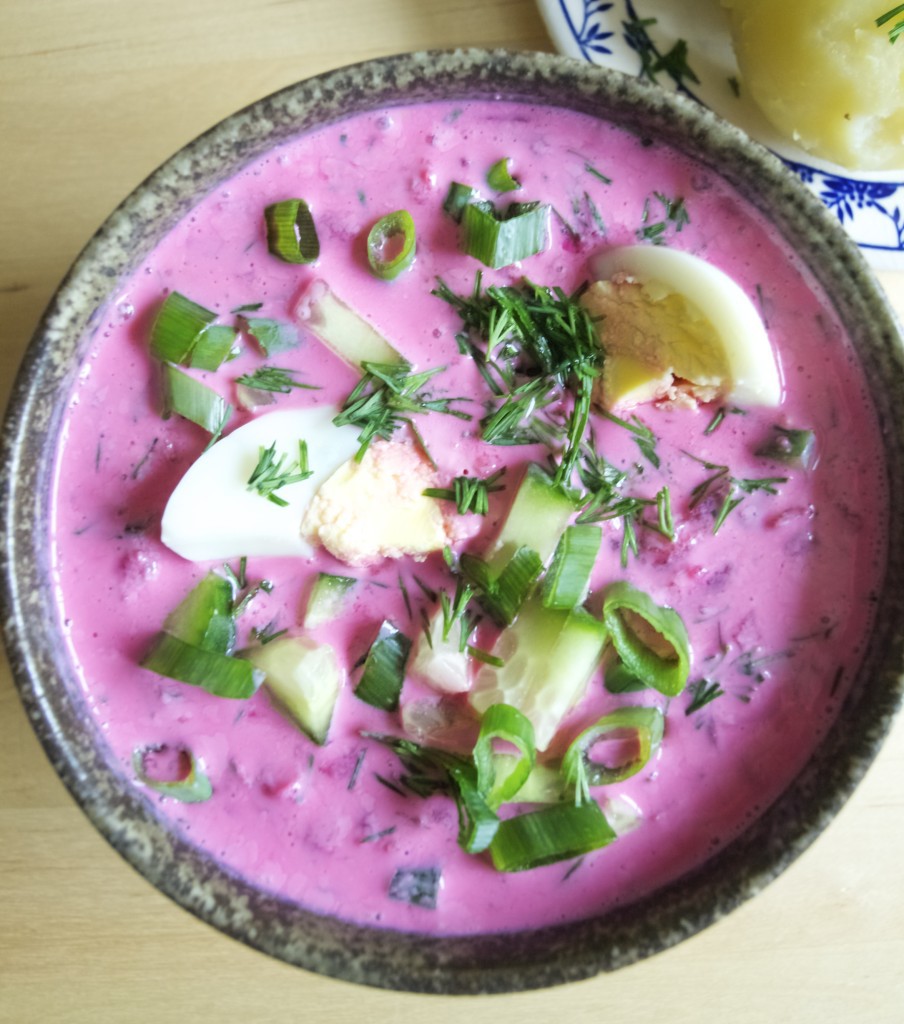
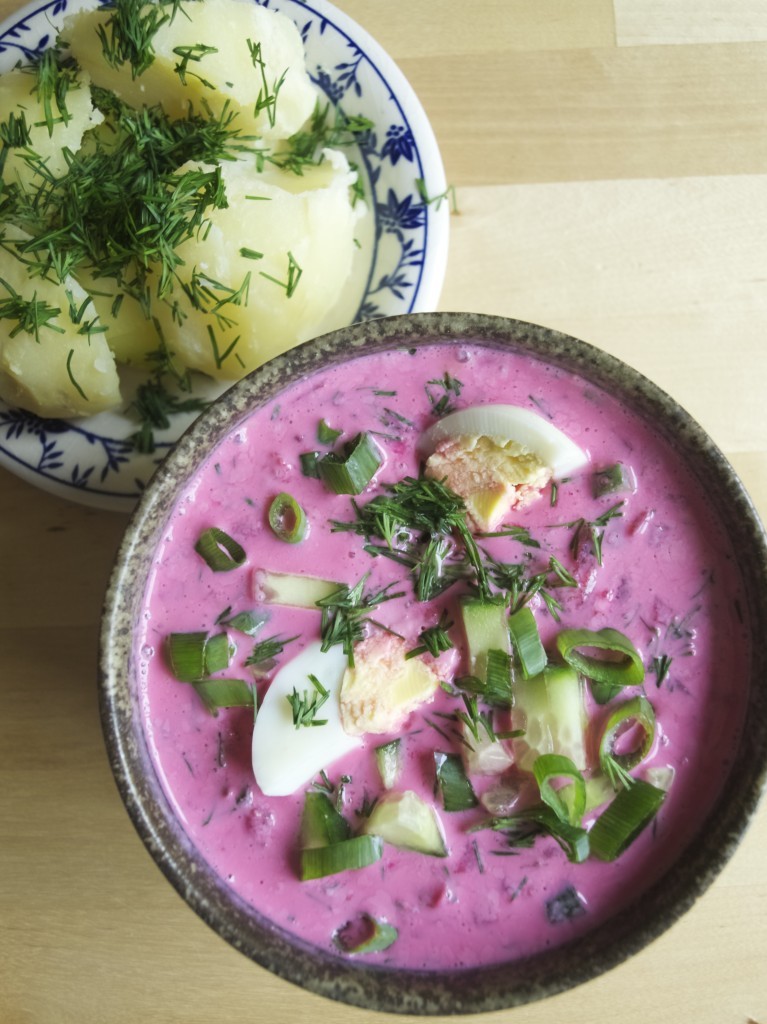
chilled beetroot soup (šaltibarščiai)First of all, happy Saint Patrick’s day! Sadly we haven’t got even a touch of irish so I thought I will make something pink instead of green :D.

Chilled beetroot soup is a proper Lithuanian summer soup, because it tastes soooo refreshing. However I have been missing it and I thought to myself why to wait if I can make it now. It’s not like I need to wait till beetroot is in season. Therefore I recovered my old recipe that I adapted for cooking in UK (you know, with the ingredients available here) so I could make this soup straight away. I hope you like it too ;-). chilled beetroot soup (šaltibarščiai)CHILLED BEETROOT SOUP serves 4

  • 4 large potatoes
  • 4 eggs
  • 2 packs of vacuum packed cooked beetroot (600g in total), or you can cook it yourself if you wish (however, don’t forget to peal it)
  • 1 cucumber
  • 1/2 bunch spring onions
  • 1 pack dill (30g)
  • 500g yogurt (Yeo Valley is my favourite) or 900ml buttermilk (then don’t use milk or cold water)
  • 300-400ml milk or cold water
  • juice of 1/2 -1 lemon
  • 1 tsp vegetable bouillon powder (optional)
  • salt to taste

1. Boil potatoes (with the skin on) and eggs in separate pots.

2. Grate the beetroot into the large bowl or pot.

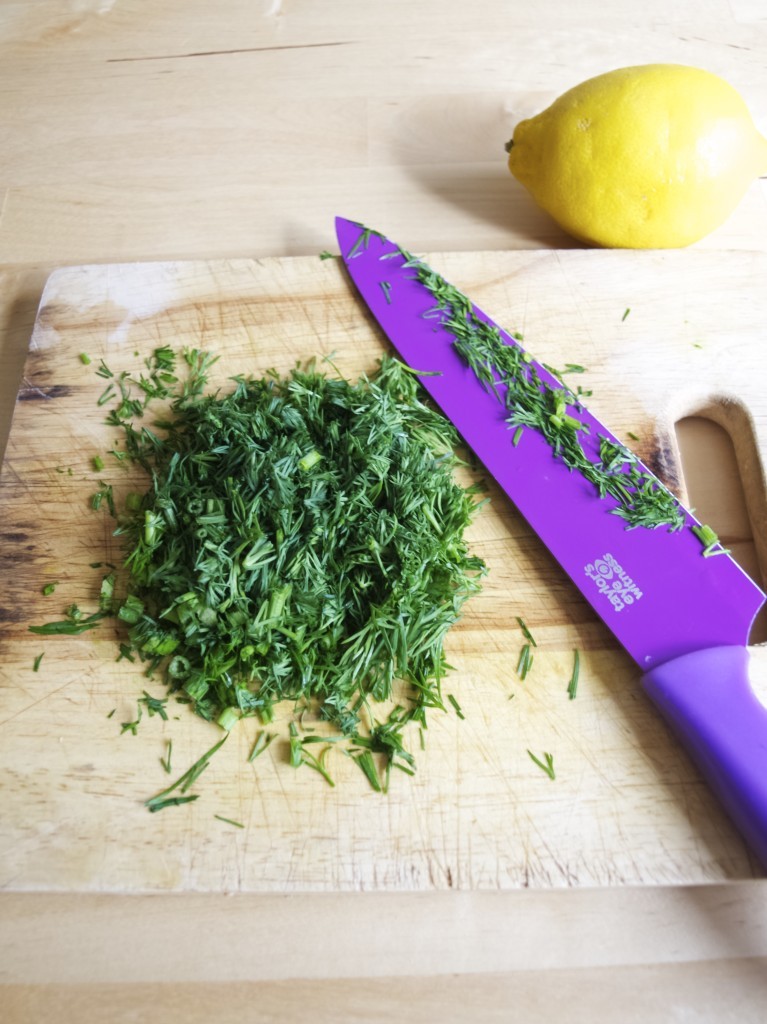
3. Finely chop cucumber, spring onion and dill and add into the pot with beetroot.chilled beetroot soup (šaltibarščiai)4. Add yogurt into the beetroot mixture, stir gently to combine. The soup is very thick at this stage so thin it down with cold water or milk. Traditionally we use buttermilk, but the choice of it in UK is so small and besides I always seem to have yogurt in stock.

5. I like adding lemon juice into my soup just because we often use pickled beetroot (not pickled in vinegar) to make this soup and I feel that soup made with regular beetroot is missing some acidity. So add lemon juice carefully to your personal taste. If too sour then add some salt to balance it out.

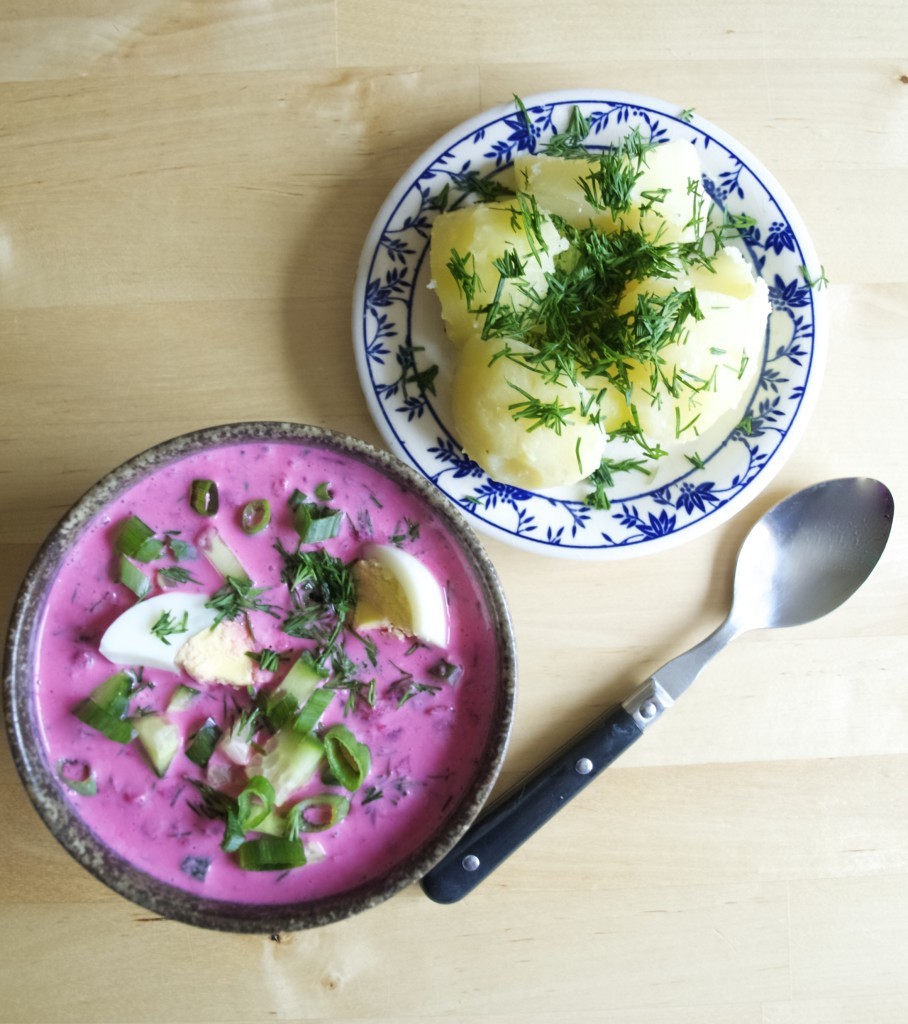
6. Serve the soup with quartered  eggs on top and pealed potatoes on the side.chilled beetroot soup (šaltibarščiai)Enjoy!

Rasa xoxo

1

Panemunė forest

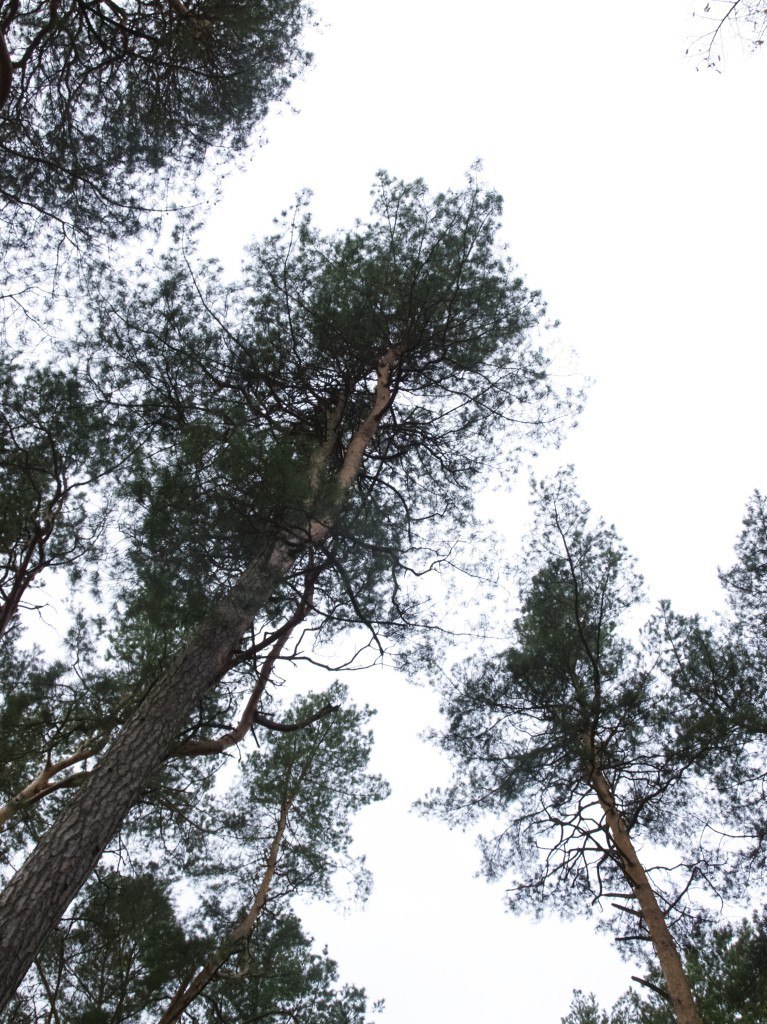
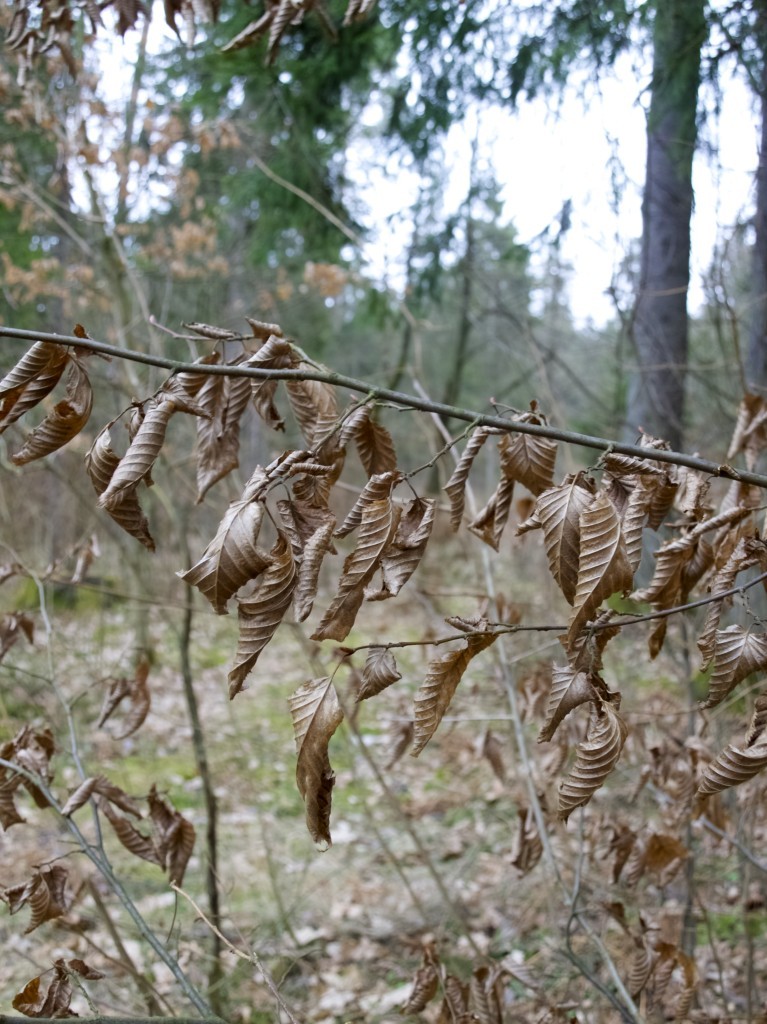
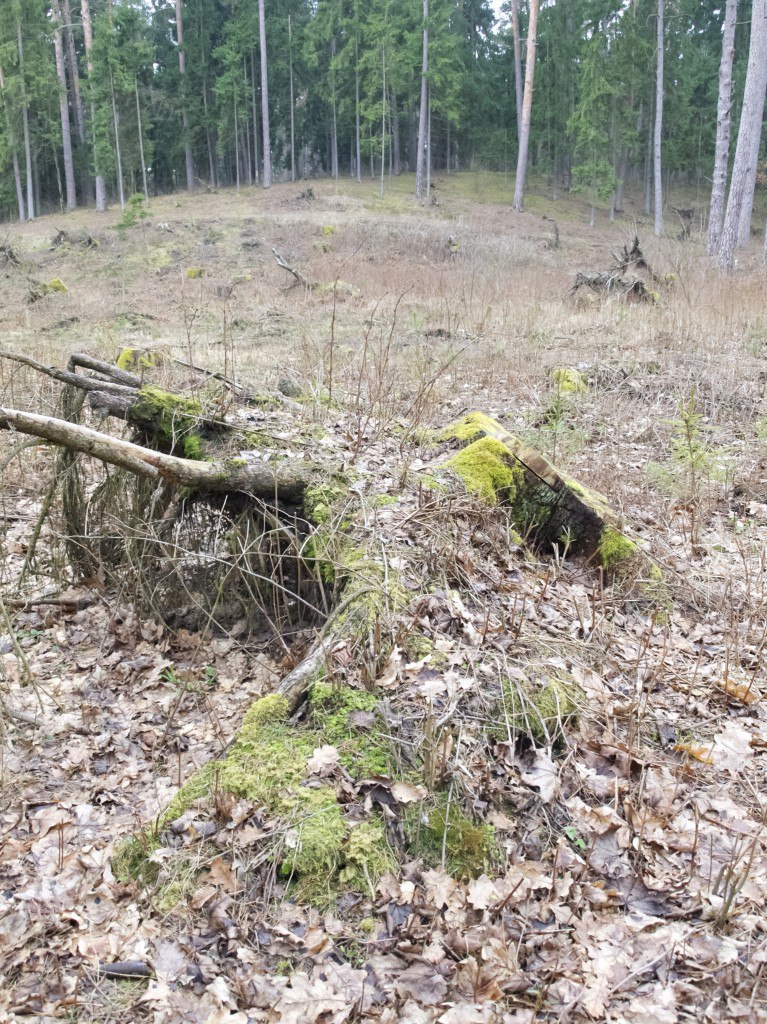
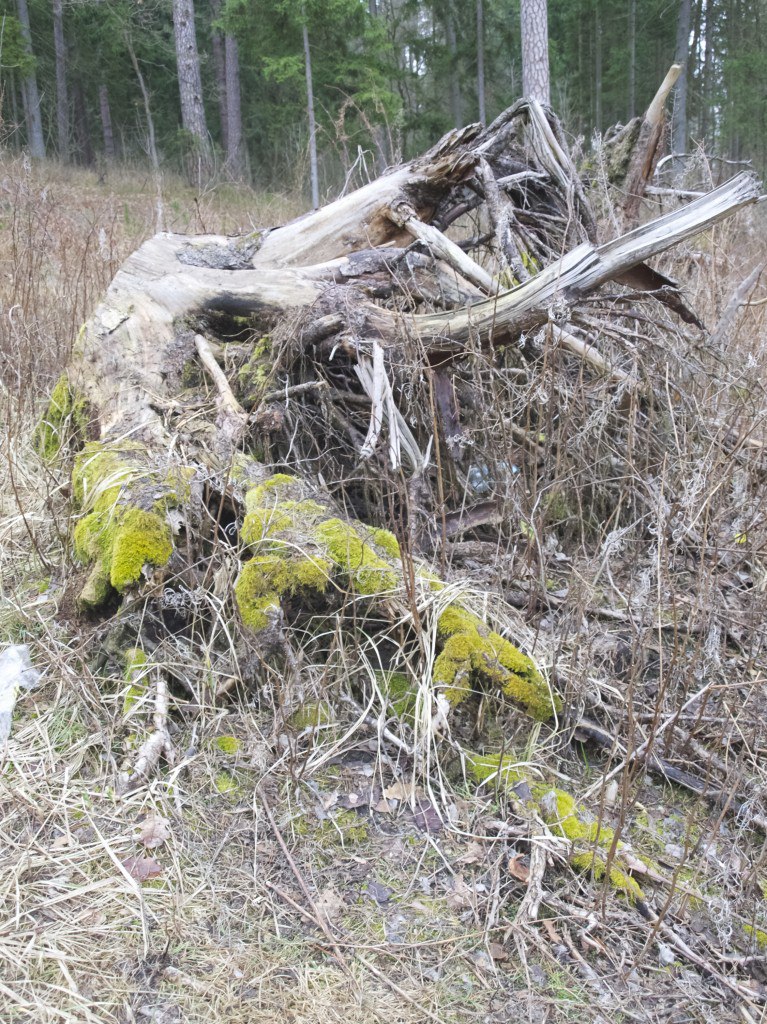
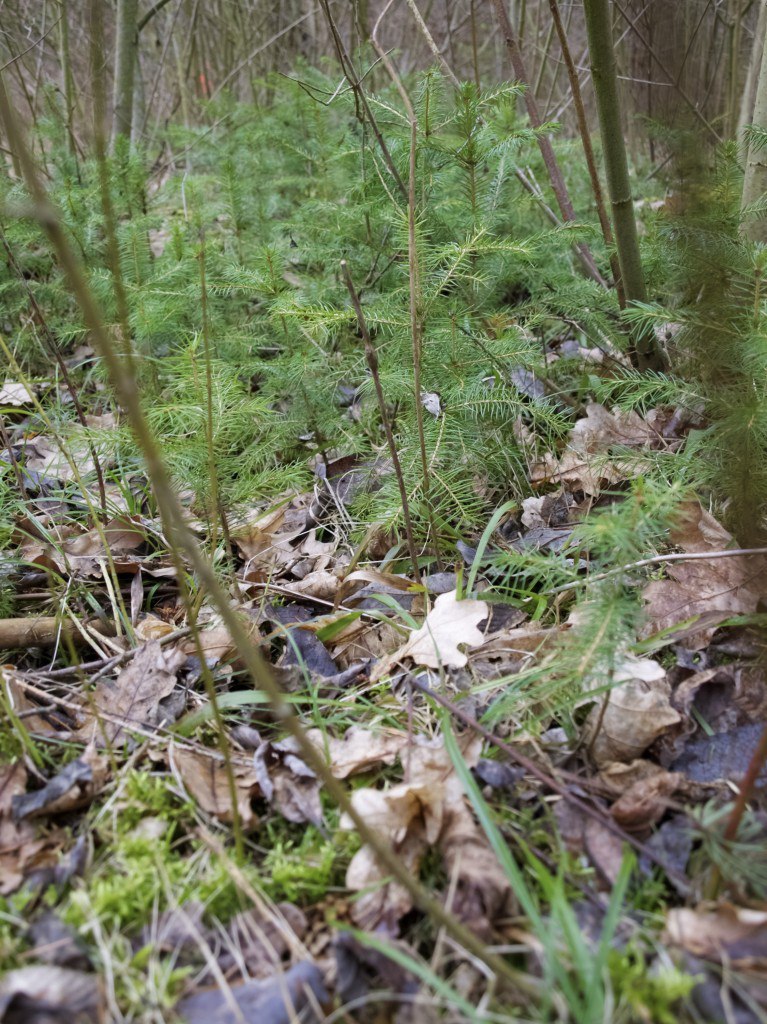
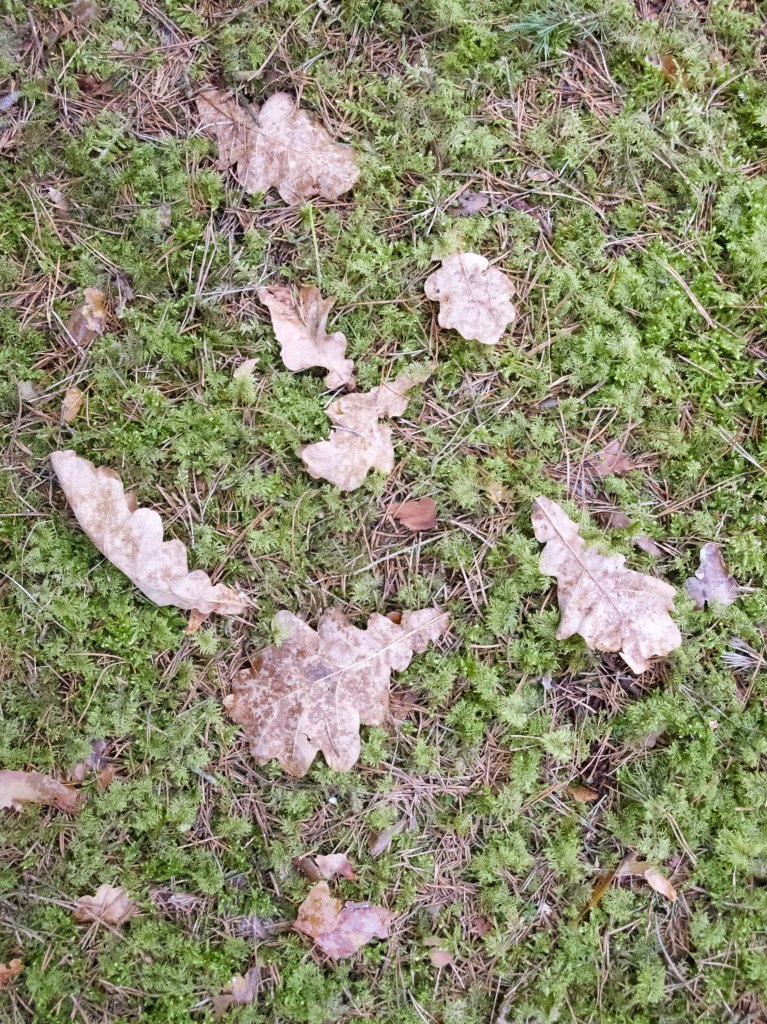
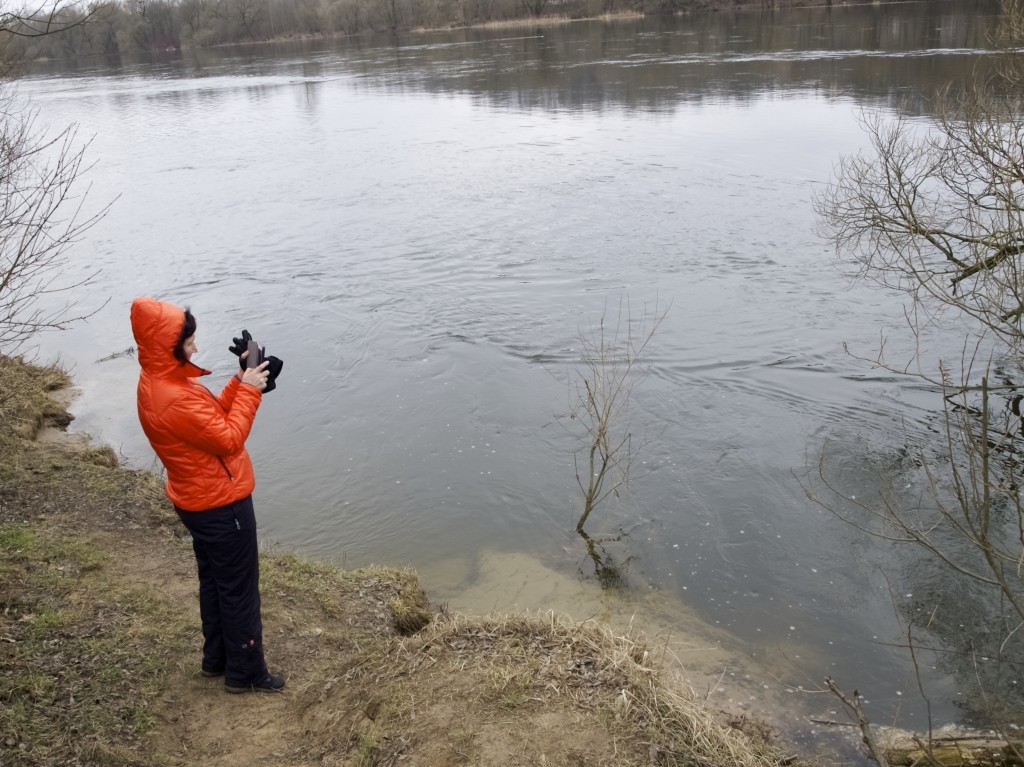
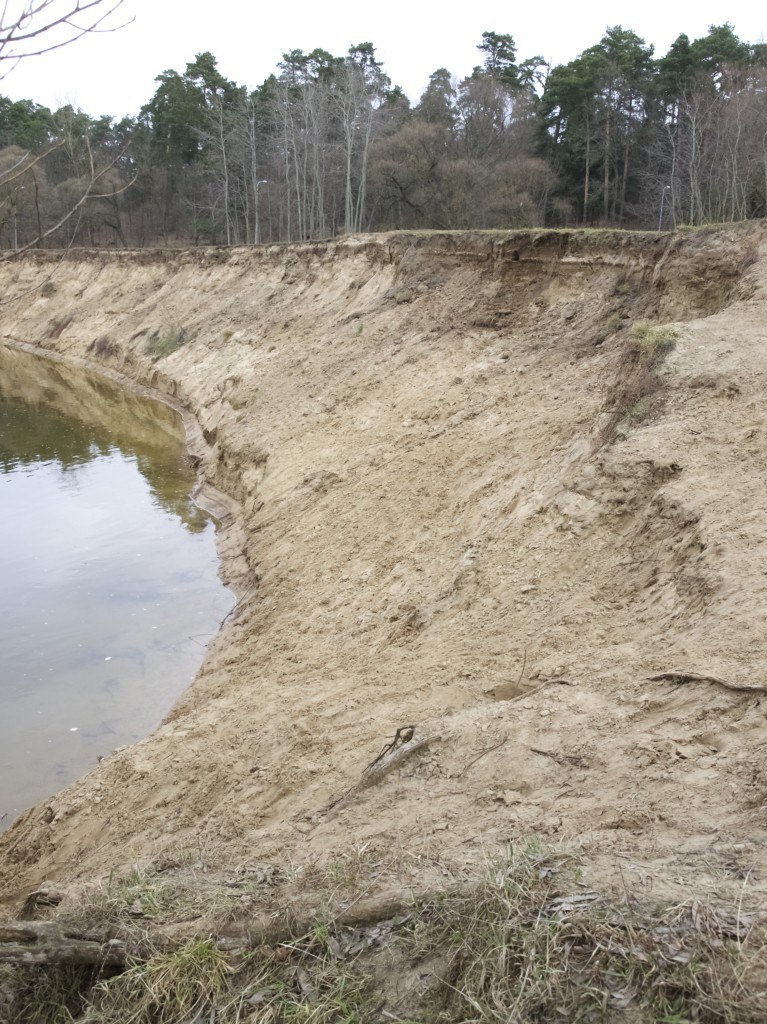
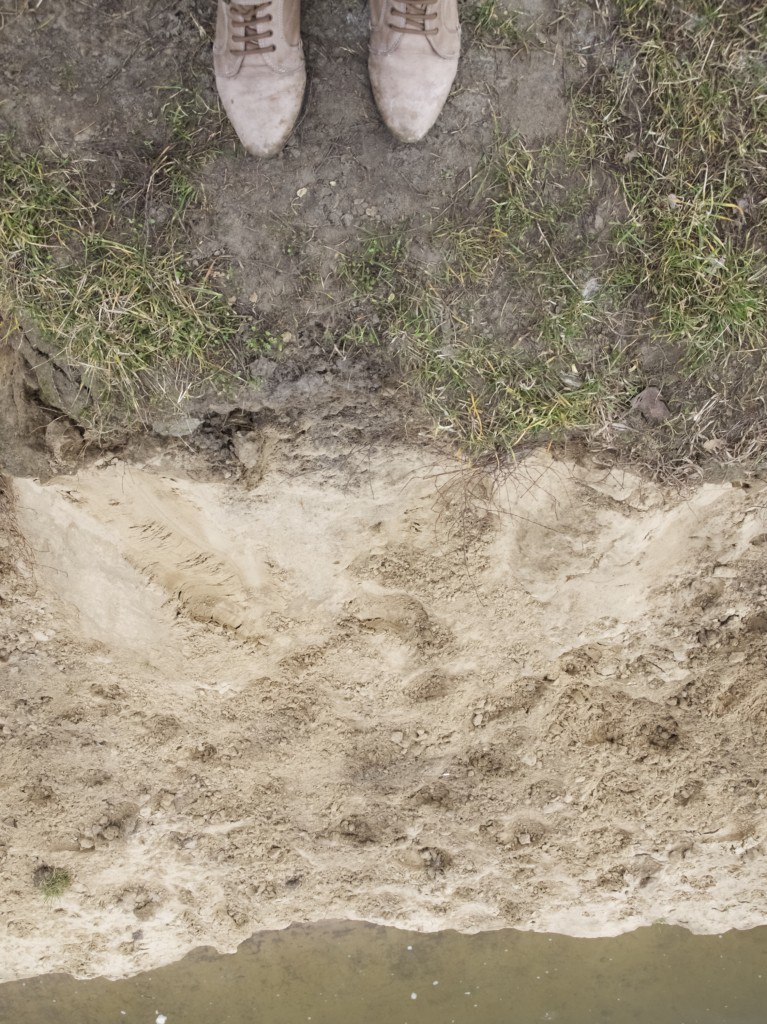
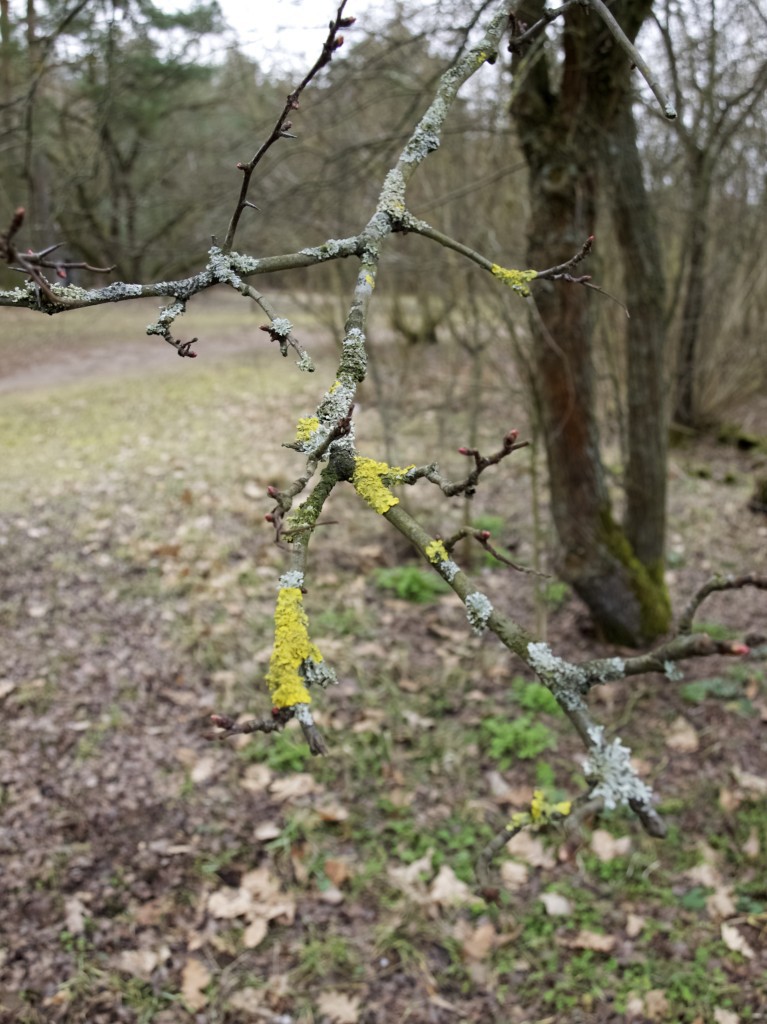
I just came back from Lithuania and i could not wait until I can share about our forest. Me and my mum went for a walk everyday here because it is just outside my parent’s house. I know it may look dull as it is still an early spring but it is magical in winter or summer. Sadly, one thing I could not transfer into the pics is the smell of pines and oaks :-).Panemunė ForestAlthough there was a storm 4.5 years ago that destroyed 1/3 of forest, the consequences of it are still apparent today. Panemunė ForestEven if mini forest is growing to replace the lost one (It’s a looooong process)Panemunė Forest Panemunė ForestAnd there is a river! (the biggest river in Lithuania called Nemunas)Panemunė Forest Panemunė Forest Panemunė Forest Panemunė ForestI hope you liked our mini forest tour ;-)

Rasa xoxo

1