Top

Author Archive | Rasa Pelham

Our new kitchen reveal

Our new kitchen reveal
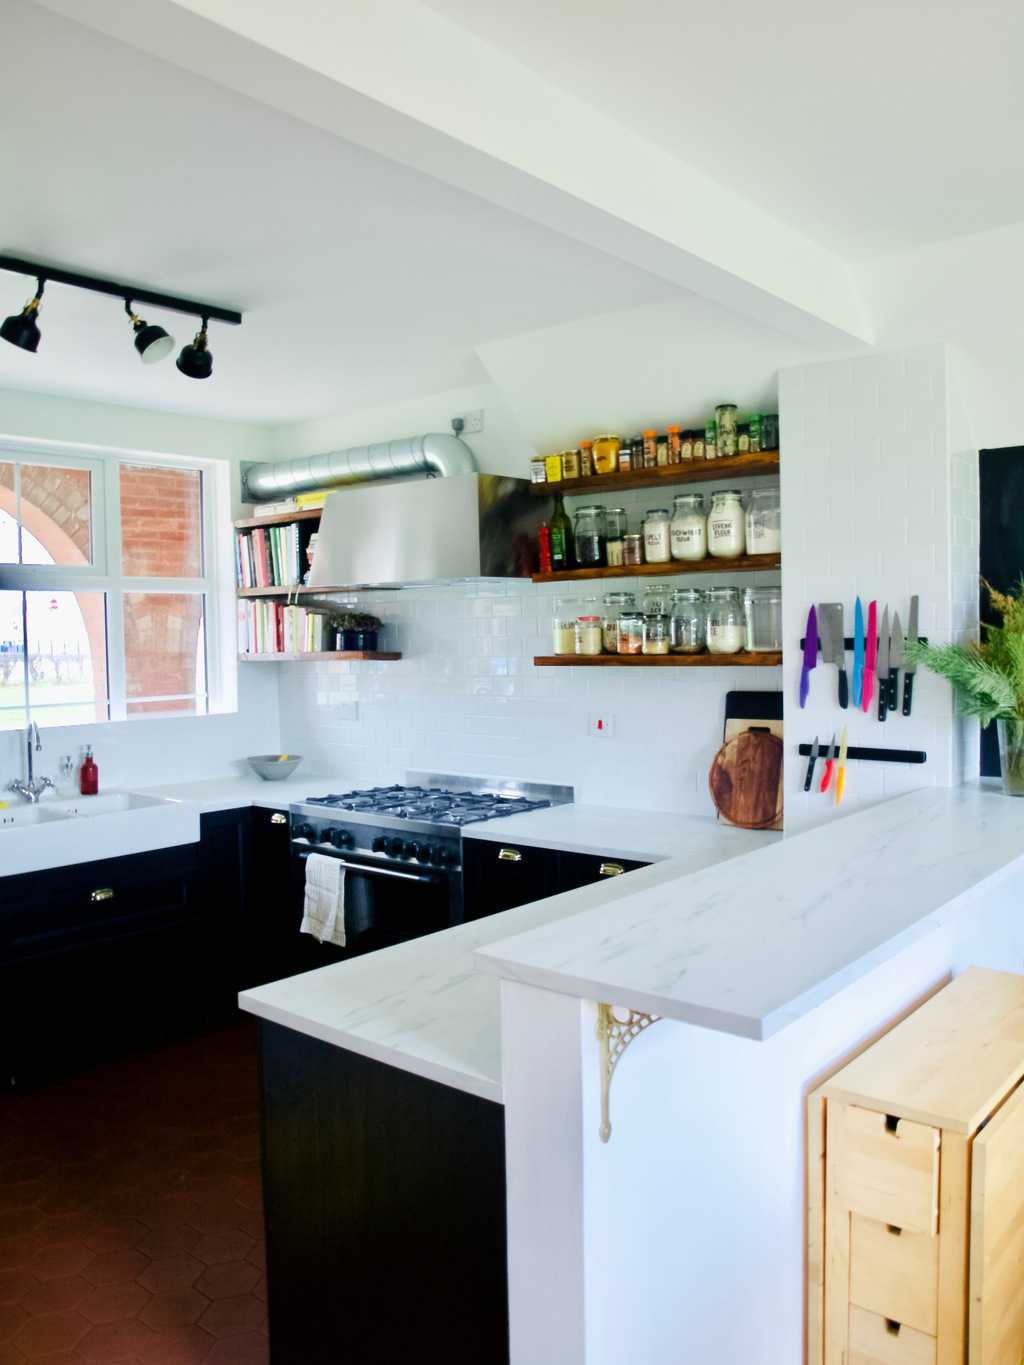
If you knew how long it took us to build this kitchen then you would understand how excited I am right now when it is finally finished! We started this project two years ago, just few months before Tomas was born.

Originally this was a study or a front room (pic bellow). We have our office upstairs so this has been used for various things such as storage, laundry, Lukas playpen and Joni desk was kept here at some point too. From very early on we have decided this space was perfect for the kitchen. We pretty much copied this idea (but not the layout) from next door neighbours who also transformed their so called front room into the kitchen.

Initially the chimney has been knocked down that took over so much space and then of course there were a break when Tomas was born. Once Tomas turned five months Joni started fixing floor and then we both were tiling (hexagonal tiles again). Then Joni’s dad helped us out to build the kitchen and then we got somebody to install the worktops. After that very hot summer came and I have been doing more gardening then DIY. I came back to painting and tiling walls by the end of summer thankfully. Only recently Joni finished installing shelves and now I am working on the organisation. If you think moving into new kitchen is easy, think again! Through this time we have been using our old kitchen and now we are so used to it that it is hard to change and start using our new kitchen. I am sure we will get into the habit very soon!Our new house tour: front room aka studyOur new kitchen reveal
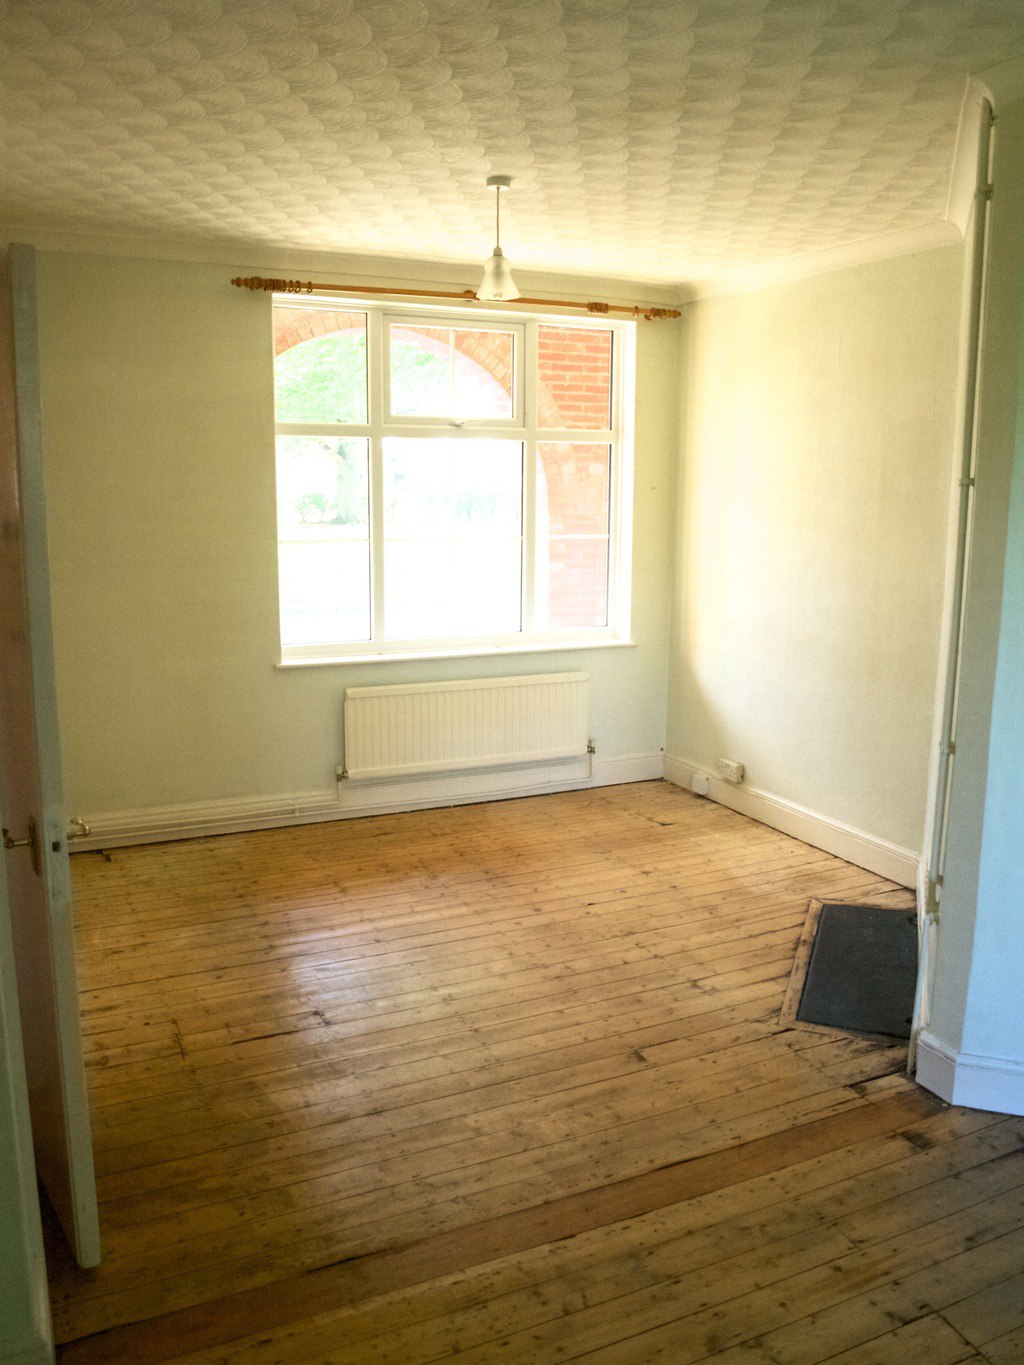
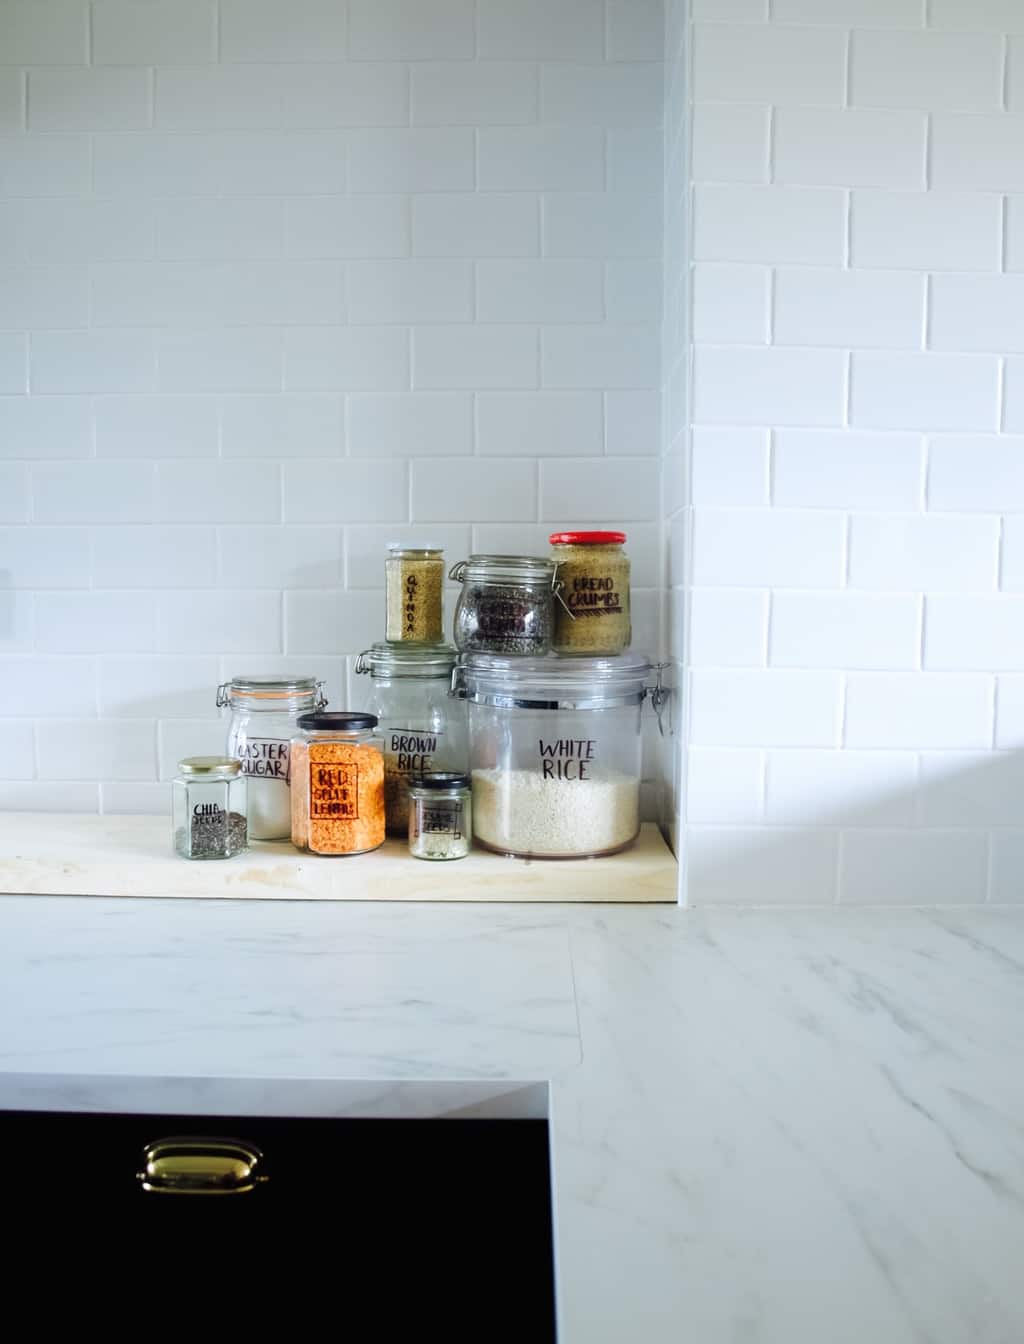
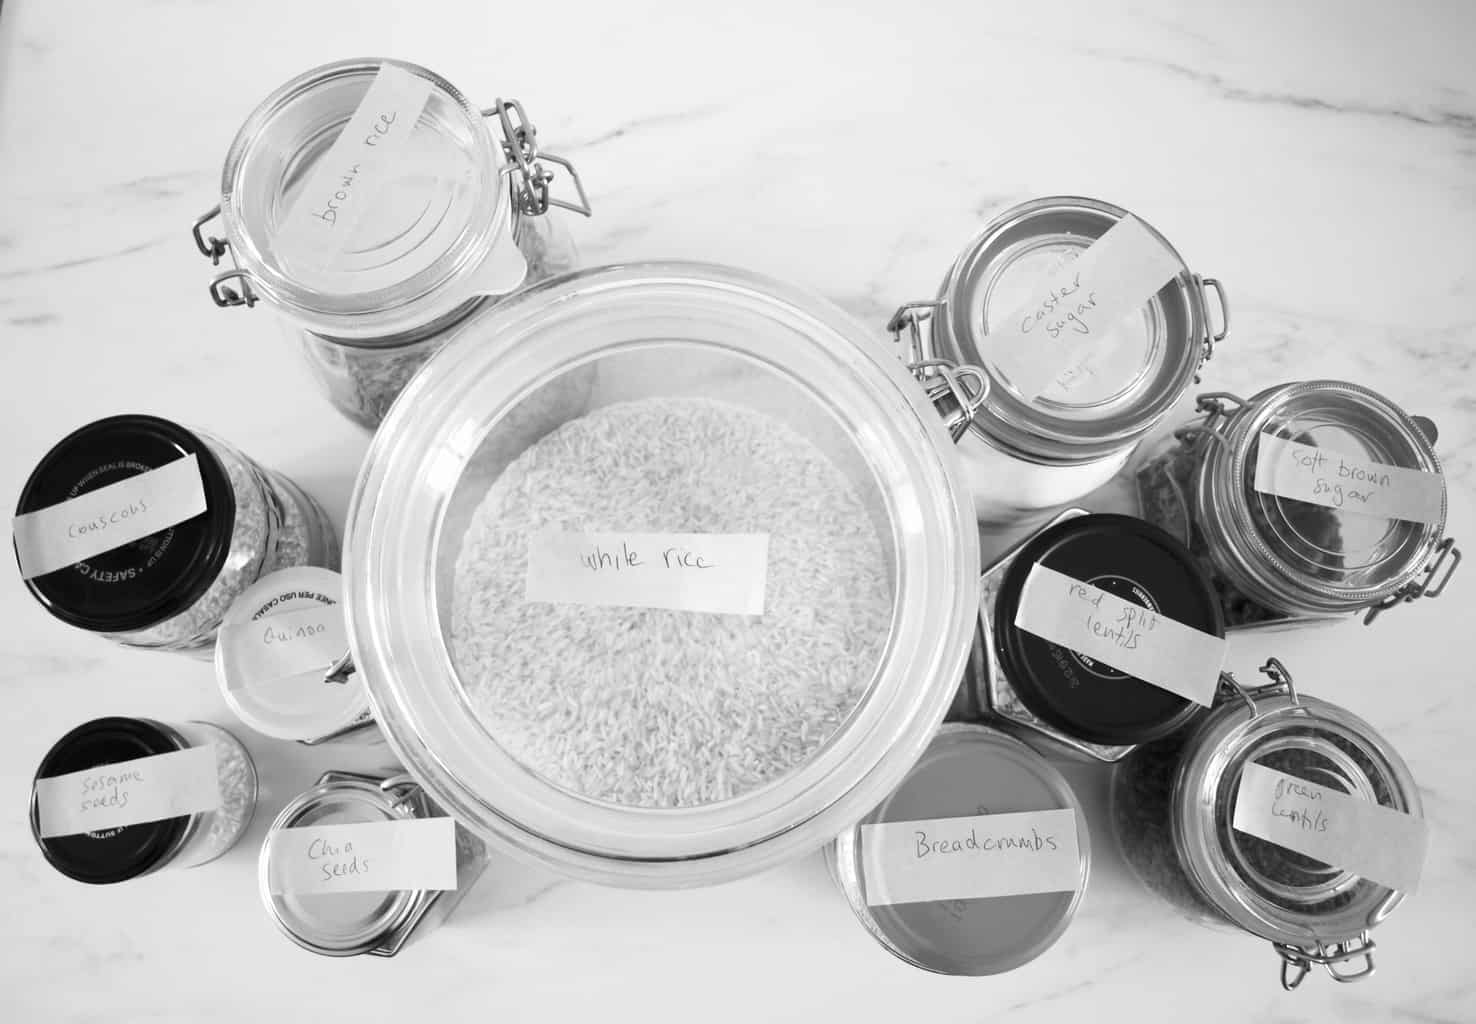
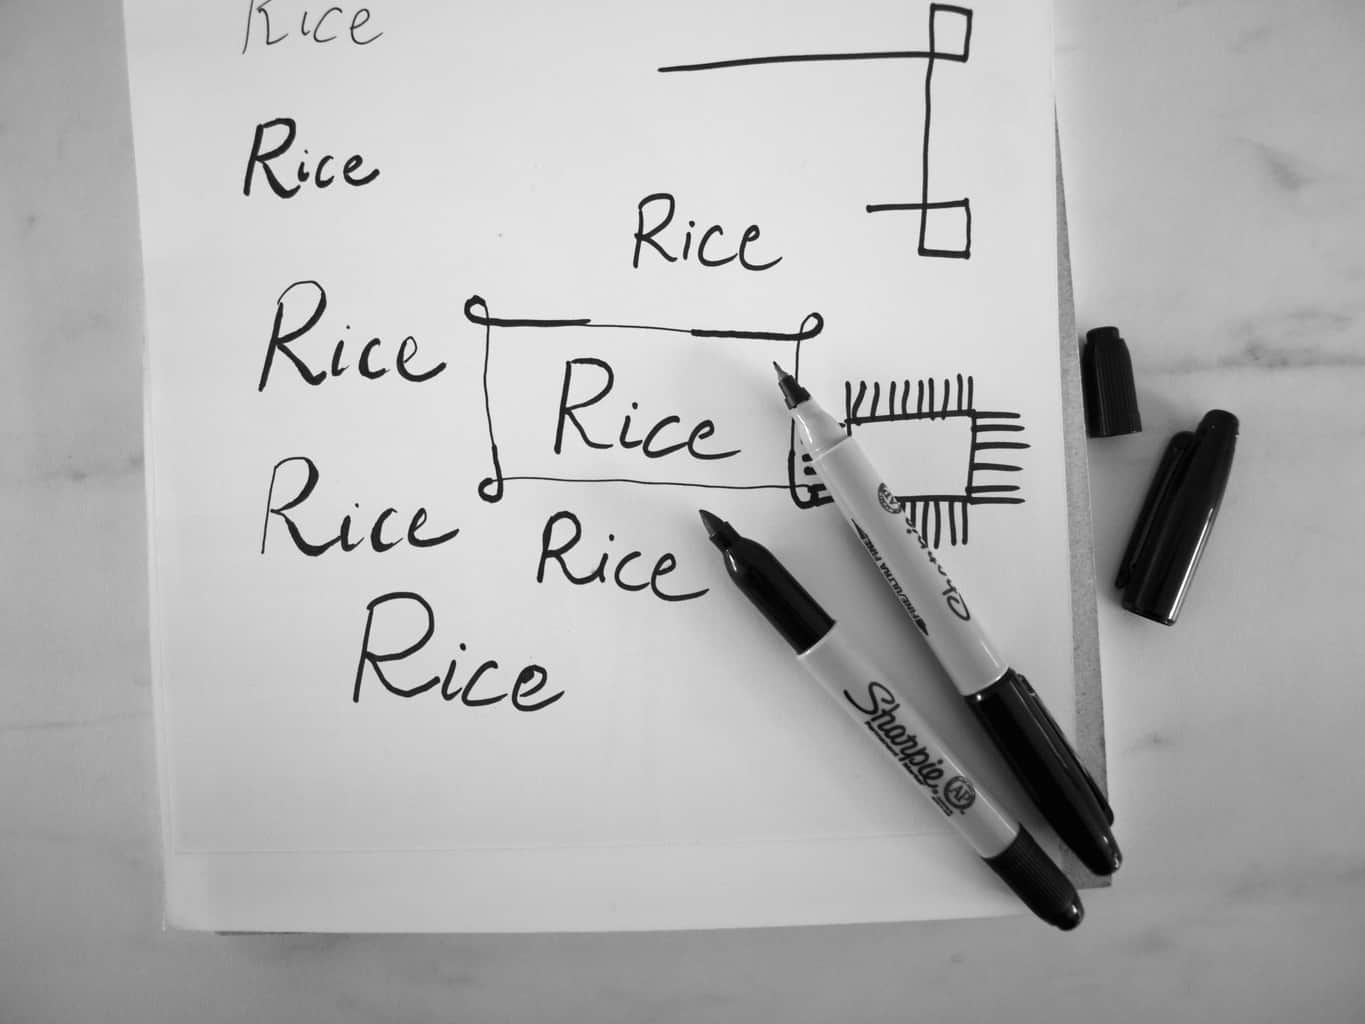
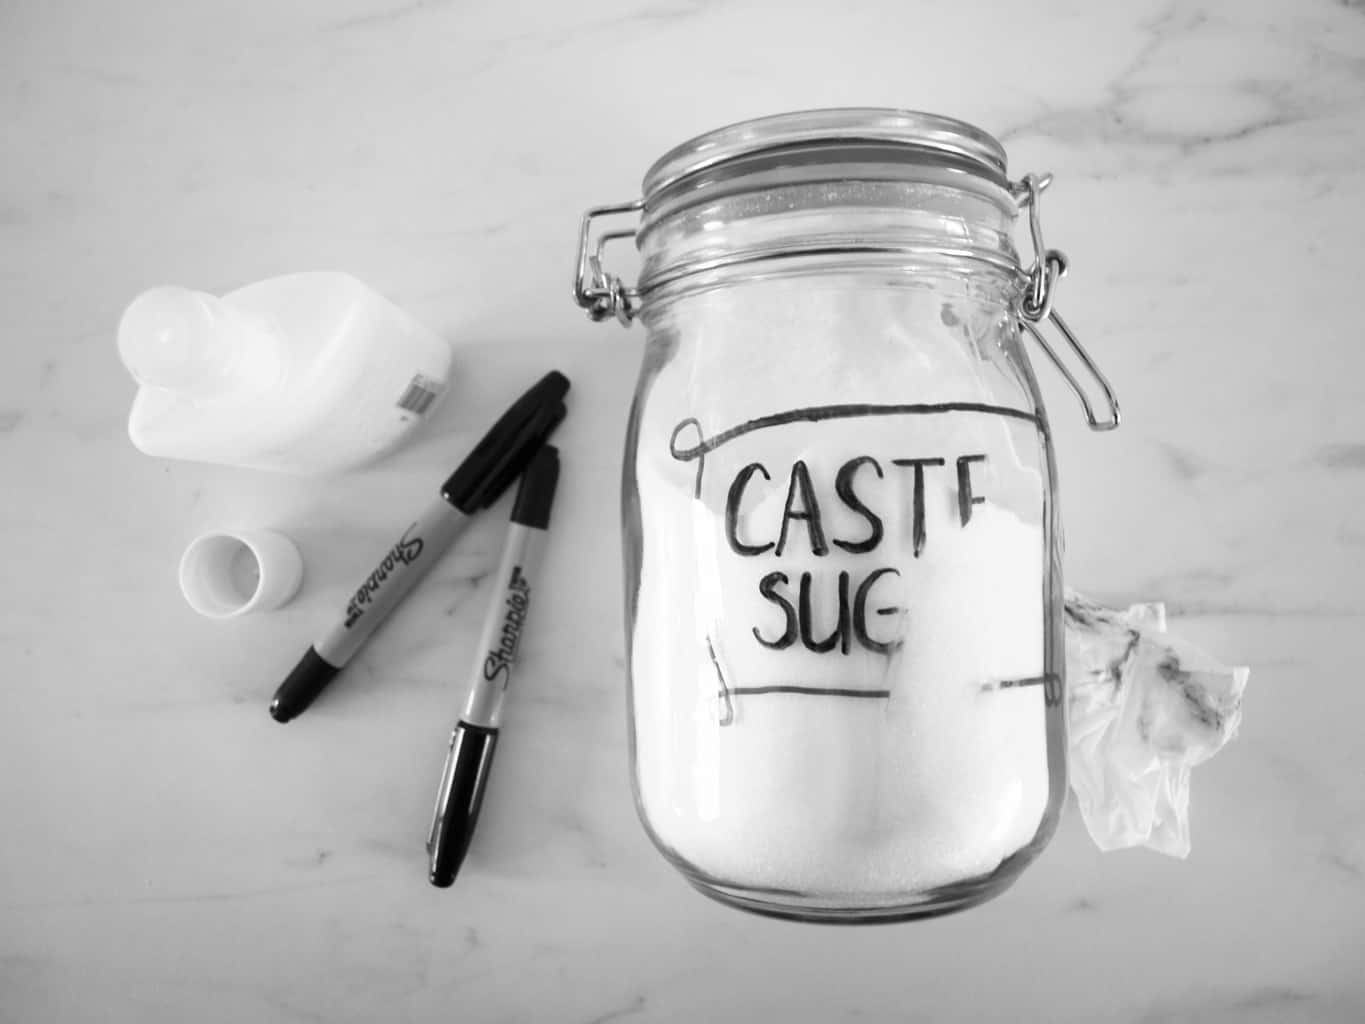
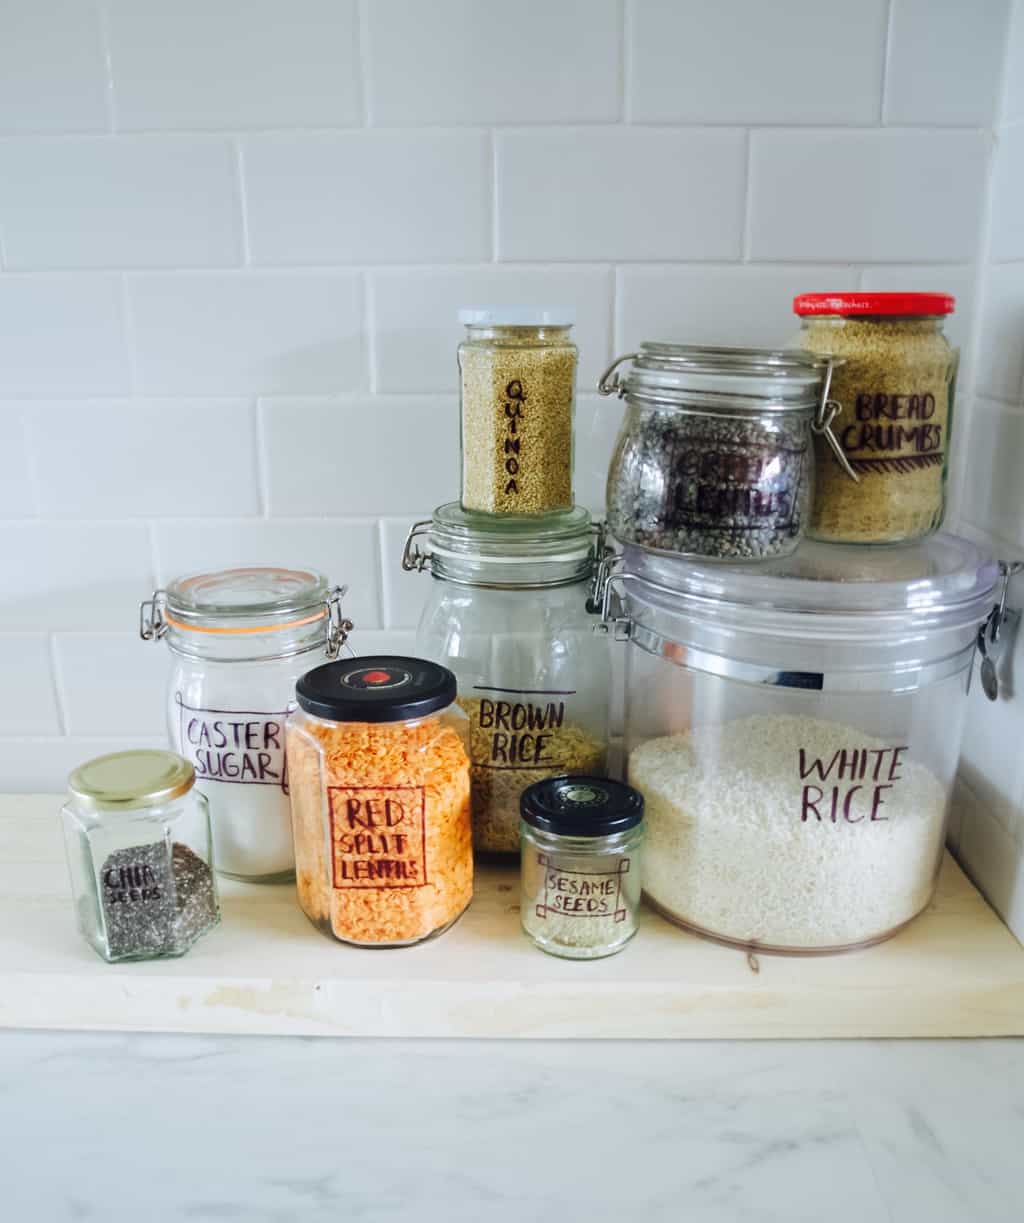
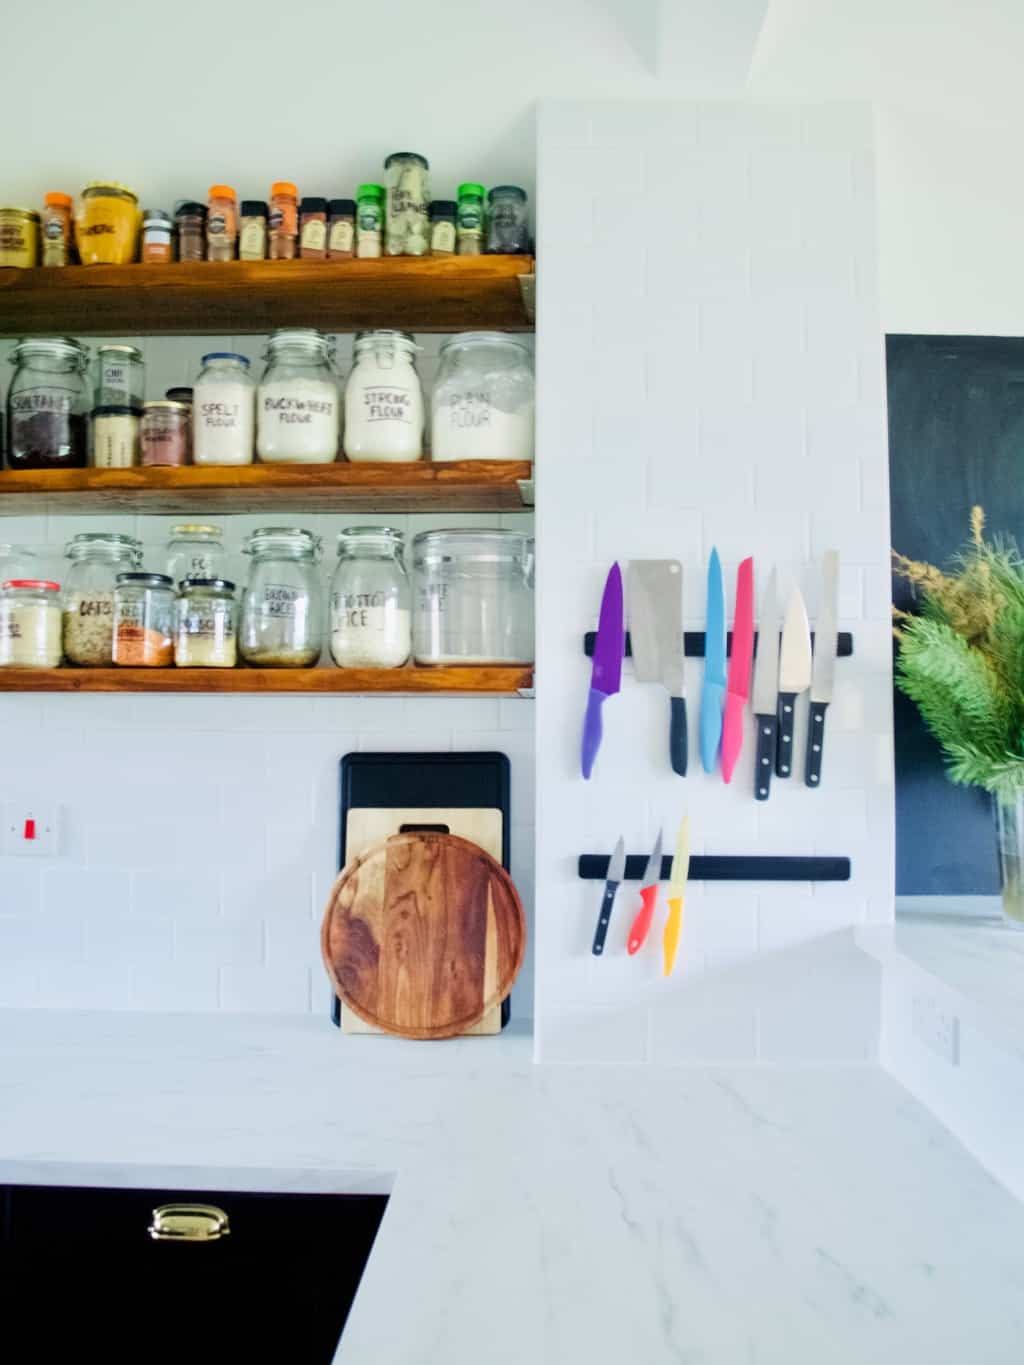
I always liked the idea of shelves in the kitchen. I think above counter storage needs to be clear to see and because it is not hidden by the doors this storage needs to be ascetically pleasing too. This is why I organised my dry ingredients into jars (read how I did that here) and then I had cook books stored on other shelves. If you have any space left then you can always add little things such as vases or potted plants. I love my Fittonia that my friend gave, it does really well in the warm kitchens I think. Our new kitchen reveal
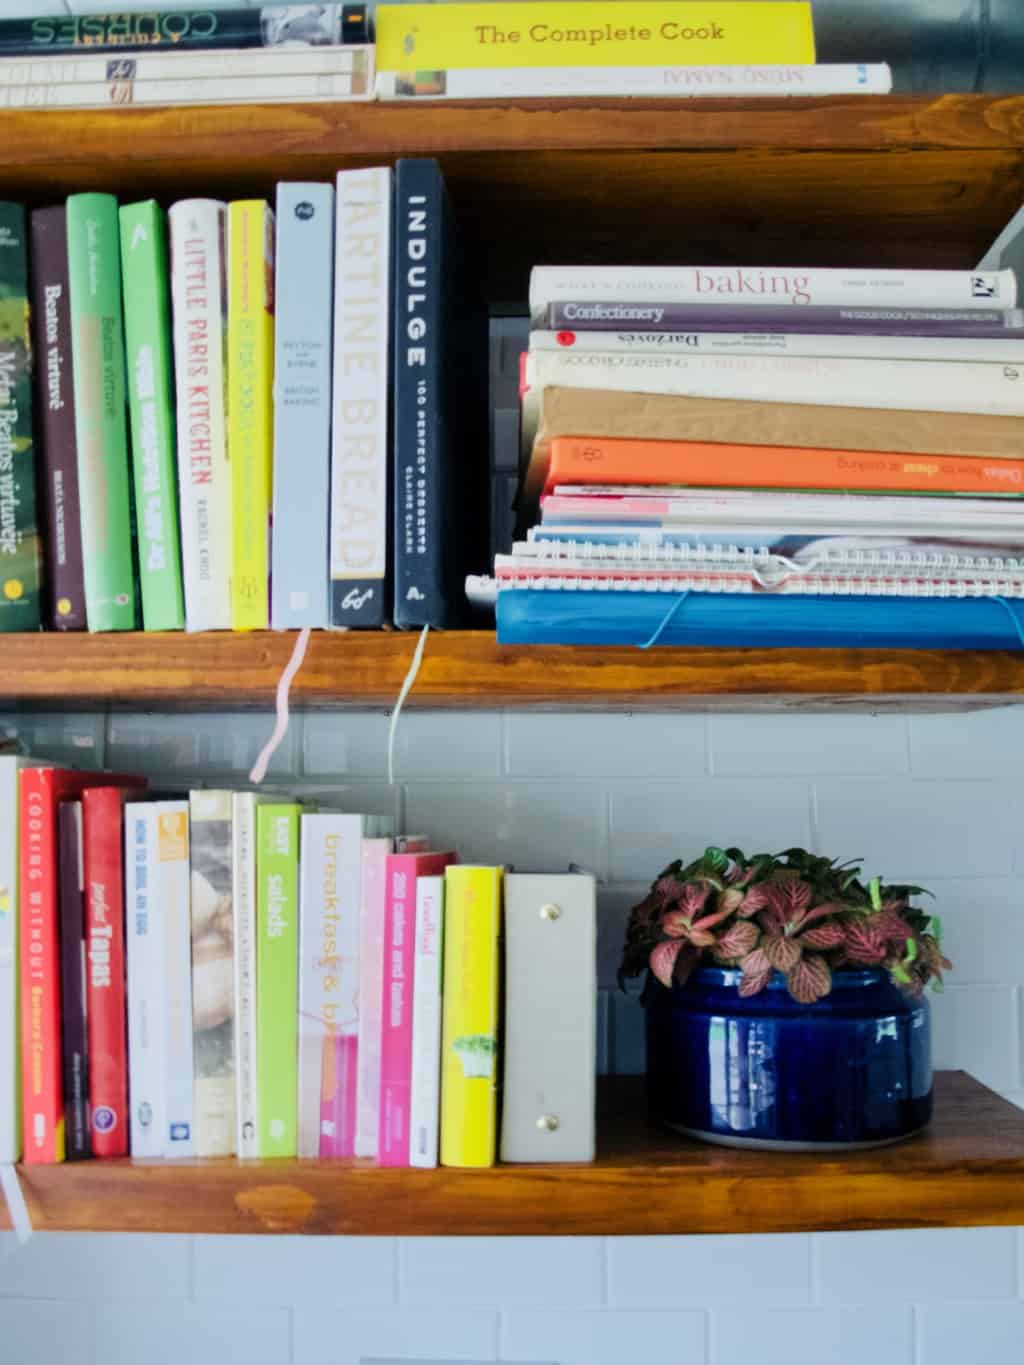
On the shelves that are little hidden by the fridge we stored our microwave and other essentials for microwaving kids milk and porridge. It felt only natural to also store plates, bowls and glasses here too!Our new kitchen reveal 
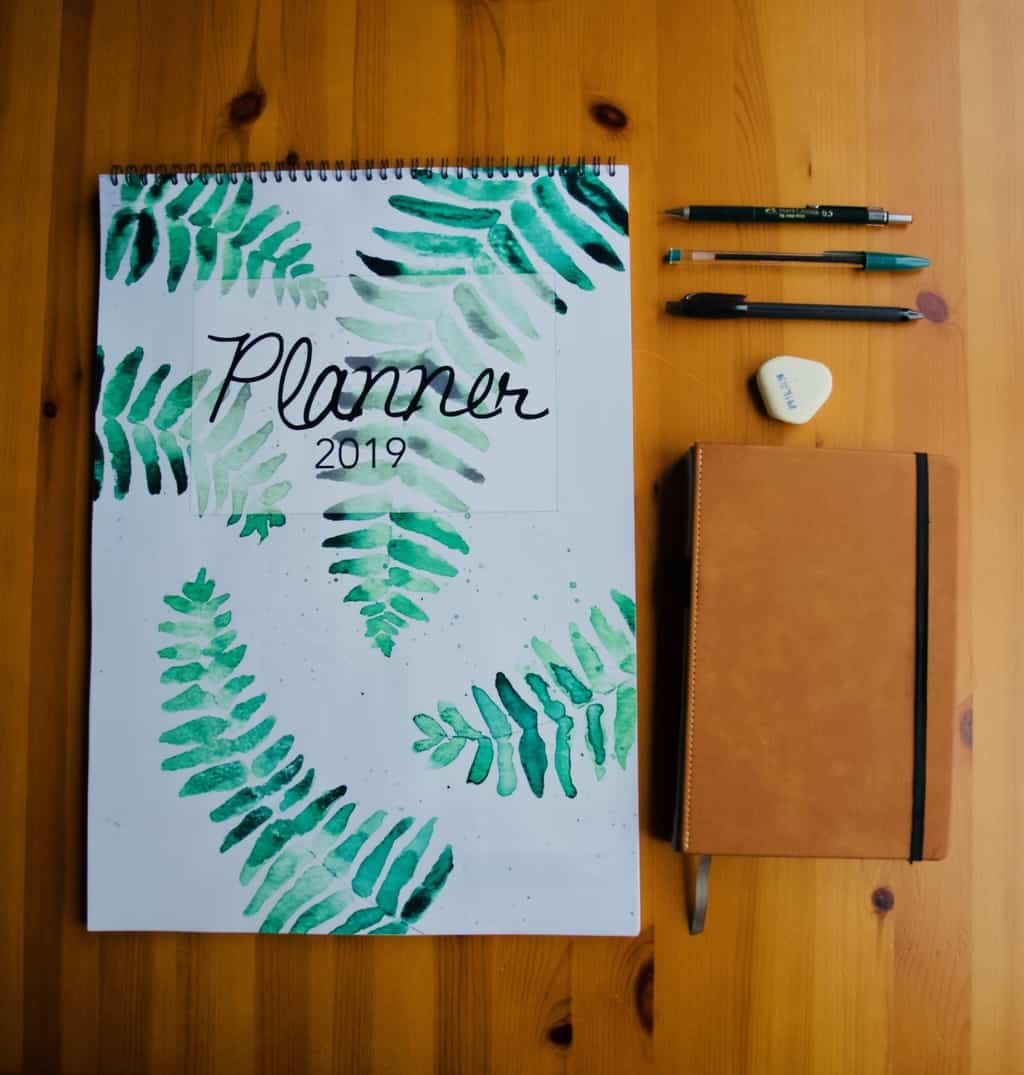
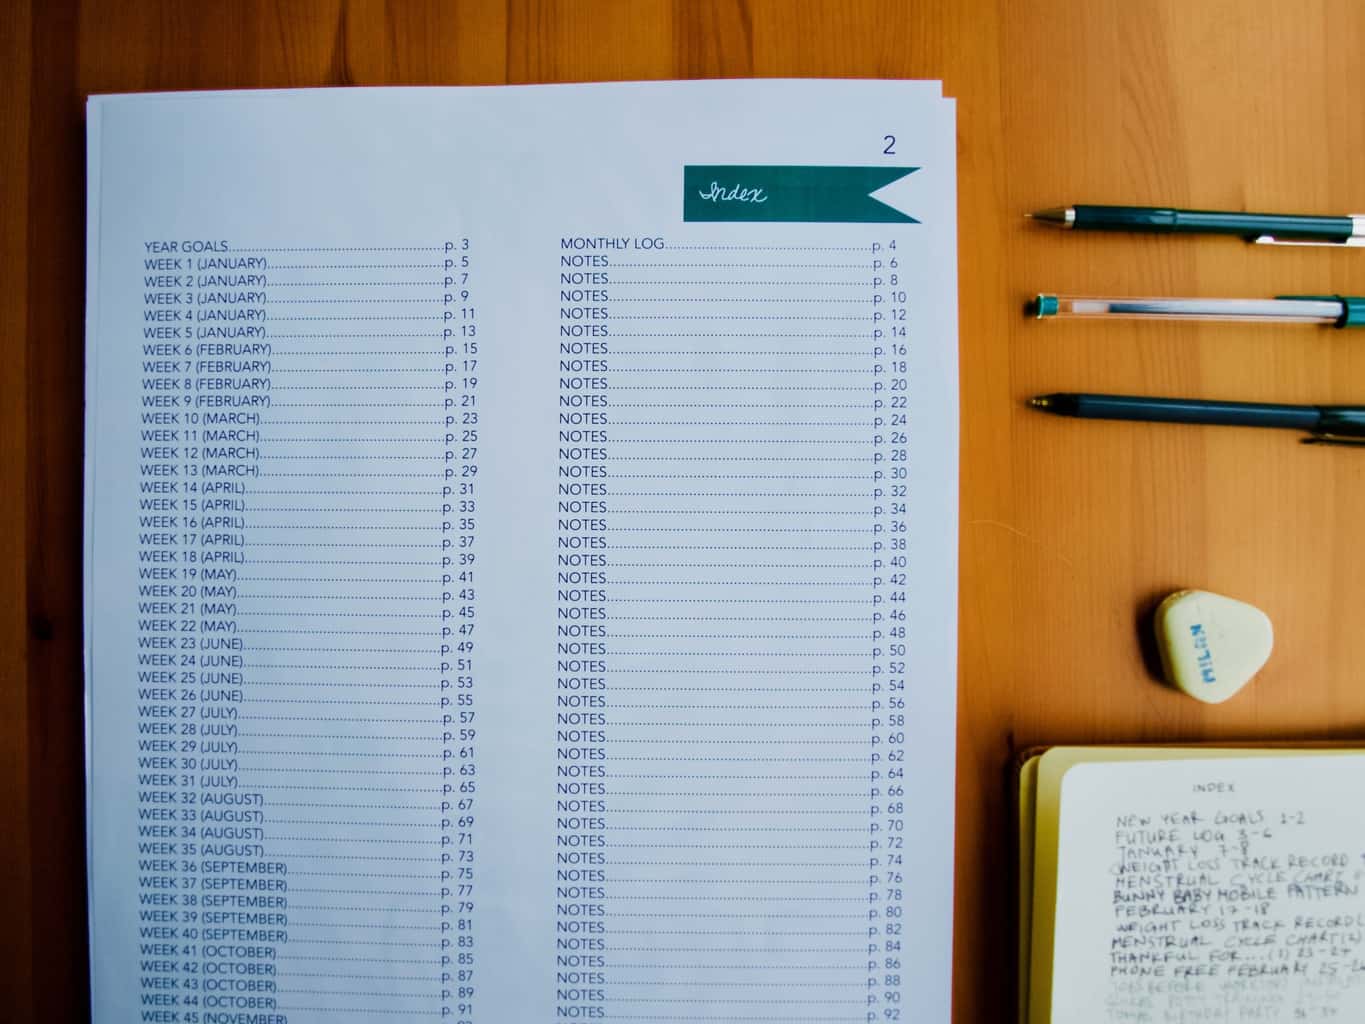
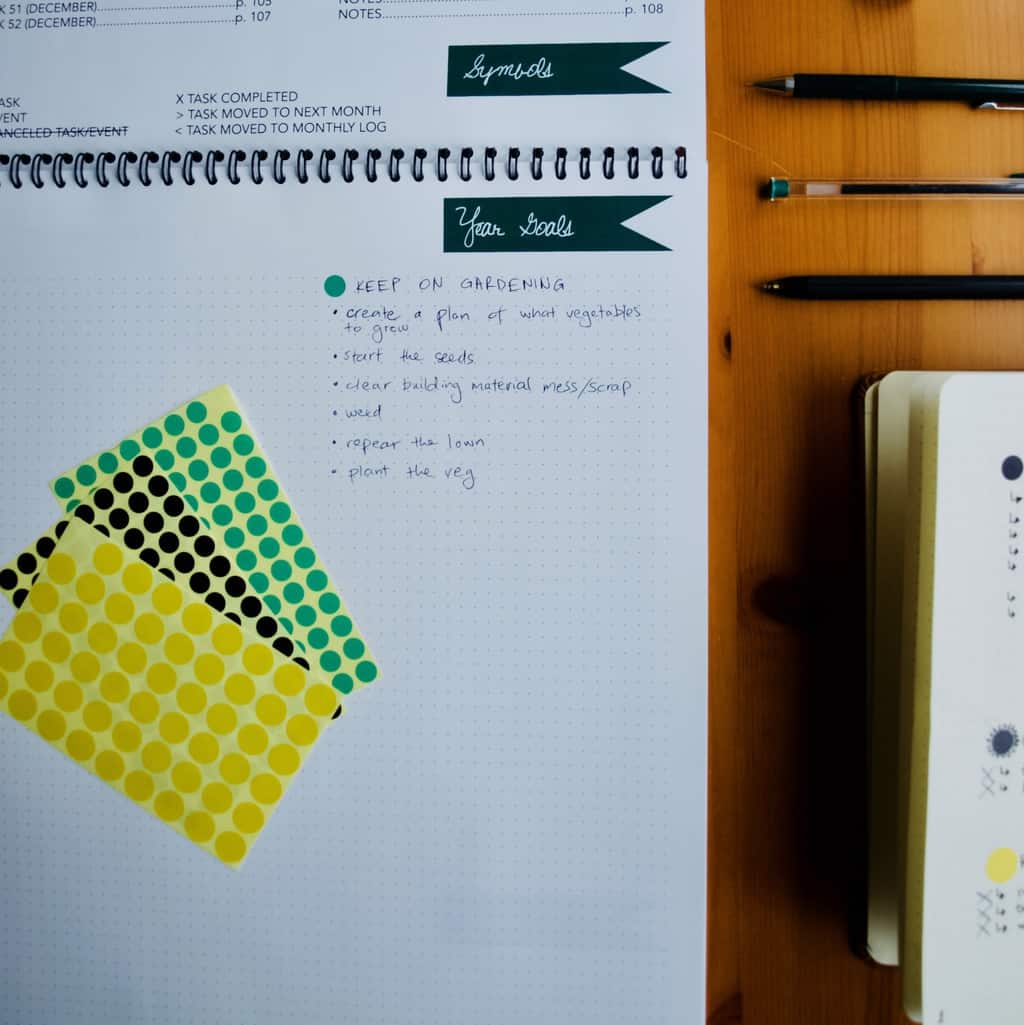
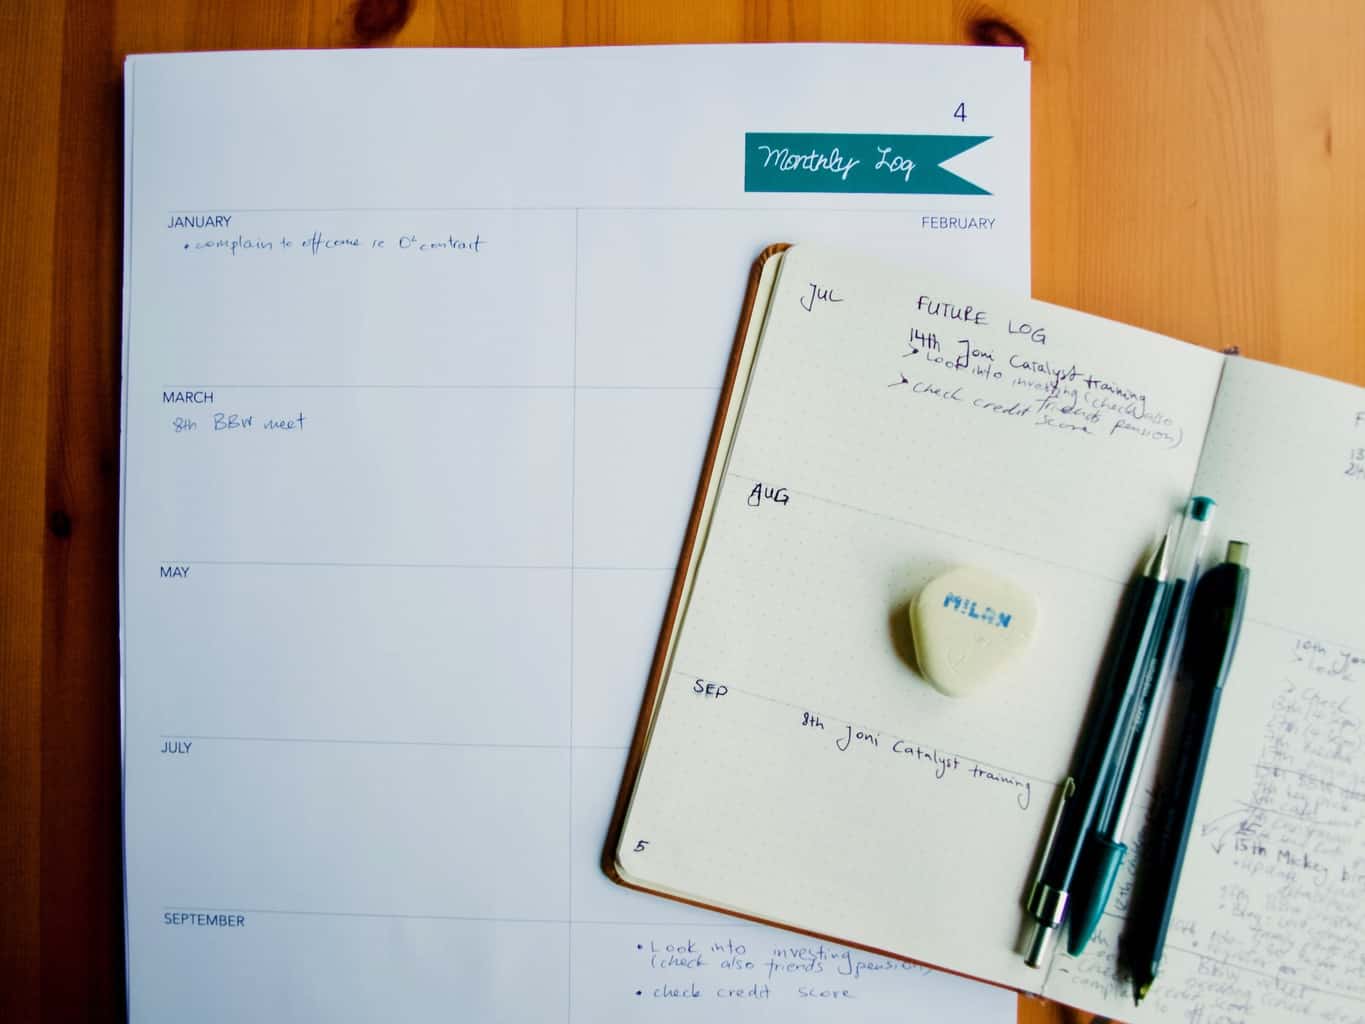
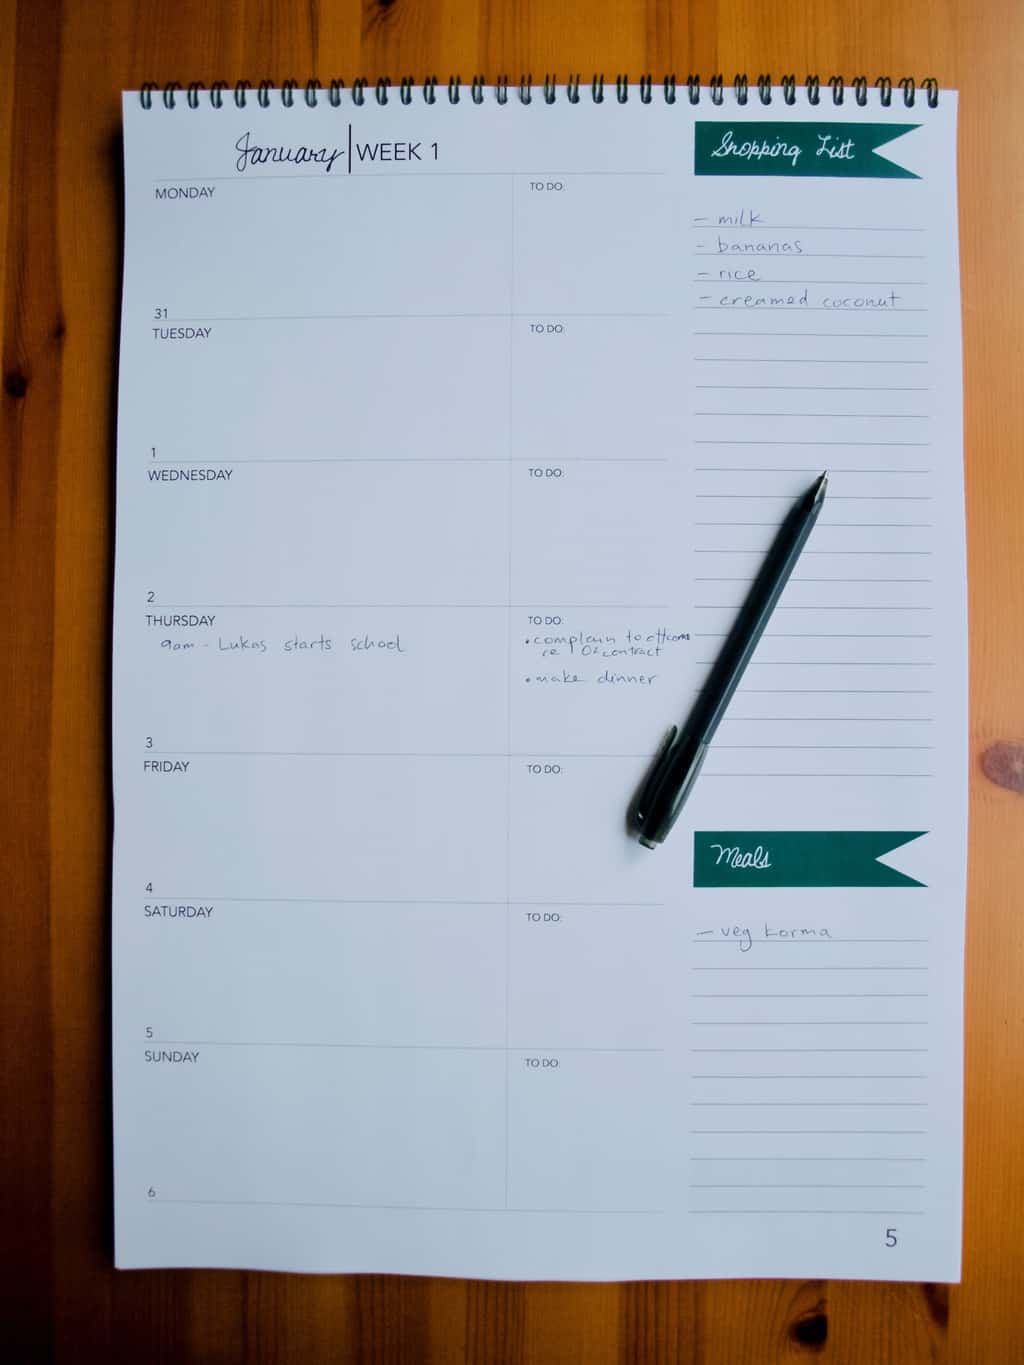
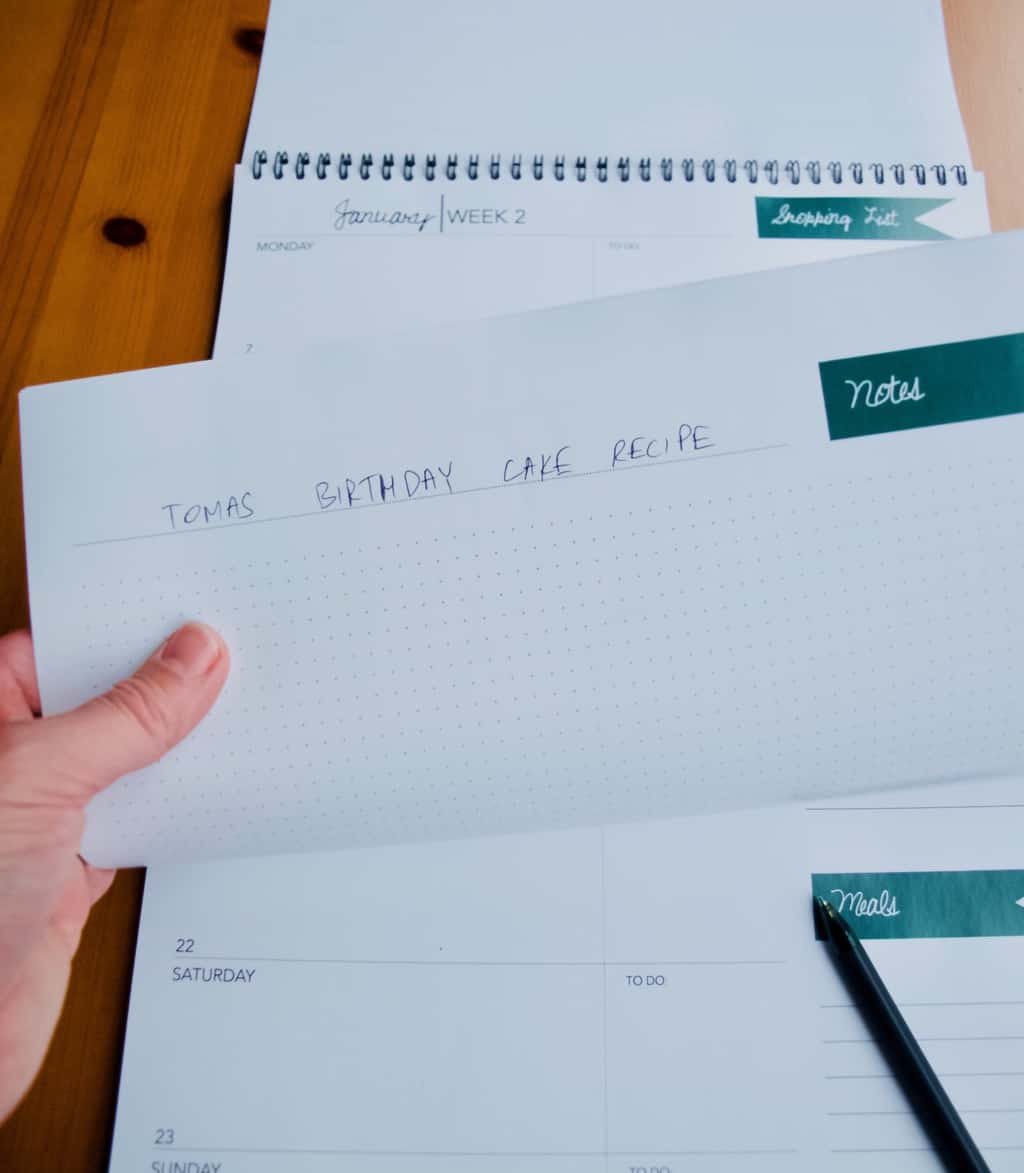
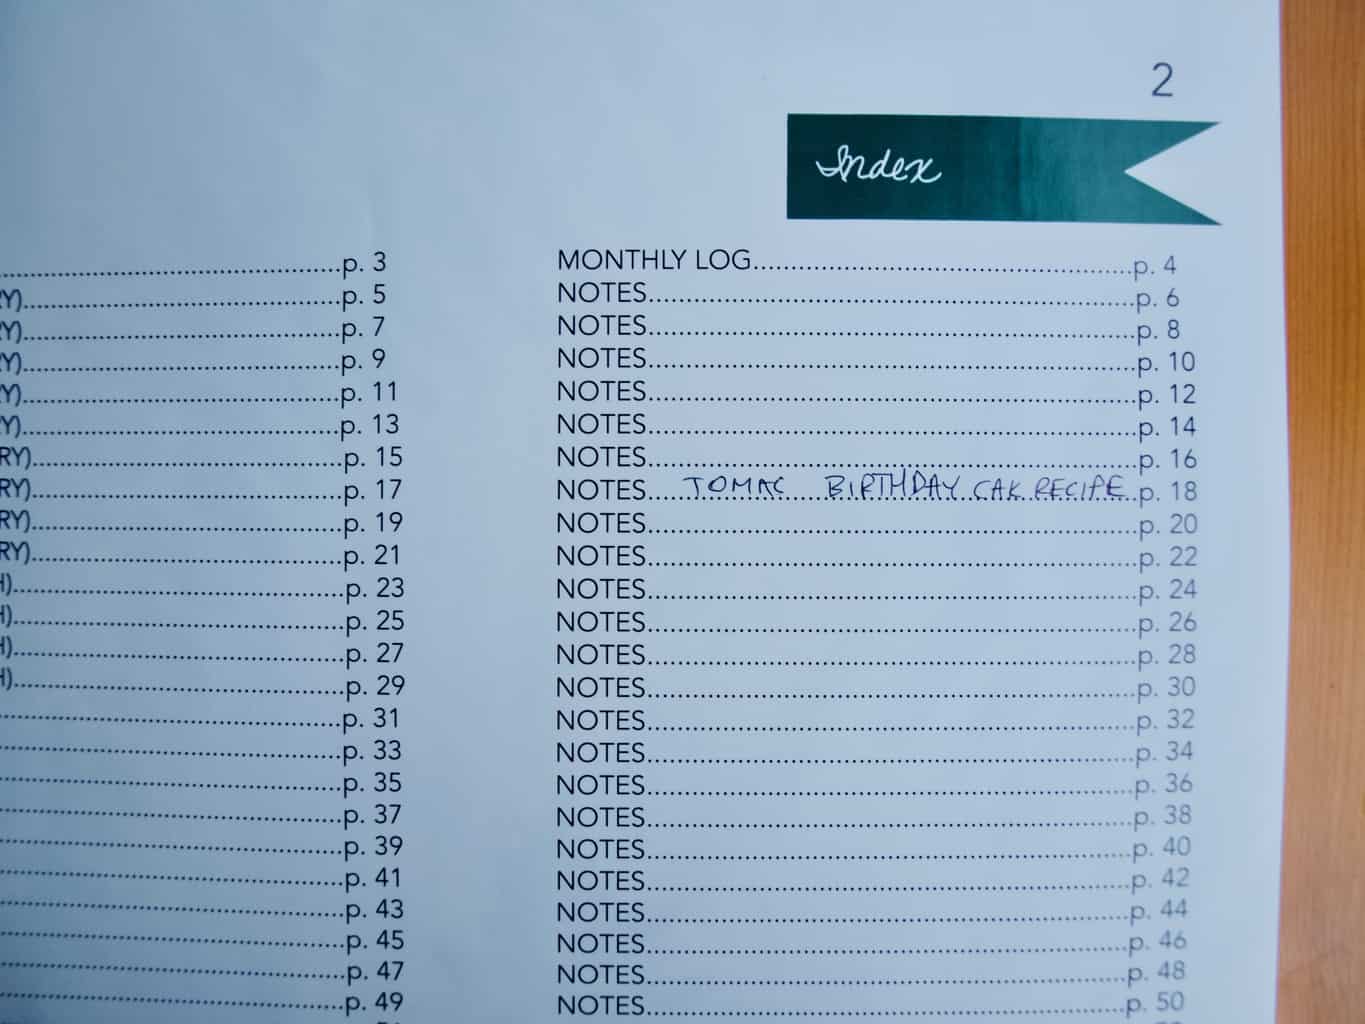
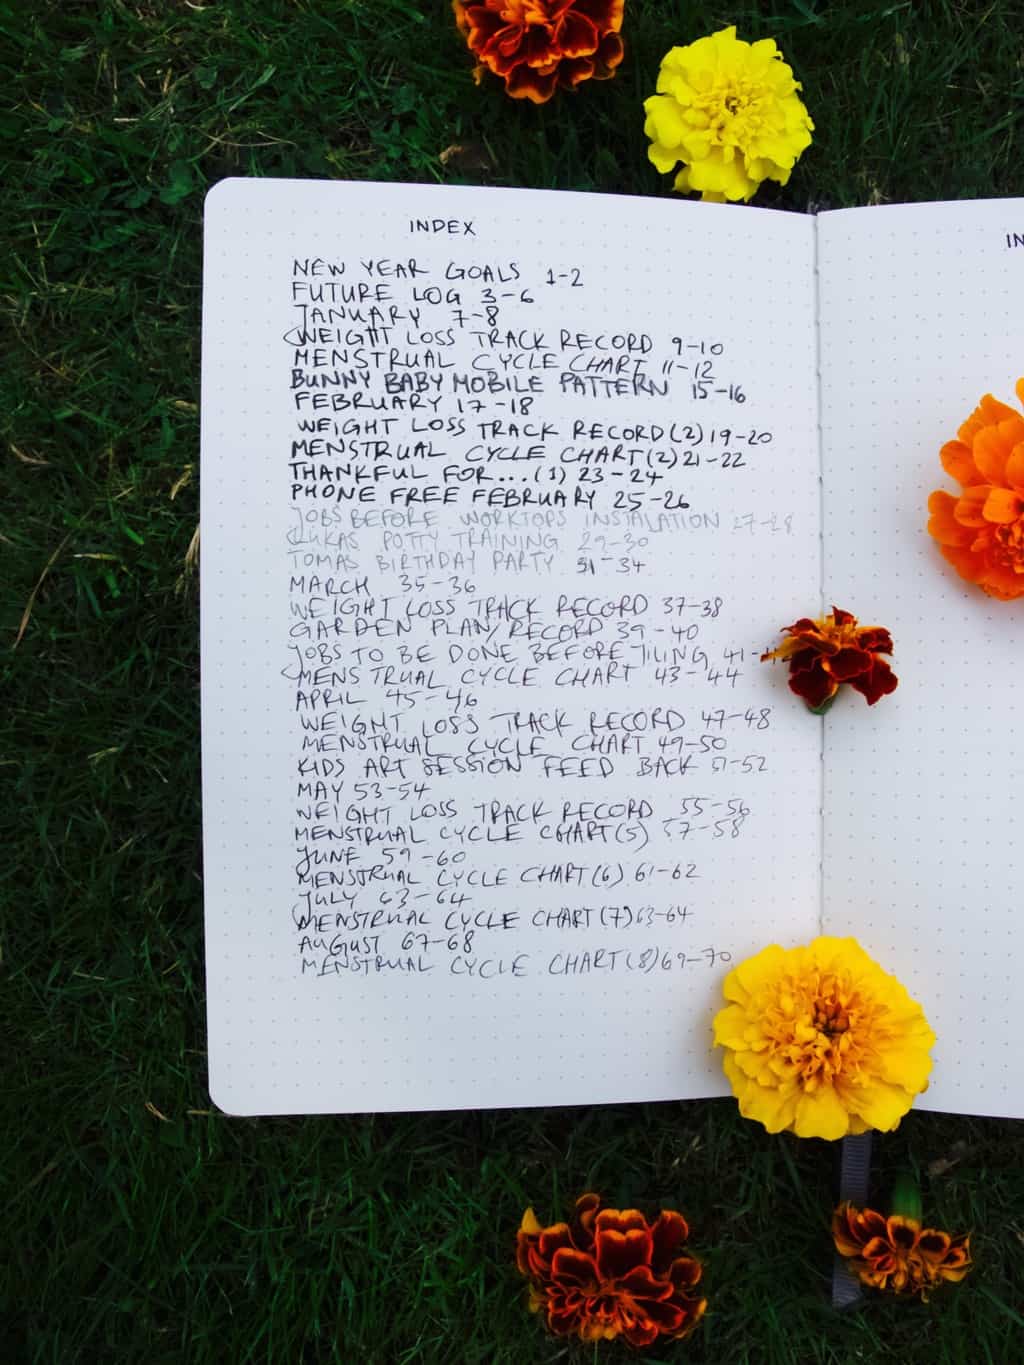
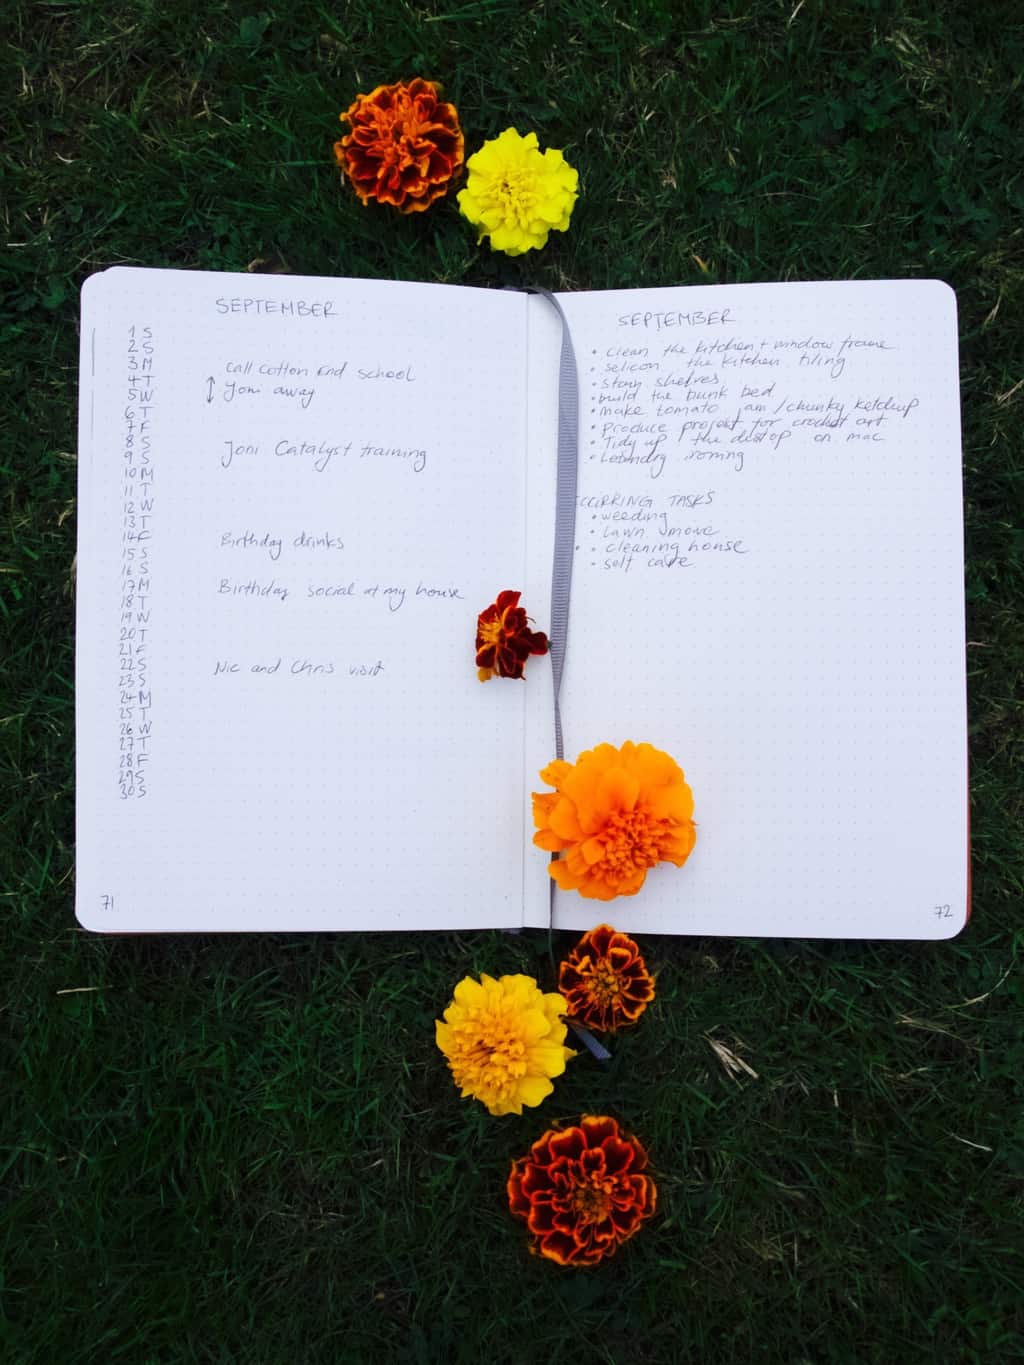
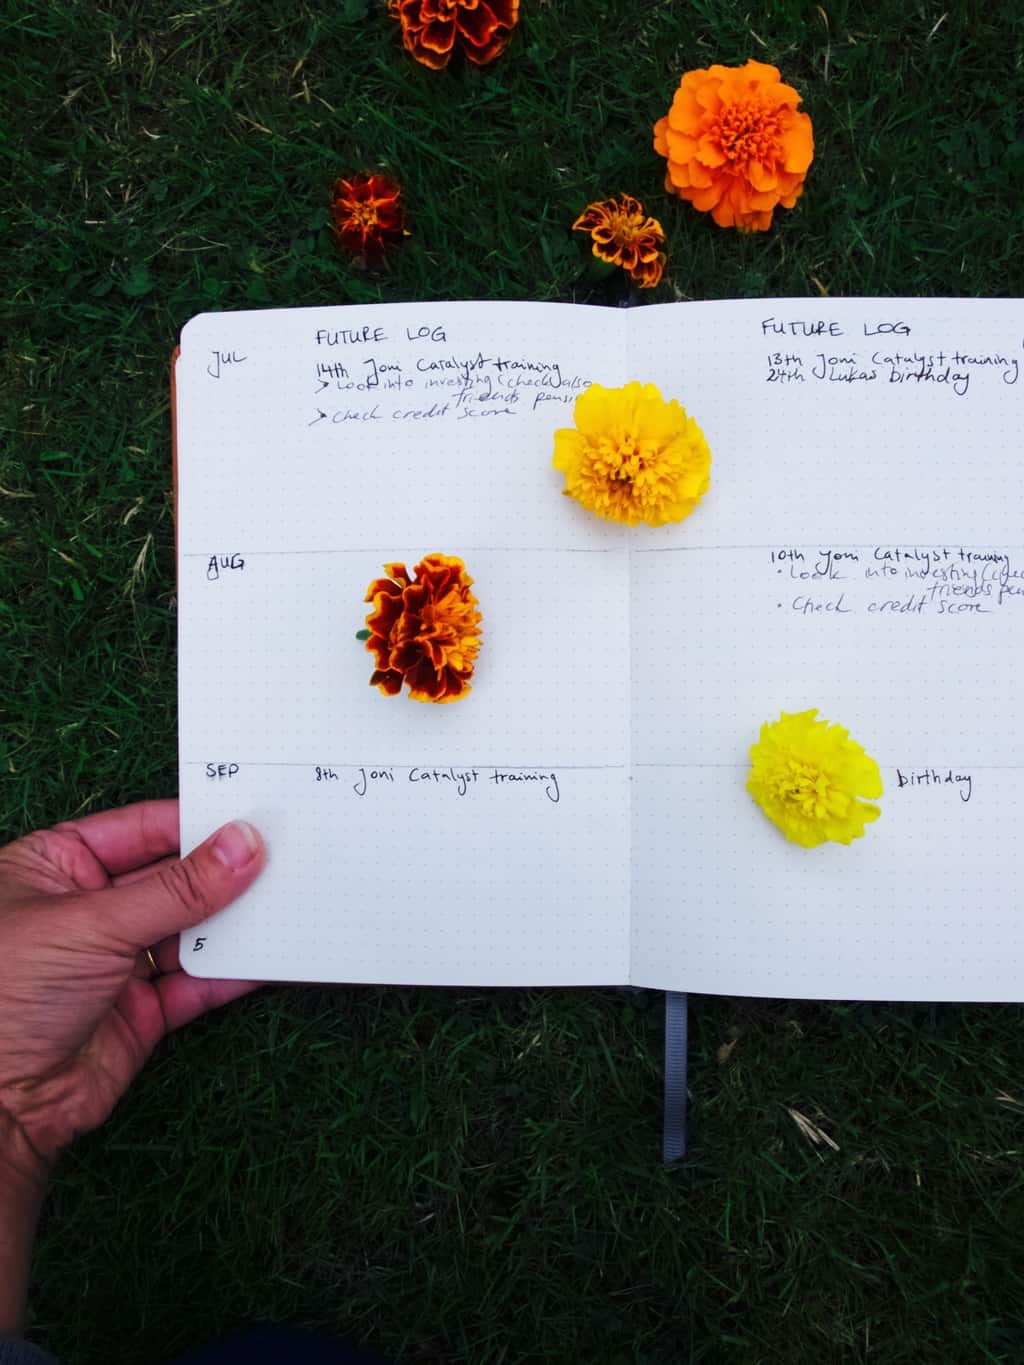
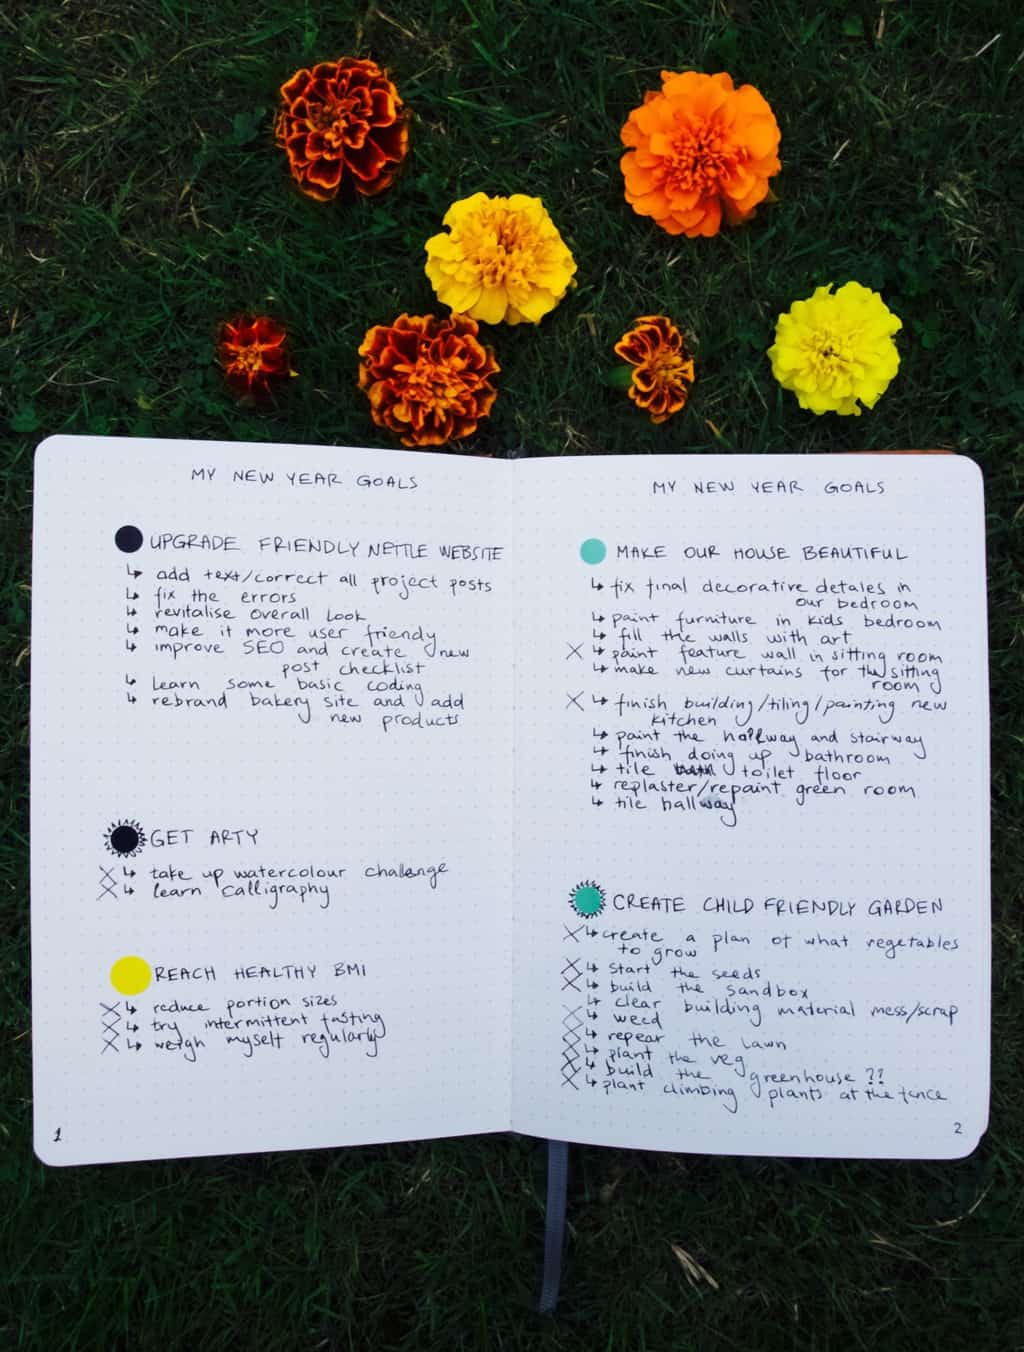
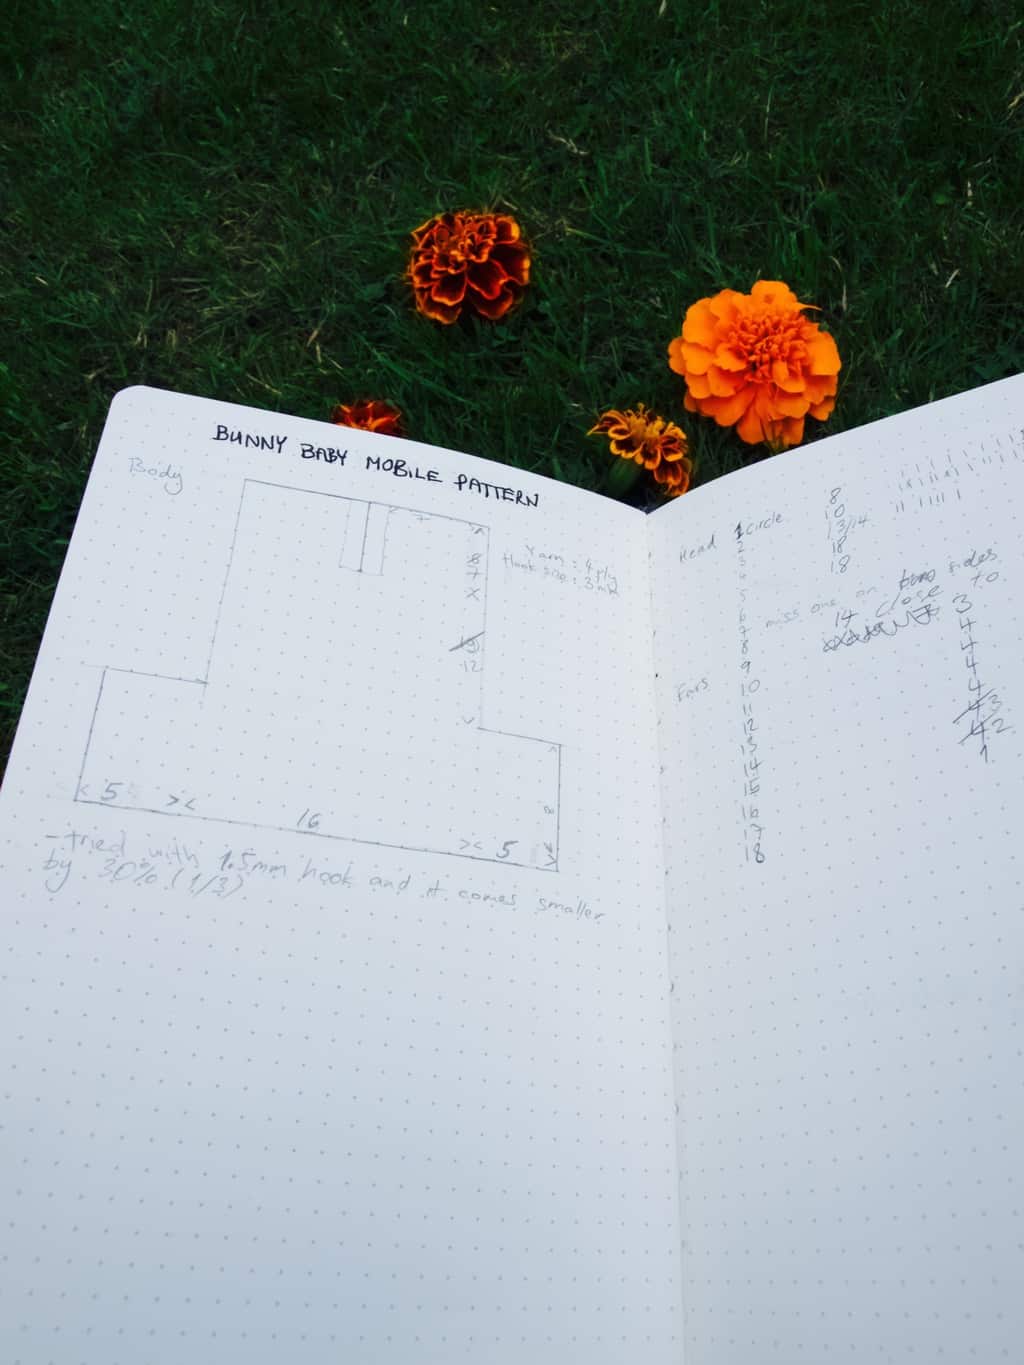
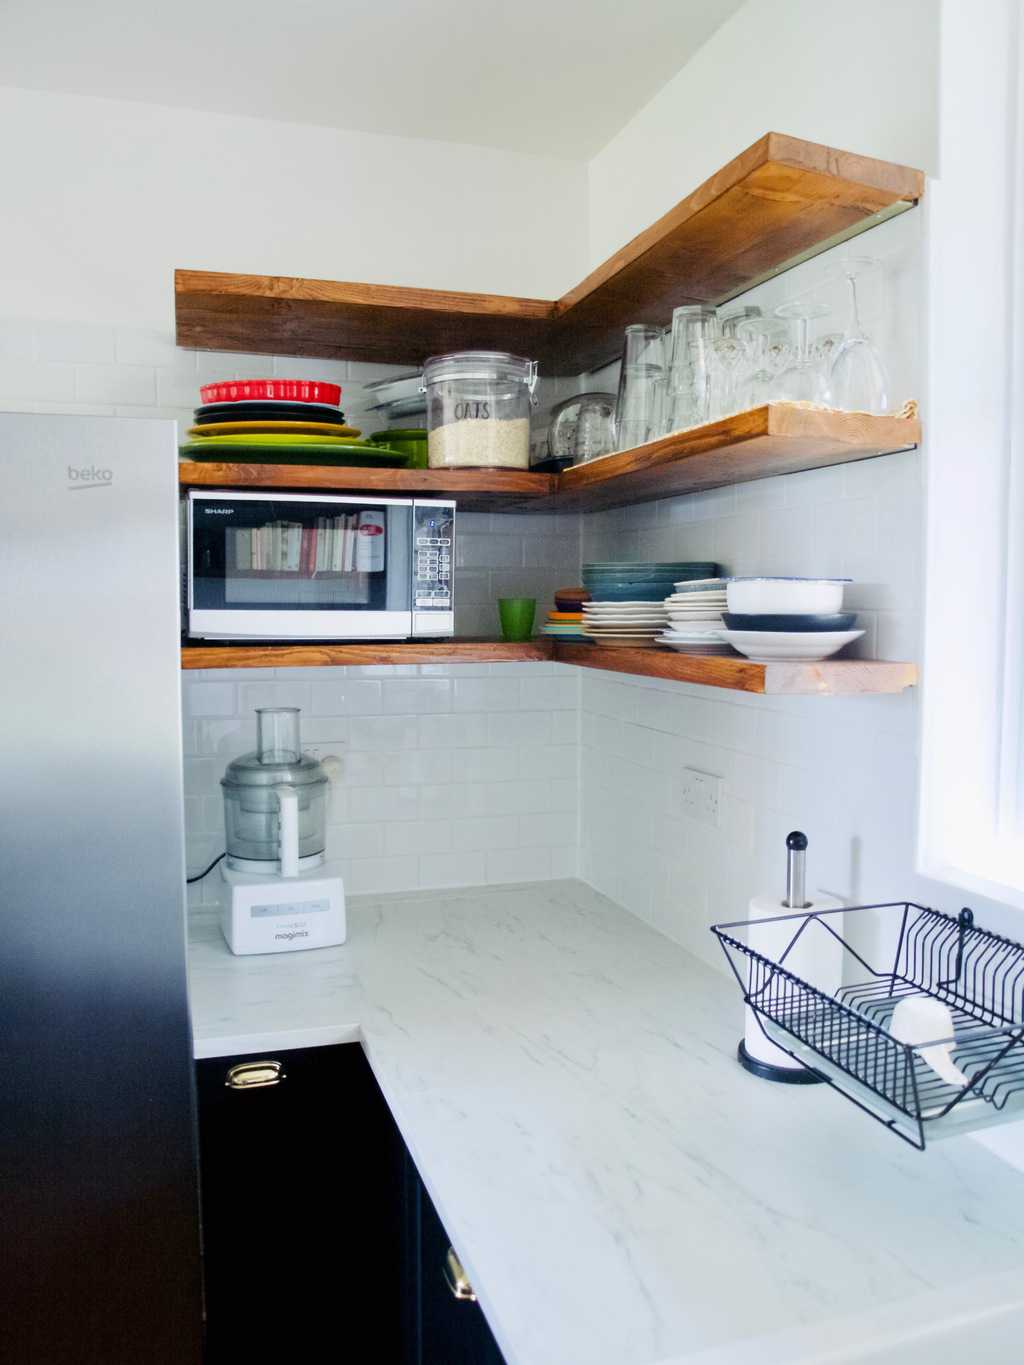
My new planner is also ready for the next year ;-).Our new kitchen reveal
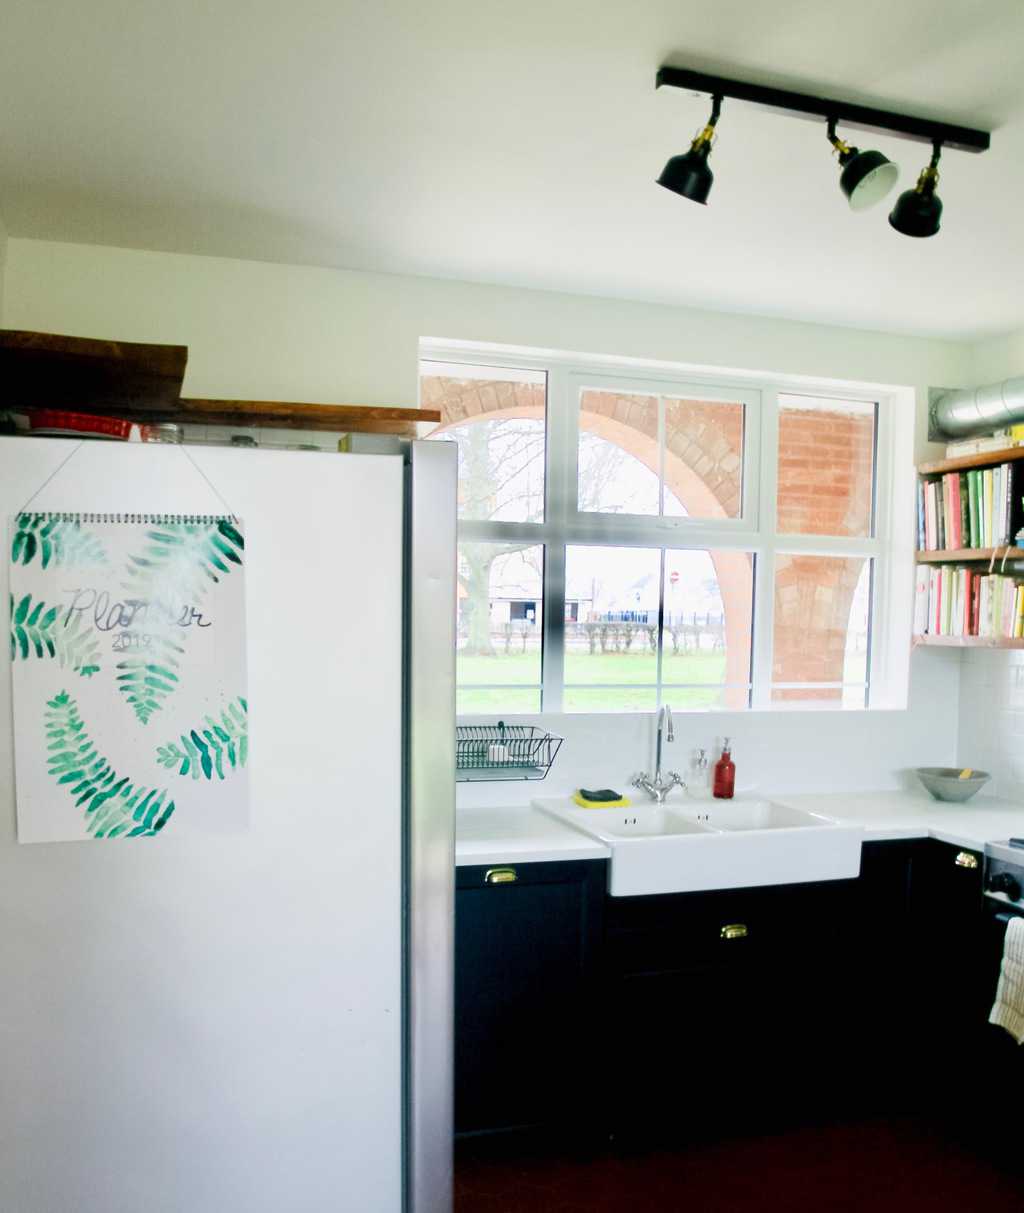
Now we probably need to work on our dining room which happened to be in the same room as kitchen. Painting walls are in order hopefully soon!Our new kitchen reveal
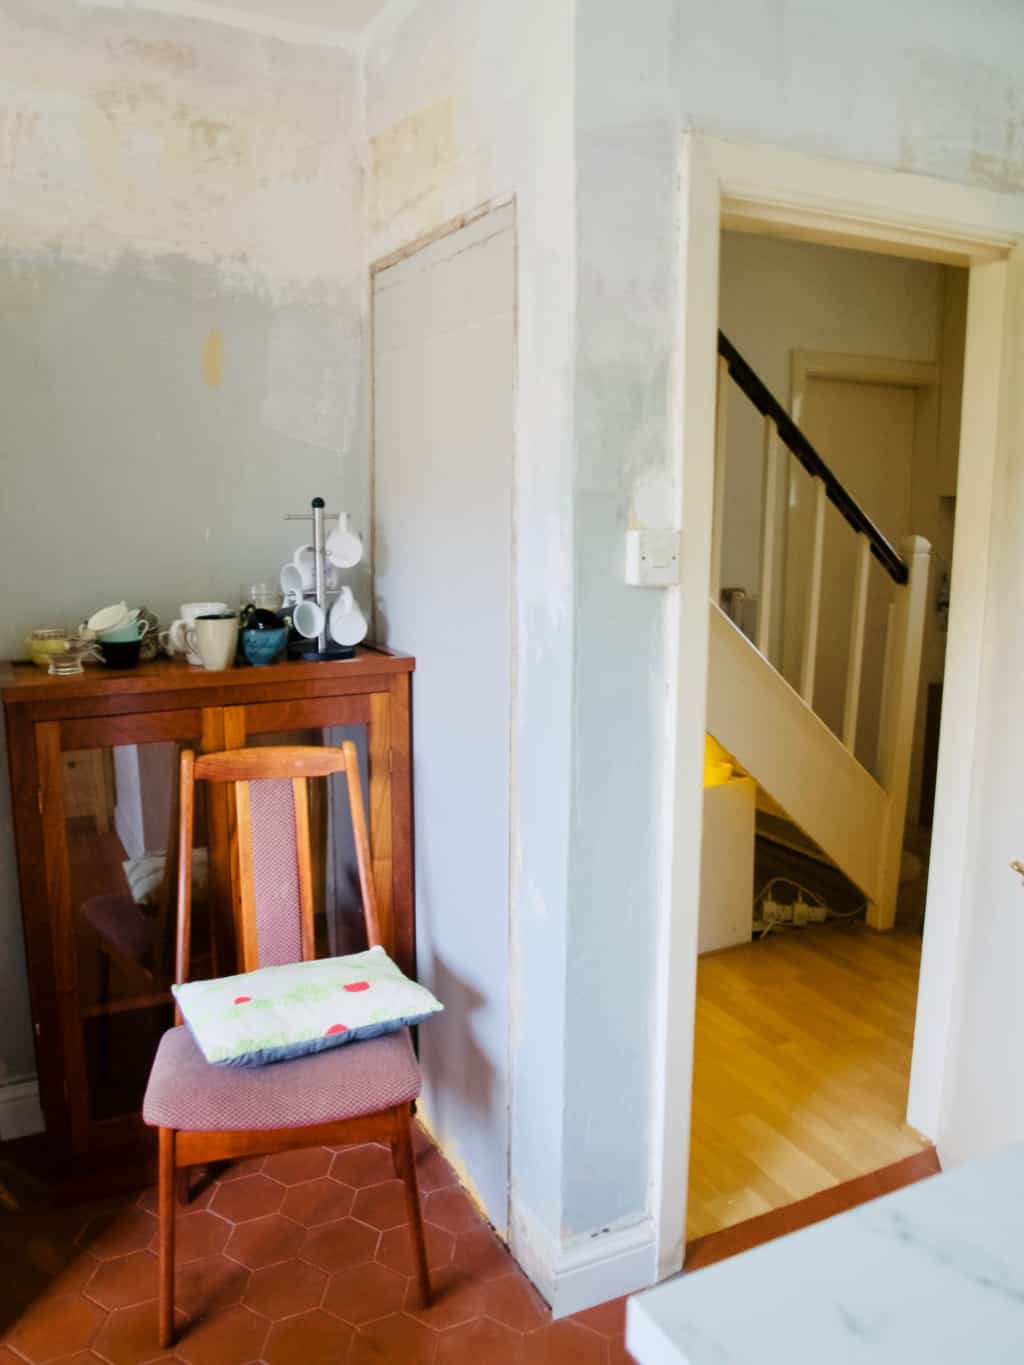
Thanks for letting me share!

Rasa xoxo

0

2019 planner + giveaway

Free printable 2019 plannerAfter trying out bullet journaling I had and idea… to use this organisational system to create my own wall planner. And here it is!! Tam tam taram tam (intro music sounding)!! Hope you like it and I am looking forward to your feedback. But more about it later. Let me go through this wall planner so you can have a better understanding of it.

Like every year, I create my own planner that fits my needs, then following year I review it and make even better for the next year. Therefore 2019 planner does have a lot in common with the 2018 planner. The major difference is the fact that is organised like a book. And like any other book this planner starts with the index. Index page is is a very good page to come back to when you make different notes through the year and want to find it again later. I will show you how this works in just a moment.Free printable 2019 plannerBut first I would like to talk about sweet nothings about the Year Goals page. This is my favourite part of the whole calendar! Identifying annual goals really helps me to achieve big dreams and stay on track with my bigger plans. I urge you my friends to set your dreams/goals on paper and review your set out tasks once in the while through the year. Tip: Don’t overdo with too many goals, you want to set achievable goals! Free printable 2019 plannerMonthly Log page is essentially an overview of the whole year. Did someone send you “save the date” card for their Wedding? Well this is where you can record. It’s so much easer to see the date in a bigger picture then scrolling through the whole calendar. I also like to put monthly tasks into one place and then distribute them weekly onto my Weekly Planner.Free printable 2019 plannerNow about the Week page. This is the main area where you will be actioning most of the tasks. This is where you set the timeline for every task.  Failed to complete the task on the set week? Not to worry! With symbol system this planner can be flexible and forgiving as much as you want.

Let me introduce you to the bullet planning symbols. Events are marked with “” and located on the left of the Week page while tasks are located on the right and marked with “.“. When I complete the task I mark it with “X“. At the end of the week I review my uncompleted tasks and mark it with “>” if moving tasks to the next week, “<“if moving the task back to Monthly Log and I cross the task off completely if I decide the task is no longer relevant or needed.

Meals and Shopping List worked well past few years so I am leaving this tool here unchanged. First timers, check this out!Free printable 2019 planner Finally if you have any notes, like recipes, party plans etc etc, all of this can be stored on the Notes page that is located after each Week page. These then can be recorded onto the Index page.Free printable 2019 plannerWhen you need to find a particular note (that you hopefully recorded) then all you need to do is look up on Index page. Amazing, right? You won’t need to search for it through the whole planner again.Free printable 2019 plannerHopefully I got you inspired to be more organised/productive/and more for the next year? Then go get your printable planner here. I would recommend to get it printed by the printers as there are lots of pages and it is in A3 format.

Now if you like, I am giving away three planners to three lucky winners. All I need in return is your feedback. Be quick as there are a lot of interest already! Just send me a quick shout to rasa@friendlynettle.com

Rasa xoxo

2

Origami advent calendar

Origami advent calendar DIYSo here it is, our advent calendar for this year :). Very very simple to make and I have already received many compliments from friends! I simply used some pattern designs that I created for watercolour challenge few months ago and it brighten up our living room already. Yey!

Each package contain origami idea which is great for me (I love learning something new!) and great with involving kids. I am planning to either teach Lukas how to make stuff by folding paper (for easy ones) or let him decorate completed origami item. I am also considering not to be stuck with using only paper. The possibilities are endless, regular blanket could turn into star for all you know. For those who are following me on social media be prepared for daily dosage of origami!Origami advent calendar DIY You ready to make your own origami advent for this year? Then let’s crack on!

You will need:

  • A4 or square size patterned paper, either printouts or shop bought gift wrapping paper
  • number tags
  • origami idea “ribbons”
  • scissors
  • treats to add into the packages (optional and we decided to go without this year)
  • a hanger
  • string or slim ribbon

First, cut out all the tags and origami idea “ribbons”.Origami advent calendar DIYMake all the packages for every 24 days. Begin with folding in corners (1.), then fold in the sides and insert all the contents (2.). Finally fold in the pointy corners once again on both sides (3) and secure it using double sided tape. Use a string or a ribbon to wrap the package like a gift (4.). Don’t forget to insert the tag before tying the knot.How to fold an envelope from A4 Once all the packages are complete, then all you need to do is tie them on the hanger and hang it on the wall.Origami advent calendar DIY Origami advent calendar DIYHappy Christmas waiting!

Rasa xoxo

0

Watercolour challenge: starry sky

Galaxy watercolour painting for card makingIt’s that time of year when the nights are long, Christmas cheer is all around us and neighbours started lighting up their fairy lights. It could not be a better time to learn how to do galaxy paintings (A must must have skill for water colour painters!). These could turn into magical magical Christmas cards, and invites, and so many other things as well as wall art.

First I began by working on my brush strokes. To achieve a deep night sky impression I moved my brush in circular movements to form cloud like patterns. It’s important to use a generous amount of water as well as layering the paint to build darker shades. To begin with I only worked with two basic colours which were black and blue.  Galaxy watercolour painting for card makingOnce the sky painting is dry, I sprinkled some “stars”. I used a heavy type of brush and using my thumb movement on it I successfully applied the micro sized stars. I then used thin paint brush to paint in bigger stars. Although majority galaxy paintings I have seen around are white, I thought it would be very cool to try gold colour acrylic paint to create some gold stars. I am totally in love with the variation!Galaxy watercolour painting for card makingOnce I mastered the galaxy painting with two colours I of course then tried including more colours. I even tried gold colour! Now, I don’t have gold watercolour paint, so I used watered down gold acrylic paint. This experiment actually worked!! The picture bellow cannot do its justice though, the painting sparkles in the real life!Galaxy watercolour painting for card makingFinally I experimented with painting into confined shape (circle). What changed are the brushstrokes. I tend to do longer brushstrokes to define the edges. The borders also meant that the painting had some sort of structure rather than ending up looking like continuous repeating pattern. Galaxy watercolour painting for card makingTip: when watercoloring with high amounts of water the paper becomes uneven and wrinkly. The best way to make the paper flat again is to iron it. Cover the painting with baking paper and iron it with steam free setting. I find this is safe even with the high temperature setting.Galaxy watercolour painting for card makingWhen the time came to make the Christmas cards I decided to experiment with foiling (I am so in love with gold right now!). Sadly this did not work out. I am sure it’s all my fault! This foil I bought meant to be used with the foiling machine, but someone suggested this could be used with iron. At the end the foil melted instead sticking onto paper. I even used PVA after unsuccessful application using toner pen. Nothing worked! I decided to leave foiling for later, I am sure I will figure this out some other time. Galaxy watercolour painting for card making I ended up using gold paint to paint the letters which was acceptable, but not ideal (hope my neighbours like it).Galaxy watercolour painting for card making White acrylic paint works fine too. If only I did not misspelled “Christmas” over here!Galaxy watercolour painting for card makingHope you found this helpful! Are you making your cards yourself this year?

Rasa xoxo

0

Foraged winter wreath + make your own willow wreath base

Foraged winter wreath DIYSo it turns out this kind of wreath (pic above) is called a foraged wreath. I am so surprised! You see I have been using tree branches and dried plants for deco for years and never considered it as a positive thing to do. When I was little my grandad told me off for breaking the branches off the tree, “if someone broke your fingers off, you would’t like it would you?” he said. So ever since I have been feeling guilty when I “vandalise” (as I call it), but then felt inspired when I see the beauty of nature in my home. Therefore word “foraging” is so much more positive! It sort of makes you feel like you are being savvy and forest wise. Hmm, besides foraging a bit of fir tree branches (pine tree in my case) is better than taking the whole tree just to decorate for Christmas?? Also, not forgetting this is free!!Foraging with kids + Foraged winter wreath DIYTo make a foraged winter wreath collect some tree branches from your forest. Since it is for Christmas you want to pick evergreen tree branches. I picked two pine tree branches and some larch (I was surprised to see that it got coloured for the autumn!). Sadly there were no fir trees in our forest. I did however pick a few bits to accessorise my wreath. Dry dead plants and red berries are great! Foraged winter wreath DIYSince I wanted this wreath be as natural as it can be, I decided to make my own wreath base out of willow. To be honest I made mine out of any twigs I could find. Willow is good because it is supper flexible, but do not worry if you don’t have it in hand. It’s important to pick long twigs that comes from a live tree. You really can’t bend dry tree branch. It would just break! To make the wreath base you will also need florist wire and some good gardener shears. Foraged winter wreath DIYTo begin with take the largest twig and bend it to a circle. Secure the ends with some florist wire. Use the next twig to wrap around the circle you have already made. Secure the ends with the florist wire. Carry on wrapping the wreath base with more and more twigs till you achieve your desired thickness. Try to avoid using florist wire on any areas you are planning to leave exposed.Foraged winter wreath DIYI ended up leaving the top of the wreath base exposed. I deliberately focused on tree branch arrangement in the bottom part of wreath base. I as I added more on I placed different pine tree branches between the twig gaps I could find in the wreath base until I filled in the gaps. Foraged winter wreath DIYI secured the ends of the pine tree branches at the back of the wreath. This way it is less visible on the exposed side. Foraged winter wreath DIYFinally I added dry plant bits and berries to decorate the wreath.Foraged winter wreath DIY Now the question is how long this wreath will last. I wonder if my wreath would last till Christmas. Turns out there is hope! Apparently it lasts best outside in the cold (check!), then I read that it may last longer if I spray it with some water when I can (will do!). Finally if any part of the wreath dies out, you can carefully replace it with some fresh branches. Foraged winter wreath DIY Foraged winter wreath DIYHappy Christmas waiting (sorry, but not sorry for mentioning it so early!)

Rasa xoxo

0

Salted chocolate apples

Salted chocolate applesNormally I only share a recipe after a lot of testing and tasting and often with a bit of modification to improve it.  This time however I made these apples for Hallowe’en and it was such a hit that I did not even get a chance to taste them! I am sure they tasted lovely though. So here we go; apples that are good for any autumnal celebration (did someone mention Bonfire night?)

Now let me share more about my feeling re Hallowe’en. I still dislike it even though I was more involved this year. I think I mentioned before I dislike this celebration mostly due to tacky decorations and creepy dress ups (It does not seem so bad in USA, but here in the UK kids dress up in grotesque costumes). I even wrote a post in the past on how to survive halloween! But beside all these reasons my real real reason for disliking halloween is the fact that it celebrates fear and a spiritual realm that does exist. I am not going further with this and try to argue. Instead I want to explain why I am involved more this year. My prime reason is to get to know my neighbours and to experience Hallowe’en a bit from a broader perspective so decide what if anything I should do with my kids next year.Salted chocolate apples SALTED CHOCOLATE APPLES

  • 12-17 small eating apples
  • 200g dark chocolate
  • 200g milk chocolate
  • 200g white chocolate (optional)
  • sea salt
  • descanted coconut (if using white chocolate)
  • sticks (can be reused ice lolly sticks, tree branch bits or even skewers perhaps?)

Salted chocolate apples 1. First arrange apples on the baking paper. Insert sticks so you are able to hold onto them when applying chocolate.Salted chocolate apples2. Melt the chocolate either carefully heating it in the microwave or over a pot of hot water.

3. Swirl the apple into chocolate so it gets evenly coated. Drizzle some more chocolate of different type on the sides for a pretty look. Don’t forget to salt it ;-).

4. Let the apples set in the fridge.Salted chocolate applesI found that white chocolate does not go back to solid state very quickly. Once applied, white chocolate would just slide off the apple. I think it is important to either wait till the chocolate starts thickening or roll the apple (with chocolate on it) in some descanted coconut so it holds everything together. The apples decorated this ways look as pretty as other apples I think :-).Salted chocolate applesHope you feel inspired

Rasa xoxo

2

Aeroplane themed birthday cake

Aeroplane themed birthday cakeSo here it is, my vision became a reality. This year I made Lukas birthday cake aeroplane themed which he really enjoyed. I have been dreaming about this cake for ages (not really I practically copied the idea from here). The only thing I wanted to do differently is to try and dye the frosting with natural dyes….

But as you may know the colour blue is hard to find in nature! I know i know, the sky is blue, but you can’t exactly put that in the icing. With a bit of research and friends recommendation I went with butterfly pea tea that is sort of blue. You see I had fun with experimenting and realised that butterfly pea tea changes colour according to the ph of the liquid you mix it into. With a bit of lemon it turns to a burgundy violet and with milk it turns into bluish sky blue. Although this might sound easy, the blue that I get from mixing the tea with milk is not concentrated enough for what is needed when you try to dye large amounts of frosting. I ended up using it in soft cheese frosting and it turned out a little more lilac then sky blue. Shall we imagine that the planes are flying over a sunset sky?Aeroplane themed birthday cake BLUEBERRY YOGURT CAKE WITH BUTTERFLY PEA FROSTING

(for the cake)

  • 3 eggs
  • 350g caster sugar
  • 450g greek yogurt
  • 180g rapeseed or olive oil
  • 300g ground almond
  • 250g plain flour
  • 1 tsp vanilla extract
  • 3tsp baking powder
  • 2 handful blueberries

(for the meringue)

  • 3 egg whites, room temperature
  • 100g icing sugar, sifted
  • few drops of lemon
  • pinch of salt

(for the frosting)

  • 600g soft cheese
  • icing sugar to taste, sifted
  • butterfly pea tea, brewed in little water

(for the “aeroplanes”)

  • cocktail sticks
  • wafers in the finger form

1. To make the cake beat the eggs with sugar. Add the rest of the ingredients and mix again to combine. Pour equal amount of cake mixture into two lined baking tins. Bake in 180C oven for 40-45min.Aeroplane themed birthday cake 2. Meanwhile prepare the meringues for baking. Baking these will take few hours on the low heat once the cake is baked presuming you don’t have two ovens. Mix the egg whites with drop of lemon, salt and half of icing sugar. Start whisking the mixture while gradually adding the rest of icing sugar. In the past I struggled to make meringues and later I realised that all it needs a little patience. It takes really long time to achieve stiffly whisked egg whites, so bear with it till you can see the results. Don’t worry you can’t over mix it ;-)! Pipe the meringues on the baking sheet into cloud shapes using large round nozzle or no nozzle at all. Bake in C60 preheated oven for 3-4h. I find the longer the baking the whiter the meringues!Aeroplane themed birthday cake with merengue clouds  3. To make the frosting whisk soft cheese with icing sugar (I like it less sweet so I don’t add much). Gradually mix in the butterfly pea tea till you like the shade. Aeroplane themed birthday cake 4. For the plane, cut the wafer finger into aeroplane body shape and small triangle for the fin. Glue the plane using icing sugar and water mixture. Use the cocktail sicks to hold the plane together.Aeroplane themed birthday cake Aeroplane themed birthday cake5. To assemble the cake apply the frosting starting from the top and working your way to the bottom. Arrange the “the clouds” and “the planes” as closer to serving as you can. Sadly, the meringue have a tendency to go soggy.Aeroplane themed birthday cake Aeroplane themed birthday cake Aeroplane themed birthday cake I especially liked the cake. Although it was difficult to apply the frosting due to it being crumbly and moist, I feel it was worth it!Aeroplane themed birthday cakeHope you enjoy it!

Rasa xoxo

0

Watercolour challenge: repeating patterns

Repeating patterns with watercolour This month I am doing something very exciting for my watercolour challenge. Yes, it’s patterns, my favourite art form! However it would be not very challenging if I did something I am good at already?! This is why I decided to perfect my skill of repeating patterns with some new methods.

When I used to create repeating patterns before it was mostly by drawing/painting/arranging different items/details in repeating order. But as you may all know this is not an accurate way to create repeating patterns. The objects I draw can differ in size as it is literally impossible to exactly replicate the same item/detail every time.

Alternatively I used to take a square of the drawing or paining and repeat it on the photoshop (or any other editing software), but this created very boring, common patterns. I always wondered how do you make repeating patterns that are seamless.

I was little inspired by this YouTube and other few videos on how to create drawn repeating patterns. This method is all about cutting a square shaped picture into four blocks and then swapping them around so the edges of the picture end up at the centre so you can draw on the seams to make it look like that those seams were never there (you really need to watch that video to really understand it). However, this method would not work with watercolour. As you can imagine, watercolour would probably leak at the cut edges.

This is when I came up with the idea to create repeating pattern using a grid. Although this is not a perfect way to create a repeating pattern, I realise the grid gives a good guideline. I started this by painting 7 different design blocks that flows into each other(tesselates) and creates a reasonably repeating pattern.    Repeating patterns with watercolour  This could then be coped and pasted on any editing software.Repeating patterns with watercolour Pattern seem to be more accurate when created on the computer, however it still has that hand painted look because of its origins.Repeating patterns with watercolour I created another pattern in a similar way, except this time round I painted enough of those 7 blocks in a row that created one huge block which was repeating itself naturally. This way all I needed to do is copy and paste this block few times.Repeating patterns with watercolour Repeating patterns with watercolour  Next I wanted to break away from the grid without actually leaving it. I painted leaves in repeating order. The grid allowed me to keep the leaves in similar shape and line. So when I repeated it on a computer this pattern repeated itself flawlessly. Repeating patterns with watercolour I tried the same technique on another design and this time round I realised the problem of the grid itself. The grid would not erase after it has been painted over. And with the light colour you can see the grid very clearly. I had to use the clone tool to hide those annoying lines that was never meant to be part of the pattern.Repeating patterns with watercolour After repeating the pattern the same way as the others I realised it does not match very easily with plain painted areas (it’s very difficult to get the same shade of colour every time). This also had to be corrected with the clone tool.Repeating patterns with watercolour Repeating patterns with watercolour  Finally instead of a grid I used a dot system. It guides you like a grid, but its not as visible in case you can’t erase it. Repeating patterns with watercolour As you can see, this creates almost perfect repeating patterns ;-).Repeating patterns with watercolourHope you are inspired

Rasa xoxo

1

Green tomato ketchup

Green tomato ketchup recipeLast week we said goodbye to our green house. It was quite emotional for me as I really fell in love with it! Although the journey of building it and general gardening jobs delayed our house renovation (kitchen in particular) I feel having green house has given us irreplaceable experience. I loved getting fresh tomatoes everyday for my toast and salads, even if it was for only few months. I have learned a lot too! I will be applying my new learned knowledge next year when I grow tomatoes again :).Green tomato ketchup recipeBut what to do with all those green tomato that missed their chance to catch some sun? Few years ago we made some green tomato chutney. This year however I decided to go with green tomato ketchup only because we use ketchup more often (I bet you do too!). Green tomato ketchup taste a little fresher to compare to regular ketchup but is equally delicious with chips!Green tomato ketchup recipe Green tomato ketchup recipe This recipe can be halved or doubled depending on your green tomato harvest. So weigh your tomatoes before deciding how much ketchup to make.

GREEN TOMATO KETCHUP

  • 2 kg tomatoes
  • olive oil
  • 3 onions, chopped
  • 2 celery sticks, sliced
  • 2 thumb fresh ginger, grated
  • 4 garlic cloves, sliced
  • 1 tsp ground coriander
  • 1/2 tsp ground mixed spice
  • salt and pepper
  • 700ml water
  • 2 tsp tabasco sauce (more if you like spicy)
  • 150ml apple cider vinegar
  • 200g brown sugar (I used dark brown which made the ketchup look darker)

1. wash, weigh, chop the tomatoes and set aside.Green tomato ketchup recipe2. Place onions and celery  in a large saucepan with a generous amount of olive oil, ginger, garlic, ground coriander and mixed spice. Season with the pepper and a pinch of salt. Cook gently till softened.Green tomato ketchup recipe 3. Add the tomatoes, water and bring to the boil and simmer gently until the sauce reduces by half (around 3 h for 2kg tomatoes).

4. Whiz the sauce in a food processor or with a hand blender. Add the vinegar and the sugar. Place the sauce on the heat and simmer until it reduces and thickens to the consistency of tomato ketchup. At this point, adjust the seasoning to taste.

5. Spoon the jam into the ready sterilised jars or glass bottles.Green tomato ketchup recipe Green tomato ketchup recipeShould at least try making it for those chips ;-)

Rasa xoxo

0

Kitchen organisation ideas: jars

Kitchen organisation ideas: jarsOur kitchen completion is so so close that I can almost taste it! It’s those small little details that takes forever to finish, I don’t know why is it often like that. In order for us to move into our new kitchen (we are lucky to have an old kitchen in other part of the house), we still need to fill some gaps, touch paint, silicone and fit the shelves.

I am so excited about the shelves though! I love the open display plan. I already started preparing storage solutions that looks good and is a decoration itself. You guessed it right, jars are going to be my focus!

Jar storage solution is not a new invention, it’s just got really trendy in recent years. You can buy mason jars easily anywhere, however I don’t believe you need them to achieve the look. Although I do own few mason type of jars, majority of my jars comes from recycling. That’s right! I use a lot of jars that had were storing pickles in their past life. I think reusing these type of jars is so much better than recycling itself. It’s better for your pocket too!Kitchen organisation ideas: jarsTo begin with I started sorting out our grains, sugar, flour, seeds etc etc. I looked through lots of loose bags and I was little surprised to find some stuff that I did not even know I had (like quinoa). I stored these into right size jars according to the amounts, the use and the size I tend to buy them in the shop. For example, I hardly ever eat quinoa (don’t really like the taste of it) so it ended up in the tiniest jar the whole lot could fit. It’s different with the brown sugar and although I had a tiny amount of it left I stored it in a lager jar.Kitchen organisation ideas: jarsAs for labels I decided to go paperless. I got inspired by these and since my handwriting improved I thought I will give a go. I used basic black permanent pens instead of oil based paint pens. I experimented on the paper before going ahead and scribbling on the jar.Kitchen organisation ideas: jars Although the pens are permanent, it can be easily wiped out with some acetone or other type of solvent.Kitchen organisation ideas: jarsKitchen organisation ideas: jarsHope you like my jar organisation idea and get to adopt it at your home.

Rasa xoxo

1

End-of-season tomato jam

End-of-season tomato jam recipeTurns out our tomato harvest was little late when I thought it was barely there at all. When all of the sudden tomatoes started turning red and yellow in one go I actually panicked as I could not keep up with it even when I was eating them everyday (this is certainly a good problem to have). However their season is coming to the end and I will be soon harvesting green tomatoes to make something special for winter.

So far I have been freezing red, cherry and sunrise tomatoes into the 400g bags for next time I need chopped tomatoes in the recipe. I also reserved some for tomato jam that I wanted to try out making for a while. I love something sweet in my savoury dishes! If you feel the same then here it is, carry on reading for the recipe.End-of-season tomato jam recipe End-of-season tomato jam recipeEND-OF SEASON TOMATO JAM adapted from Healthy Delicious

  • 1kg ripe tomatoes, roughly chopped
  • 280g soft brown sugar
  • 1 lemon zest and juice
  • pinch ground ginger

End-of-season tomato jam recipe 1. Whizz tomatoes in the blender till smooth like a pure.End-of-season tomato jam recipe2. Transfer the tomato puree together with the rest of the ingredients into the medium sized pot.End-of-season tomato jam recipe 3. Cook, stirring frequently, until the mixture is thick and jammy – this will take about an hour.End-of-season tomato jam recipe4. Spoon the jam into the ready sterilised jars.End-of-season tomato jam recipeEnd-of-season tomato jam recipe End-of-season tomato jam recipeEnjoy it anywhere you like. I am sure you will find many uses for this jam! I love mine in the cheese toasty ;-).

Rasa xx

0

Watercolour challenge: brush lettering

Watercolour brush letteringLast month I was reviewing my yearly goals and I realised that I was nowhere close to learning calligraphy. This is when I decided that I needed to focus on hand lettering, hence watercolour brush lettering! I also used bible verses for this project so that way I could meditate on the word as well as learning new skill.

I started with the basic handwriting style that I once learned from my friend Vicki. It was the type of handwriting style that you learn in old school where you draw all of your letters connected and within the lines (remember?). Except this hand lettering style does not require lines. It flows out freestyle!

I soon got bored with that writing style and was ready to add more character to my hand lettering.

This is when I came across brush lettering. Brush lettering is a style of writing similar to calligraphy, but done with brush pens. When doing brush lettering the key thing to remember is the pen pressure and the stroke thickness:

  • Heavy pressure is applied in a downward motion to create thick stroke
  • Light pressure is applied in an upward motion to create thin stroke

Watercolour brush lettering Although I was painting letters with an actual brush, it was not easy to control the strokes. At some places I needed to thicken the lines manually instead of applying pressure as I paint.Watercolour brush lettering Initially I tried a round brush but then switched to a flat shaped brush that made neat thick lines. However I found it difficult to paint thin lines with it. The only way to paint thin lines with this brush was to paint sideways. I quickly ditched that and went back to a round shaped brush.Watercolour brush lettering Watercolour brush lettering With the round brush back in hand I soon got got the hang of brush lettering. You know what they say, practice makes perfect ;-). I experimented with different types of font such as printed, joined or separated hand lettering. I even tried to format my hand writing. I drew lines with the pencil to mark the guidelines. Watercolour brush lettering Once I learned to format the lettering I had a go with the bounce hand writing font. This was so so much fun. Bounce hand lettering is all about drawing letters outside their guidelines: one letter down, the second letter up and third letter down again (I hope you get the point). Essentially the letters bounce ;-)Watercolour brush lettering Watercolour brush letteringI loved loved loved learning watercolour calligraphy, hope you will too ;-)

Rasa xoxo

0

Herb infused jams

Herb infused jams + rosemary infused blackberry jam recipeI know I know you might think that I am obsessed with blackberries (which is true). But how can you resist when these berries are so plump and lush right now? We just loooove picking them as we go for a walk!

Last year when I was cooking through Little Paris Kitchen book I found this recipe for the cherry compote. Not just any cherry compote, it was infused with basil and tasted amaaaaazing! This is why when I was thinking to make blackberry jam I decided to take similar approach and matched it with rosemary. It was as flavoursome as that compote I made last year ;-).

So if you are jamming this autumn, I really recommend trying out and adding herbs to your preserves. Sugar really bring out the flavour of it I think. Here are few suggestions if you like:

  • cherry and basil
  • blueberry and mint
  • raspberry and cardamom
  • apricots and lavender
  • strawberry and lemon thyme

These are just few examples, but you can experiment with any herbs. Here is blackberry and rosemary for starters ;-).Herb infused jams + rosemary infused blackberry jam recipe BLACKBERRY AND ROSEMARY JAM

makes 2 jars

  • 1kg blackberries
  • 300g sugar (we used icing sugar as it dissolves quicker, but any other sugar will do)
  • bunch of rosemary

Herb infused jams + rosemary infused blackberry jam recipe 1. Place all the ingredients in a pot and simmer uncovered for 30 min or so.Herb infused jams + rosemary infused blackberry jam recipe 2. Stir occasionally while cooking to help dissolve the sugar.Herb infused jams + rosemary infused blackberry jam recipe 3. Remove the rosemary stalks (as much as you can) before spooning it into ready sterilised jars.Herb infused jams + rosemary infused blackberry jam recipeI enjoy it mostly with toast but there are plenty of other uses as well.

Rasa xoxo

0

Bake-with-kids yogurt cake

Bake-with-kids yogurt cake recipeEver since reading Bringing up bebe and French kids eat everything I got the notion that the kids and I could bake things one day. Maybe even experiment with different flavours and help them grow to love food. This sounded like a fairy tale when we were going through terrible-twos and all Lukas would eat was pasta or toast. Thankfully this was just a phase! Things are changing dramatically as we speak. So hang in there if you are struggling with the toddler fussiness, it will all pass ;-).

I mean Lukas still don’t eat salad, but he will occasionally ask me if he could taste something from my plate (such as beetroot or even smoked salmon). And you know I like my food colourful and flavoursome. I really hope that one day this passion will pass onto him.

So when we went blackberry picking last week I thought why not introduce him to baking. Lukas, like any other kids likes cakes and baking goes nicely with blackberry. I suddenly thought I could try the yogurt cake that I read french kids like to make. Blackberries on top does make it lovely!Bake-with-kids yogurt cake recipe This recipe uses yogurt containers (150ml) as a measuring device. A bit simpler to understand for little helpers.

BAKE-WITH-KIDS YOGURT CAKE

  • 2 x containers (300g) natural yogurt (full fat preferably)
  • 2 x eggs
  • 2 x containers sugar (270g) (although I preferred adding just one)
  • 4.5 x containers  plain flour (360g) (we used almond flour for gluten free version)
  • 1 x container (120g) vegetable or olive oil
  • 1 tsp vanilla extract
  • 2 tsp baking powder
  • berries or chocolate chips for the filling (optional but nice!)
  • extra yogurt or creme fraiche for serving (optional)

Bake-with-kids yogurt cake recipe 1. Measure all ingredients into the bowl. It is very important to clean and dry the containers after emptying them as I find that other ingredients stick to any lingering yogurt and therefore don’t come out fully when measuring. The first time we baked this cake it came out too gooey due to not enough of flour as you could imagine. When making it a second time I realised it was due to wrong amounts.

2. Mix mix mix! Lukas favourite part ;-).Bake-with-kids yogurt cake recipe3. Spoon out the cake mixture into the baking tin. I like using silicone type as it needs no greasing.Bake-with-kids yogurt cake recipe4. Arrange berries or chocolate chips on top. Press them in so they sink a bit.Bake-with-kids yogurt cake recipe 5. Bake for 35-40min in 180C preheated oven. Check with toothpick if it is baked thoroughly before removing the cake out of the oven.Bake-with-kids yogurt cake recipeEnjoy baking ;-)

Rasa xoxo

0

My review of bullet journaling

my review on bullet journalingAt the beginning of this year I tried bullet journalling, so how did I get on? Well… my opinion about it has not changed much. I think this system is best suited for a single person who loooooves stationary. However the system itself is cool and it can maybe be applied to a wall organiser. Or at least this is what I am hoping to do.

First I will start with positives of bullet journalling (need to be positive!).

1. I loved how this diary is like a book. It almost feels like writing a book! You know how they say that everyone has a book in them?  Well, here is your chance to sort of practice and write it. It has page numbers, an index page, and more. my review on bullet journaling 2. The BUJO system itself is very practical. It’s all about tracking your tasks, organising them in advance and moving them around to different time slots. The “future log” creates an area where you can store events and tasks that needs to be done sometime in the future. The symbols lets you identify if the task is completed, moved or canceled. If only I could somehow translate this system into the wall diary/organiser…. hmm.my review on bullet journaling 3. My favourite part however is my new years goals pages. Although I feel I am slightly behind I feel splitting goals into tasks helped me to see the progress which itself is very uplifting. I know I know, if I do maths here I probably have almost half of the tasks completed, but only one third of the year left. So I am guessing I wont be able to complete all the tasks by the end of the year. But its ok, I can always review these tasks and forward some to the new year ;-).my review on bullet journaling 4. Additionally to all the fab parts of bullet journalling, I can store project patterns,my review on bullet journalingdetailed event hosting plan with drawings and recipes,my review on bullet journaling my cycle charts (embarrassed to say) and many more. Basically whatever floats your boat ;-). my review on bullet journalingWhen it comes to negative points of using BUJO is that it is not easy to access for whole family. Yes bullet journal is perfect for storing personal stuff like charts etc, but other then that when it comes to family planning this needs to somehow to transfer to a wall organiser.

And btw, I mentioned before that I was very excited to use my fountain pen with this journaling business. However this proved unpractical as I often had to wait till my writing dries before going onto next page. Also I made so many mistakes that by now I am not too bothered about my handwriting in this journal.

That is it for now, hope you found my review useful

Rasa xoxo

0